


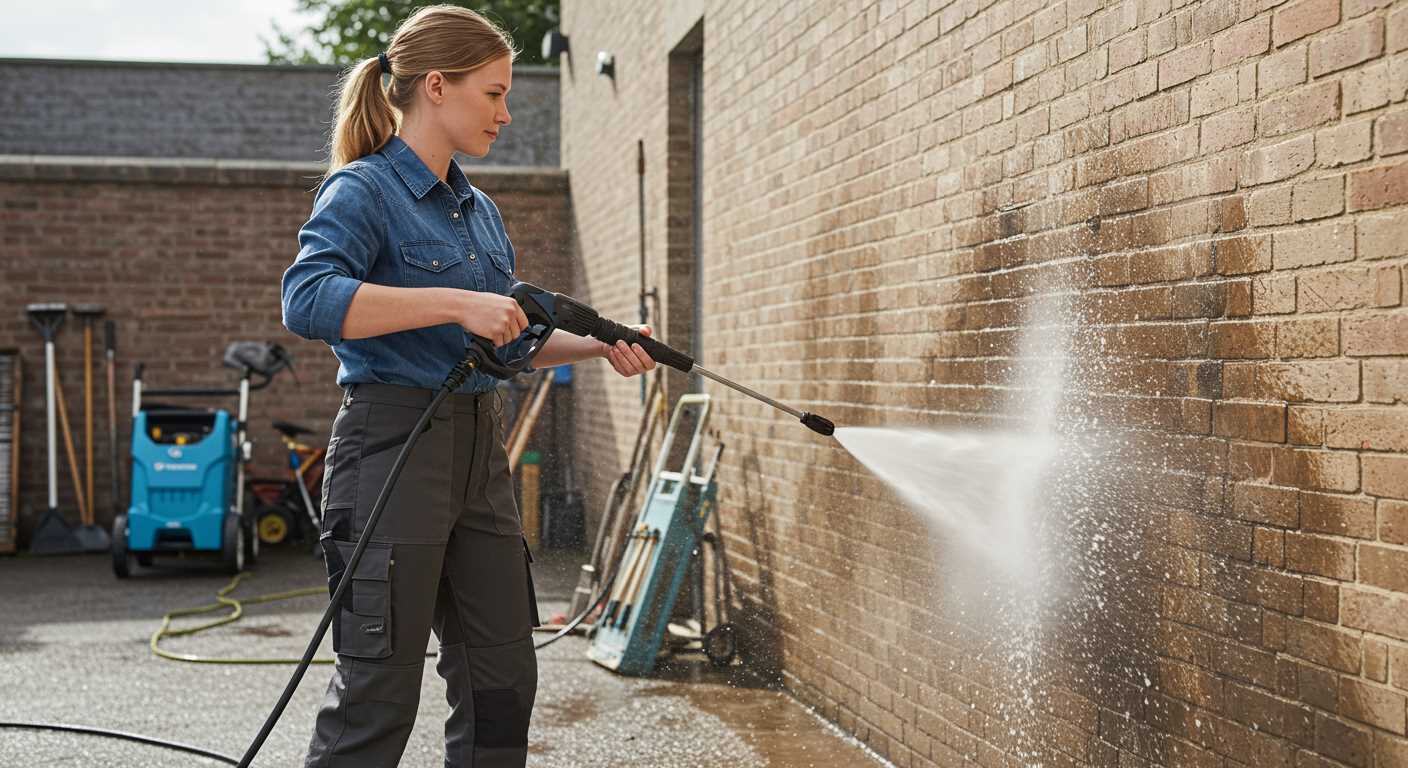
Attaching a long reach accessory can dramatically enhance your cleaning experience. It allows you to access high or distant surfaces without the need for ladders, making the task safer and more straightforward. I recall a time when I had to clean the upper sections of my house’s exterior. The extension made the job a breeze, and I could achieve a thorough clean with minimal effort.
Ensure that your tool and the accessory are compatible. Check the connection points for a secure fit; a loose attachment can lead to inefficiencies or leaks. In my practice, I’ve seen how a tight connection not only improves performance but also extends the life of the equipment. Always inspect the locking mechanism before starting your work; a secure setup is key to avoiding mishaps.

When you’re ready to begin, adjust the angle of the nozzle for optimal spray coverage. I often start with a wider spray pattern to cover larger areas, switching to a more concentrated jet for stubborn dirt. This method not only saves time but also conserves water. Keep in mind the distance from the surface; too close can cause damage, while too far may not deliver the desired results.
Finally, after completing the job, clean the attachment thoroughly. Residue can build up and affect future performance. I’ve learned that a quick rinse and proper storage can make a significant difference in maintaining the longevity of your tools. Taking these steps ensures that your cleaning sessions are both productive and enjoyable.
Application of the Karcher Pressure Cleaner Attachment
To effectively extend your reach when tackling high surfaces, firmly attach the accessory to your device. Align the locking mechanism until you hear a click, indicating a secure connection. Ensure that the nozzle is appropriate for your task–switching between fan and pinpoint modes depending on the surface you’re cleaning can make a significant difference.
While in operation, maintain a steady pace to avoid streaks or missed spots. For vertical surfaces, it’s useful to start from the top and work downwards. This method prevents dirty water from trickling onto already cleaned areas, saving you time and effort. If you find yourself needing additional length for those hard-to-reach places, consider utilising an extension cord for pressure washer to give you more flexibility and range.
Regular maintenance of the attachment is key. After each use, rinse it with clean water to remove any debris or detergent residues. This ensures optimal performance for your next cleaning task. If you encounter a blockage, use a soft brush for clearing, avoiding sharp objects that may damage the nozzles.
For those curious about timing in other contexts, a quick reference to cooking might be useful–like understanding how long to put the chana in a pressure cooker. The principle of timing remains similar: don’t rush the process. Let the tool do its job, and you’ll achieve excellent results without unnecessary strain.
Choosing the Right Extension Rod for Your Karcher Model
Selecting the appropriate rod for your cleaning device is paramount to achieving optimal results. I’ve encountered various models over my years in the industry, and compatibility is always the first thing to verify. Each cleaner has specific attachments designed for its power output and nozzle configurations.
Compatibility Check

Before purchasing any accessory, check your device’s model number. Most manufacturers provide a compatibility list for their accessories. This ensures that the rod fits securely and performs as intended. For instance, a rod designed for a more powerful model may not function efficiently on a less powerful one.
Length and Reach
Consider your cleaning tasks. If you’re frequently working at height or in tight spaces, a longer rod can significantly ease your workload. I recall a job where a longer rod allowed me to clean the upper sections of a building without the need for scaffolding or ladders. Always assess the areas you intend to clean before making a decision.
| Model | Recommended Rod Length | Compatibility Notes |
|---|---|---|
| K2 Series | 0.5m – 1.5m | Compatible with all K2 models |
| K3 Series | 1m – 2m | Ensure nozzle compatibility |
| K4 Series | 1m – 2.5m | Works best with high-pressure nozzles |
| K5 Series | 1.5m – 3m | Check for model-specific attachments |
After confirming compatibility, consider the material of the rod. Lightweight options are easier to handle for extended periods, while sturdier materials provide durability. In my experience, a balance between weight and sturdiness leads to the best performance.
Preparing Your Equipment for Extension Use
First, ensure that the unit is powered off and disconnected from the electrical source. This prevents any accidental activation while you’re connecting accessories. Safety first!
Check the Connections
Inspect the hose and nozzle connections for any signs of wear or damage. Secure all fittings properly to avoid leaks during operation. A loose connection can lead to reduced performance.
Inspect the Extension Accessory
- Examine the extension for any cracks or defects. A compromised structure can affect the cleaning process and pose a risk.
- Ensure the locking mechanism functions smoothly. This guarantees that the accessory stays securely attached during use.
Before attaching the accessory, it’s wise to test the machine with the regular nozzle first. This helps you gauge pressure levels and confirms everything is working correctly. After ensuring everything functions well, proceed to connect the extension.
Adjust the spray pressure to match the task at hand. If the job requires a gentler touch, dial down the intensity to prevent damage to surfaces. Always start with the lowest setting and gradually increase as needed.
Lastly, have your cleaning solution ready if applicable. Certain tasks may require a detergent to enhance cleaning efficiency. Make sure to follow the manufacturer’s guidelines regarding cleaning agents to avoid any potential damage to the equipment.
Attaching the Extension Rod to Your Karcher Pressure Washer
Align the attachment point of the accessory with the connector on the machine. You’ll notice a small notch that aids in proper placement. Insert the apparatus firmly until you hear a click, indicating a secure fit. It’s crucial to ensure that the connection is tight to prevent any leaks during operation.
Once attached, give the accessory a gentle tug to confirm stability. If it feels loose, detach and reassemble to ensure everything is correctly aligned. This step is often overlooked but can save you from frustrating interruptions while cleaning. I’ve found that taking a moment to double-check this connection pays off in the long run.
Adjust the angle of the tool if necessary. Some models allow for a slight pivot, granting access to hard-to-reach areas. This flexibility has made my cleaning tasks much more manageable, especially when tackling those tricky spots like high walls or gutters. Just remember to maintain a firm grip while working at height to avoid any mishaps.
Before starting your machine, ensure that the safety latch is disengaged. This step is essential to prevent any accidental activation while you’re still setting up. I’ve seen too many people miss this detail and face unnecessary surprises. Always prioritise safety in your cleaning routine.
Finally, once everything is in place, turn on your device and test the flow. If you notice an uneven spray or reduced power, it might indicate an improper connection. Don’t hesitate to disconnect and reassess. I’ve learned that taking the time to set things up correctly makes all the difference, especially when aiming for optimal cleaning results.
Adjusting the Pressure Settings for Optimal Performance
Begin by familiarising yourself with the pressure control on your unit. This adjustment can significantly impact cleaning effectiveness depending on the task at hand. For delicate surfaces like car paint or wooden decking, dial down the pressure to avoid damage. I recall once using a high setting on a vehicle, resulting in unsightly scratches – a mistake I won’t repeat.
Conversely, tougher surfaces such as concrete or brick can withstand higher pressure. I often find that starting with a medium setting and increasing gradually works best, allowing me to gauge the necessary force without risking damage. It’s all about finding that sweet spot for each specific job.
Another tip: always check the manufacturer’s recommendations for different attachments and nozzles. Using the right combination can enhance the outcome and prolong the life of your equipment. For example, switching to a turbo nozzle can boost cleaning power when tackling stubborn grime.
Finally, remember to adjust the pressure based on the distance from the surface. The closer you are, the more powerful the effect will be. I’ve learned to maintain a consistent distance to ensure an even clean without causing wear.
Techniques for Cleaning Different Surfaces with the Extension Rod
For effective cleaning on various surfaces, adjusting your approach is key. When tackling concrete driveways, I prefer a wider spray pattern. It allows the water to reach deeper into the pores of the concrete, lifting dirt and grime without damaging the surface.
Wooden Decks
When cleaning treated wood, reduce the pressure significantly. Use a fan spray nozzle to prevent gouging the wood. I always keep the nozzle at least 12 inches from the surface. This distance helps maintain the integrity of the wood while effectively removing mildew and stains.
Cars and Vehicles
For vehicles, I recommend a low-pressure setting with a soap attachment. Start from the top and work your way down, ensuring even coverage. Use a sweeping motion to avoid streaks. Rinse thoroughly, keeping the nozzle at a safe distance to prevent any damage to paintwork.
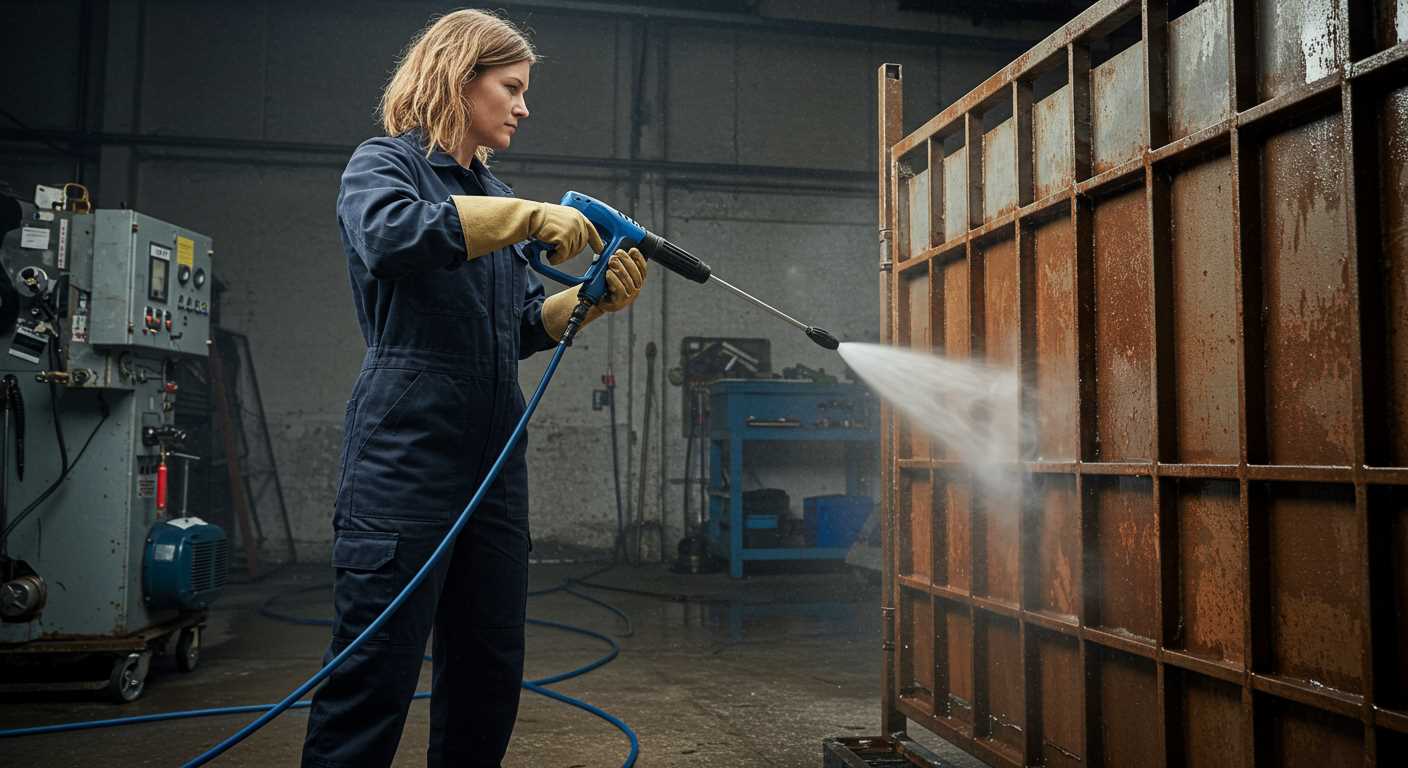
Brick walls require a different angle; I find that a narrow jet is best for reaching crevices. Maintaining a consistent distance of around 18 inches ensures thorough cleaning while avoiding damage to the mortar. Move systematically to prevent streaking.
Lastly, for delicate surfaces like glass, always opt for the lowest pressure setting. A gentle spray maintains the glass’s integrity and prevents any chipping or cracking. This method has saved me from costly repairs on more than one occasion.
Maintaining Your Extension Rod for Longevity
Regular cleaning is paramount. After each session, rinse the pole thoroughly with clean water to remove any dirt, soap residue, or chemicals. This simple act prevents build-up that can lead to corrosion over time.
Inspecting for damage is critical. Check for cracks, bends, or wear on the joints and fittings. Any signs of deterioration should be addressed immediately, as they can compromise performance and safety. Replace any damaged components without delay.

Storage plays a significant role in the lifespan of your equipment. Always keep the pole in a dry, cool place, away from direct sunlight. Avoid leaving it outdoors, as exposure to harsh weather can lead to premature degradation.
Lubrication is key for movable parts. A light application of silicone spray on joints can keep them functioning smoothly and prevent rust. Just a few moments spent here can extend the usability of your equipment considerably.
Consider the cleaning agents you use. Certain harsh chemicals can erode the materials of your pole over time. Always opt for mild, non-corrosive solutions designed for cleaning applications.
When not in use, store your attachment securely. A designated holder or case can prevent accidental damage and keep everything organised. This practice not only protects your gear but also makes it easier to locate when you need it next.
.jpg)


