


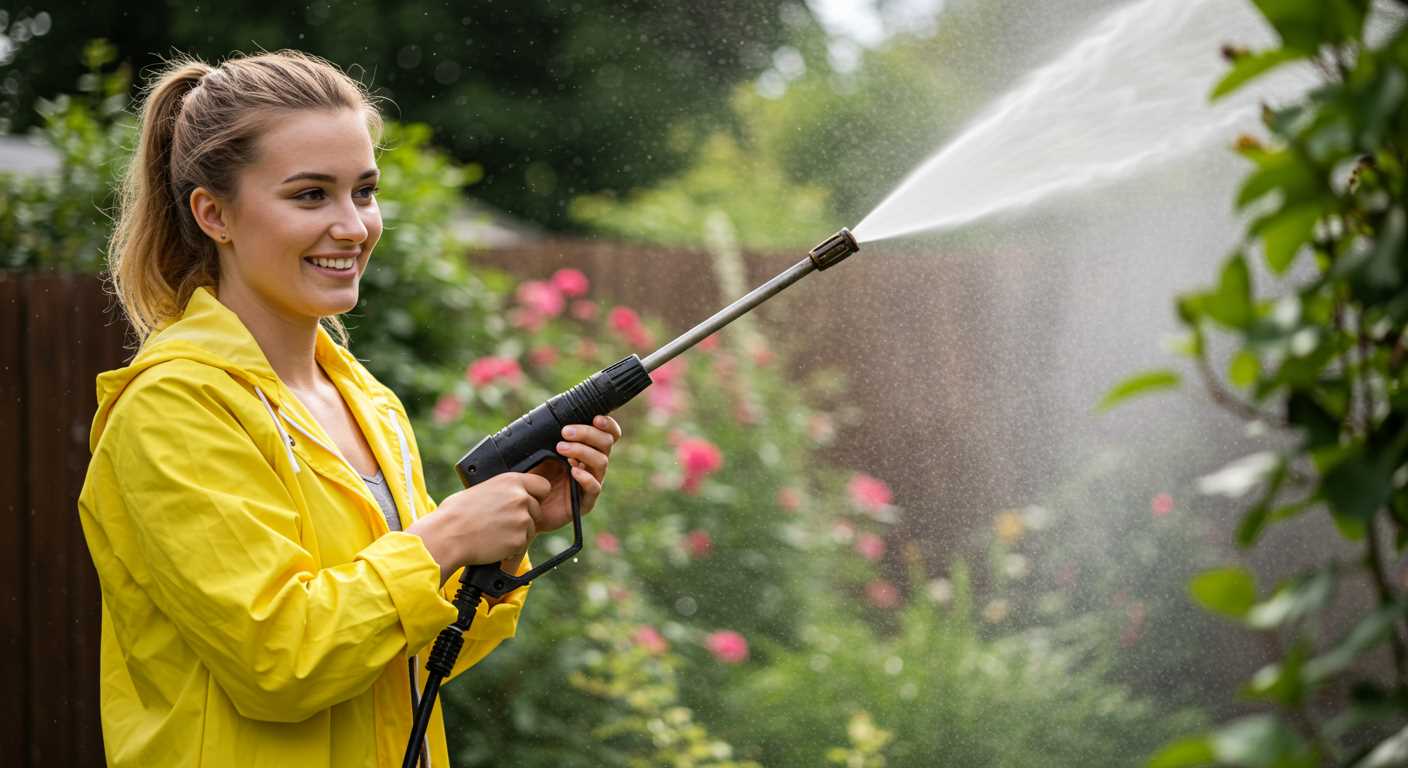
For an impeccable clean, attach the foam dispenser to your high-powered cleaning device. This accessory transforms your cleaning routine, making it effortless to apply thick suds that cling to surfaces, breaking down dirt and grime effectively. A consistent and even application is key, so ensure the nozzle is securely fastened before starting.
Fill the container with a quality detergent, diluted as per the manufacturer’s guidelines. I’ve often found that using a pre-mixed solution optimises the cleaning process, reducing time spent on scrubbing. I typically aim for a 1:10 ratio of detergent to water, which strikes the perfect balance for a rich foam without overwhelming the machine.
Next, adjust the mixing ratio by rotating the dial on the dispenser. Achieving the right foam consistency is crucial; too thick may clog the nozzle, while too thin won’t cling effectively. A medium setting usually works wonders. I recall a particularly stubborn car detailing job where a thicker foam proved invaluable, allowing me to lift dirt without heavy scrubbing.
When ready to apply, begin from the bottom of the surface and work upwards, ensuring full coverage. This method prevents streaks and allows the foam to settle on grime, making rinsing easier. After a few minutes of dwell time, switch to your regular nozzle for rinsing. This two-step approach has always yielded impressive results in my experience.
Lastly, always clean the foam attachment after use. A quick rinse under warm water removes any residue, ensuring optimal performance for your next task. Trust me, neglecting this step can lead to clogs and inconsistent performance down the line.
Understanding the Foam Spray Nozzle Components
The heart of effective cleaning lies within the components of the foam application attachment. Each part plays a pivotal role in delivering a thorough and even coat of cleaning solution. Let’s break down these elements.
| Component | Function |
|---|---|
| Container | Holds the cleaning solution, ensuring a consistent supply during operation. |
| Adjustable nozzle | Regulates the spray pattern and intensity, allowing for versatile cleaning options. |
| Venturi system | Creates a vacuum effect to mix air with the detergent, producing rich foamy output. |
| Connector | Links the attachment to the main cleaning unit, ensuring a secure fit and preventing leaks. |
| Filter | Prevents debris from clogging the system, maintaining optimal performance. |
In my experience, adjusting the nozzle is key. A tighter setting delivers a concentrated stream, perfect for tackling stubborn grime, while a wider setting covers larger areas quickly. The venturi system is particularly fascinating; I remember the first time I used one–I was amazed at how effortlessly it created that thick lather. Always ensure your container is clean; any residue can affect the foam quality. Regularly check the filter, too; a clean filter can make all the difference in performance.
Preparing Your Cleaning Device for Foam Application
Before engaging in foam application, ensure the equipment is properly set up. First, check the detergent tank; it should be filled with a compatible cleaning solution. I recall a time when I hastily began without ensuring the detergent was adequate, leading to subpar results. Always confirm the tank is secure and free from leaks.
Next, inspect the attachment point for any debris or damage. It’s essential for a tight fit; a loose connection can result in spray inconsistencies. I’ve experienced frustrating moments when a simple blockage caused the device to underperform. A quick clean-up can save a lot of hassle.
Verify the settings on the device itself. Adjust the pressure according to the surface you’re targeting. Soft surfaces like cars require lower settings, while more robust areas like patios might need a higher output. I learned this the hard way after inadvertently damaging a car’s paint with too much force.
Lastly, ensure all components are correctly assembled. A misaligned piece can lead to inefficient operation. Take a moment to double-check everything; it’s a small step that can significantly impact your cleaning experience. I’ve often found that taking this extra time at the beginning pays dividends later on.
Selecting the Right Foam Solution for Your Task
Choosing the right cleaning solution is critical for achieving optimal results. For vehicles, a pH-neutral shampoo is ideal as it’s gentle on the paint and wax. I remember a time when I used a harsh detergent on my car, and it stripped away the protective wax layer, leaving the paint vulnerable. Always opt for products specifically formulated for automotive surfaces.
For tougher tasks, such as driveways or patios, a more robust cleaner with degreasing properties can be beneficial. I once tackled a particularly grimy driveway using a dedicated concrete cleaner, and the results were impressive. It cut through years of grime effortlessly, highlighting the importance of selecting the right formulation for the surface type.
When dealing with organic stains, like algae or mould, look for a solution containing biocides. I’ve had great success with products that specifically target these issues, ensuring a thorough clean without damaging the underlying surface. Always read the labels to ensure compatibility with your equipment and the surfaces you’re cleaning.
For delicate surfaces, such as wood, a specially designed wood cleaner helps preserve the finish while still providing effective cleaning. I recall a client who used a general-purpose solution on their deck, and the colour faded significantly. Choosing a gentle, wood-specific cleaner can prevent such mishaps.
Experiment with different products to see what works best for your specific needs. I’ve often mixed solutions to get the perfect balance for unique jobs. Always test a small area first, especially with new products. This approach saves time, effort, and potential damage to surfaces.
Attaching the Foam Spray Nozzle Correctly
Ensure a secure connection by aligning the attachment points on the lance and the foam dispenser. Press firmly until you hear a click, indicating that it’s locked in place. A loose fit can lead to leakage or reduced performance. For a reliable grip, inspect the o-ring on the foam attachment; it should be intact and free of damage. Replace it if necessary.
Checking Compatibility
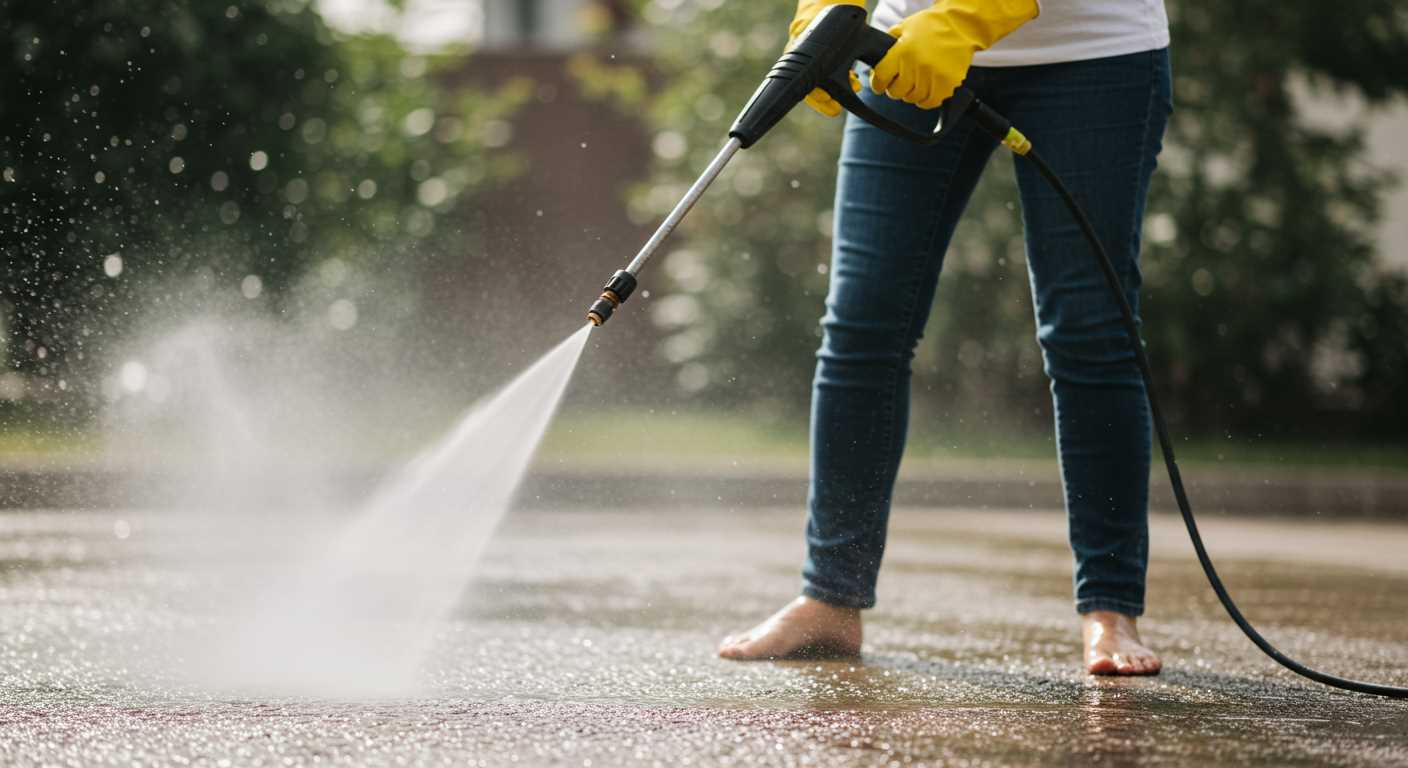
Verify that the foam dispenser is compatible with your cleaning device. Different models can have varying connection designs. Refer to the user manual for specifications. If the foam attachment doesn’t fit snugly, consider using an adapter that matches the dimensions of your equipment.
Testing for Leaks
Once attached, run a brief test. Activate the device and observe for any leaks around the joint. If you notice any, detach and reattach, ensuring that all components are aligned properly. A small adjustment can often resolve minor leaks, enhancing the overall cleaning experience.
Adjusting Foam Dispersion Settings for Optimal Coverage
To achieve uniform application, fine-tuning the dispersion settings is vital. I recommend starting with a mid-range setting, which provides a balanced output. From there, you can adjust based on your specific task.
- Begin with the Nozzle Dial: Most models come with a dial or selector. Rotate it to the desired setting. A lower setting is ideal for delicate surfaces, while a higher setting suits tougher jobs.
- Test the Dispersion Pattern: Before tackling the entire area, test the dispersion on a small spot. Aim for a consistent layer that clings to the surface without excessive runoff.
- Adjust the Distance: Keep the nozzle approximately 30 to 45 cm from the surface. This distance allows for better coverage and prevents overspray.
- Observe the Foam Thickness: If the foam is too thin, switch to a higher setting. If it’s too thick and drips off, lower the setting. The ideal foam should remain in place for a few moments to allow for effective cleaning.
- Consider Surface Type: Adjust your settings based on the material. For instance, glass can require a gentler approach, while concrete might benefit from a stronger application.
After making adjustments, always take a moment to reassess. Each surface reacts differently, and a little experimentation can lead to optimal results.
Applying Foam to Different Surfaces Safely
Always test a small, inconspicuous area before applying any cleaning agent to a new surface. This helps to ensure compatibility and prevents damage. Here are specific tips for various materials:
- Painted Surfaces: Use a gentle setting to avoid stripping paint. A higher foam concentration can be effective without excessive pressure.
- Glass: Opt for a diluted solution to prevent streaking. A wide-angle spray pattern is beneficial for even coverage without excessive force.
- Metal: Most metals handle foam application well, but be cautious with bare or unprotected surfaces. Rinse thoroughly to avoid residue that can cause corrosion.
- Plastic: Test on a small area first. Use less aggressive settings to prevent scratches and maintain the surface quality.
- Concrete: A robust solution works best here, but ensure that the angle is right to prevent etching. Keep the nozzle at a safe distance.
- Wood: Avoid prolonged exposure to cleaning agents. Keep the spray moving, and apply only on well-sealed surfaces to prevent water damage.
After applying the solution, always rinse thoroughly to remove any residues. This is critical for maintaining the longevity of the surfaces. For car detailing, consider the right attachment to achieve a flawless finish; check resources like pressure washer nozzle for car detailing for additional guidance.
Lastly, always wear protective gear such as gloves and goggles. Safety should be a top priority when dealing with chemicals and high-pressure equipment.
Cleaning and Maintaining the Foam Spray Nozzle
After each session, it’s crucial to clean the applicator immediately. Residue left to dry can clog the small openings, reducing performance. I’ve found that rinsing it under warm water while gently shaking ensures that any leftover product is removed effectively. If you notice stubborn residues, a soft brush can help dislodge them without damaging the components.
Routine Inspection
Regularly inspect the product for any signs of wear or damage. Pay attention to the seals and connectors. I once neglected a small crack in a seal, which led to leaks and decreased efficiency. Replacing worn parts promptly can save you from bigger issues down the line.
Storage Tips
When not in use, store the applicator in a cool, dry place. Avoid leaving it exposed to direct sunlight or extreme temperatures, as this can cause materials to degrade. I learned the hard way that a simple plastic storage box can work wonders for prolonging the life of these tools. Make it a habit to detach the applicator from the hose to prevent any accidental damage during storage.
Troubleshooting Common Issues with Foam Application
When foam isn’t adhering well, check the dilution ratio of your cleaning solution. A mix that’s too weak won’t create adequate foam, while one that’s too strong can impact performance. Ensure you follow the manufacturer’s guidelines for the best results.
If you’re encountering inconsistent foam distribution, inspect the attachment for clogs. Residue from previous solutions can obstruct the nozzle. Regular cleaning is key; a simple rinse with warm water can often resolve this issue.
For those moments when foam isn’t being applied at all, double-check the connection between the solution container and the machine. A loose or damaged connection can disrupt the flow. Additionally, ensure the container is filled properly, as an empty or nearly empty tank will not produce foam.
In cases where foam is too watery, assess the pressure settings on your device. High pressure may cause the mixture to disperse too quickly, leading to a less effective cleaning solution. Adjust to a lower setting and see if that improves the consistency.
If you’re facing issues with foam drying too quickly, consider the surface temperature. Hot surfaces can evaporate the solution before it has a chance to work. Apply in cooler conditions or wet the surface slightly before application to prolong the foam’s effectiveness.
Should you find that the foam is not covering the area evenly, experiment with different angles during application. A steady, sweeping motion will often yield better coverage than a stationary approach. Also, inspect the nozzle for blockages, as even a small obstruction can lead to uneven application.
Lastly, if all else fails, consult the manufacturer’s manual for troubleshooting tips specific to your model. If you’re still in doubt, I recommend checking sources like are digital cameras and scanners input or output devices for additional insights.



.jpg)


