


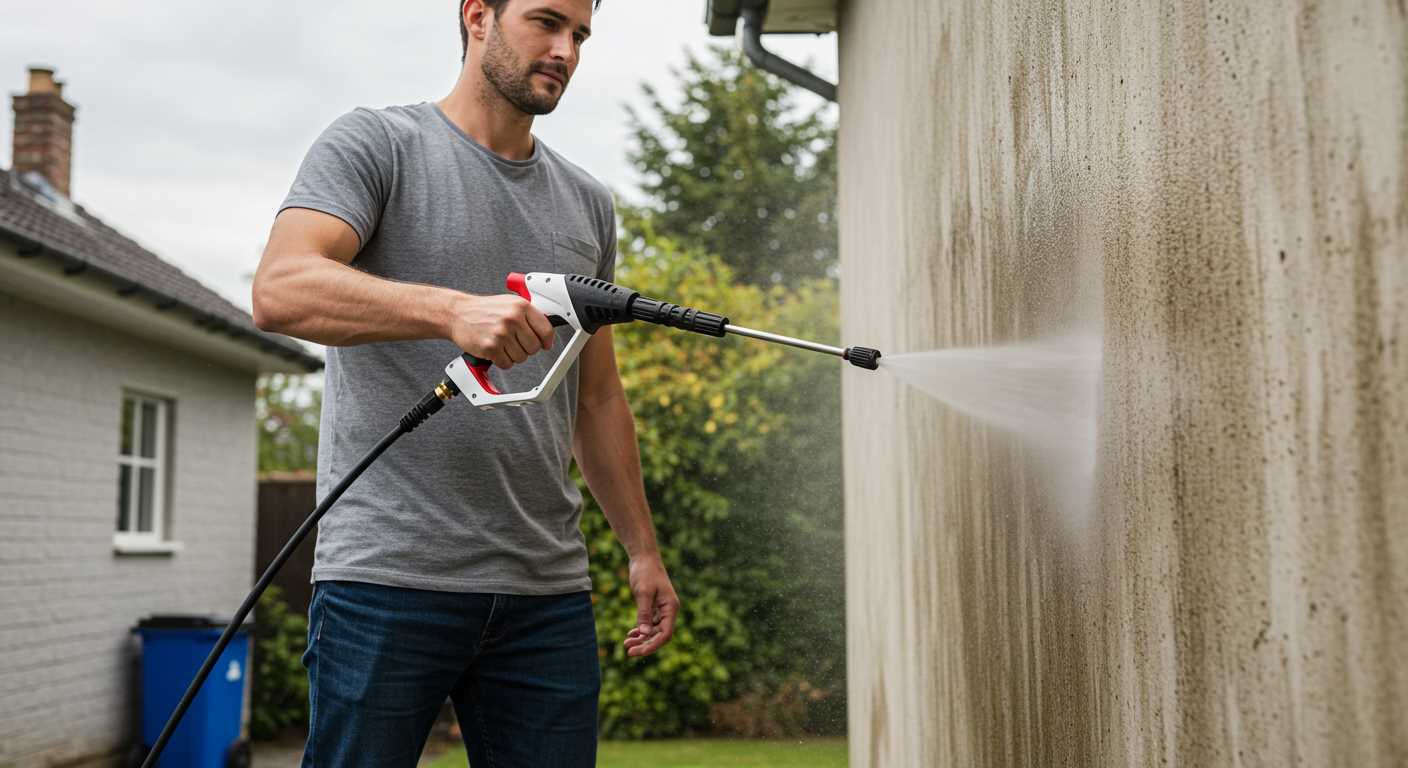
To achieve optimal results on hard surfaces, setting the right pressure and using the appropriate nozzle is key. In my experience, a fan nozzle typically provides a broader spray, making it ideal for larger areas, while a narrow nozzle focuses the force, perfect for stubborn stains. Adjusting the pressure settings can also make a difference; lower settings are effective for delicate materials, while higher settings tackle grime with ease.
Before you begin, ensure the surface is free from loose debris. I often recommend a quick sweep or rinse to avoid scratching. When applying the cleaning solution, allow it to sit for a few minutes to penetrate the dirt. This step significantly enhances the cleaning process, especially for porous materials that tend to absorb grime.

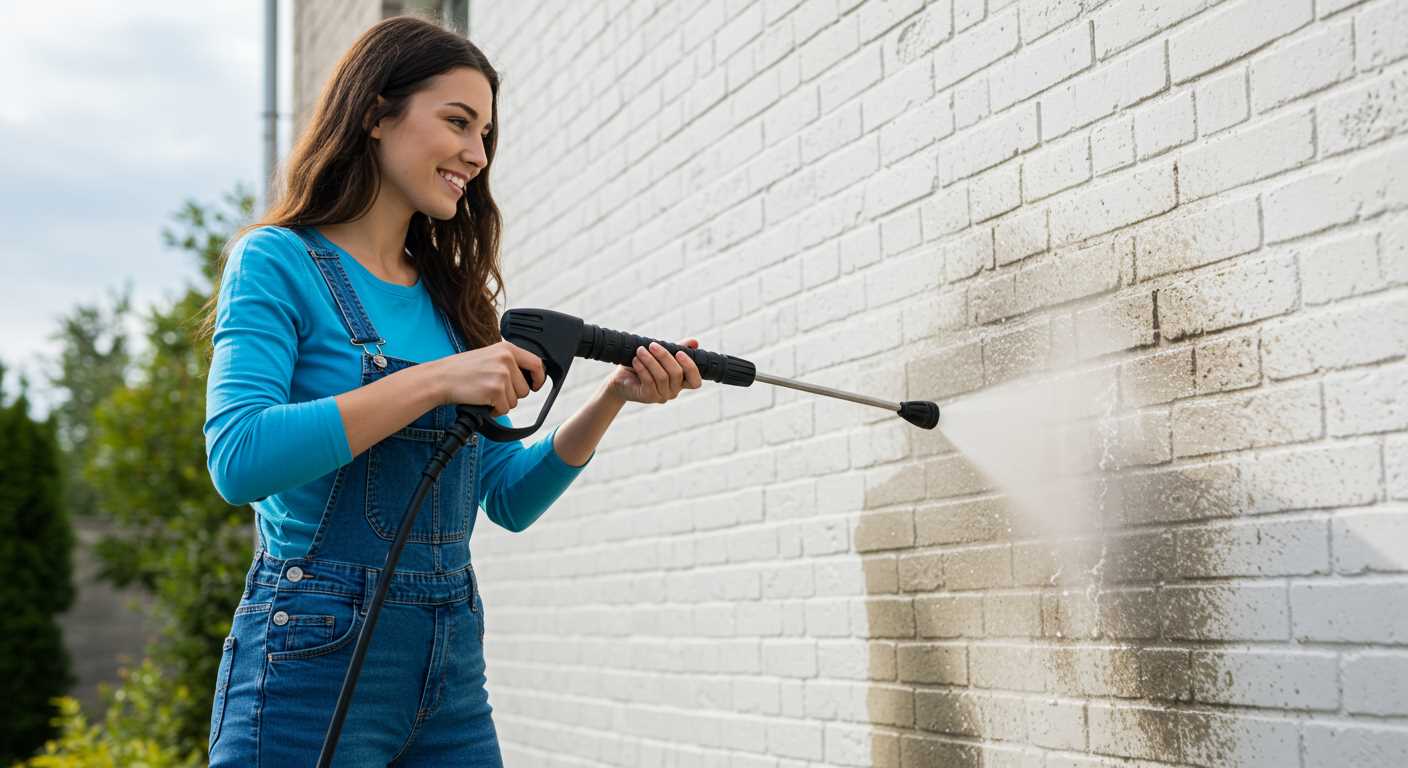
As you work, maintain a steady distance from the surface to prevent damage. A distance of around 30 centimetres usually works well for most materials. I’ve seen firsthand how proper technique can save time and achieve a pristine finish. Finally, rinse the area thoroughly after cleaning to remove any residual cleaning agents, ensuring the surface is left spotless.
How to apply Karcher pressure cleaning solution for surfaces

Start with the right nozzle. I recommend a wide-angle nozzle; it covers more area and reduces the risk of damaging the surface. Make sure to adjust the pressure setting according to the material you are cleaning. For delicate surfaces, a lower setting works best.
Before applying the cleaning solution, wet the surface lightly to prevent the cleaner from drying too quickly. This ensures that it penetrates effectively. Pour the recommended amount of cleaner into the detergent tank, following the guidelines provided by the manufacturer. You want to ensure a good mix without making the solution too concentrated.
Application technique
Begin by spraying the solution from a distance of about 30 cm, moving in a consistent, sweeping motion. This method covers the entire area evenly, allowing the cleaner to penetrate dirt and grime effectively. If you encounter stubborn stains, apply the solution directly to those spots and let it sit for a few minutes before rinsing.
Rinsing off
After allowing the cleaner to work its magic, switch to a rinsing nozzle. Start at the top of the surface and work your way down, ensuring all soap residue is thoroughly washed away. This step is crucial; any leftover cleaner can attract dirt more quickly. Pay special attention to corners and edges, where residue often accumulates.
Once finished, check the surface for any missed spots or stubborn stains. Repeat the process if necessary, adjusting the pressure or nozzle as needed. In my experience, patience and attention to detail yield the best results, leaving your surfaces looking fresh and revitalised.
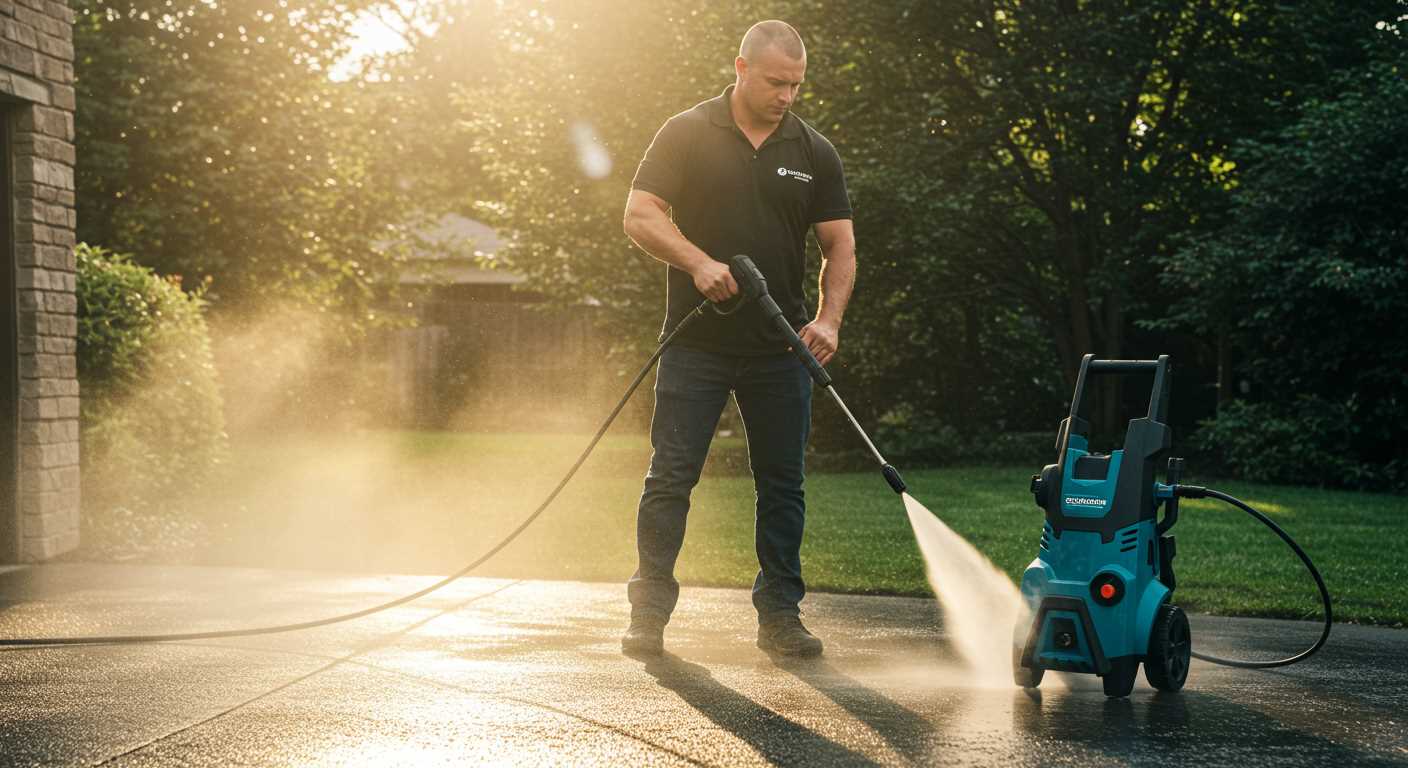
Choosing the Right Karcher Pressure Washer Model
Opt for a model with a power rating between 1200 to 2000 PSI for most domestic tasks. I recall a time when I opted for a 1500 PSI unit; it handled everything from patio cleaning to vehicle rinsing without issue. Each model serves different purposes, so assess your specific needs first.
For hard surfaces like driveways or decks, a unit with a higher flow rate is beneficial. My friend once struggled with a lower flow model on his concrete patio. Upgrading to one with a higher gallon-per-minute (GPM) rating made a noticeable difference. It’s all about matching pressure with the right flow for efficiency.
Consider the weight and portability of the machine. If you plan on moving it frequently, a lighter model with wheels is ideal. I remember lugging a heavy unit around my garden; it quickly became tedious. A compact model can save you both effort and time.
Don’t overlook the versatility offered by interchangeable nozzles. I once had a model with a quick-connect feature that allowed me to switch from a narrow jet for stubborn grime to a wide spray for gentle washing in seconds. That flexibility is invaluable for tackling various cleaning tasks.
Additionally, think about storage and maintenance. Models with onboard storage for accessories and a removable detergent tank simplify the cleaning process. Investing in a unit with easy maintenance features can save you from headaches down the line. I experienced issues with a model that required constant disassembly for cleaning; it was a hassle I wish I had avoided.
Finally, read reviews and user experiences. I found that personal stories often highlight strengths and weaknesses that specifications might miss. A model that works well for someone else might not suit your needs, so take the time to gather insights from various sources before making your decision.
Preparing the Surface for Cleaning with Stone Cleaner
Before initiating the cleaning process, ensure the area is adequately prepped for optimal results. Begin by clearing the surface of any loose debris, such as leaves, dirt, and small stones. This prevents larger particles from scratching the surface during the cleaning.
- Use a broom or a blower to gather and remove all loose material.
- Inspect for any large objects or furniture that may obstruct the cleaning process. Move these items aside.
Next, check for any visible stains or heavy grime. These areas may require pre-treatment with a suitable cleaning solution. Apply the product and allow it to sit for the recommended time to break down tough stains.
- Apply the pre-treatment solution to stained areas.
- Let it sit for the duration specified on the product label.
After pre-treatment, it’s wise to rinse the surface lightly with water. This helps to remove any loose residues and ensures the cleaner will work effectively once applied.
- Utilise a standard hose to rinse off the treated areas.
- Ensure that the surface is damp but not overly saturated.
Lastly, assess the surrounding area. Ensure that plants, vehicles, or other items are protected from potential overspray. Cover delicate plants with tarps or plastic sheets to prevent damage.
Being thorough in your preparation will significantly enhance the effectiveness of the cleaning process, providing a spotless finish to your surfaces.
Mixing and Applying the Stone Cleaner Solution
For optimal results, blend the cleaner according to the manufacturer’s instructions, typically a ratio of 1 part solution to 4 parts water. Always start by pouring the recommended amount of the cleaner into a clean bucket, then add water while stirring gently to avoid excessive foam. This mixture should be consistent, resembling a thin syrup rather than a thick paste.
Once the solution is ready, you can transfer it into your foam cannon. If you’re using a foam cannon for ryobi electric pressure washer, ensure that the mixture fills the chamber adequately but does not overflow. Adjust the nozzle to achieve the desired spray pattern–typically a fan shape works best for even coverage.
Before application, test a small section of the surface to ensure compatibility with the cleaner. When you’re ready, apply the solution from a distance of about 30 cm, moving in a sweeping motion to cover the area without saturating it excessively. Allow the cleaner to sit for the time recommended on the product label, usually around 5-10 minutes, to penetrate stains and grime effectively.
After the dwell time, rinse thoroughly using clean water. It’s advisable to maintain a distance of at least 30 cm while rinsing to prevent any damage to the surface. This approach guarantees that the cleaner is effectively washed away and the surface remains intact.
Using the Equipment for Optimal Results
For maximum performance, maintain a consistent distance of approximately 30-40 cm from the surface being treated. This helps prevent damage while ensuring thorough removal of grime. I recall a time when I got too close, resulting in a pitted surface that took weeks to rectify. Keep your angle steady–aim for a 45-degree tilt to allow the cleaning solution to penetrate effectively.
Timing Matters
Clean during the cooler parts of the day, as direct sunlight can cause the cleaning solution to dry too quickly. I’ve often found that early mornings or late afternoons yield the best results. Allocate ample time for the entire process; rushing can lead to uneven cleaning or missed spots. I learned this the hard way after a hurried session left my patio looking patchy.
Post-Cleaning Care
After rinsing, allow the surface to dry completely before applying any sealants or protective coatings. This step is vital to ensure longevity. A personal anecdote: after a meticulous clean, I was eager to seal the surface without waiting. The result? The sealant trapped moisture, leading to unsightly blemishes. Always wait for that surface to breathe!
Regular maintenance is key. A quick rinse every few months can prevent the buildup of dirt and grime. Trust me, it’s far easier to maintain than to restore. Keep a checklist of your cleaning routines to track when each surface was last treated, ensuring consistent upkeep.
Post-Cleaning Maintenance and Care for Stone Surfaces
After achieving a pristine finish on your hardscapes, take immediate steps to preserve that clean look. Begin by rinsing the surfaces with clean water to remove any residual cleaning solution. This is crucial to prevent any potential damage or discolouration from leftover chemicals.
Next, inspect the area for any signs of wear or cracks. Addressing these issues promptly can prevent further degradation. For minor cracks, consider using a suitable filler that matches the stone colour. This will help maintain the aesthetic integrity of the surface.
Regular sealing of your surfaces is highly recommended. Depending on the type of stone and environmental exposure, a good quality sealant can protect against stains and weathering. Generally, re-sealing every 1-3 years is advisable, but always follow the manufacturer’s guidance.
Incorporate a routine cleaning schedule. Even after a thorough wash, dirt and organic growth can return. A gentle scrub with a soft-bristle brush and mild detergent will aid in keeping the surfaces looking fresh, especially in high-traffic areas.
Consider using a best air scrubber for rent for those tough jobs. These machines can effectively remove deep-seated dirt and debris, ensuring your surfaces remain in excellent condition.
Finally, watch for seasonal changes. In colder climates, freezing temperatures can cause stone to crack. Use a snow shovel rather than sharp tools to clear snow, and avoid using salt, which can be corrosive. Keeping an eye on weather conditions will help you maintain the longevity of your outdoor spaces.
| Action | Frequency |
|---|---|
| Rinse with clean water | After each cleaning |
| Inspect for cracks | Monthly |
| Re-seal | 1-3 years |
| Routine cleaning | Monthly |
| Seasonal care checks | Before winter |
.jpg)


