


To achieve remarkable results with a high-pressure cleaner, ensure you select the right nozzle for your specific cleaning task. Each nozzle type has a distinct spray pattern, enabling you to tackle everything from delicate surfaces to stubborn grime. For instance, a narrow jet nozzle is perfect for those tough, caked-on stains, while a wider fan nozzle is ideal for rinsing off loose dirt without risking damage.
Before starting, always check the connection of the hose and the detergent tank. I’ve encountered too many situations where a loose connection led to frustrating leaks. A simple twist to tighten can save you time and hassle. Additionally, remember to use appropriate cleaning solutions designed for your equipment. Generic cleaners can lead to damage and void warranties.
As you operate the machine, maintain a consistent distance from the surface being cleaned. Getting too close can cause damage, while being too far may result in ineffective cleaning. I recommend starting at a distance of about 30 centimetres and adjusting as necessary while observing the results. This approach has consistently provided me with excellent outcomes.

For those hard-to-reach areas, consider using an extension lance. My own experience has shown that this tool can make a significant difference, especially when cleaning high walls or difficult angles. It allows you to maintain the same effective distance from the surface while keeping yourself safe and comfortable.
Finally, always remember to rinse thoroughly after applying any cleaning solution. Residue can attract dirt and lead to quicker re-soiling. After a thorough rinse, take a moment to inspect your work. If you see any spots that need extra attention, don’t hesitate to give them a quick touch-up. Trust me, the satisfaction of a job well done is worth the extra effort.
Optimising Your Cleaning Routine
For effective cleaning, begin by ensuring your equipment is properly assembled. Secure the hose to the unit and attach the nozzle suited for your task. In my experience, a fan spray nozzle works wonders for larger surfaces, while a pinpoint nozzle targets stubborn stains. Always check the detergent tank; if you’re tackling heavy grime, a suitable cleaning solution can enhance results significantly.
Right Techniques for Different Surfaces
Adjust the distance between the nozzle and the surface. Closer for tough stains on concrete, further away for delicate surfaces like wood. I once made the mistake of using high pressure on decking, which led to unwanted damage. A gradual approach with a wider spray pattern can save you from costly repairs.
Safety Precautions
Wearing protective gear is non-negotiable. Goggles and sturdy footwear protect against debris and slipping. Ensure the area is clear of obstacles and people. I’ve witnessed too many accidents simply because someone overlooked these basic precautions. After completing the task, clean the unit thoroughly to prolong its lifespan.
| Task | Nozzle Type | Distance |
|---|---|---|
| Driveway Cleaning | Fan Spray | 30cm |
| Decking | Wide Spray | 50cm |
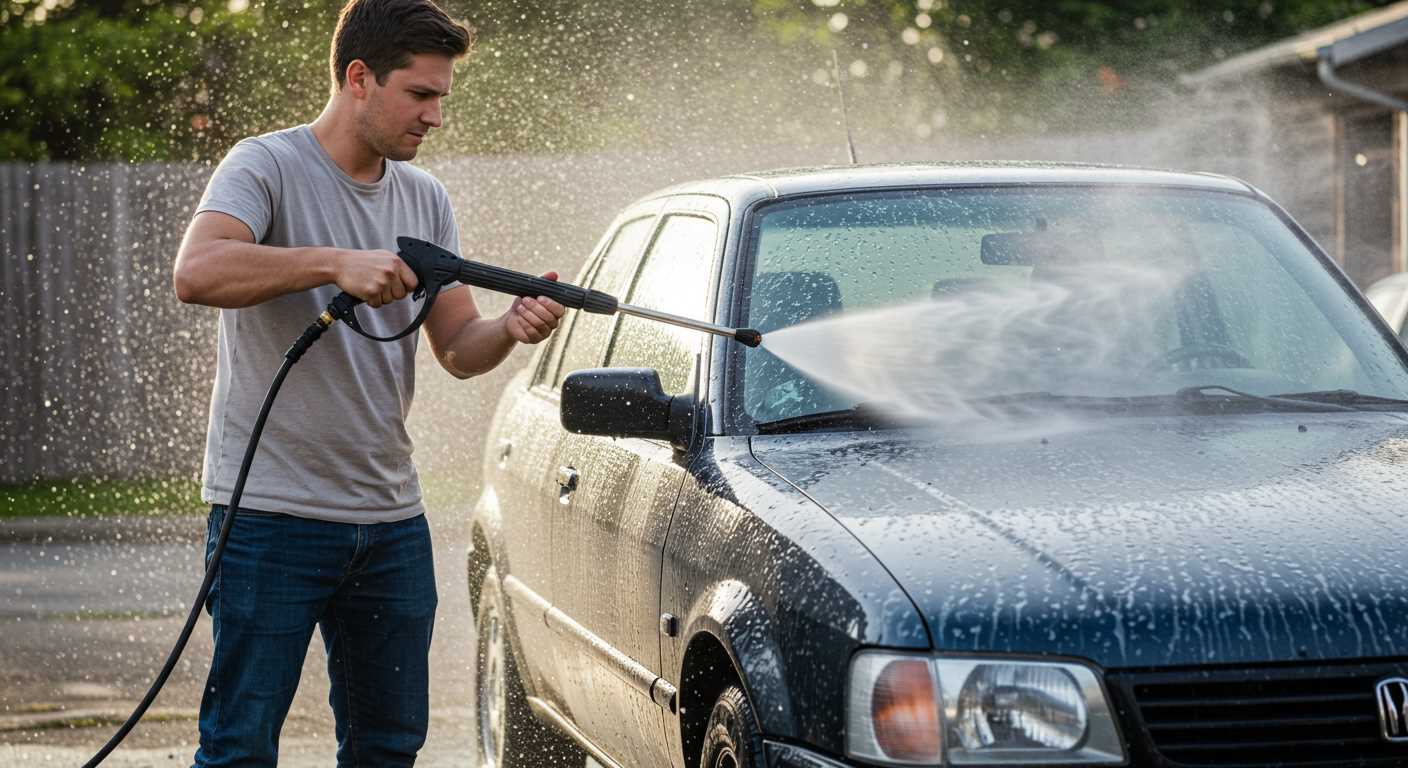
| Car Wash | Pinpoint | 20cm |
After mastering the basics, consider integrating additional tools. For instance, combining your cleaning setup with the best air scrubber for asbestos can enhance your cleaning routine, especially in more complex situations. Remember, technique and safety go hand in hand for optimal results.
Choosing the Right Karcher Model for Your Needs
For anyone considering a cleaning machine, selecting the correct model can make a world of difference. I’ve spent years testing various machines, and here’s what I’ve learned.
Assess Your Cleaning Tasks
First, identify the specific tasks you want to tackle. If your goal is to clean car exteriors or patio furniture, a compact model with lower pressure might suffice. However, for heavier jobs like tackling grime on driveways, a more powerful unit with adjustable pressure settings is advisable. The versatility of an adjustable model allows you to switch between tasks without damaging surfaces.
Consider Portability and Storage
Portability can be a game changer. If you plan on moving the unit around your property or storing it in a small space, look for lighter models with built-in wheels. I once had a model that was too bulky to manoeuvre easily, which made routine tasks tedious. Choosing a compact design can save you time and effort.
Don’t overlook accessories. Some models come with a range of attachments for different tasks, such as rotating brushes or detergent tanks. Investing in a model with these extras can enhance your cleaning experience significantly.
Lastly, consider your budget. While it might be tempting to opt for the cheapest option, remember that quality often correlates with durability. I’ve seen cheaper models break down after just a few uses, while higher-end variants can last for years with proper care. Invest wisely for the best long-term results.
Setting Up Your Karcher Pressure Washer
First, ensure that your machine is on a stable, flat surface. This prevents any accidental tipping during operation. It’s wise to position the unit near a water source to minimise hose length and avoid kinks. Next, connect the garden hose to the inlet. Always check for any leaks before proceeding.
Attach the high-pressure hose to the trigger gun. Ensure it clicks securely into place; a loose connection can lead to water spraying unexpectedly. Once that’s done, select the appropriate nozzle for your task. If you’re cleaning a delicate surface, opt for a wider spray pattern. For tough stains, a narrower jet will do the job better.
Before turning on the machine, make sure the water supply is fully open. Engage the trigger on the gun to release air from the system, which helps to prevent any damage when the motor starts. After this, plug in the unit and switch it on. You’ll hear the motor kick in, and you’re ready to tackle your cleaning tasks.
As a tip, always keep an eye on the water level in your source. Running the unit without adequate water can lead to overheating. In my experience, a quick check before starting saves a lot of hassle later.
Lastly, after finishing, disconnect the hoses and allow the machine to cool down. Store it in a dry place to prolong its lifespan. Regular maintenance checks, like cleaning filters and inspecting hoses for wear, will keep your equipment in top shape. Happy cleaning!
Understanding the Pressure Settings and Nozzle Types
Adjusting pressure settings is vital for achieving the best results while cleaning. Most models allow you to set the pressure according to the surface you’re tackling. For delicate surfaces like car paint or wooden decks, keep the pressure low, around 1000-1500 PSI. For tougher jobs, such as concrete driveways, you can ramp it up to 3000 PSI or more. Always start with the lowest setting and gradually increase as needed. This approach prevents damage and optimises cleaning efficiency.
The choice of nozzle significantly influences the cleaning process. Nozzles are typically colour-coded for easy identification: red (0 degrees), yellow (15 degrees), green (25 degrees), and white (40 degrees). The red nozzle delivers a concentrated stream perfect for stubborn stains but can be too harsh for softer materials. The yellow and green nozzles are versatile for most cleaning tasks, while the white nozzle is ideal for rinsing and gentle cleaning.
In my experience, I’ve often preferred the green nozzle for general cleaning around the house. It strikes a balance between power and safety, making it suitable for various surfaces without the risk of causing damage. Always keep a few different nozzles on hand to switch based on the task at hand.
One memorable job involved cleaning a heavily soiled patio. I started with the yellow nozzle at a higher pressure, which removed the stubborn grime effectively. However, I switched to the green nozzle to finish off, ensuring I didn’t damage the stone. This combination made a significant difference, and the results were impressive.
Lastly, remember to check your equipment’s manual for specific pressure recommendations and nozzle compatibility. Each model may have unique features, and adhering to these guidelines will enhance your cleaning experience. Getting familiar with these settings and nozzle types will undoubtedly improve your cleaning efficiency and effectiveness.
Preparing the Surface for Cleaning
Begin by thoroughly clearing the area of any loose debris, such as leaves or dirt, to ensure an unobstructed cleaning process. I recall a time when I overlooked this step; the results were less than satisfactory. Removing these elements not only improves the efficiency of the equipment but also prevents potential damage during the cleaning procedure.
Inspect for Damage
Before proceeding, examine the surface for cracks or loose materials. For instance, I once encountered a patio with several loose tiles. Ignoring this led to further damage as the force of the water dislodged them completely. Address any repairs needed prior to using the machine to avoid worsening the situation.
Pre-Treatment of Stains
For stubborn stains, consider applying a suitable pre-treatment solution. In my experience, a simple mixture of water and vinegar can work wonders on oil stains. Let it sit for a few minutes to break down the grime before the main cleaning process begins. This preparation significantly enhances the outcome, making the entire task more effective.
Connecting and Using Detergents
For optimal cleaning results, mixing and applying detergent correctly is key. First, ensure your detergent is compatible with the equipment. Most manufacturers provide specific recommendations, so check those before proceeding.
Attachment and Mixing
To attach the detergent container, look for the specific inlet on your device. It’s often marked clearly. If you’re using a separate bottle, pour the concentrated solution into the container, then dilute it with water as per the instructions. A common ratio is one part detergent to four parts water, but this can vary based on the product.

Application Techniques
Start by applying the detergent at low pressure. This allows for even coverage without splattering. Move in a consistent pattern, ensuring every area is treated. After letting the detergent sit for the recommended time–typically five to ten minutes–rinse it off at a higher pressure for the best results. If you’re cleaning vehicles, consider using a car wash brush for pressure washer to agitate the soap and remove grime more effectively.
Demonstrating Proper Cleaning Techniques
For optimal results, always maintain a distance of around 30 to 40 cm from the surface being cleaned. This prevents damage while still delivering effective cleaning power. I recall a day when I got a little too close to a wooden deck. The wood splintered, which was a great lesson on the importance of distance.
Angle Matters
Adjust the angle of the nozzle to match the surface. For vertical surfaces like walls or fences, a slight downward angle helps the water flow effectively, washing dirt away without pooling. I once tackled an old brick wall where I underestimated the angle. The debris just splattered everywhere, making the job twice as hard. A 45-degree angle often works wonders on flat surfaces, directing the water where it’s needed most.
Technique is Key
Use a sweeping motion rather than a static spray. Start from the top and work your way down. This method prevents streaks and ensures that all dirt is washed away. I remember cleaning a driveway and, instead of moving the nozzle side to side, I focused on a single spot too long. It ended up looking patchy and required a second pass. Keep the nozzle in motion for an even finish.
Maintaining Safe Distances While Operating
Always maintain a distance of at least 2 to 3 feet from the surface you’re cleaning. This helps prevent damage and ensures your safety from the high-velocity spray. I recall a time when I got a bit too close to a wooden deck. The force stripped away more than just dirt; it damaged the wood’s surface, which required extensive repair.
Recommended Distances for Various Surfaces
- Concrete: 2 feet is adequate to remove grime without causing surface damage.
- Wood: Stay at least 3 feet away to avoid splintering or gouging.
- Vehicles: Maintain a safe distance of 3 to 4 feet to prevent paint damage.
- Glass: Keep at least 4 feet distance to avoid shattering or breakage.
Additional Safety Tips
- Always check for loose objects nearby. Debris can be propelled by the water stream.
- Wear protective gear, including goggles and gloves, to shield yourself from flying particles.
- Be mindful of your footing; slippery surfaces can lead to accidents.
- When using detergents, ensure that they are applied from a safe distance to avoid skin contact.
In my experience, keeping the right distance not only protects surfaces but also enhances the cleaning effectiveness. I’ve seen many novices underestimate the power of the spray, leading to costly mistakes. Always err on the side of caution; it pays off in the long run.
Storing and Caring for Your Cleaning Equipment
After each session, it’s crucial to ensure your equipment is properly stored and maintained to prolong its lifespan. Here are my go-to tips based on years of experience:
- Drain Water: Always drain any remaining water from the unit. This prevents freezing and damage during colder months.
- Clean the Filters: Check and clean the water inlet filter regularly. A clogged filter decreases performance and can cause unwanted wear.
- Store in a Dry Place: Keep your unit in a dry, sheltered area. Moisture can lead to rust and electrical issues.
- Protect the Hoses: Coil hoses neatly and avoid kinks. Use hose reels or hangers to prevent damage and tangling.
- Regular Inspections: Periodically check for leaks, cracks, or wear in hoses and connections. Early detection can save on costly repairs.
- Use Appropriate Detergents: If detergents were used, ensure that the system is rinsed thoroughly to avoid residue build-up that can cause clogs.
- Service Regularly: Schedule professional servicing annually. This keeps everything in optimal condition and catches potential issues before they escalate.
In my experience, neglecting these maintenance tasks leads to frustrating performance issues later on. I’ve seen many individuals face problems simply because they didn’t take a few moments to care for their equipment after use. Trust me, a little effort goes a long way in ensuring your gear remains reliable for years to come.
Troubleshooting Common Issues During Use
If you notice a lack of pressure while operating the machine, first check the water supply. Ensure the hose is connected properly and there are no kinks obstructing the flow. I once had a client who faced this issue; it turned out their garden tap was partially turned off. Once fixed, the pressure returned to normal.
No Water Flow
A no-water situation might stem from a blocked inlet filter. Regularly inspect and clean this filter to prevent clogs. I recall a time when I encountered this in a friend’s unit. A quick clean-out resolved the problem, and they were back to tackling grime without delay.
Electric Motor Issues
If the motor doesn’t start, check the power supply. Ensure it’s plugged in, and the outlet is functional. I once faced a similar situation during a demonstration; the outlet was faulty, not the equipment. Try plugging something else in to verify. If the motor runs but makes unusual noises, it could be a sign of internal wear or damage. In such cases, professional servicing is advisable to avoid further complications.
.jpg)


