
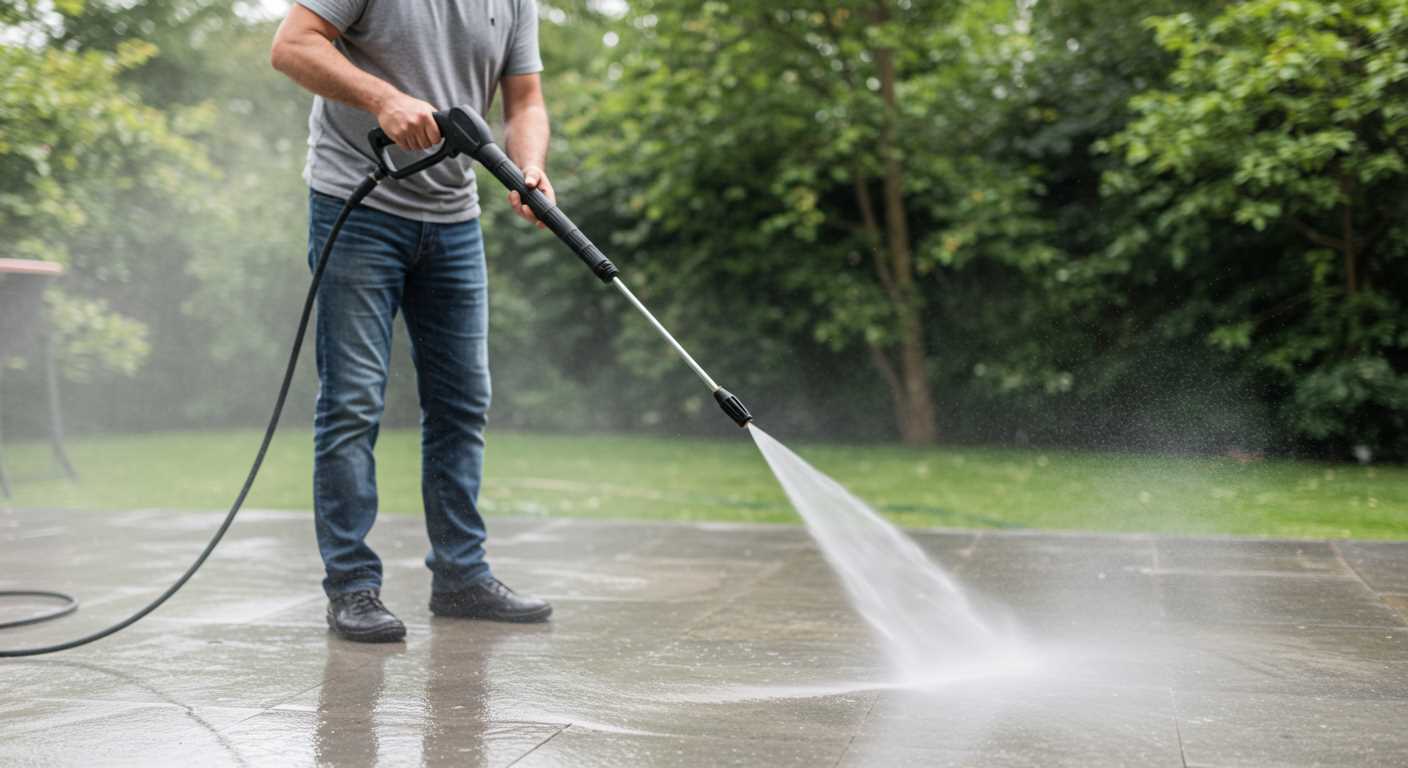


For a powerful clean, ensure your equipment is properly set up before you begin. Attach the correct nozzle based on the surface you’re tackling; the wider angles are ideal for delicate areas, while narrower options tackle tough grime. I’ve learned this the hard way–using a strong jet on a wooden deck left me with more than just a clean surface; it caused damage that took time and effort to repair.
Fill the tank with water and check for any leaks in the hose connections. I once skipped this step, only to find myself drenched mid-task when a connection gave way. It’s an easy oversight, but a crucial one that can save you from a messy situation.
Adjust the pressure settings according to the task at hand. I’ve found that starting with a lower pressure and gradually increasing it allows for better control, especially on more vulnerable surfaces. This approach not only protects your property but also extends the lifespan of your apparatus.

Maintain a steady distance from the surface while cleaning. Getting too close can lead to damage, while standing too far away decreases cleaning effectiveness. I prefer to keep about a foot away for most tasks and adjust as necessary based on the results I see.
Finally, after completing your cleaning session, don’t forget to flush the system with clean water. This simple act can prevent the build-up of detergent residues, ensuring your machine remains in prime condition for future tasks. I’ve made it a routine, and it’s paid off in the long run.
Using the Muc Off Cleaning Device
Before you start, ensure the unit is placed on a stable surface. Connect the water supply securely. I’ve seen too many people rush this step, only to end up with leaks. A tight connection can save you a lot of hassle.
Next, attach the nozzle. Each one offers a different spray pattern. For delicate surfaces like bikes or cars, opt for a wide fan spray. I once made the mistake of using a narrow jet on my bike frame, which caused some minor scratches. Avoid that! Test the spray pattern on a small area first.
Turn on the water supply, then power up the machine. Always check for any unusual noises. If it sounds off, turn it off immediately. I’ve had machines that made odd sounds–turns out, they weren’t primed correctly.
Now, if you’re cleaning a bike, start from the top and work your way down. This method prevents dirt from dripping onto clean areas. I remember a time when I ignored this and ended up doing double the work. It’s a simple tip that saves time.
After rinsing, apply the cleaning solution. Some people skip this part, thinking water alone is enough. Trust me, a good detergent can make a world of difference. It lifts grime without excessive scrubbing. Let it sit for a few minutes, then rinse thoroughly.
Once you’re done, turn off the machine and disconnect the hoses. Don’t forget to drain any leftover water to prevent damage during storage. I’ve learned the hard way that neglecting this can lead to frozen components in colder months.
Finally, store everything neatly. Keep the nozzles and hoses tidy to avoid tangling. After years of experience, I can assure you that a well-maintained device not only lasts longer but also performs better. Take that extra moment to care for it; it pays off in the long run.
Understanding Muc Off Pressure Washer Features
Familiarity with the functionalities of this cleaning device can significantly enhance your experience. One standout characteristic is the adjustable pressure settings, allowing you to switch between various intensities. For instance, while tackling delicate surfaces like car paint, a lower setting prevents damage. Conversely, for stubborn grime on driveways, ramping up the pressure efficiently removes dirt.
Detergent Integration
The integrated detergent system is another feature worth noting. It allows for easy application of cleaning solutions. I’ve found that pre-soaking surfaces with the right cleaner optimises results. Just ensure you choose a compatible detergent to avoid any compatibility issues.
Portability and Design
Portability is a significant aspect of this model. The compact design and included wheels make manoeuvring easy, even on uneven surfaces. I remember a time when I had to clean my patio; the lightweight build made transporting it from the garage to the backyard a breeze.
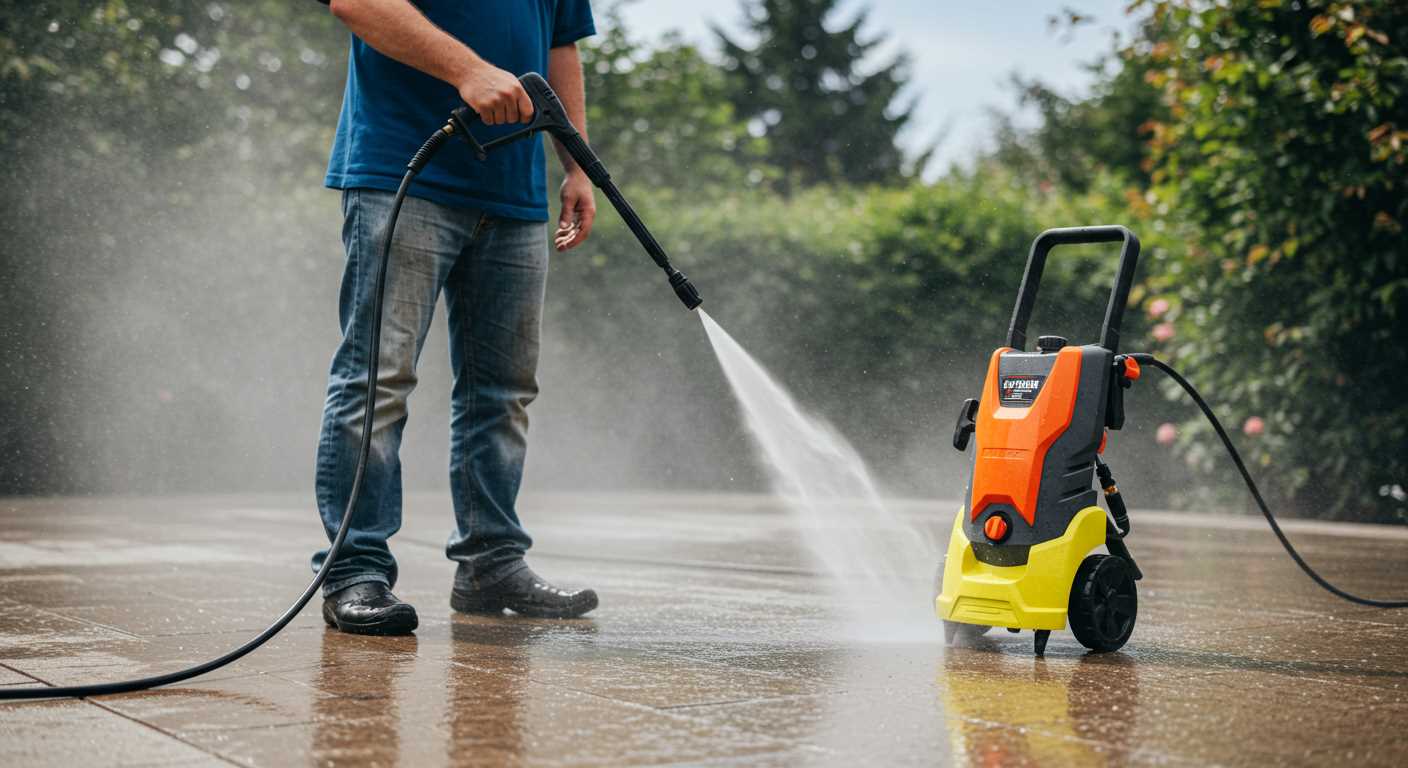
Setting Up Your Muc Off Pressure Washer
Begin by selecting a suitable location for your machine. Ensure the area is level and free from any debris that could obstruct operation. Ideally, set it up near an outdoor water source to minimise hose length.
Next, assemble the unit according to the manufacturer’s instructions. Here’s a straightforward checklist:
- Attach the handle to the base securely.
- Connect the spray wand to the trigger gun.
- Ensure all connections are tight to prevent leaks.
Now, it’s time to connect the water supply. Follow these steps:
- Locate the water inlet on the machine.
- Attach a suitable garden hose to the inlet. Ensure the hose is free from kinks.
- Turn on the water supply to fill the system.
- Check for leaks around the connections.
Once the water supply is established, plug the unit into a power source. I recommend using a GFCI outlet for safety. Test the outlet with a multimeter if you have concerns about grounding.
Before starting, it’s beneficial to select the appropriate nozzle for your task. Different nozzles can significantly affect performance:
- 15-degree nozzle: Great for heavy-duty cleaning.
- 25-degree nozzle: Suitable for general cleaning.
- 40-degree nozzle: Ideal for delicate surfaces.
After selecting the nozzle, pull the trigger to release any air in the system. This ensures a consistent flow during operation. I often find it helpful to keep a cloth handy to wipe any excess water or residue off the machine before commencing work.
Finally, check the detergent tank if you’re planning to use cleaning solutions. Fill it with the recommended cleaner, ensuring it’s diluted as per the instructions. This step is vital for effective cleaning results without damaging surfaces.
Selecting the Right Nozzle for Your Cleaning Task
Choosing the correct nozzle for your cleaning job is pivotal. Each nozzle type serves a specific purpose, and using the wrong one can lead to ineffective results or even damage to surfaces. I recall a time when I mistakenly used a narrow jet nozzle on a delicate surface, resulting in scratches that took hours to rectify.
Types of Nozzles
The most common nozzles include the 0-degree, 15-degree, 25-degree, and 40-degree options. The 0-degree nozzle delivers a concentrated stream, perfect for tough grime on concrete. The 15-degree option is great for stripping paint, while the 25-degree is versatile for general cleaning tasks. The 40-degree nozzle disperses water widely, suitable for softer surfaces like cars and windows.
Choosing Based on Surface
Assessing the surface type is crucial. For instance, when cleaning your driveway, a 25-degree nozzle works wonders, but for washing your vehicle, I strongly recommend the 40-degree nozzle to prevent damage. Always test a small area first to ensure compatibility. For those looking for additional assistance with garden tools, consider checking out the best cordless garden vacuum and blower for efficient outdoor cleaning.
Preparing the Surface for Pressure Washing
Ensure the area is clear of any obstacles. Remove furniture, potted plants, and other items that might get in the way. This not only protects your belongings but also allows for a thorough cleaning.
Inspect the surface for any loose debris or dirt. Sweep or rake away leaves, dust, and any other loose material. For stubborn grime, consider using a mold and mildew remover for pressure washer before starting the wash. This makes the following steps much easier and more effective.
Assess the Surface Condition
- Check for cracks or damage in the surface. Repair any holes or fissures to prevent water from seeping into unwanted areas.
- For wooden surfaces, look for splinters or rotting wood. Address these issues to avoid further damage during cleaning.
- For concrete or brick, inspect for stains or oil spots that may need pre-treatment.
Safety First
- Wear appropriate safety gear, including gloves and goggles, to protect yourself from debris and cleaning solutions.
- Ensure any electrical outlets or appliances in the vicinity are covered or disconnected to prevent accidents.
Once the area is prepared, you’re ready to start the cleaning process with confidence. Taking these steps will ensure an efficient and safe experience, leading to better results.
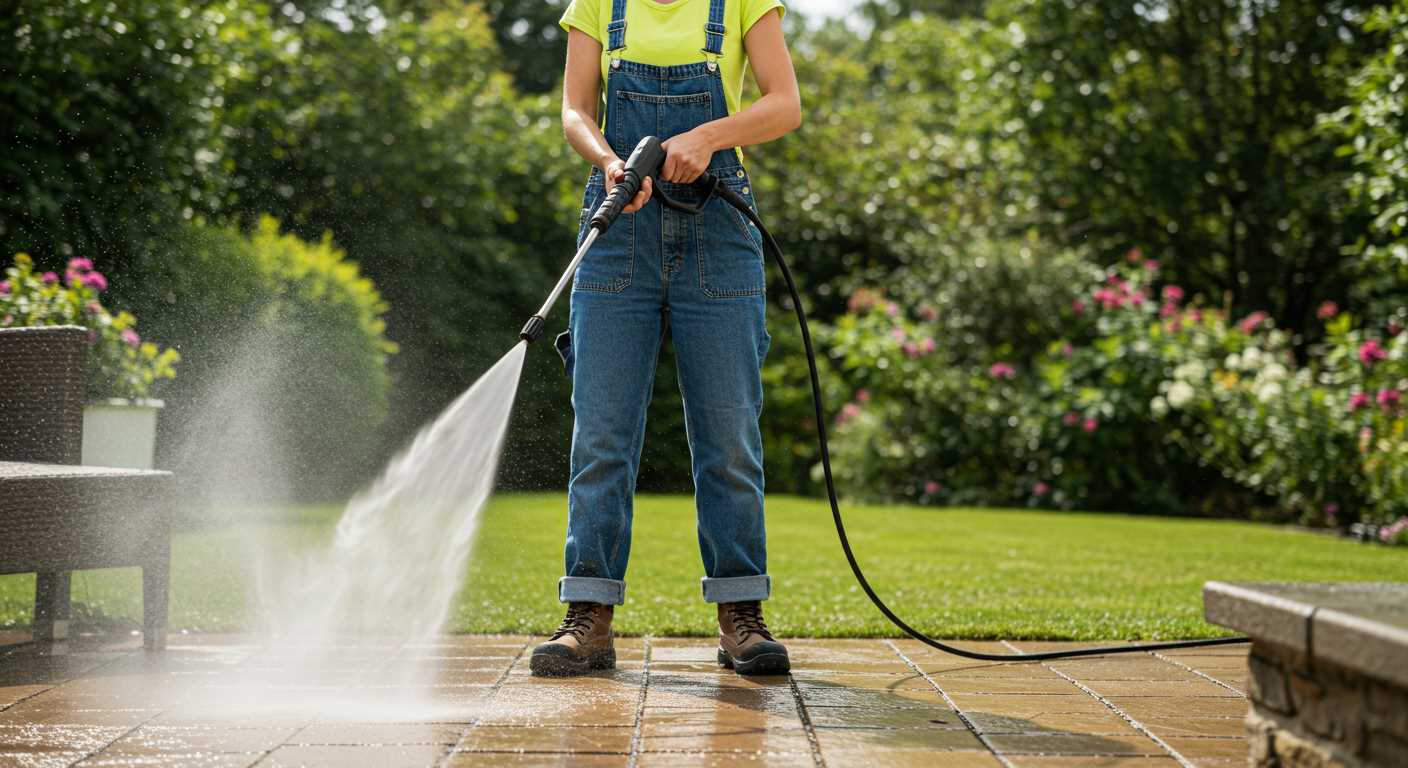
Adjusting Pressure Settings for Different Surfaces
For optimal results, tailoring the pressure settings to suit the surface is crucial. A softer approach is necessary for delicate materials like wood or painted surfaces, while tougher elements like concrete can withstand higher pressures. I remember when I first tackled my garden furniture; I initially set the pressure too high, which led to peeling paint. Lowering it to around 1000 PSI made all the difference without damaging the finish.
Soft Surfaces: Wood and Painted Areas
When dealing with wood or painted surfaces, aim for a pressure range of 800 to 1200 PSI. This prevents stripping away paint or causing splinters. I often recommend using a wide-angle nozzle for these tasks, as it disperses the water more effectively, reducing the risk of damage. A close-up approach can inadvertently lead to unsightly marks or even permanent damage.
Hard Surfaces: Concrete and Brick
Conversely, for concrete and brick, you can crank up the pressure to around 2500 PSI. These surfaces are robust and can handle more force. I recall cleaning my driveway with a narrow nozzle at full pressure; the results were striking, as the grime and stains disappeared swiftly. Just be mindful of the distance; keeping the nozzle about 12 inches away from the surface prevents etching or pitting.
Always test a small, inconspicuous area first, regardless of the surface. Adjusting the pressure settings as needed will ensure you achieve the best possible outcome without causing unintended harm. Experience has taught me that a measured approach, coupled with the right technique, yields impressive results every time.
Utilising Muc Off Cleaning Solutions Effectively
For optimal results, select the right cleaning solution based on the surface and type of grime you encounter. For instance, their bike cleaner works wonders on stubborn road dirt, while the all-purpose cleaner excels on various surfaces, including patios and vehicles.
Mixing Ratios and Application Techniques
Always follow the manufacturer’s recommendations for dilution ratios. A common approach is to use one part cleaner to four parts water for most applications. Apply the solution generously with a spray bottle or a foam applicator for even coverage. Allow it to penetrate for a few minutes before rinsing, which aids in breaking down tough stains.
Specialised Products for Specific Tasks

Utilising specialised solutions can significantly enhance cleaning efficiency. For example, the chain cleaner is designed specifically for bike chains, effectively removing lubricant and dirt without damaging components. Similarly, the wheel cleaner targets brake dust and grime, ensuring your wheels shine. Always test a small area first, especially on delicate surfaces.
In my experience, combining the right solution with proper technique often yields the best results. I recall a time when I tackled a particularly grimy patio. Using the all-purpose cleaner, I applied it liberally, waited a few minutes, and then followed up with a thorough rinse. The transformation was remarkable, and it barely required any scrubbing!
Regular maintenance with appropriate cleaning products can prolong the life of your equipment and surfaces. By integrating these solutions into your routine, you not only keep your items looking their best but also protect them from wear and tear over time.
Tips for Safe Operation of the Pressure Cleaner
Always wear appropriate personal protective equipment (PPE). Eye protection is non-negotiable; I learned this the hard way when a small pebble shot back and nearly hit my eye during a job. Steel-toed boots and gloves are also advisable to shield yourself from debris and the force of the water.
Inspect the equipment before each use. Check for leaks in hoses and connections, ensuring everything is tightly secured. I once had a hose burst mid-operation, causing a mess and a minor injury. Regular maintenance can prevent such mishaps.
Keep a safe distance from fragile surfaces. While testing various models, I discovered that even a low-pressure setting can damage soft materials like wood or painted surfaces. Always start at a distance and move closer if necessary.
Never point the nozzle at yourself or anyone else. I witnessed a colleague accidentally spray himself while adjusting the nozzle. The pressure can cause serious injuries, so always keep the gun pointed away from your body and others.
Be mindful of your surroundings. Watch for electrical outlets, power lines, and other hazards. I’ve had close calls with overhead wires when working in tight spaces. Ensuring a clear and safe area will make your task easier and safer.
Use a sturdy surface to operate on. Setting up on uneven ground can lead to accidents or equipment tipping over. I always seek stable, flat areas to ensure everything stays secure while in action.
Make sure children and pets are at a safe distance. I often remind my family to keep away while I’m working. A curious pet or child can quickly become a distraction and lead to an unsafe situation.
Understand the capabilities of your machine. Each model has its own limitations. During one project, I pushed a cleaner beyond its capacity, resulting in overheating. Always follow the manufacturer’s guidelines for safe operation.
Finally, take breaks and stay hydrated. Pressure cleaning can be physically demanding. I’ve experienced fatigue that affected my focus, so I always take regular breaks to recharge.
Maintenance Practices for Longevity of Your Washer
Regular upkeep is non-negotiable for maximising the lifespan of your cleaning machine. I’ve seen too many units break down prematurely due to neglect. Focus on these key practices to keep your equipment in prime condition.
Routine Cleaning
After each use, rinse off any dirt and debris from the exterior and components. Pay special attention to the nozzle and hose. A quick flush can prevent clogs and ensure optimal performance during your next session.
Check for Wear and Tear
Inspect hoses, fittings, and connectors regularly. Look for signs of cracks, leaks, or fraying. If you notice any damage, replace the affected parts immediately to avoid larger issues down the line.
| Component | Inspection Frequency | Action if Damaged |
|---|---|---|
| Hoses | After each use | Replace if cracked or leaking |
| Nozzle | Every month | Clean or replace if clogged |
| Filters | Every three months | Clean or replace as necessary |
Storing your equipment properly also plays a critical role. Keep it in a dry location, away from extreme temperatures. If you live in a colder climate, consider winterising your unit to prevent freezing damage.
Lastly, consider the manufacturer’s guidelines for maintenance schedules. Following these recommendations can save you from unexpected repairs and extend the life of your cleaning device. Trust me, a little effort now translates to a reliable tool for years to come.
Common Mistakes to Avoid When Using a High-Pressure Cleaning Device
Neglecting to read the manufacturer’s manual before starting can lead to issues. Each model has specific requirements and features that are crucial to understand for optimal operation.
Using an incorrect nozzle can cause damage to surfaces. I once used a narrow nozzle on a wooden deck, resulting in deep gouges. Always select the right attachment for the job to prevent mishaps.
Failing to test the pressure on a small area is a rookie mistake. I learned this the hard way when I damaged a brick patio. Always check how the surface reacts before proceeding with the entire area.
Skipping the surface preparation phase can reduce effectiveness. I remember rushing through a job and ended up with dirt left behind. Clear the area of debris and rinse off loose dirt for better results.
Overestimating the pressure needed for a task can lead to unnecessary wear on the equipment and damage to surfaces. I’ve seen people blast away grime only to strip paint or etch concrete. Use the lowest effective setting.
Not wearing appropriate safety gear is a serious oversight. I’ve had a few close calls with flying debris and chemical splashes. Always equip yourself with goggles, gloves, and sturdy footwear to protect yourself.
Using the cleaning solution incorrectly can hinder performance. I once used too much detergent, leading to a sticky residue. Follow the guidelines for dilution and application to avoid this pitfall.
Lastly, neglecting routine maintenance can shorten the lifespan of your machine. I’ve had devices fail prematurely due to clogged filters and worn hoses. Regular checks and cleanings will keep your equipment running smoothly.
.jpg)


