


For a thorough clean, ensure you always start with the right nozzle. A narrow jet is ideal for tough stains, while a wider spray is best for rinsing surfaces. From my experience, switching nozzles can save time and effort, allowing you to adjust the intensity based on the task at hand.
Preparation is key. Clear the area of obstacles and debris before you begin. This not only prevents accidents but also helps maintain focus on the task. I remember the time I rushed in without clearing the space; it resulted in a frustrating few minutes of backtracking and repositioning.
Water source matters. Connect to a reliable supply, ensuring the hose is free from kinks or blockages. A steady flow is crucial for optimal performance. I once encountered a significant drop in power simply due to a faulty garden tap. A quick check could have saved me a lot of hassle.

Always keep an eye on the pressure settings. Too high can damage surfaces like wood or paint, while too low might not get the job done. Adjusting the pressure can make a significant difference, and I often find myself experimenting a bit to find that sweet spot. Trust me, it’s worth the effort.
Don’t forget about safety gear. Protective eyewear and gloves can prevent injuries from flying debris. I learned this the hard way after a small stone caught me off guard during a particularly vigorous clean. A simple precaution can save you from an avoidable trip to the doctor.
Finally, regular maintenance of your equipment ensures longevity. Cleaning the filter and checking hoses can prevent many common issues. I’ve seen friends neglect this, only to face frustrating breakdowns at the worst possible time. A few minutes of upkeep can extend the life of your investment significantly.
Choosing the Right Nozzle for Your Cleaning Task
For tackling stubborn grime, the 0-degree nozzle delivers a concentrated stream, perfect for tough surfaces like concrete. I recall a time when I faced a particularly dirty patio. Switching to the 0-degree nozzle transformed my efforts from futile scrubbing to an effortless clean.
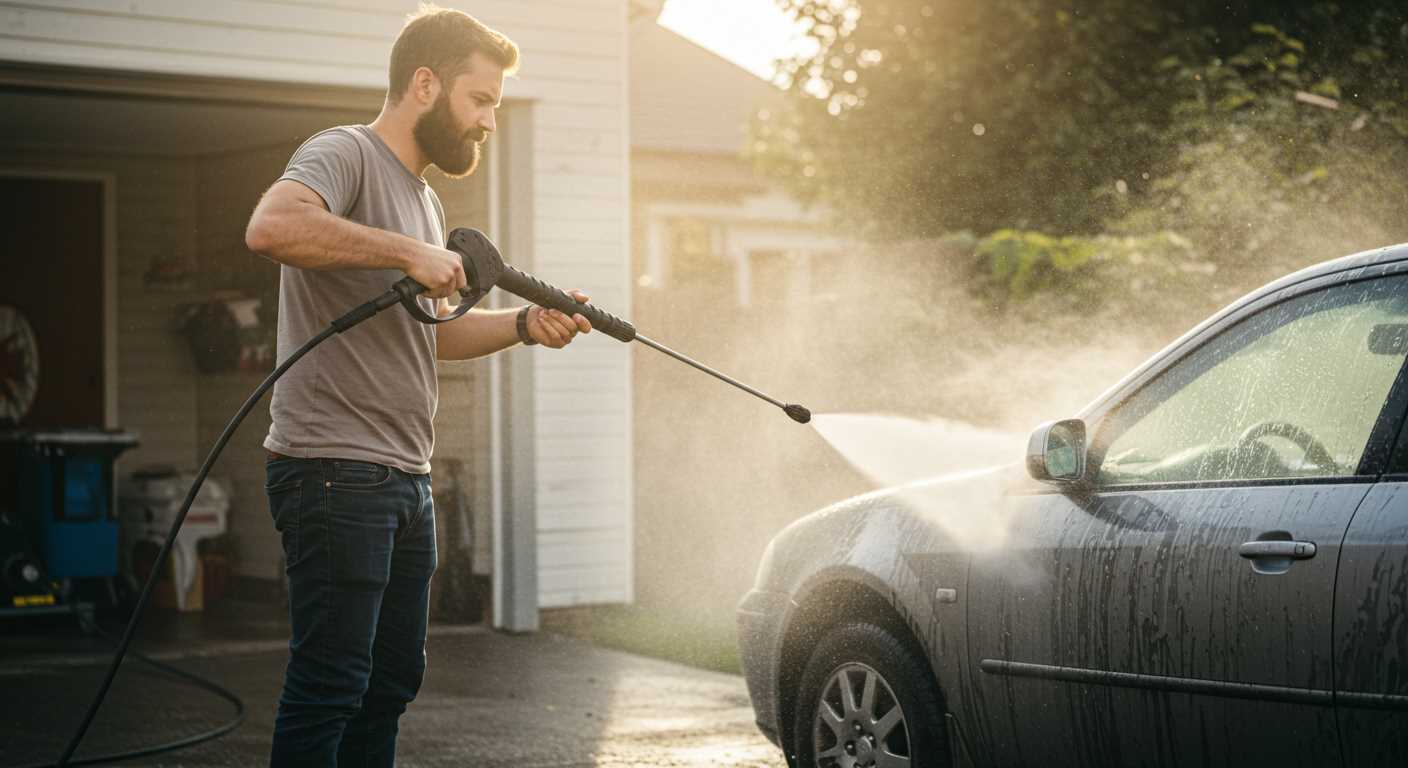
If you need to cover larger areas without excessive force, the 25-degree nozzle is your go-to. It balances power and spread, ideal for washing cars or garden furniture. I often utilise this attachment for routine clean-ups, as it saves time while still being effective.
For delicate surfaces such as painted wood or glass, opt for the 40-degree nozzle. This wide spray is gentle yet efficient, allowing me to clean without damaging the finish. I learned this the hard way when I accidentally chipped the paint on a wooden fence using a more aggressive nozzle.
Adjustable nozzles offer versatility, allowing quick changes between spray patterns. Investing in one has been a game changer for me, accommodating various tasks without needing to swap attachments constantly. It’s like having multiple tools in one.
Always consider the task at hand. Different nozzles serve unique purposes, and selecting the right one makes all the difference in achieving optimal results. Think about the surface, the type of dirt, and how much pressure you want to apply. This approach ensures efficient cleaning while protecting your surfaces.
Preparing Your Surface Before Washing
Clear the area of furniture, planters, and any loose items. I’ve seen too many people overlook this step, only to find their beloved outdoor décor damaged. A clean workspace not only protects your belongings but also allows for optimal cleaning coverage.
Next, inspect the surface for loose debris, dirt, or grime. A simple broom or leaf blower can do wonders here. I recall a time when I skipped this and ended up with muddy splatter on my freshly painted fence. Take the extra few minutes to ensure everything is clear.
If you’re dealing with tough stains like grease or mildew, apply a suitable pre-treatment solution. I’ve had great results with specialised cleaners for concrete and wood. Allow it to sit for the recommended time before rinsing; this makes a significant difference in the final outcome.
Check for any structural issues, such as cracks or peeling paint. Addressing these problems beforehand can prevent further damage during the cleaning process. I remember tackling a patio with several cracks, and the pressure from the stream exacerbated the situation. A little maintenance goes a long way.
Lastly, ensure the area is safe. Look for any electrical outlets, wires, or plants that may be sensitive to water. I once had a close call with a power line while rinsing off a driveway. Always keep safety as a priority.
Connecting the Equipment to a Water Supply
Attach the garden hose to the water inlet on the machine. Ensure you have a hose that is at least 3/4 inch in diameter to maintain optimal water flow. A common mistake is using a smaller diameter hose, which can restrict water supply and affect performance.
Before connecting, inspect the hose for any kinks or leaks. A damaged hose can lead to reduced water pressure and may even cause the unit to overheat. I recall a time when I neglected this step, and it resulted in a frustrating experience with inconsistent water flow.
Water Source Considerations
Connect the other end of the garden hose to a reliable water source, such as a tap or outdoor faucet. Ensure the water supply is turned on completely. Running the machine with insufficient water can damage the pump. I learned this the hard way during a job where I rushed the setup process.
| Connection Type | Recommended Diameter | Comments |
|---|---|---|
| Standard Garden Hose | 3/4 inch | Best for maintaining pressure |
| High-Pressure Hose | 3/8 inch | Used for extended reach; ensure compatibility |
Final Checks
After making all the connections, check for any leaks at the joints. If you notice any drips, tighten the fittings. Once everything is secure, turn on the machine to allow water to flow through the system. Always listen for any unusual sounds; if something seems off, stop and investigate. A little precaution goes a long way in preventing damage.
Setting Up the Power Devil Pressure Washer
Begin by placing the machine on a flat, stable surface. I once made the mistake of setting it on uneven ground, which caused unnecessary vibrations and made operation difficult. Ensure that the area is clear of obstacles to allow for easy movement while cleaning.
Next, check the oil level if your model requires it. I’ve encountered instances where neglecting this step led to performance issues. If it’s low, top it up using the recommended type of oil as specified in the manual.
Once the machine is positioned and the oil is checked, connect the high-pressure hose to the outlet. It should click into place securely. I remember a time when I didn’t ensure it was tightly connected, which resulted in leaks and a frustrating cleaning experience.
Attach the spray gun to the other end of the hose. Make sure the connection is firm. I’ve seen hoses detach mid-operation, leading to a chaotic situation. It’s best to double-check before proceeding.
Before turning on the machine, set the pressure dial according to the task at hand. Remember, higher pressure isn’t always better. I once used too much force on a delicate surface, leading to damage. Adjust the setting based on the material you’re cleaning.
Finally, plug the unit into a suitable electrical outlet. Avoid overloading circuits; I once tripped a breaker because I had too many devices running on the same line. It’s worth checking that your power source is up to the task.
With everything connected and set up, you’re ready to tackle your cleaning project. A solid preparation can significantly enhance your experience and results, as I’ve learned through years of hands-on work with various models.
Adjusting Pressure Settings for Different Surfaces
Start with the appropriate pressure setting for the surface you’ll be cleaning. For delicate materials like wood, reduce the pressure to avoid damage; settings around 1200-1500 PSI work well. For harder surfaces such as concrete or brick, you can increase it to 2500 PSI or higher, depending on the grime level.
Here’s a breakdown of recommended pressure settings for various surfaces:
| Surface Type | Recommended Pressure (PSI) | Notes |
|---|---|---|
| Wood Decks | 1200-1500 | Avoid splintering; keep nozzle at least 2 feet away. |
| Vinyl Siding | 1500-2000 | Test a small area first; maintain a consistent distance. |
| Concrete | 2500-3000 | For heavy stains, consider a higher setting; use the right nozzle. |
| Brick | 2000-2500 | Be cautious with pointing; avoid damaging mortar. |
| Cars | 1200-1500 | Use a wide spray pattern; keep nozzle at a safe distance. |
In my experience, it’s best to start with the lowest setting and gradually increase as needed. This approach ensures you won’t accidentally damage any surfaces. Remember, distance from the surface also plays a critical role; moving too close at high pressure can cause more harm than good.
Adjusting the pressure isn’t just about the setting; it’s also about technique. Always maintain a steady motion to prevent streaks and uneven cleaning. If you notice stubborn stains, a targeted approach concentrating on that area can be effective without cranking up the pressure unnecessarily.
Proper Technique for Operating the Pressure Cleaner
Always maintain a safe distance from the surface being cleaned. A good rule of thumb is to start at least 2 feet away. This allows you to gauge the impact before moving closer. Adjust your distance based on the surface material and the type of grime. For delicate surfaces like wood or painted areas, maintain a greater distance to avoid damage.
Body Positioning
Stand with your feet shoulder-width apart for stability. Keep a firm grip on the trigger gun and maintain control while moving. Using both hands provides better balance, especially when manoeuvring around corners or obstacles. Shift your weight as you move to avoid straining your back.
Cleaning Technique
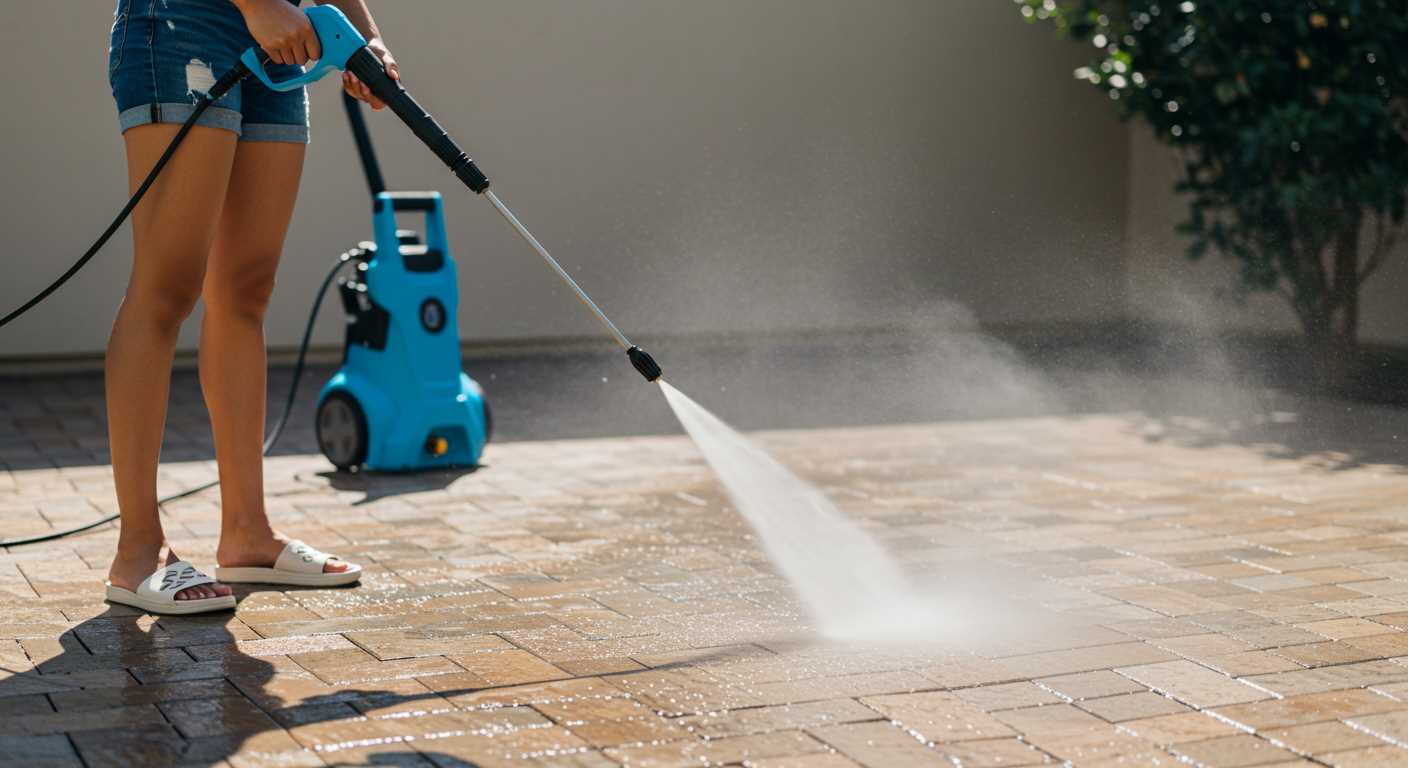
Begin with a sweeping motion, moving the nozzle from side to side. This prevents concentrated pressure in one area, reducing the risk of surface damage. For stubborn stains, pause briefly to allow the water to penetrate, but avoid holding the nozzle in one spot for too long. Incorporating a detergent solution can enhance cleaning effectiveness, especially on oily or greasy surfaces. Ensure you rinse thoroughly afterwards to remove any soap residue.
Finally, for those interested in tools that can complement your cleaning tasks, consider looking into the best air compressor for car tools. They can be incredibly handy for various maintenance tasks around the home.
Safety Precautions While Operating a High-Pressure Cleaner
Always wear appropriate personal protective equipment (PPE). This includes safety goggles, gloves, and sturdy footwear. Protecting your eyes from debris and your skin from water and cleaning agents is non-negotiable.
Be aware of your surroundings. Ensure that children and pets are at a safe distance while you’re working. High-powered jets can cause injury if someone accidentally steps into the spray zone.
Inspect the equipment before starting. Check for any leaks, frayed hoses, or damaged connectors. A thorough examination can prevent accidents and ensure everything functions correctly.
Never aim the nozzle at yourself or others. The force of the water can cause serious injuries. Always direct the spray away from your body and others, even when the machine is turned off.
Maintain a firm grip on the lance. The high-pressure stream can cause the wand to kick back unexpectedly. Using both hands provides better control and reduces the risk of losing your grip.
Keep the nozzle clean and free from blockages. A clogged nozzle can cause a sudden increase in pressure, leading to potential injury. Regular maintenance is key to safe operation.
Be cautious with electrical connections. Ensure that your power source is appropriate for the model you are using and avoid using extension cords in wet conditions. Water and electricity make a dangerous combination.
Understand the pressure settings. Different surfaces require different pressures; using too high a setting can cause damage and create hazardous situations. Always start with the lowest pressure and adjust as needed.
Be mindful of slippery surfaces. If you’re working on wet driveways or patios, consider using anti-slip mats to prevent accidents while moving around.
Always follow the manufacturer’s instructions. Each model may have specific safety warnings and operational guidelines that are crucial for safe and effective cleaning.
Post-Cleaning Maintenance of Your Pressure Cleaning Equipment
After finishing your cleaning tasks, take a few moments for proper upkeep. This ensures longevity and optimal performance of your machine.
- Flush the System: Run clean water through the machine for several minutes. This removes any cleaning agents or debris that might have accumulated inside.
- Disconnect Hoses: Detach all hoses and nozzles. This prevents kinks and damage to the connections. Store them neatly to avoid tangling.
- Inspect Components: Regularly check the hose, fittings, and nozzle for wear or damage. Replace any parts that show signs of deterioration.
- Clean Filters: Remove and rinse any filters. This prevents blockages that could affect performance during your next session.
- Store Properly: Keep the unit in a dry, sheltered area. If storing for an extended period, consider draining the fuel and running the engine until it stalls.
In my experience, neglecting these steps often leads to frustrating issues later. I once skipped the flushing process and ended up with a clogged nozzle that took hours to resolve. Simple maintenance saves time and enhances the reliability of your equipment.
Also, check the oil level regularly if your model has a lubrication system. Change the oil as recommended by the manufacturer to maintain engine health.
Finally, always refer to the user manual for specific maintenance guidelines tailored to your model. It’s a valuable resource that can provide insights you might overlook.
Troubleshooting Common Issues with Power Devil Pressure Washer
For reliable performance, pay attention to these common issues and their solutions:
1. No Water Pressure
- Check the water supply. Ensure the hose is connected securely and the tap is fully open.
- Inspect for kinks or blockages in the hose that could restrict flow.
- Examine the nozzle for clogs. Clean or replace it if necessary.
2. Leaking Water
- Look for loose connections between the hose and the machine. Tighten all fittings to prevent leaks.
- Examine seals and O-rings; replace any that are worn or damaged.
3. Engine Won’t Start
- Ensure there’s fuel in the tank if using a petrol model. For electric versions, check power supply and cords for damage.
- Check the on/off switch and reset button, if applicable.
4. Unusual Noises
- Listen for grinding or rattling noises, which may indicate loose components. Tighten or replace as needed.
- Check for any debris caught in the pump or motor area, and remove it.
5. Inconsistent Performance
- Inspect the filter for dirt and clean it. A clogged filter can reduce performance.
- Ensure the nozzle is appropriate for the task at hand. For heavy-duty jobs, a lower nozzle size can provide better results.
If issues persist, consult the manual or consider reaching out to a professional. Sometimes, opting for alternatives like the sun joe electric pressure washer can save time and effort.

.jpg)


