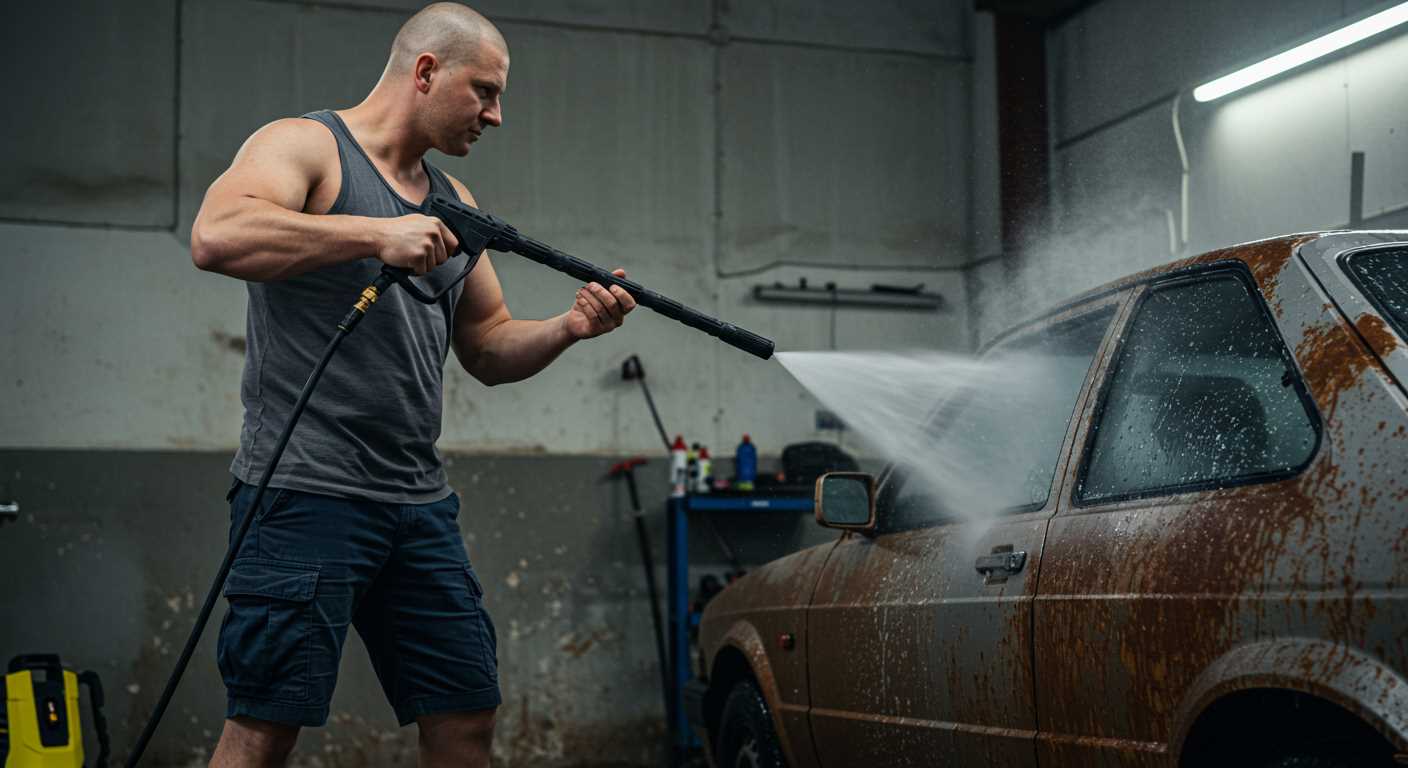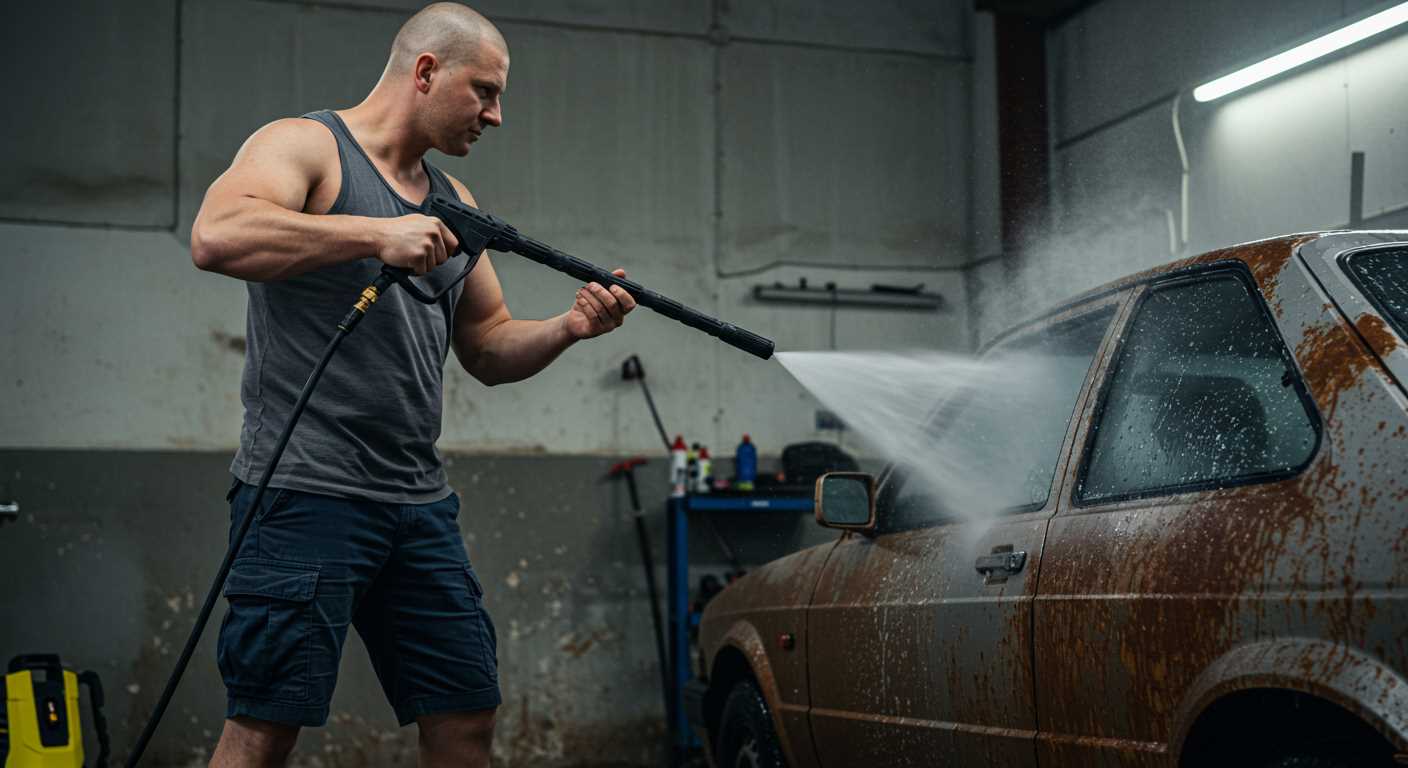


Start with a thorough rinse. Before applying any detergent, give your vehicle a good spray from top to bottom. This initial step helps to remove loose dirt and grime, making the cleaning process more effective. I’ve found that a wide-angle nozzle works wonders for this purpose, allowing for a broad spray pattern that covers more area quickly.
Next, opt for a dedicated automotive cleaning solution. Avoid household detergents, as they can strip wax and harm paint. I’ve experimented with various products, and those specifically formulated for automotive use not only clean effectively but also protect the finish. Dilute the solution as per the instructions, and apply it using a foam cannon or a suitable attachment. The foam clings to the surface, breaking down stubborn contaminants.
After letting the foam sit for a few minutes, it’s time to rinse again. Use a medium to high-pressure setting, ensuring you remove all soap residues. Pay special attention to the wheel wells and undercarriage, as these areas accumulate a lot of dirt. My experience tells me that neglecting these spots can lead to corrosion over time.
Finally, consider drying the vehicle with a microfiber towel. This prevents water spots and gives your car a polished look. I’ve seen the difference it makes; a simple drying technique can elevate the overall appearance significantly. Remember, consistency in your cleaning routine enhances the longevity of your car’s finish.
Choosing the Right Equipment for Vehicle Cleaning
Opt for a model that offers adjustable pressure settings. This feature allows you to tailor the intensity to suit different surfaces, ensuring you can safely clean without risking damage to paintwork or delicate trims. Models with a range from 1,200 to 2,000 PSI are ideal for automotive purposes.
Consider the Nozzle Type
Different nozzles deliver various spray patterns and pressure levels. A 25-degree nozzle is generally versatile and effective for most tasks, while a 40-degree option is perfect for rinsing without harshness. To achieve detailed results, check out a pressure washer nozzle for car detailing; this can significantly enhance your cleaning routine.
Portability and Storage
Weight and design are crucial. Look for lightweight machines with wheels for easy manoeuvring. Compact storage options are beneficial, especially if space is limited. A unit that fits neatly into a garage or shed makes maintenance hassle-free.
Preparing Your Vehicle for Cleaning
Ensure all windows and sunroofs are closed tightly to prevent water from entering the interior. This simple step saves you from potential electrical issues and keeps the cabin dry. Remove any valuables, mats, and personal items from inside, as they can be damaged or lost during the process.
Before you start, inspect the exterior for loose parts or damage. Pay special attention to areas like the wheel wells and undercarriage. If you notice anything that seems out of place, it might be wise to address those issues beforehand. Additionally, give the car a quick dusting with a microfiber cloth to eliminate loose debris. This helps avoid scratching the paint during the washing process.
Pre-Treating Stains
For stubborn spots, consider applying a pre-treatment solution to areas like bird droppings or tree sap. Let it sit for a few minutes before rinsing with water. This can make a significant difference in the final outcome. Always follow the manufacturer’s instructions for any cleaning products you choose to use.
Protecting Sensitive Components

Cover sensitive areas such as the air intake, electrical connections, and exhaust pipe with plastic bags or cling film. This extra layer of protection prevents water from entering these crucial components, which can lead to costly repairs. Remember to remove the covers promptly after washing to avoid trapping moisture.
Once you have prepared everything, you’ll be ready to achieve that spotless finish. After cleaning your vehicle, if you’re interested in maintaining other surfaces, check out this guide on how to clean microfiber couch with steam cleaner. Keeping surfaces clean enhances their appearance and longevity.
Selecting the Appropriate Nozzle and Pressure Settings
Choosing the right nozzle and adjusting pressure settings is crucial for achieving a thorough clean without damaging your vehicle’s surface. I recall using a 25-degree nozzle on my first attempt, which worked wonders on dirt but left some stubborn grime behind. Switching to a 15-degree nozzle allowed me to tackle those tougher spots with ease.
Nozzle Types
Different nozzles serve specific purposes. The 0-degree nozzle delivers a concentrated stream, perfect for removing tough stains on metal parts. However, be cautious; it can easily damage paintwork. The 15-degree nozzle is excellent for heavy cleaning, while the 25-degree option is safer for broader surfaces. For delicate areas, like windows or painted bodywork, consider a 40-degree nozzle. It provides a gentler spray, ensuring no harm comes to the surfaces.
Pressure Settings
Adjusting the pressure level is equally important. Typically, settings between 1200 to 1900 PSI are ideal for automotive cleaning. Higher settings might strip wax or damage paint. During one cleaning session, I mistakenly used a 2500 PSI setting, which resulted in paint chipping in a few areas. Always start with a lower pressure and gradually increase it if necessary. This method allows you to gauge the right balance between cleaning power and surface safety.
Always test the nozzle and pressure on a small, inconspicuous area first. This step helps you avoid mishaps and ensures you’re achieving optimal results without risking damage to your vehicle.
Applying Car Shampoo and Pre-Treatment Techniques
Before tackling grime and dirt on your vehicle, applying a quality car shampoo is crucial for achieving optimal results. I recommend choosing a pH-balanced shampoo specifically designed for automotive surfaces to prevent any potential damage to the paintwork.
- Pre-Wash Stage: Start by rinsing the exterior to remove loose debris. This initial step helps prevent scratching during the washing process.
- Shampoo Application: Mix the shampoo according to the manufacturer’s instructions. Use a foam cannon or a bucket with a wash mitt to apply the solution evenly. If using a foam cannon, adjust the nozzle for a thick foam layer, ensuring it clings to the surface for effective cleaning.
- Targeting Stains: For stubborn spots like tree sap or bird droppings, consider a pre-treatment product. Spray it directly on the affected areas and let it sit for a few minutes to break down the contaminants.
During my time as a consultant, I found that letting the shampoo sit for a short period before rinsing maximises its effectiveness. Just don’t allow it to dry on the surface, as this can lead to streaking.
- After applying the shampoo, gently agitate the surface using a soft wash mitt. Work from the top down to avoid dragging dirt onto cleaner areas.
- Rinse thoroughly with clean water, ensuring all shampoo and loosened dirt are washed away. A consistent, steady stream of water works best for this stage.
- For an added layer of protection, consider applying a wax or sealant after your wash. This not only enhances shine but also provides a barrier against future contaminants.
In my experience, maintaining a clean vehicle is not just about aesthetics; it plays a significant role in preserving the paint and overall condition. By implementing these shampooing and pre-treatment techniques, you’ll achieve a clean and well-protected finish every time.
Correct technique for pressure washing the car exterior
Begin at the top and work your way down. This method prevents dirty water from running over clean areas. I’ve found that starting with the roof allows any grime to flow downwards, making the cleaning process more effective.
Keep a safe distance
Maintain a distance of about 2 feet from the surface. Too close, and you risk damaging the paintwork; too far, and you won’t achieve the desired cleaning effect. I’ve seen paint chips caused by an overzealous approach, so a steady hand and the right distance are key.
Use a sweeping motion
Adopt a side-to-side sweeping motion, overlapping each stroke slightly. This ensures even coverage and prevents streaks. I often visualise the wash as if I’m painting the exterior, ensuring no spot is missed. Additionally, work on one section at a time, moving from panel to panel, to maintain focus and effectiveness.
| Technique | Description |
|---|---|
| Top to bottom | Start at the roof and finish at the bottom to avoid re-soiling cleaned areas. |
| Safe distance | Keep 2 feet away from the surface to protect the paint. |
| Sweeping motion | Use a side-to-side motion with overlaps for even cleaning. |
Lastly, always rinse thoroughly after using any detergent. Residue can lead to discolouration or damage if not properly washed off. I’ve learned that a final rinse with a wider nozzle helps clear any remaining soap, leaving a sparkling finish.
Cleaning Wheels and Tyres with a Pressure Washer
Begin with the wheels and tyres, as they often collect brake dust, grime, and dirt that can be stubborn. I recommend using a dedicated wheel cleaner before applying high-pressure water. Spray the cleaner generously on the rims and tyres, allowing it to sit for a few minutes to break down the contaminants.
When you’re ready to rinse, position the nozzle at a safe distance–around 30 cm from the surface–to avoid damage. Use a 25-degree nozzle for a broad spray pattern that effectively cleans without being too harsh. Start from the top of the tyre and work your way down, ensuring you cover all areas thoroughly.
For tough spots, such as caked-on mud or brake dust, adjust the angle of the nozzle to focus the flow. A more concentrated stream from a 15-degree nozzle can help dislodge stubborn debris. Maintain a steady motion to prevent any one area from being impacted too harshly.
After rinsing, I always follow up with a soft brush to agitate the cleaning solution in the crevices of the rims and treads. This step is key to achieving a spotless finish. Rinse again with the washer to remove any remaining cleaner and dirt.
Finally, consider applying a tyre dressing once everything is clean and dry. It not only enhances the appearance but also provides a protective layer against future grime. This simple addition can make a significant difference in the overall look of your wheels and tyres.
Drying and finishing touches after pressure washing
After rinsing your vehicle, the next step is drying. I recommend using a microfiber drying towel. These towels absorb water effectively without scratching the paint. One tip: gently blot the surface rather than dragging the towel across the car. This helps prevent swirl marks.
For larger areas, like the roof and hood, consider using a dedicated car drying blower. These devices blow air across the surface, pushing water out of crevices and seams where towels can’t reach. I’ve found this method particularly useful for preventing water spots.
Once the vehicle is dry, inspect the paintwork for any remaining water spots or streaks. A quick detail spray or a spray wax can rejuvenate the shine and add a layer of protection. Spray a light mist on the surface and gently buff with a clean microfiber cloth.
Don’t forget about the windows. Use a glass cleaner and a separate towel to ensure a streak-free finish. It’s details like these that enhance the overall look. For the wheels, after drying, apply a dedicated wheel cleaner to maintain their shine and protect against brake dust.
Finally, check the trim and plastic components. A trim restorer can bring back colour and shine, preventing fading over time. This final step makes the whole vehicle look complete and well-maintained. A little effort in these finishing touches truly enhances the overall appearance of your ride.
Maintaining Your High-Pressure Cleaning Equipment for Car Care
Regular upkeep of your cleaning equipment is key to ensuring longevity and performance. From my years of experience, I’ve seen how proper maintenance can save you time and hassle down the line. Here are some practical steps to keep your machine in prime condition.
Routine Checks
- Examine the hose for any cracks or leaks. A damaged hose can lead to significant pressure loss.
- Inspect connections and couplings regularly. Tighten any loose fittings to avoid unwanted spraying.
- Check filters and clean them as necessary. Clogged filters can impede flow and reduce effectiveness.
Cleaning After Each Use
- Flush the system with clean water after every session. This removes any leftover detergent or debris.
- Store the unit in a dry area. Moisture can lead to rust and damage internal components.
- Wipe down the exterior with a damp cloth to remove dirt and grime, preventing buildup.
I’ve often recommended that users invest a little time after each wash. It pays off in the long run. A unit that is well cared for operates more efficiently and can handle the demands of cleaning vehicles effectively.
Seasonal Maintenance
- During colder months, drain any remaining water from the system to prevent freezing damage.
- Lubricate moving parts as per the manufacturer’s guidelines. This keeps everything running smoothly.
- Check the oil level in the pump. Low oil can lead to significant wear and tear.
After one particularly harsh winter, I learned the hard way about the importance of draining water. A simple oversight led to a costly repair. Now, I always make it a point to prepare my equipment for the changing seasons. Keeping it in good shape not only extends its life but also ensures that every wash is as effective as possible.


.jpg)


