


Begin with a thorough inspection of the area. Identify any stubborn stains, moss, or algae that need attention. A quick visual check helps to determine the best approach and pressure settings to use. This is crucial, as different surfaces require different handling to avoid damage.
Next, gather your materials. A quality high-pressure cleaner will be your primary tool, but don’t forget the importance of the right nozzle. Choosing between a wide spray for delicate surfaces and a concentrated stream for tougher grime can make all the difference. I once made the mistake of using too high a setting on a delicate stone surface, resulting in unwanted etching. Lesson learned!
Before you begin, consider the weather. A sunny day can cause cleaning solutions to dry too quickly, leaving streaks. Overcast conditions, however, provide a more forgiving environment. If it’s a sunny day, try to work in sections, applying cleaner to one area at a time. This was a tip I picked up from a colleague who had years of experience tackling outdoor projects.

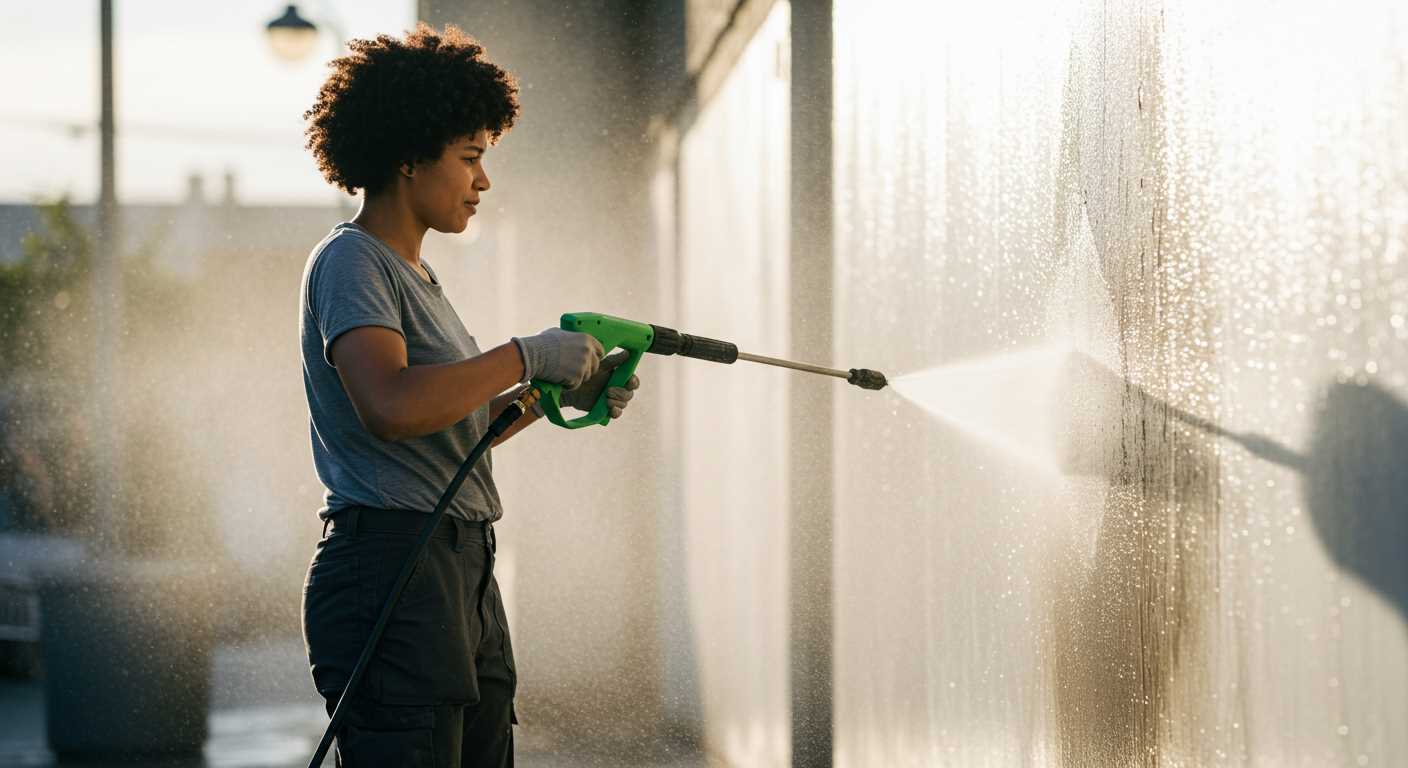
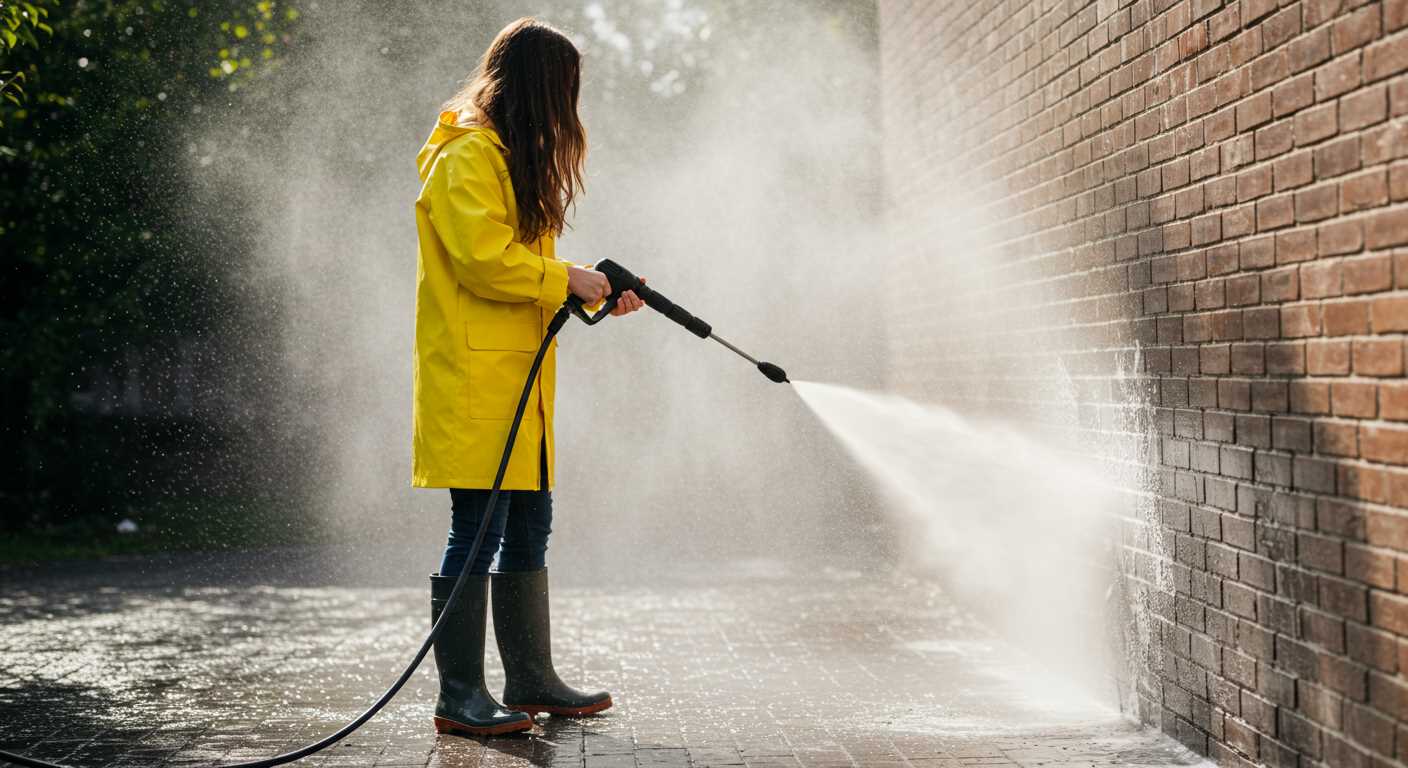
As you start the cleaning process, maintain a consistent distance from the surface. Too close and you risk causing damage; too far and the effectiveness diminishes. I’ve found that keeping the nozzle about 12 to 18 inches away yields the best results. Remember to move in a sweeping motion, rather than staying in one spot, to ensure an even clean.
Finally, after achieving that fresh look, consider sealing your surfaces with a protective coating. This not only enhances the appearance but also prolongs the cleanliness, making future maintenance much simpler. I implemented this on my own terrace and was amazed at how much easier it became to keep it looking pristine.
Effective Techniques for Cleaning Outdoor Surfaces
Begin with selecting the right nozzle. A 25-degree nozzle usually works best for most surfaces, providing a balance between coverage and pressure. For stubborn stains, a 15-degree nozzle can deliver more concentrated force, but take care not to damage softer materials.
Before starting, ensure all loose debris is cleared. A quick sweep or blow with a leaf blower prepares the area, making the cleaning process smoother. When your equipment is ready, approach the task methodically. Begin at the highest point of the surface and work your way downwards, allowing dirt and grime to flow down and away.
Technique and Angle Matters
Maintain a consistent distance of about 12 to 18 inches from the surface. This distance helps to avoid damage while still being effective. Always hold the nozzle at a slight angle, around 45 degrees, to allow water to wash away dirt without pushing it deeper into the material.
As you work, overlap your strokes slightly. This ensures thorough coverage and prevents streaks. Don’t rush; let the machine do the work. If you encounter particularly stubborn spots, pause and allow the detergent to sit for a few moments before rinsing.
Post-Cleaning Tips
Once finished, inspect the area for any remaining stains. If needed, a second pass with a lower pressure setting can help. Rinse thoroughly to remove any soap residue, which can lead to slippery surfaces when dry. After cleaning, allow the area to dry completely to prevent mould or mildew growth.
Lastly, remember to store your equipment properly. A clean, dry space will prolong the life of your gear, and regular maintenance will ensure it operates effectively for future tasks.
Selecting the Right Pressure Washer for Your Patio
Choosing an appropriate cleaning device starts with identifying your specific needs. For outdoor surfaces, focus on models with a minimum pressure rating of 1500 PSI, which effectively tackles tough grime without damaging the material. I once had a friend who purchased a lower-rated unit, only to struggle with stubborn stains that a higher-powered option would have handled easily.
Electric vs. Gas Models
Consider the power source. Electric versions are quieter and more suitable for smaller areas, while gas models deliver higher pressure and are better for larger spaces. I’ve used both types extensively. During one summer, I opted for a gas machine to clean my expansive driveway, and it significantly reduced the time spent on the task compared to my electric unit.
Accessories and Nozzles
Don’t overlook the importance of nozzles and additional attachments. A rotating nozzle can boost cleaning power significantly, which I discovered while tackling a particularly dirty stone surface. Investing in a surface cleaner attachment is also worthwhile; it saves time and provides an even finish across the area.
Preparing Your Outdoor Surface for a Clean
Begin by clearing the area of all furniture, planters, and decorations. This not only protects your belongings but also gives you ample space to manoeuvre while you clean. I once made the mistake of leaving a few pots in place, and trust me, the result was a muddy mess that took longer to fix than it would have to move them in the first place.
Next, inspect the surface for any damage. Cracks or loose stones should be addressed prior to the cleaning session. I learned this the hard way after I dislodged a few loose tiles during a wash, which led to a more extensive repair job later. If you spot any issues, consider patching them up or replacing damaged sections before you begin.
Choosing the Right Detergent
Select an appropriate cleaning solution based on the type of surface. For instance, concrete and brick can handle stronger detergents, while a wooden deck might require something gentler. I’ve had great success with eco-friendly options that are tough on grime but safe for plants and pets. Always read the label and follow the instructions regarding dilution and application.
Ensuring Safety Measures
Wear protective gear. Safety goggles and rubber gloves are a must. I’ve had my fair share of accidents where splashes from the cleaning solution got into my eyes, which was not pleasant. Also, check the area for any electrical outlets or fixtures that may be exposed. It’s wise to cover them to prevent any mishaps.
Choosing the Correct Nozzle for Different Surfaces
Selecting the right nozzle is critical to achieving optimal results while cleaning various surfaces. Each nozzle type has a specific spray pattern and pressure, making it vital to match the nozzle to the surface being treated.
- 0-Degree Nozzle: This nozzle delivers a concentrated stream of water, ideal for tackling tough stains on concrete or stone. However, be cautious; it can damage softer materials like wood if held too close. I once made this mistake on a wooden deck, leaving noticeable marks that took time to repair.
- 15-Degree Nozzle: Slightly wider than the 0-degree, it’s effective for stripping paint and removing grime from hard surfaces. Use it on driveways or patios with significant buildup. I have often found it perfect for areas that require a bit more elbow grease.
- 25-Degree Nozzle: This is my go-to for general cleaning tasks. It’s versatile enough for decks, fences, and outdoor furniture. When cleaning my own garden furniture, I’ve found that this nozzle effectively removes dirt without risking damage.
- 40-Degree Nozzle: A gentle spray that’s suitable for delicate surfaces like car paint and windows. I remember using it on my car, and it left a spotless finish without any risk of scratches.
- Soap Nozzle: Typically used for applying detergent before rinsing. This nozzle has a wider spray, ideal for covering large areas with soap, ensuring thorough cleaning. I often apply this nozzle first when tackling particularly dirty surfaces.
Always test a small, inconspicuous area before proceeding with a full cleaning to ensure the selected nozzle does not cause damage. Adjusting the distance from the surface also affects the results; closer for tough stains and further for more delicate materials.
Understanding these nozzle types and their applications can significantly enhance the cleaning experience while protecting your surfaces. Each cleaning session becomes more efficient when you know precisely which tool to reach for. In my experience, having a variety of nozzles on hand has saved me time and improved results tremendously.
Setting Up the Pressure Washer Safely
Before commencing any cleaning task, ensuring your safety is paramount. Here’s how to set up your equipment securely to avoid mishaps.
Location and Environment
- Choose a stable, dry surface away from foot traffic.
- Ensure the area is clear of obstacles like furniture or plants that could obstruct your work.
- Check for nearby electrical outlets, avoiding any potential water hazards.
Equipment Check
- Inspect hoses and connections for wear or damage.
- Verify that the power cord is intact and not frayed.
- Ensure the water source is connected and functioning properly.
Before turning on your device, ensure you’re wearing appropriate attire. Sturdy footwear, goggles, and gloves protect against unexpected splashes or debris. I once had an incident where a loose stone flew up unexpectedly. Now, I never skip my safety gear.
Preparation Steps
.jpg "How to use pressure washer for patio")
- Fill the tank with clean water, avoiding any contaminants.
- Connect the unit to the power supply, ensuring all connections are secure.
- Check that the nozzle is correctly attached before starting.
After these preparations, run a quick check by turning on the device briefly. This ensures everything is functioning and that there are no leaks. Trust me, taking these precautions saves time and prevents accidents during your cleaning task.
Techniques for Pressure Washing Patio Stones
Begin with a systematic approach. I always recommend starting from the highest point of the stone surface and working your way down. This prevents dirty water from dripping onto already cleaned areas, ensuring an even finish.
Maintain a consistent distance from the surface. I typically keep the nozzle about 30 cm away, adjusting as necessary based on the level of grime. Getting too close can chip the stones, while being too far may not effectively remove dirt.
Utilise sweeping motions. Instead of directing the stream at a single spot, move the nozzle in a side-to-side pattern. This method covers more area and reduces the risk of damaging the stone. It’s a technique I learned after a few mishaps where I focused too intently on stubborn stains.
Incorporate a pre-treatment process. For heavily soiled stones, applying a suitable cleaning solution in advance can significantly enhance results. Allow the solution to sit for a short period before rinsing, which I’ve found increases the cleaning efficacy dramatically.
Adjust the pressure settings based on the condition of the stones. For newer or softer materials, a lower pressure setting is advisable, while older, more durable stones can handle higher pressure. I typically test a small, inconspicuous area first to gauge how the material reacts.
Always be mindful of the joints between the stones. High pressure can erode sand or grout, leading to uneven surfaces. I’ve learned to angle the nozzle slightly downward when approaching these areas to avoid displacing the joint material.
Consider the weather conditions. A sunny day can dry surfaces too quickly, making it harder to rinse away soap or grime. If possible, choose an overcast day or early morning when temperatures are cooler. This tip has saved me from having to redo entire sections due to soap streaks.
Lastly, don’t forget to clean the surrounding areas. This includes nearby walls, fences, or furniture that may collect splashes or dirt. A thorough clean enhances the overall appearance and ensures that all surfaces are maintained.
| Technique | Description |
|---|---|
| Start High, Work Down | Begin at the top to prevent dirty water from dripping onto clean areas. |
| Maintain Distance | Keep the nozzle at about 30 cm to avoid damage. |
| Sweeping Motions | Use side-to-side movements for even coverage. |
| Pre-treatment | Apply cleaning solutions to tough stains before washing. |
| Adjust Pressure | Modify settings based on the stone’s condition. |
| Joint Awareness | Angle the nozzle to protect joints from erosion. |
| Weather Consideration | Choose cooler days to prevent quick drying of cleaning solutions. |
| Surrounding Areas | Clean adjacent surfaces to enhance overall appearance. |
Cleaning Grout and Joints Between Patio Slabs
Start by applying a suitable cleaning solution specifically designed for grout and joints. This pre-treatment loosens dirt and grime, making the subsequent cleaning process more effective. I recommend letting the solution sit for about 10-15 minutes, but avoid allowing it to dry completely.
Attach a rotating nozzle to your equipment. This type of nozzle provides a concentrated stream that targets stubborn dirt in the crevices effectively. Maintain a distance of around 30 cm from the surfaces while working. If you get too close, you risk damaging the grout or the surrounding materials.
Technique for Grout Cleaning
Begin at one corner of your outdoor area and work methodically across to the opposite side. Use a sweeping motion, following the lines of the joints, to ensure thorough cleaning. Pay extra attention to heavily soiled areas, where you might need to make several passes. If necessary, you can use a stiff-bristled brush to agitate the grout while rinsing with the water stream.

Post-Cleaning Care
After rinsing, allow the joints to dry completely. This drying time is crucial for assessing the effectiveness of your cleaning. Once dry, consider applying a grout sealer to protect against future stains and discolouration. For additional tips on maintaining your outdoor spaces, check out this guide on cleaning the patio roof 3 techniques at a glance.
Finishing Touches: Rinsing and Drying Your Patio
After cleaning your outdoor surface, the final touch involves rinsing away any residue. I always recommend using a gentle spray setting to ensure that dirt and cleaning agents are thoroughly washed off without damaging the surface. Begin from one end and work towards the other, maintaining a consistent distance of about 12 inches. This method avoids concentrated water pressure on one spot, which can lead to etching.
Once rinsed, the next step is drying. I prefer using a squeegee to remove excess water, especially on textured surfaces where water can pool. If you have a large area, employing a leaf blower can speed up the drying process significantly. The trick is to avoid letting water sit for too long, as it can leave streaks or mineral deposits. In some cases, a well-placed fan can help circulate air and hasten drying.
Final Inspection and Maintenance
After everything is dry, take a moment to inspect your work. Look for any missed spots or areas that may require additional attention. For those stubborn stains, you might want to apply a specialised cleaner and repeat the rinsing process. Regular maintenance is key; consider using the best air compressor for car wash for quick touch-ups between deep cleans. This keeps your outdoor area looking pristine without the need for frequent heavy cleaning sessions.
Maintaining Your Pressure Washer After Use
After a thorough cleaning session, ensuring the longevity of your equipment is paramount. First, disconnect the water supply and power source to prevent any accidental activation. Drain any remaining water from the unit. I always recommend running the machine for a few seconds without the nozzle attached to clear out leftover water and avoid damage to the pump.
Cleaning the Intake Filter
Pay attention to the intake filter. Remove it and rinse under clean water to get rid of debris. A clogged filter can restrict flow, leading to performance issues. I remember neglecting this step once, and it resulted in overheating. A simple rinse would have saved me a headache.
Winterising Your Equipment
If you live in a colder climate, protect your device during winter months. Use a pump protector to prevent freezing. I learned this the hard way when I found my unit damaged by ice after a particularly chilly winter. Storing it in a garage or shed can also help avoid temperature extremes.
Finally, store your equipment in a dry place, ideally where it won’t be exposed to harsh weather. Keeping everything clean and properly stored ensures it’s ready for your next outdoor project. Trust me, a little maintenance goes a long way in preserving your investment.
.jpg)


