


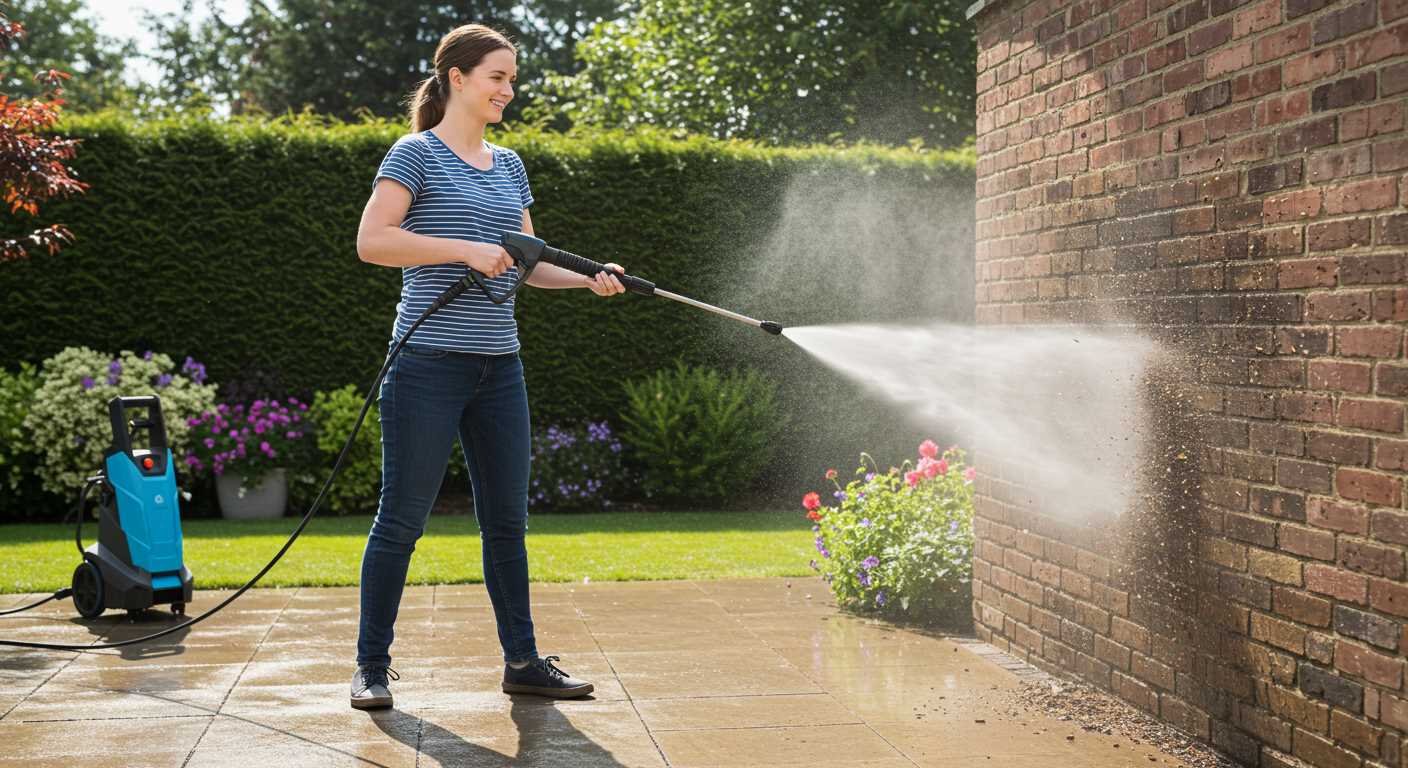
To achieve optimal results while cleaning outdoor surfaces, consider connecting your high-pressure cleaning device directly to your home’s water supply. This approach not only simplifies the setup process but also ensures a steady flow of water, crucial for tackling stubborn dirt and grime.
Begin by locating a suitable hose connector that fits your water source. A quick-connect adapter can make this transition seamless, allowing you to switch between various cleaning tasks effortlessly. Ensure that the hose is long enough to reach your desired cleaning area without creating tension or kinks.
Once connected, perform a quick check for leaks at the junction points. A tight seal is essential for maintaining pressure and preventing water loss. If you notice any drips, simply adjust the fittings until secure. Remember, maintaining a consistent water supply is the key to maximising your cleaning efficiency.

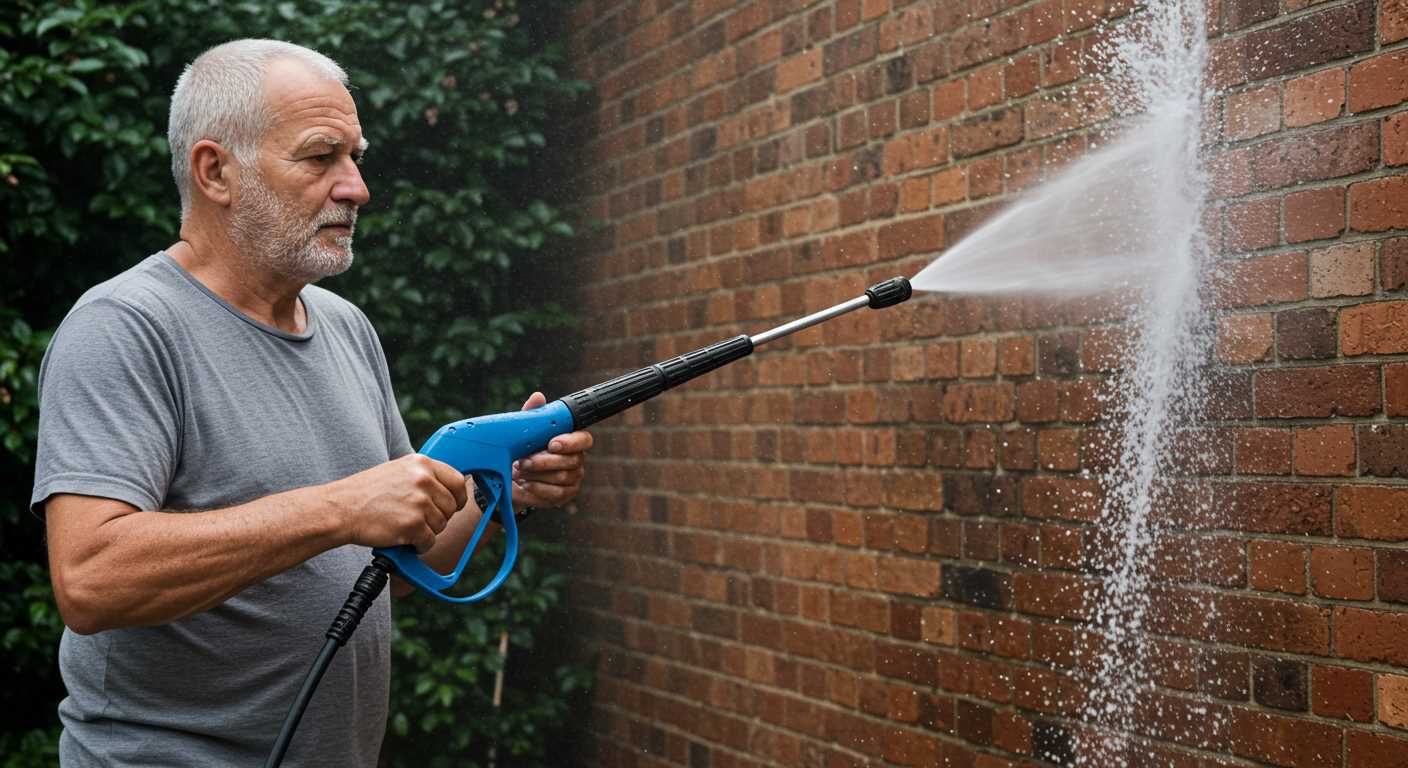
As you start your cleaning session, pay attention to the distance between the nozzle and the surface. Keeping a safe distance prevents damage while still delivering an effective clean. Experiment with different nozzle types to find the right balance for various surfaces, whether it’s concrete, wood, or delicate materials.
This method not only saves time but also enhances the overall cleaning experience. With the proper setup, you’ll discover that achieving pristine surfaces is not just a chore, but a straightforward task that can be accomplished with the right techniques.
Choosing the Right High-Pressure Cleaner for Indoor Tap Use
Selecting an appropriate cleaning device for connection to your household plumbing can significantly enhance your cleaning tasks. I recommend focusing on models with lower flow rates and adjustable pressure settings. This ensures compatibility with standard indoor water supplies while preventing potential plumbing issues.
Key Features to Consider
Look for the following attributes:
| Feature | Description |
|---|---|
| Pressure Settings | Adjustable levels allow for versatile cleaning, accommodating various surfaces. |
| Flow Rate | A lower flow rate (around 1.5 to 2.0 GPM) is optimal to prevent overloading your water supply. |
| Portability | Lightweight and compact models facilitate easy manoeuvrability indoors. |
| Noise Levels | Consider quieter options to minimise disruption, especially in residential areas. |
| Safety Features | Look for automatic shut-off and thermal relief systems to protect the unit during operation. |
Personal Experience with Different Models
In my years of testing various devices, I found that electric models often performed better for indoor tasks. They offer sufficient power while remaining compact and easy to store. One model that stood out was the Karcher K1700, which had adjustable pressure and a flow rate compatible with most home taps. I’ve used it for everything, from cleaning patio furniture to washing vehicles in the garage. The versatility was a game changer for me.
Another noteworthy option is the Sun Joe SPX3000. It not only boasts a good pressure range but also comes with multiple nozzles to accommodate different cleaning requirements. I appreciated its lightweight design, which made it easy to carry around my workshop without straining my back.
Choosing wisely ensures that you get a machine that meets your needs without causing plumbing headaches or damage to your property. It’s worth investing time into understanding the specifications before making a decision.
Connecting Your High-Pressure Cleaner to the Indoor Water Supply
For a seamless connection, ensure you have a suitable hose and adapter. Most modern models come with a quick-connect feature, making attachment straightforward. If your indoor supply has a standard tap, an easily adjustable connector will work perfectly.
First, turn off the indoor water source before attaching the hose. This prevents any unexpected spills. Securely fasten the hose to the tap, ensuring there are no leaks. I once encountered a minor issue with a loose connection which led to a watery mess. A quick check can save you from that hassle.
Setting Up the Equipment
After securing the hose, connect the other end to your cleaning device. Align the fittings correctly; they should click into place. I recommend checking the manual for your specific model as some variations may exist. Once connected, turn the water supply back on gradually. This helps avoid any surges that might affect your equipment.
Testing the Connection
Before starting your cleaning tasks, run a quick test. Turn on your machine and observe for any leaks or performance issues. I’ve learned that a quick inspection can save time and frustration later. If everything is functioning well, you’re ready to tackle your cleaning projects without any interruptions.
Remember, maintaining a clean connection and checking for wear on your hoses can prolong the life of your equipment. Regularly inspect for kinks and signs of wear to ensure optimal performance every time you clean.
Adjusting water pressure settings for optimal cleaning
Begin by identifying the type of surface you’re tackling. For delicate materials like paint or wood, lower settings around 1000-1500 PSI work best. Higher pressures, approximately 2000-3000 PSI, are suitable for concrete or brick. My experience reveals that starting on the lower end and gradually increasing pressure often yields the best results without damaging surfaces.
Next, consider the nozzle. Different nozzles create varying spray patterns and pressure. A 25-degree nozzle is versatile for most tasks, while a 15-degree nozzle is ideal for tough grime. I remember my first time cleaning a patio; I mistakenly used a 0-degree nozzle at full force, creating chips in the stonework. Lesson learned: always match the nozzle to your task.
Additionally, adjust the flow rate if your equipment allows. A lower flow rate can produce a concentrated stream, enhancing cleaning effectiveness. For heavy-duty tasks, however, a higher flow rate can speed up the process. Experimenting with these settings can significantly impact your outcomes.
Lastly, monitor the pressure gauge throughout your work. If you notice a drop in pressure, check for clogs or kinks in the hose. Keeping everything clear ensures consistent performance. One time, I faced pressure loss due to a simple kink, which I discovered after some troubleshooting. Maintaining proper settings and monitoring performance can save time and effort.
Safety Precautions When Operating a High-Pressure Cleaner Indoors
Always wear protective gear. Safety goggles, gloves, and non-slip footwear are non-negotiable. I recall a time when I neglected goggles and ended up with debris in my eyes, a painful reminder of the importance of protection.
Ensure adequate ventilation. Running this equipment indoors can lead to a build-up of fumes if using a fuel-powered model. I’ve seen colleagues faint due to poor air circulation while working on a project in a confined space. Open windows or use fans to keep the air fresh.
Check for electrical safety. Ensure that the power supply is grounded and free from damage. I once encountered a situation where a faulty extension cord caused a short circuit, leading to a potential hazard. It’s wise to invest in a GFCI outlet for added protection.
Keep the workspace clear. Remove any obstacles or fragile items that might get damaged. I learned this the hard way when a misplaced vase met an unexpected spray. A clutter-free environment not only enhances safety but also improves efficiency.
Be mindful of the water temperature. Using hot water can lead to burns or scalds. I’ve witnessed someone get too close to the nozzle while using heated water, resulting in an unfortunate incident. Always maintain a safe distance.
Consider the surface being cleaned. Certain materials can be damaged by high water force. I once accidentally stripped paint off a wooden deck because I didn’t verify the surface type. Always test on a small area first.
Lastly, never point the nozzle at anyone, including yourself. I’ve seen too many close calls where a moment of carelessness led to injuries. Treat the equipment with respect, and it will serve you well.
For those looking for a compact option, check out this small pressure washer for home use. It might just be the right fit for your indoor cleaning needs.
Maintenance tips for your pressure cleaner after use
After every session, take a moment to care for your equipment. Proper maintenance prolongs its life and ensures optimal performance.
- Disconnect the garden hose and any attachments. This prevents leaks and potential damage.
- Run clean water through the machine for a few minutes. This flushes out any detergents or debris that may have accumulated.
- Inspect the nozzle for clogs. A simple rinse or using a pin can clear any blockages effectively.
- Check the filters. Clean or replace them as necessary to maintain water flow and pressure consistency.
- Store the unit in a dry, cool location. Avoid leaving it in direct sunlight or damp areas to prevent rust and degradation.
- Regularly lubricate moving parts as per the manufacturer’s guidelines. This reduces friction and wear.
- Inspect the power cord for any signs of wear or damage. Replace it if necessary to prevent electrical hazards.
Consider keeping a log of maintenance activities. This will help you track when the last service was performed and alert you to any recurring issues. It’s a good habit I picked up over the years.
Lastly, if you’re looking to upgrade your gear, remember that quality matters. Just like choosing between are digital cameras better than cell phones, investing in a reliable machine can make all the difference in your cleaning experience.

.jpg)


