
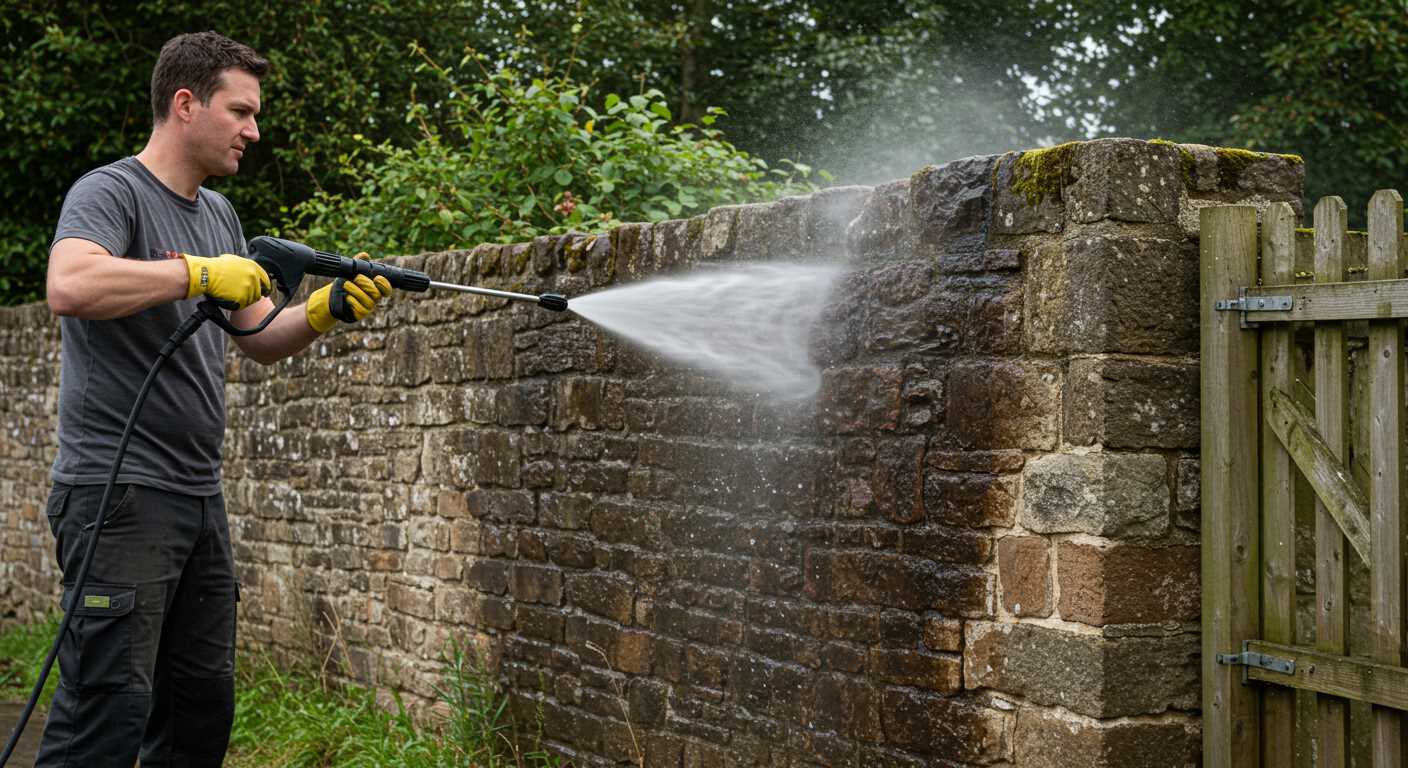


Begin with a nozzle that delivers a wide fan pattern rather than a concentrated jet. This helps prevent damage to the bark and foliage. In my experience, a 25-degree nozzle works wonders, offering a balance between power and safety for the plants.
Position the equipment approximately two to three feet away from the trunk and branches. This distance allows for a thorough cleanse without risking injury to the plant. I recall a time when I was too close and inadvertently stripped some bark, which led to complications for the tree’s health. Always keep moving the lance in a sweeping motion to distribute the pressure evenly.
Adjust the flow rate according to the specific needs of the greenery. If you’re dealing with sap or stubborn grime, a higher setting might be beneficial, but for general cleaning, a moderate flow suffices. I often found that a quick test on a less visible section can help gauge the appropriate setting before tackling more visible areas.

For added efficiency, consider applying a biodegradable soap solution before rinsing. This can enhance the cleaning process, especially on surfaces where mould or mildew has taken hold. I’ve had great success with eco-friendly products that are safe for the environment and beneficial for the plants.
Lastly, always check for any loose branches or debris that could become hazardous during the process. Clearing the area not only ensures safety but also enhances the effectiveness of the cleaning. I once had a branch fall while I was working, and it was a stark reminder to always prioritise the surroundings before starting any task.
Choosing the Right Nozzle for Tree Spraying
Selecting the appropriate nozzle is crucial for achieving optimal results while cleaning foliage. Based on my extensive experience, I recommend using a fan nozzle, ideally one with a 25-degree angle. This configuration provides a balanced spread, allowing for thorough coverage without causing damage to delicate branches or leaves.
The pressure rating of the nozzle should match your equipment specifications. A lower rating is suitable for sensitive plants, while a higher rating may be necessary for tougher surfaces. For instance, when tackling stubborn dirt or mildew, a turbo nozzle can be beneficial. It combines the power of a pinpoint jet with a swirling motion, effectively dislodging grime without excessive force.
Always test the nozzle on a small, inconspicuous area before proceeding with the entire cleaning task. This step helps to ensure that the selected nozzle and pressure settings won’t harm the plant. If you’re uncertain, start with a wider spray pattern and gradually narrow it down as needed.
Additionally, considering other cleaning tools can enhance your experience. For those who frequently maintain their vehicles, investing in the best air compressor for car wash can complement your efforts, especially for detailed cleaning jobs.
In summary, choosing the right nozzle isn’t merely about functionality; it’s about understanding your specific needs and the unique characteristics of the plants you are working with. By tailoring your approach, you’ll achieve cleaner, healthier foliage while preserving the integrity of your greenery.
Preparing Your Pressure Washer for Tree Care
Check the water supply before connecting your equipment. Ensure a steady flow to prevent overheating the motor. A garden hose with a minimum diameter of ¾ inch is ideal for this task.
Next, inspect the machine for any signs of wear. Look for cracks in the hoses or leaks in the connections. A faulty hose can lead to inconsistent performance, which isn’t what you want when tending to your greenery.
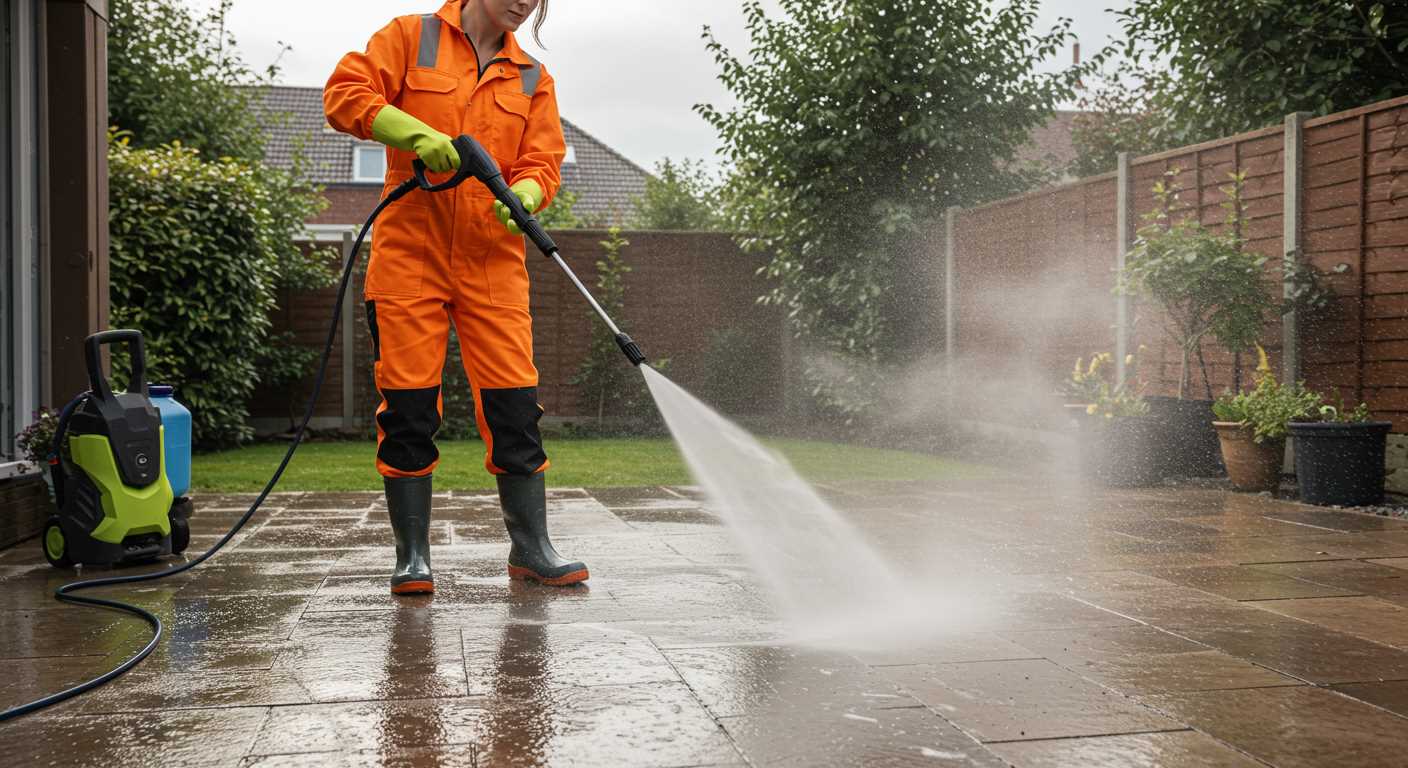
Fill the detergent tank with an appropriate cleaning solution. Choose a biodegradable product to ensure it’s safe for your plants and the environment. Avoid harsh chemicals that can harm your vegetation. Dilute according to the manufacturer’s instructions for optimal results.
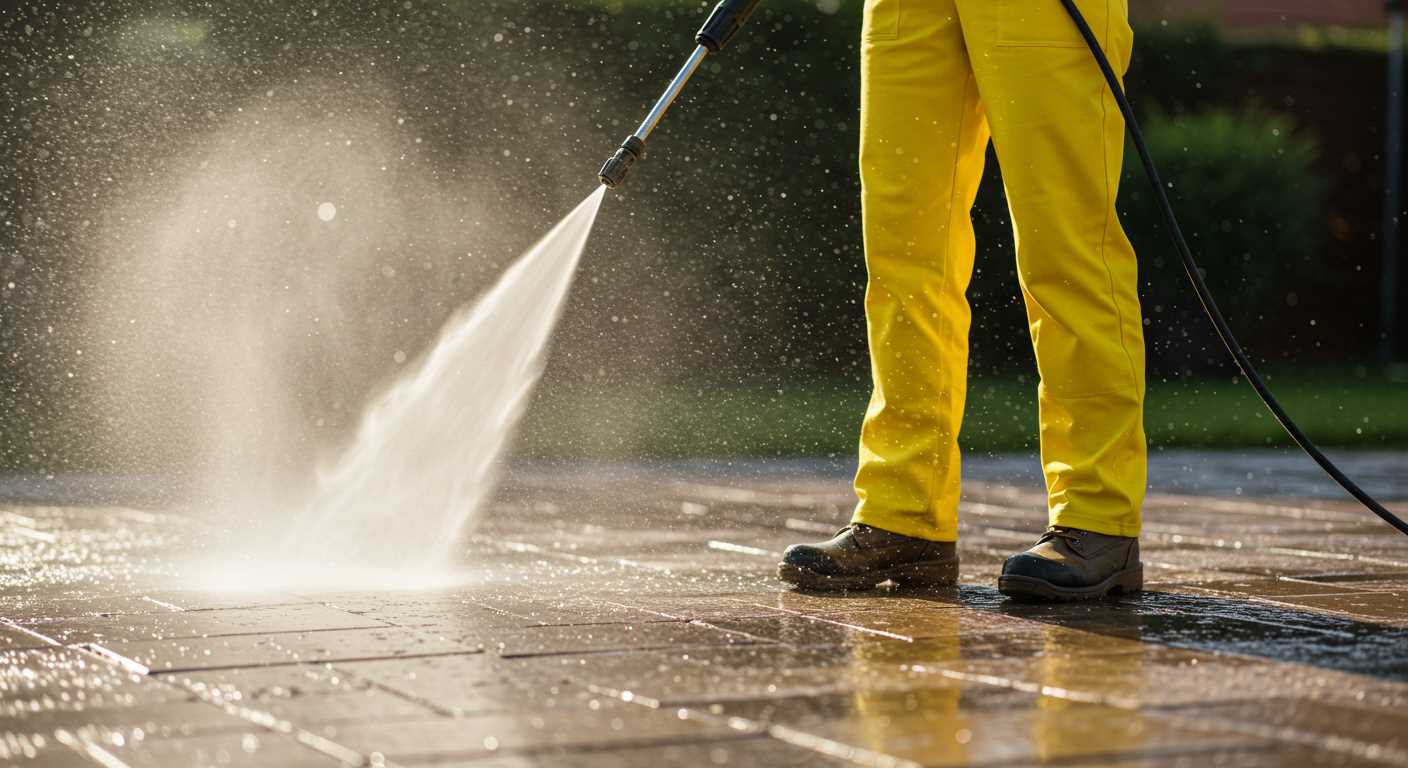
Adjust the pressure settings according to the plant type. If your device allows, set it to a lower pressure for delicate foliage. This reduces the risk of damage while ensuring thorough cleaning.
Before commencing, run a test on a small, inconspicuous area. This helps gauge the effectiveness of your setup and ensures that the equipment behaves as expected. I’ve often found that a quick test can save you from potential disasters later on.
Lastly, keep safety gear handy. Goggles and gloves protect against any debris or cleaning solution that might splash back. I’ve learned the hard way the importance of this step during my early days in the field.
Understanding Safe Pressure Levels for Different Tree Species
For optimal care, it’s crucial to adjust the force of your cleaning equipment based on the type of flora. Softwoods, like pines and firs, generally tolerate around 1000 to 1500 PSI. This range is gentle enough to clear debris without causing damage. I recall a time when I mistakenly used a stronger setting on a spruce. The bark ended up damaged, which was a costly lesson.
Broadleaf varieties, such as oaks and maples, can handle slightly higher pressures, around 1500 to 2000 PSI. They’re more resilient, but caution is still necessary. A friend of mine once overestimated the durability of a young maple and ended up stripping some bark away. This can lead to long-term issues, including pest infestations.
Factors Influencing Pressure Levels
Age and health of the plant significantly influence pressure tolerance. Mature specimens often have tougher bark and can withstand more force, while younger, newly planted varieties are more susceptible to damage. It’s wise to observe the condition of the bark; if it appears thin or fragile, lowering the force is advisable.
Testing Before Full Application
Before committing to a complete treatment, I always recommend performing a test on a small, inconspicuous area. Start at the lowest setting and gradually increase until you find a safe level that effectively removes dirt without compromising the integrity of the plant. This approach saved me from making costly mistakes in the past.
Techniques for Targeting Foliage Without Damage
To effectively clean leaves and branches while preserving the integrity of the plant, consider these tailored approaches:
Adjusting the Distance
- Maintain a safe distance of at least 2 to 3 feet from the foliage.
- Gradually decrease the distance while monitoring the plant’s response.
Angle of Approach
- Position the nozzle at a slight angle to avoid direct, forceful blasts on delicate areas.
- Utilise a sweeping motion rather than a static position to distribute the force evenly.
Remember to keep the settings minimal; excessive force can lead to damage. If you’re dealing with particularly sensitive species, consider testing on a small, inconspicuous area first. For additional cleaning tips, check out this link on cleaning the dustbin properly how to do it.
Timing Your Tree Spraying for Maximum Benefits
For optimal results, consider timing carefully when tending to your greenery. Early morning or late afternoon delivers the best conditions. During these hours, the sun is less intense, which reduces the risk of rapid evaporation of any solutions applied. Additionally, the calmer winds help ensure that the treatment reaches the intended targets rather than dispersing into the air.
Avoid mid-day application, particularly in the summer. The heat can cause products to dry too quickly, limiting their effectiveness. Rain can also play a role; wait at least 24 hours after rainfall to allow surfaces to dry before starting. This ensures that any treatments adhere properly and penetrate effectively.
Seasonal considerations also impact timing. Spring is ideal for preventative measures as trees begin to bud and show new growth. This is the perfect time to address pests or diseases before they become established. In contrast, late summer and autumn can be used for more targeted treatments prior to winter dormancy, especially for those stubborn infestations that might linger.
| Time of Day | Benefits | Considerations |
|---|---|---|
| Early Morning | Lower temperatures, less evaporation | Ensure dew has dried |
| Late Afternoon | Calm winds, cooler air | Avoid evening dew forming too soon |
| Mid-Day | High temperatures | Risk of evaporation and burning |
| Spring | New growth, effective prevention | Watch for late frosts |
| Late Summer/Autumn | Targeted treatments before dormancy | Prepare for winter conditions |
In my experience, paying attention to these timings can significantly enhance the outcomes. I once neglected the seasonal aspect and ended up battling a severe infestation that could have been controlled much earlier. Be vigilant, and you will see the benefits of thoughtful timing reflected in the health and resilience of your plants.
Post-Spraying Care and Maintenance for Trees
After completing the cleaning process, there are several steps to ensure your plants remain healthy and thriving.
- Inspect for Damage: Post-cleaning, check for any signs of distress or damage. Look for discoloured leaves or broken branches. These may indicate too much force was applied or that the foliage is sensitive.
- Watering: Ensure the ground around your specimens is adequately hydrated. This helps them recover from any stress caused during cleaning. Water deeply but less frequently to encourage deep root growth.
- Mulching: Adding a layer of organic mulch helps retain soil moisture and suppress weeds. It also regulates soil temperature, providing a more stable environment for roots.
- Fertilisation: If your plants appear to have suffered slightly, consider a balanced fertiliser to boost nutrient levels. Apply during the growing season for the best results.
- Pest Monitoring: Keep an eye out for pests that may take advantage of weakened foliage. Regular inspections can help catch infestations early. Use natural deterrents when possible.
- Pruning: Remove any dead or damaged branches to promote healthy growth. This encourages new shoots and improves air circulation within the canopy.
- Sunlight Exposure: Ensure your specimens are receiving adequate sunlight after cleaning. Sometimes, branches may be obscured, preventing light from reaching lower leaves.
- Seasonal Care: Adapt care routines based on the season. In colder months, protect sensitive varieties with frost cloths or wraps.
Maintaining vigilance after any cleaning procedure is key. These steps will support the ongoing health of your plants and enhance their resilience against future challenges.
FAQ:
Can I use a pressure washer to clean the bark of my trees?
Yes, you can use a pressure washer to clean the bark of trees, but caution is necessary. Use a low-pressure setting to avoid damaging the bark or harming the tree. Hold the nozzle at least a few feet away from the trunk and spray in a downward angle to prevent water from getting trapped in the bark crevices.
What is the best pressure setting for washing trees?
The best pressure setting for washing trees typically ranges from 500 to 1,200 PSI. Lower pressure is preferable to avoid injury to the tree. Always start with the lowest setting and increase it gradually if needed, while monitoring the tree’s condition closely.
Is it safe to use detergent when pressure washing trees?
Using detergent is not usually recommended for washing trees, as many cleaning agents can be harmful to the tree and surrounding plants. If you feel a detergent is necessary, choose a biodegradable product that is safe for plants and dilute it properly. Always rinse thoroughly to prevent any residue.
How often should I pressure wash my trees?
Generally, you should only need to pressure wash your trees once a year, ideally in the spring or early summer. This helps remove dirt, algae, and pests without stressing the tree. However, if you notice significant buildup or pest issues, you may need to wash them more frequently.
What precautions should I take before pressure washing my trees?
Before pressure washing your trees, ensure you take a few precautionary steps. First, inspect the tree for any signs of damage or disease. Avoid washing trees that are already stressed. Secondly, check the surrounding area for any plants or items that could be affected by the water spray. Finally, wear protective gear like goggles and gloves to ensure your safety while operating the pressure washer.
Can I use a pressure washer to clean trees without damaging them?
Yes, you can use a pressure washer to clean trees, but caution is needed. It’s important to select the right nozzle and pressure setting. A wide spray nozzle is recommended to distribute the pressure evenly and avoid harming the tree bark. Using a lower pressure setting will help prevent damage to the tree’s surface. Additionally, keep the nozzle at a safe distance from the tree to reduce the risk of injury to the bark or the tree itself.
What precautions should I take when using a pressure washer on trees?
When using a pressure washer on trees, there are several precautions to consider. First, ensure that the pressure setting is appropriate; a lower setting is less likely to damage the bark. Second, avoid spraying directly at the base of the tree, as this can disturb the roots and soil. It’s also wise to check for any signs of pests or disease on the tree before cleaning it. Finally, always wear protective gear, such as goggles and gloves, to safeguard yourself from debris or water splashes. Taking these steps will help ensure that your cleaning process is safe for both you and the tree.
Video:

.jpg)


