


To achieve optimal results, always opt for a foam attachment designed specifically for your equipment. This accessory enhances the application of your selected cleaning solution, allowing for even coverage and thorough penetration of dirt and grime. I vividly recall a time when I tackled an exceptionally muddy vehicle; the foam made all the difference, clinging to the surface and breaking down stubborn contaminants effortlessly.
Ensuring the right dilution ratio is crucial. Follow the manufacturer’s instructions, but generally, a 1:10 ratio works wonders for typical cleaning tasks. In my experience, adjusting this ratio can lead to better performance depending on the level of soiling. For instance, during a particularly challenging job involving an oil-stained driveway, I opted for a more concentrated mix, which proved immensely effective.

Pay attention to the application technique. Begin from the bottom and work your way up to prevent streaks and ensure even distribution. I’ve seen countless people start from the top, only to later regret it when the solution runs down and leaves marks. It’s a simple trick, but it can save a lot of time and frustration during the rinsing stage.
Lastly, always rinse thoroughly after application. Leftover residue can attract more dirt, negating your efforts. I learned this the hard way after a job where I thought I could skip the rinse phase. Trust me, taking the time to rinse properly ensures that the surfaces remain clean for longer, saving you from repetitive work down the line.
Choosing the Right Shampoo for Cleaning Equipment
Opt for a formulation designed specifically for your task. Generic products can lead to subpar results and potential damage. Always check the label for compatibility with surfaces and materials.
Types of Formulations
- Car Wash Solutions: Ideal for automotive finishes, ensuring a shiny, streak-free surface.
- Deck Cleaners: Perfect for wood surfaces, removing grime without causing harm.
- All-Purpose Cleaners: Versatile for various materials, but verify effectiveness on specific surfaces.
Concentration Levels
Pay attention to the concentration. Highly concentrated options may require dilution, while ready-to-use solutions offer convenience. My experience shows that mixing according to instructions yields the best outcomes.
- Test on a small area first to observe results.
- Adjust the concentration based on the level of dirt and grime.
Brands also matter. Stick to reputable names known for quality. I’ve encountered lesser-known products that didn’t perform as advertised, leading to wasted time and effort. Reading reviews can offer valuable insights.
Lastly, consider environmental impact. Eco-friendly options have gained traction and often perform just as well, if not better. I’ve switched to green products and noticed no decline in cleaning effectiveness while feeling better about my choices.
Preparing Your Karcher Pressure Washer for Shampoo Application
Before starting the foaming process, ensure the appliance is clean and in proper working condition. Disconnect the water supply and power source to avoid any accidents. Check the detergent tank for any remnants of previous cleaning solutions and rinse it out thoroughly.
Next, inspect the nozzle and lance. Choose a suitable attachment that produces the desired foam consistency. I often recommend the foam nozzle for optimal coverage, as it creates a thick layer of bubbles that cling to surfaces. If you’re uncertain, test different nozzles on a small area first.
Fill the detergent reservoir with the selected cleaning agent. Ensure the cap is secured tightly to prevent spills during operation. If your machine has a specific dilution ratio, adhere to it closely for the best results. A helpful tip from my experience: if the detergent is too concentrated, it may not rinse off properly, leading to residue.
Now, reattach the water supply and power source. Turn on the equipment and let it sit for a minute. This allows the detergent to mix with the water and ensures an even distribution of the solution when you start spraying.
Here’s a quick checklist for your preparation:
| Step | Action |
|---|---|
| 1 | Disconnect water and power sources. |
| 2 | Clean the detergent tank. |
| 3 | Choose the correct nozzle. |
| 4 | Fill the tank with the appropriate cleaning solution. |
| 5 | Reconnect water and power. |
| 6 | Allow the machine to mix the solution. |
Once everything is set, you’re ready to start the cleaning process. This preparation ensures an efficient application, leading to a thorough clean without any hassle.
Setting up the shampoo dispensing system correctly
Ensure the detergent container is securely attached to the machine. I remember the first time I neglected this step; the mix ended up spilling everywhere, creating a slippery mess. Check the connection points for any debris or blockages that might impede flow.
Next, adjust the dilution ratio according to the manufacturer’s recommendations on the product label. Too concentrated, and you’ll risk damaging surfaces; too diluted, and it won’t clean effectively. I learned this the hard way on my patio. It took me hours to redo the job after using a stronger mix than necessary.
Then, switch the nozzle on your equipment to a lower-pressure setting. Using a high-pressure tip can dislodge the foam instead of applying it evenly. I often start with a wide-angle nozzle before switching to a more focused one for rinsing. It serves me well, ensuring a thorough application without wasting detergent.
Don’t forget to prime the system. Before starting, run the machine without engaging the trigger for a few seconds to let the detergent flow into the lines. I’ve seen many people overlook this, thinking it’s unnecessary, but trust me; it makes a significant difference in achieving a consistent foam application.
After setup, perform a test spray on a small, inconspicuous area. This allows you to see how the product reacts with the surface and adjust your technique if needed. I’ve had my share of surprises, discovering that some surfaces react unpredictably to various formulations.
Finally, maintain the dispensing system by cleaning it after each use. Residue can build up and create clogs. I make it a habit to flush the lines with clean water; it’s a simple step that saves time and hassle in the long run. Keeping the dispenser in good condition will ensure it operates smoothly for future jobs.
Adjusting Pressure Settings for Optimal Shampoo Use
For the best results, set the pressure level between 1000 to 1500 PSI. This range ensures effective application without causing damage to surfaces. When I first started experimenting, I found that higher settings often led to excessive foam, making cleanup a hassle.
Always begin at the lower end of the scale. Gradually increase the pressure while observing the lathering process. If you notice the detergent not adhering well or washing off too quickly, it’s time to dial it back. Each surface–be it wood, concrete, or stone–reacts differently, so fine-tuning is key.
A tip I learned through trial and error is to adjust the nozzle accordingly. A wider fan spray can help distribute the foam evenly. This is particularly useful when tackling larger areas or delicate surfaces. If you’re cleaning solid wood floors, for example, a narrow spray can risk damage, so a broader setting is advantageous. For more details on that, check out the how to clean solid wood floors complete guide.
Lastly, keep an eye on the foam generation. If it’s too thin, increasing the pressure might help, but don’t go overboard. The goal is a thick, clingy layer that breaks down dirt effectively. Adjusting the pressure thoughtfully will lead to a cleaner finish and a more efficient process overall.
Applying Shampoo to Different Surfaces
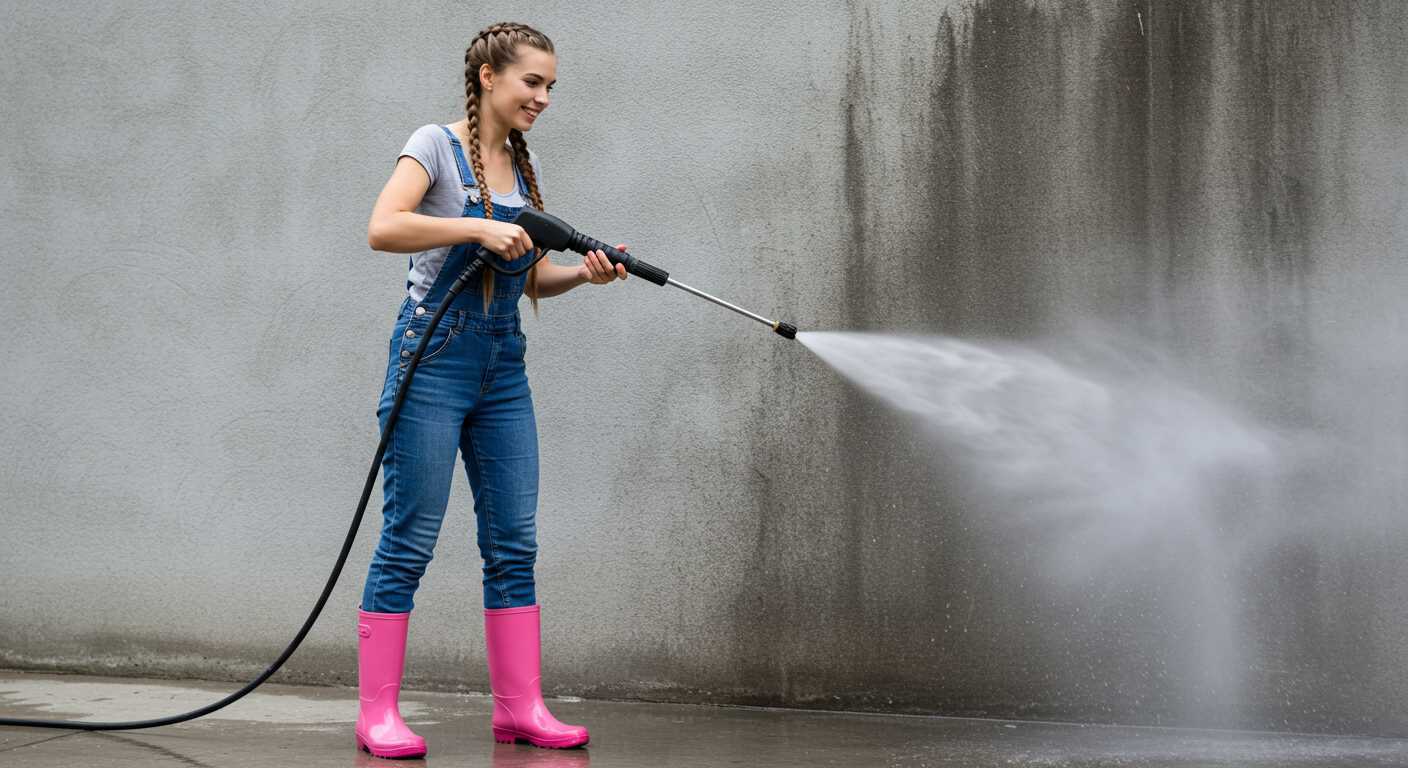
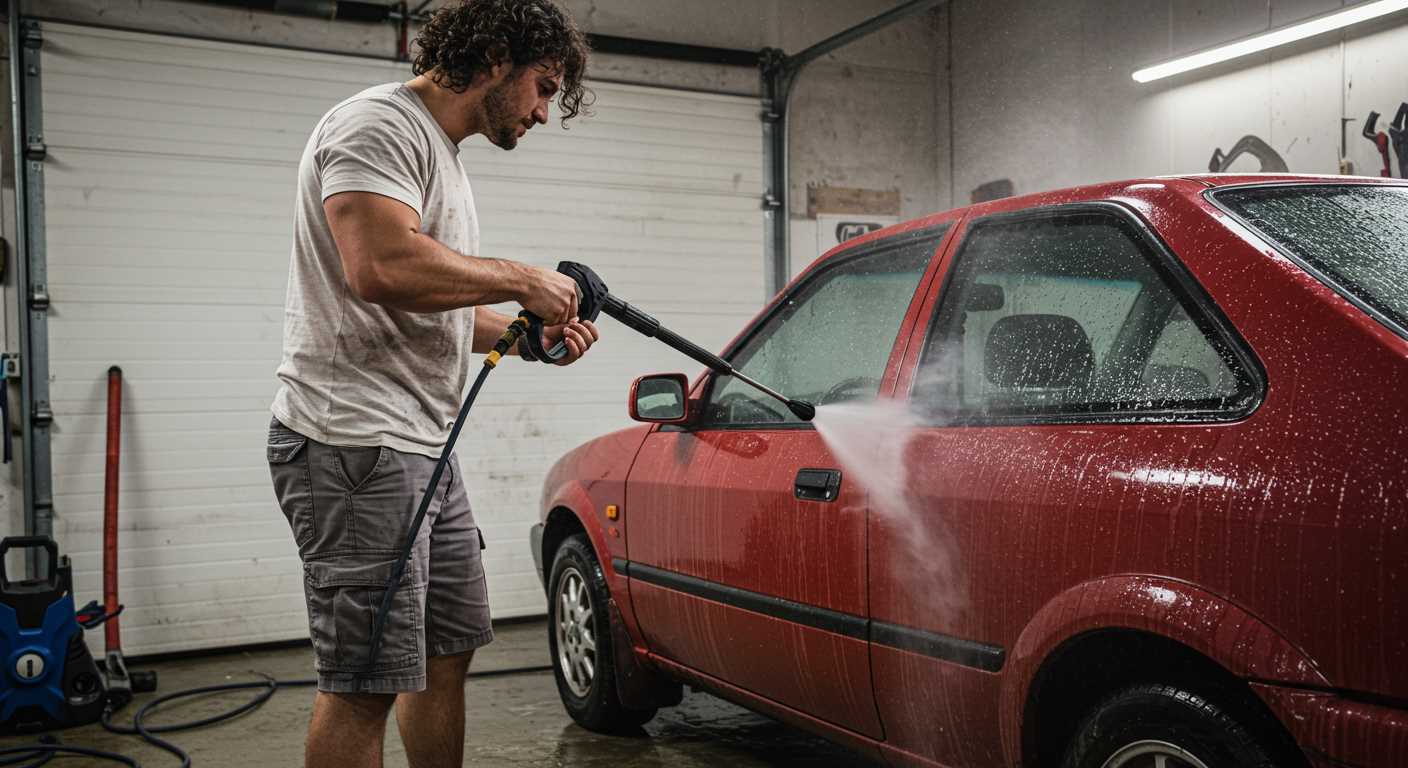
For optimal results, adjust your approach based on the surface type. For vehicles, start at the top and work your way down, ensuring the cleaner is evenly distributed to prevent streaking. A gentle fan spray pattern is ideal to avoid damage to the paintwork. On driveways or patios, a wider spray pattern can cover more ground effectively. Allow the cleaner to dwell for a few minutes before rinsing, as this enhances its ability to lift dirt and grime.
Concrete and Brick Surfaces
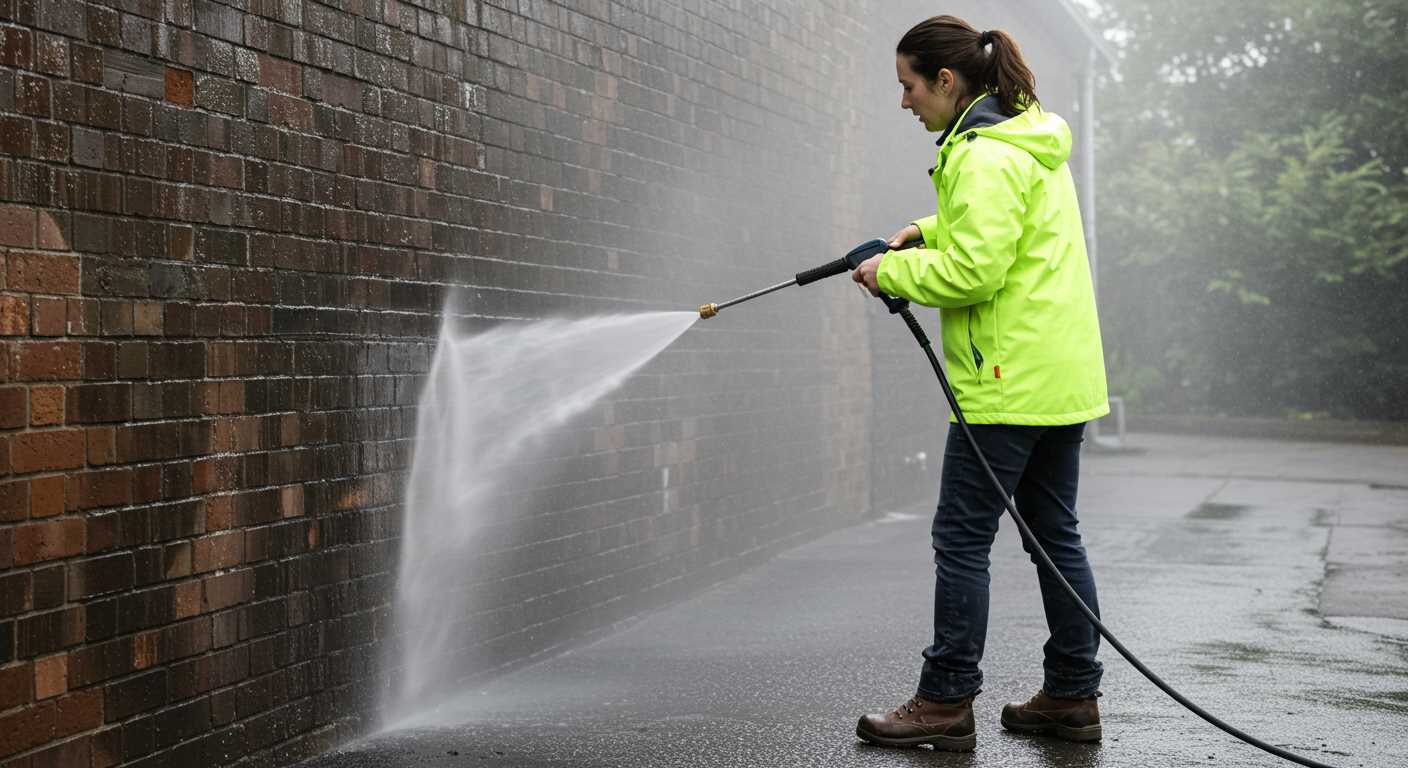
When tackling concrete or brick, focus on heavily soiled areas first. The high-pressure stream will help break down stubborn stains, while the cleaner’s foaming action penetrates the porous material. For best results, consider using a surface cleaner attachment. This tool allows for an even application and prevents streaks, ensuring a uniformly clean finish. Rinse thoroughly to remove any residue that could lead to slippery conditions.
Wood and Composite Decking
For wooden surfaces, always test in a small, inconspicuous area first. The cleaner can be quite potent, and you want to avoid damaging the wood. Use a low-pressure setting to gently apply the solution, allowing it to saturate the surface without causing splintering. Rinse lightly to avoid excess moisture that can warp the wood. Composite decking requires a similar approach; however, be mindful of the manufacturer’s recommendations regarding cleaners to ensure longevity.
For larger areas such as patios, consider investing in a pressure washer for large patio to efficiently cover the surface while maximising cleaning power.

Rinsing Techniques After Shampoo Application
To achieve optimal results, rinsing effectively after applying the cleaning solution is crucial. Here are specific techniques I’ve found beneficial over the years:
- Start with Low Pressure: Initially, reduce the force of the water. A gentle rinse helps remove the detergent without forcing it into crevices or causing damage.
- Use a Wide Spray Nozzle: Opt for a nozzle that produces a fan-like spray. This covers a larger area and ensures uniform rinsing, preventing streaks on surfaces.
- Maintain Distance: Keep the nozzle at least 2 feet away from the surface. This distance helps in distributing the water evenly and reduces the risk of damaging delicate materials.
- Rinse from Top to Bottom: Begin rinsing at the highest point of the surface and work your way down. This technique prevents any residual cleaning agent from running down over already cleaned areas.
- Use a Patterned Motion: Move the nozzle in a sweeping side-to-side motion. This approach ensures that all areas receive adequate rinsing, reducing the need for multiple passes.
- Inspect as You Go: Keep an eye on the surface while rinsing. If any cleaning agent remains visible, focus on those areas to ensure thorough removal.
Remember, the quality of the rinse is as important as the application. A thorough rinse enhances the longevity of the cleaned surfaces and prevents residue build-up.
Maintaining your pressure washer post-shampoo application
After completing a cleaning session with detergent, it’s crucial to take steps to preserve your unit’s longevity. First, disconnect the detergent tank and rinse it thoroughly with clean water. This prevents any residue from clogging the system or affecting future cleaning jobs.
Next, run clean water through the machine for several minutes. This flushes out any remaining cleaning agent from the hoses and pump. I remember once neglecting this step and found my machine struggling to maintain pressure on the next use. A simple rinse could have saved me a lot of hassle.
Inspecting and cleaning filters
Regularly check and clean the water inlet filter. Over time, debris can accumulate, restricting water flow. A quick inspection and cleaning can boost performance significantly. If you notice any damage to the filter, replacing it promptly is wise to ensure optimal functionality.
Storing properly
When storing your equipment, keep it in a dry, sheltered area. If you’ve used a cleaning agent, let the unit dry out completely before storing it to avoid any moisture-related issues. A well-maintained machine will serve you well for years, and I’ve seen the difference it makes in overall performance and reliability.
.jpg)


