


For anyone looking to achieve impressive results with their cleaning task, start with the right nozzle. The tip selection directly impacts the cleaning power and safety of the operation. A narrow nozzle concentrates the water pressure for tough grime, while a wider one is better for delicate surfaces. I remember using a 15-degree nozzle on my driveway, and the difference was remarkable; oil stains disappeared in minutes.
Next, ensure to maintain a steady distance from the surface being cleaned. Typically, a distance of 12 to 18 inches is optimal. Too close, and you risk damaging the material; too far, and you lose pressure efficiency. I learned this the hard way while cleaning my patio; getting too close left some marks on the pavers that took extra effort to correct.

Don’t forget to attach the right accessories for specific tasks. For instance, using a scrub brush can significantly enhance your efficiency when tackling stubborn dirt. I recall using a surface cleaner attachment for my deck, which cut down cleaning time and provided even results. Mixing the right technique with the right tools can transform your experience from tedious to satisfying.
Finally, remember to always use the equipment in a well-ventilated area, especially when using detergents. I once overlooked this and ended up with a headache from fumes. Safety should always be a priority. Following these tips will not only improve your results but also prolong the life of your cleaning machine.
Operating a Simpson Cleaning Device
Before beginning, ensure the unit is placed on a flat, stable surface, away from any sensitive items or plants. Connect the water supply to the inlet, ensuring it’s tightly sealed to prevent leaks. I’ve learned that a secure connection can save you from unnecessary messes later.
Next, check the oil level in the engine if your model is gas-powered. A proper oil level is vital for optimal performance. I recall a time when I overlooked this step, and the engine ran sluggishly. Avoid that pitfall by checking before starting.
Attach the desired nozzle suited for your task. Different nozzles deliver varying spray patterns and pressures. For stubborn stains, opt for a narrow nozzle. I once tackled an oil stain on a driveway, and the 15-degree nozzle made all the difference.
When ready, turn on the water supply and pull the trigger on the gun to purge air from the system. This step is crucial; it prevents any hiccups when you start the motor. I often forget this, leading to frustrating moments of sputtering. Then, fire up the engine, allowing it to warm up for a minute.
Maintain a safe distance from the surface being cleaned; typically, 2-3 feet works well. Keep the nozzle moving to avoid damaging the surface, especially on softer materials. I vividly recall a time I lingered too long on a wooden deck, leaving a noticeable mark. Lesson learned!
After completing your task, switch off the engine, then the water supply. Pull the trigger again to relieve any remaining pressure in the system. This step is often neglected, but I assure you, it makes future storage and maintenance much simpler.
Finally, store the equipment in a dry area and detach all hoses. Keeping everything tidy prolongs the lifespan of your device. I always make it a habit to clean the nozzles after each use to prevent clogs, which can be a nightmare during the next round of cleaning.
Understanding the Components of Your Cleaning Device
The heart of any high-pressure cleaning system lies in its pump. This component drives water through the system at high velocities, creating the force necessary for effective cleaning. Regularly inspect the pump for leaks or signs of wear. A well-maintained pump ensures optimal performance and longevity. If you notice any unusual noises or vibrations, it may be time for a professional check-up.
Key Features to Monitor
The nozzle is another critical piece. Different nozzles create various spray patterns and pressures, tailored for specific tasks. For example, a narrow nozzle produces a concentrated stream, perfect for tough stains, while a wider spray is ideal for rinsing surfaces. Always match the nozzle to your cleaning requirements to avoid damage to surfaces or the equipment itself.
Hoses and Accessories
The hoses are your lifeline, connecting the water source to the unit. Look for any cracks or kinks that could impede water flow. Using a high-quality hose will prevent leaks and ensure a steady supply of water. Accessories like surface cleaners and extension wands can enhance your cleaning efficiency. Experiment with different tools to discover what works best for your specific needs and projects.
Setting Up Your Pressure Washer Properly
Ensure the machine is on a stable surface, away from any obstacles. This prevents tipping and allows for optimal performance. I recall a time when I set up on uneven ground, and it resulted in a frustrating experience–water splattered everywhere as I struggled to maintain control.
Connecting the Hose and Accessories
Attach the high-pressure hose securely to the outlet. A loose connection can lead to leaks, impacting efficiency. I’ve had instances where a simple twist was all it took to prevent a mess and save time. Don’t forget to connect the spray gun and select the appropriate nozzle. Each nozzle offers a different spray pattern; for instance, a wider pattern is ideal for rinsing, while a narrow one is better for tough stains.
Water Supply and Pressure Settings
Always check the water supply before powering up. Ensure the source can provide adequate flow. I’ve faced situations where a low water supply resulted in reduced pressure, making the task take twice as long. Adjust the pressure settings based on the surface you’re cleaning. Start low and gradually increase to avoid damage, especially on delicate materials like wood or painted surfaces. A careful approach saves both time and potential repairs down the line.
Selecting the Right Nozzle for Your Task
For optimal cleaning results, it’s crucial to choose the right nozzle. Each nozzle type delivers a different spray pattern and pressure, making it suited for specific tasks. Over the years, I’ve encountered various cleaning challenges, and selecting the appropriate nozzle often made all the difference.
There are typically four common nozzle types, each with distinct colour codes that signify their spray angles and applications:
| Nozzle Colour | Spray Angle | Recommended Use |
|---|---|---|
| Red | 0° | Concentrated, high-pressure stream for tough stains and surfaces |
| Yellow | 15° | Powerful cleaning for concrete, driveways, and brick surfaces |
| Green | 25° | General cleaning for decks, patios, and vehicles |
| White | 40° | Gentle spray for delicate surfaces such as wood and painted finishes |
During a recent project revitalising a weathered wooden deck, I opted for the green nozzle. The 25° angle provided sufficient power to remove grime without damaging the wood. Conversely, when tackling a stubborn oil stain on concrete, the yellow nozzle proved indispensable, cutting through the mess effectively.
Always remember to adjust your nozzle based on the surface you’re cleaning. The red nozzle’s intense pressure can damage softer materials, while the white nozzle is too gentle for tough grime. Experiment with different nozzles if unsure; it can lead to discovering the most efficient method for your specific task.
In my experience, keeping a variety of nozzles on hand ensures readiness for any cleaning challenge. This simple adjustment can significantly enhance your cleaning efficiency and outcomes.
Connecting the Water Supply and Power Source
Ensure a secure connection to the water supply by using a standard garden hose. Check for any leaks in the hose and the connections before proceeding. It’s crucial that the water supply is adequate; a minimum flow rate of 5 gallons per minute is typically recommended for optimal performance. If the water pressure is too low, the machine may not function correctly.
Water Connection
Attach one end of the hose to your tap and the other to the water inlet on the equipment. Make sure it’s fastened tightly to avoid any disconnections during operation. Always remember to turn on the water before starting the motor to prevent damage to the pump.
Power Source Setup
For the power connection, locate a suitable electrical outlet. Ensure the outlet matches the power requirements specified in the manual. If you’re using an extension cord, it should be heavy-duty and rated for outdoor use. Always check the cord for any damage before plugging it in. Safety precautions are paramount; avoid any water contact with electrical components to prevent hazards.
Starting the Simpson Pressure Washer Safely
Ensure you wear appropriate protective gear before beginning. Safety goggles, gloves, and non-slip footwear are crucial. I’ve seen too many accidents due to neglecting this simple step. Always check your surroundings for any obstacles or flammable materials.
Fuel and Oil Checks
If your model runs on gasoline, inspect the fuel level and quality. Use fresh fuel; stale gasoline can lead to starting issues. Make sure the oil level is adequate. I recall a time when I skipped this check and faced a frustrating delay. A well-lubricated engine not only performs better but lasts longer.

Power Connection and Safety Features
For electric units, ensure that the power cord is in good condition and plugged into a GFCI outlet. A surge protector is a wise investment. Familiarise yourself with the safety features of your machine; emergency shut-off switches can save you from accidents. In my experience, knowing these details can prevent mishaps that lead to costly repairs or injuries.
Before you engage the trigger, make sure the nozzle is adjusted correctly and the unit is stable. A pointed tip can cause the machine to kick back unexpectedly. If you need extra reach, consider a tool like best pressure washer extension wands to maintain control while working.
Adjusting Pressure Settings for Different Surfaces
Adjusting the pressure is key to achieving optimal results on various surfaces. Each material requires a specific setting to avoid damage while ensuring effective cleaning. Here’s how I determine the correct pressure for different tasks based on my experiences.
Hard Surfaces
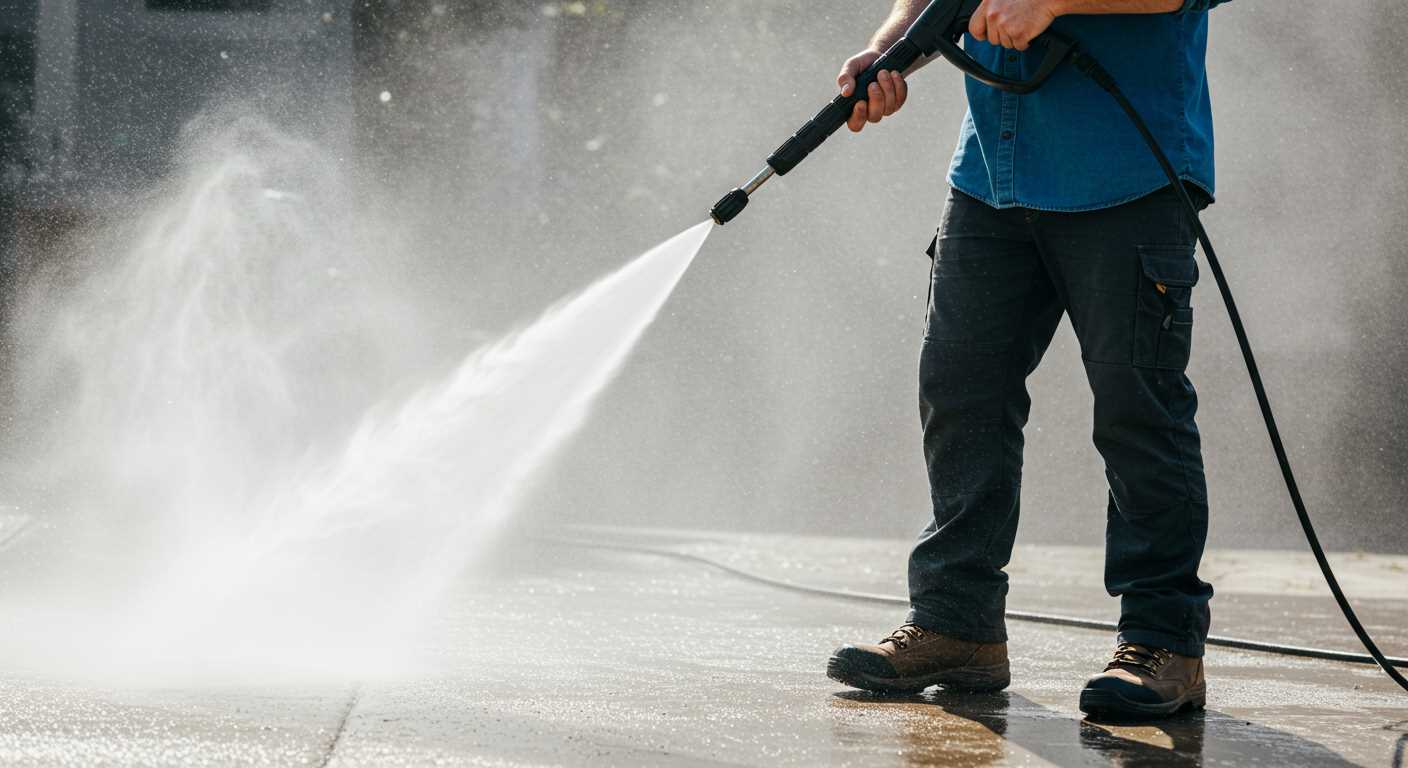
- Concrete: A setting of 3000 PSI works wonders. It tackles grime, oil stains, and dirt efficiently.
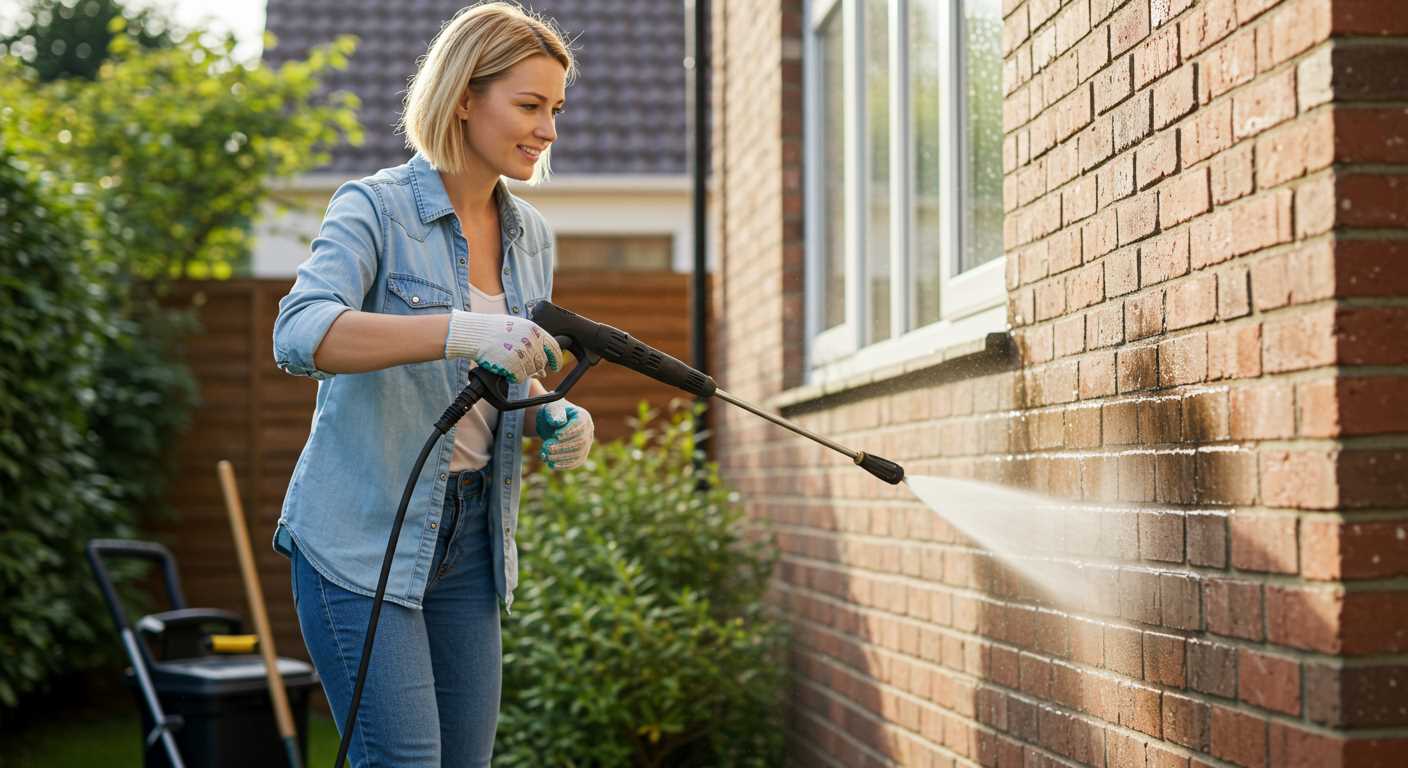
- Brick: Use around 2500 PSI. This strikes a balance between cleaning power and surface protection.
- Pavers: Adjust to 2000-2500 PSI. This helps lift dirt without dislodging the stones.
Soft Surfaces
- Wood: For decks or fences, keep it at 1500-2000 PSI. This prevents splintering while still cleaning effectively.
- Vinyl Siding: A lower setting of 1200-1500 PSI is ideal. It cleans without risking damage to the material.
- Painted Surfaces: Limit pressure to 1500 PSI to avoid peeling or chipping the paint.
Always start with the lowest pressure and gradually increase it until you find the right balance for the surface you are cleaning. I’ve learned that it’s better to be cautious than risk damaging the surface.

Additionally, the nozzle type can significantly influence the effectiveness of your cleaning. A narrow nozzle provides a concentrated stream for tough stains, while a wider nozzle spreads the pressure over a larger area, which is better for delicate surfaces. Adjust both pressure and nozzle accordingly for the best results.
Remember, keeping a safe distance from the surface also helps in preventing damage. I often maintain at least a 2-foot distance when working with higher pressures, gradually getting closer as needed.
Cleaning Techniques for Optimal Results
To achieve the best results when tackling various surfaces, specific cleaning techniques can make a significant difference. I’ve found that understanding the nature of the material you’re working with is key.
Surface Preparation
- Clear the area of any loose debris, furniture, or obstacles to enhance efficiency.
- If dealing with stubborn stains on concrete or stone, pre-treat these spots with a suitable cleaning solution.
- For wooden decks, ensure the surface is dry and free from mildew before commencing.
Technique Application
- Maintain a consistent distance of about 12 to 18 inches from the surface to prevent damage.
- Begin with a sweeping motion, overlapping each pass slightly to ensure thorough coverage.
- For vertical surfaces, work from the bottom up to avoid streaks.
- Adjust the angle of the nozzle to direct the spray effectively, especially on textured surfaces.
- Utilise a side-to-side sweeping motion for expansive areas to avoid concentrating pressure in one spot.
In my experience, patience is paramount. Rushing can lead to incomplete cleaning or even damage. Always take the time necessary to achieve the desired outcome.
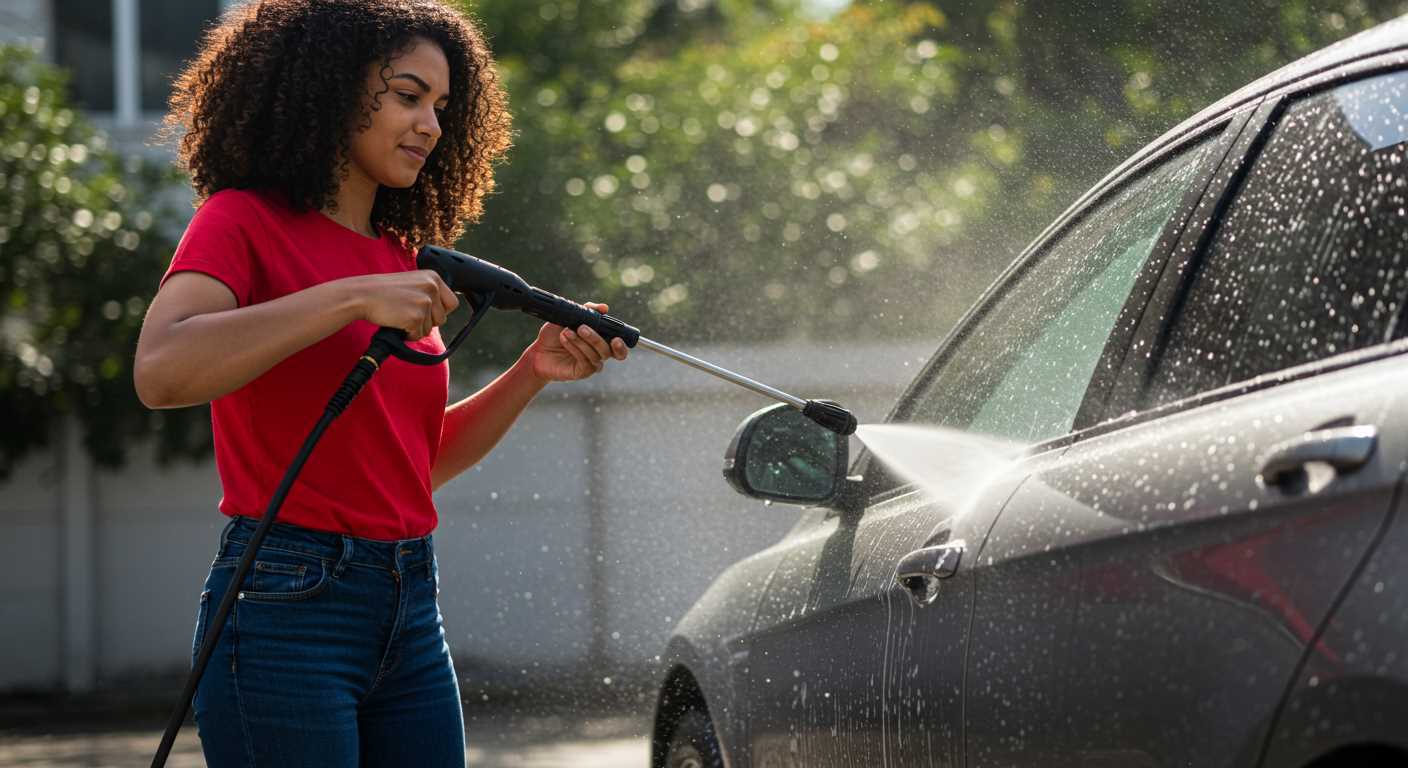
For cleaning vehicles, a lower setting with a fan spray nozzle works wonders, preventing paint damage while still removing dirt. On the other hand, stubborn grime on driveways may require a more concentrated approach with a narrow nozzle.
Lastly, don’t overlook the importance of rinsing. After applying any detergent, ensure you thoroughly rinse the surface to remove any residue, enhancing the overall finish.
Maintaining Your Pressure Cleaner After Use
After finishing a cleaning task, it’s crucial to ensure the longevity of your equipment. First, disconnect the water supply and power source. This simple step helps prevent any accidental activation while you perform maintenance.
Next, purge the system of any remaining water. Engage the trigger on the spray gun, allowing water to flow out until the pressure releases completely. This prevents water from freezing and damaging internal components if stored in cold conditions.
Inspect the nozzle for clogs. A quick rinse can often resolve this issue. If you notice any buildup, a soft brush or a pin can help clear stubborn debris. Keeping the nozzle clean ensures optimal performance during your next session.
Check the hoses for any signs of wear or damage. Look for kinks, cracks, or leaks. Storing the hoses properly–coiled and away from direct sunlight–extends their life significantly. If any damage is found, replace the hose immediately to avoid further complications.
Regularly changing the oil is another key maintenance step. Follow the manufacturer’s guidelines on oil type and change frequency. Clean oil not only improves performance but also reduces wear and tear on the engine.
Finally, store your cleaner in a dry, sheltered area. If you have a gas cold water pressure washer, ensure it’s stored upright to prevent fuel leaks. During long-term storage, consider using a stabiliser in the fuel tank to prevent degradation.
By following these steps, you’ll keep your equipment in peak condition, ready for the next cleaning challenge.
Troubleshooting Common Issues with Your Cleaning Equipment
When your machine fails to start, check the fuel or oil levels first. Ensure the fuel is fresh; old fuel can gum up the system. I once encountered a unit that wouldn’t fire up because of stale fuel. A quick drain and refill brought it back to life.
Inconsistent Pressure
If you notice fluctuations in pressure, inspect the nozzle for clogs. A simple rinse usually clears debris. I’ve seen situations where a small stone lodged in the nozzle caused significant pressure drop, leading to a frustrating cleaning experience. Also, check the hose for kinks or leaks that can affect performance.
Water Leaks
Leaks often originate from connections. Ensure all hoses are tightly secured. During one repair, I found a minor leak at a fitting that was causing major headaches. A quick tightening resolved the issue. Additionally, inspect the seals and O-rings; worn or damaged parts should be replaced to avoid further complications.
For electrical failures, ensure the power source is functioning. I recall a situation where the unit wouldn’t run, and it turned out the outlet had tripped. Resetting the breaker was all that was needed. Regular maintenance and prompt attention to these issues can prolong the lifespan of your equipment.
.jpg)


