


For a pristine finish, begin by applying a thick layer of cleansing agent to your vehicle. This step is crucial in loosening dirt and grime, preparing the surface for a deeper clean. Choose a quality product specifically designed for this purpose–one that clings effectively and provides a robust barrier against contaminants.
When setting up your device, ensure the dilution ratio is according to the manufacturer’s instructions. I’ve often found that a stronger mix yields better results, especially on heavily soiled surfaces. Remember to shake the container well before filling the tank to ensure an even blend of the solution.

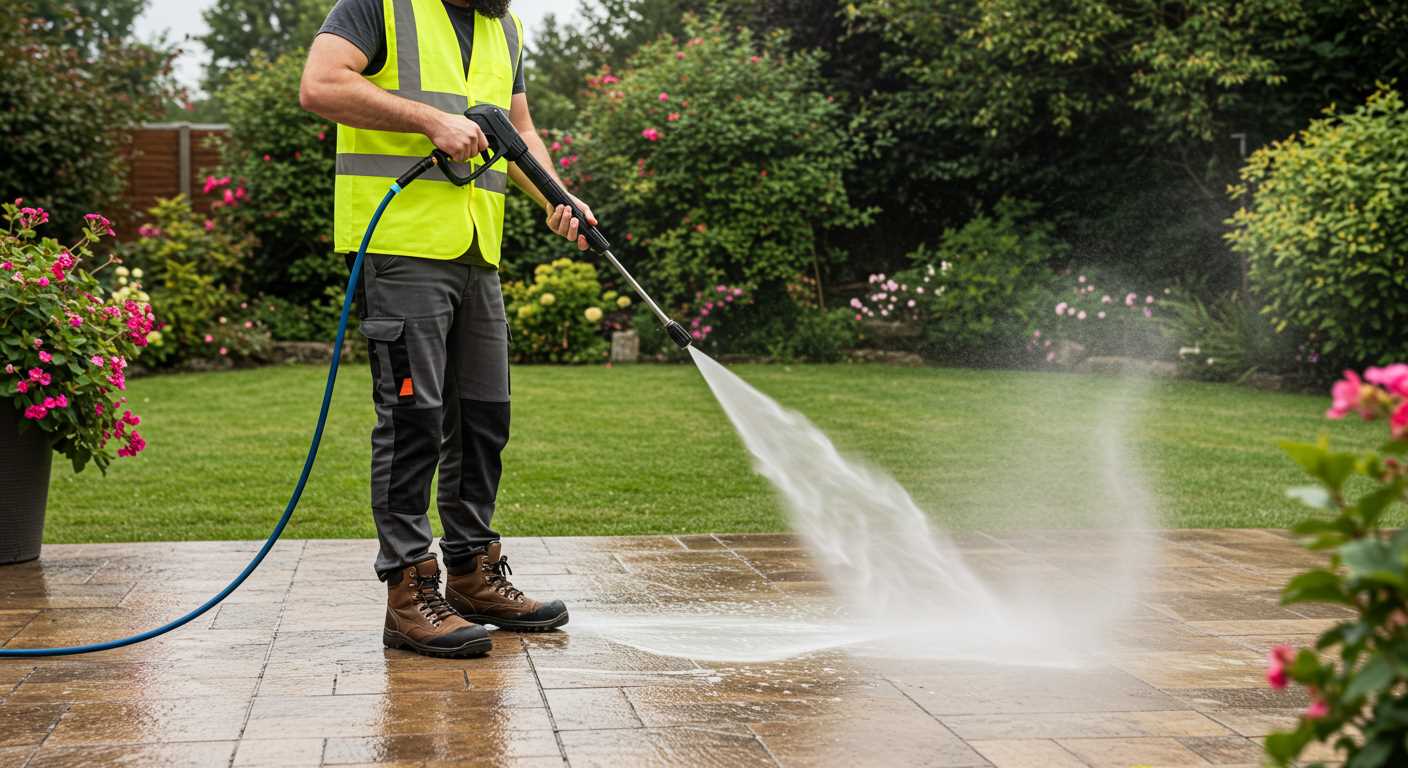
Position the nozzle at a distance of around 1-2 feet from the surface. This allows for optimal coverage without risking damage to your paintwork. A wide spray pattern is ideal for a broad area, while a more concentrated stream can target stubborn spots. I always recommend working from the bottom up, as this prevents streaking and ensures each section is thoroughly treated.
After application, allow the product to dwell for a few minutes. This waiting period enables the agent to break down tough residues effectively. Avoid letting it dry on the surface, as this can lead to streaks. For best results, follow up with a thorough rinse using clean water to remove all traces of the cleanser.
Selecting the Right Snow Foam for Your Vehicle

Opt for a pH-neutral solution specifically designed for automotive finishes. These products are gentle on your paintwork while effectively lifting dirt and grime. Always check labels to ensure compatibility with your vehicle’s surface. For instance, I once mistakenly used a harsh detergent on my classic car, resulting in minor damage that took time and effort to rectify. Lesson learned!
Consider the Thickness and Coverage
A thicker consistency usually clings better, allowing for extended dwell time on the surface. This helps in breaking down stubborn contaminants. During my experience, I found that some brands offer adjustable dilution ratios. This flexibility lets you customise the concentration based on how dirty your vehicle is. For regular maintenance, a lighter mix suffices, while a higher concentration works wonders for a deeper clean.
Evaluate the Scent and Eco-Friendliness
Look for biodegradable options that are safe for the environment. I’ve tested several products, and I prefer those with pleasant scents that make the washing experience more enjoyable. Just remember, while fragrance can be nice, it shouldn’t compromise cleaning power. Always balance your choice with effectiveness and environmental impact.
For optimal results, pair your selected solution with a quality unit, taking into account the best car wash pressure washer psi for your needs. This ensures a thorough clean without risking damage to your vehicle.
Preparing Your Pressure Washer for Snow Foam Application
Before applying a thick layer of lather, check the detergent tank. Ensure it’s clean and free from residue. I recall a time when I rushed and ended up mixing two different products, which led to a mess on my vehicle and a wasted afternoon. Always rinse the tank thoroughly before adding a new solution.
Next, set the correct nozzle. A fan or wide-angle nozzle is ideal for creating a thick blanket of suds. I’ve tried various nozzles, but the 25-degree option often provides the best coverage without being too harsh on the paintwork.
Inspect the pressure setting on your machine. For optimal results, a lower pressure is preferable when applying cleaning agents. High pressure can strip wax and damage finishes. I usually set mine to around 1000-1200 PSI for this task. You can always adjust if needed, but starting lower helps protect your vehicle.
Don’t forget to connect the foam lance properly. Ensure it’s tightly secured to avoid any leaks during application. I once had a loose connection that resulted in a slippery mess on the ground. Tightening the fittings can save you from unnecessary cleanup.
Lastly, always wear protective gear. Goggles and gloves are a must. I learned this lesson the hard way when a wayward spray hit my eyes. Safety should always come first, even during what seems like a simple task.
Setting up the foam cannon correctly
To achieve optimal results, calibrating the foam cannon is key. Here’s how I recommend doing it:
Adjusting the nozzle
- Start by selecting the appropriate nozzle for your setup. A wider fan angle is ideal for larger surface areas.
- Rotate the nozzle to adjust the spray pattern. A tighter pattern allows for focused application on specific spots.
- Test the spray on a small surface to ensure it meets your expectations before proceeding with the entire vehicle.
Setting the dilution ratio
- Check the manufacturer’s instructions for the recommended dilution ratio. This often varies based on the product’s concentration.
- Mix the cleaning solution in the cannon’s reservoir, ensuring the correct balance of water and cleaning agent.
- Conduct a quick test spray to check the consistency. If it’s too thin, add more cleaning solution; if too thick, dilute it with more water.
Once these adjustments are made, you’ll notice a significant difference in application efficiency. It’s about fine-tuning to get that perfect layer of suds that clings to the surface, ensuring thorough cleaning.
Applying snow foam: technique and timing
For optimal results, apply the thick layer of cleansing lather from the bottom to the top of the surface. This prevents dirt and grime from running down and re-contaminating areas already cleaned. Start at the wheel arches and work your way up to the roof, ensuring even coverage. I find that moving in a slow, sweeping motion allows the lather to cling effectively, providing a thorough clean.
Timing is key
After application, let the lather dwell for about 5 to 10 minutes. This duration allows the product to break down stubborn contaminants without drying out, which would hinder its effectiveness. I’ve had experiences where I rushed this step, only to find that some dirt remained. Keep an eye on the weather; if it’s sunny, aim for the shorter end of the dwell time to prevent drying.
Rinsing technique
When it’s time to rinse, do so from the top down, mirroring the application process. This ensures all residues are washed away without leaving streaks or spots. Use a wide spray pattern to cover larger areas quickly, then switch to a more concentrated spray for detailed sections like the wheels and lower panels. This method has always yielded the cleanest results for me, avoiding the frustration of missed spots.

Rinsing off snow foam safely and thoroughly
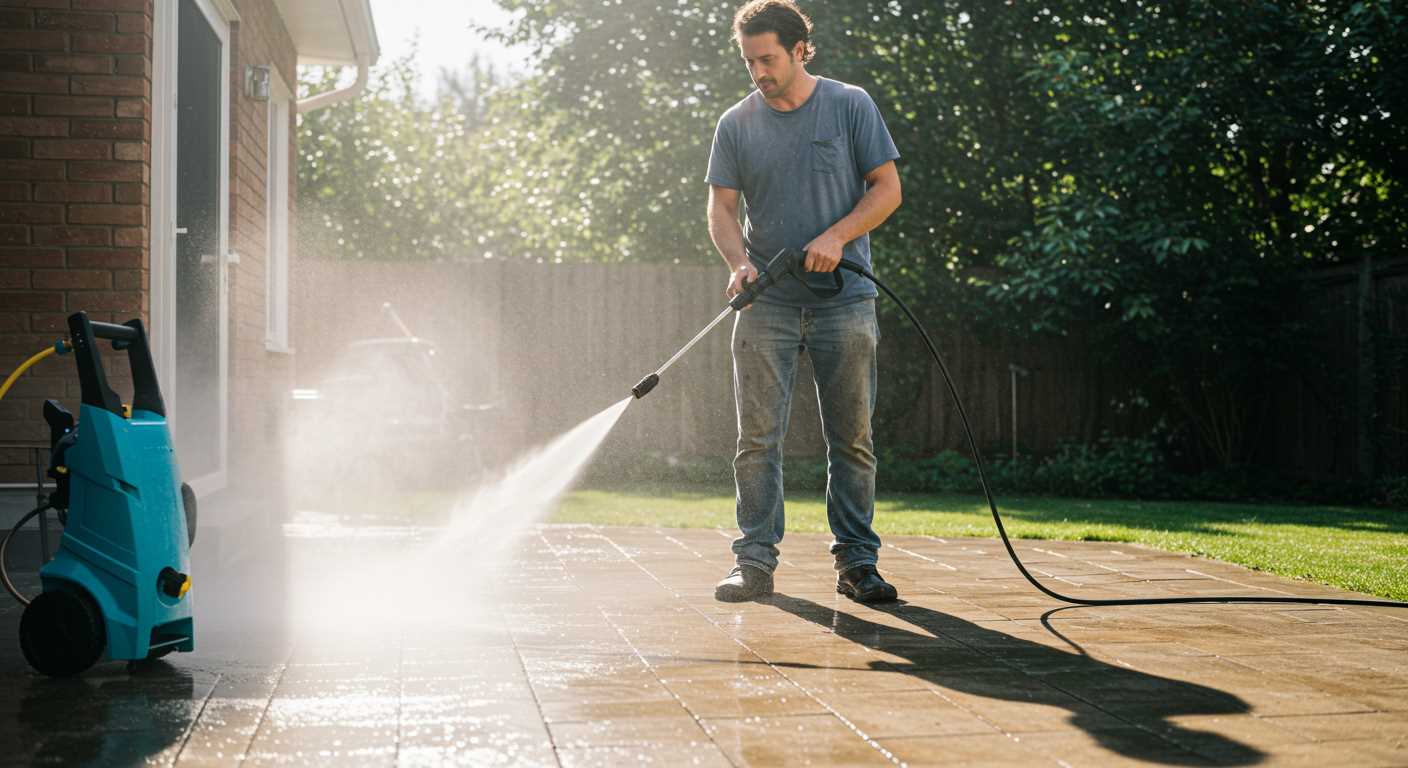
Begin by adjusting the nozzle on your lance to a wide fan spray. This setting disperses water over a larger area, reducing the risk of damage to the vehicle’s surface. Stand approximately two metres away from the car to maintain a safe distance while ensuring an effective rinse.
Start rinsing from the top of the vehicle and work your way downwards. This method allows the cleaning solution to flow down, carrying dirt and grime with it. Pay special attention to areas where foam may have accumulated, such as around the wheel arches and undercarriage, as these spots often hold more debris.
Utilising a low-pressure setting can prevent the risk of stripping wax or damaging paint. Keep a steady, sweeping motion while rinsing, ensuring that no residual product remains. If your vehicle has intricate details or crevices, consider using a gentle stream to flush these areas thoroughly.
After the initial rinse, inspect the surface for any lingering foam. For stubborn spots, a second pass may be necessary. Adjust your technique based on the vehicle’s condition; sometimes, a focused stream on specific areas is more effective than a broad sweep.
Once rinsing is complete, dry the vehicle using a microfibre towel or chamois. This step helps prevent water spots and ensures the surface is clean and ready for any additional treatment.
Maintaining Your Equipment After Application
After applying the thick lather and rinsing it off, immediate care for your cleaning unit is crucial. Begin by flushing out any remaining cleaning solution from the system. Fill the tank with clean water and run the machine for a few minutes. This will help prevent residue build-up that can damage internal components.

Cleaning the Nozzle and Accessories
Next, focus on the foam cannon or any attachments used during the process. Disassemble the cannon and rinse all parts thoroughly. A small brush can help remove any stubborn residue stuck in the nozzle. Allow everything to air dry completely before reassembling to avoid moisture trapped in the unit.
Routine Checks and Storage
Conduct a quick inspection of hoses and connections for any signs of wear or damage. Make sure all fittings are secure, and replace any frayed hoses to maintain optimal performance. For storage, keep the device in a dry, sheltered area to prevent rust and corrosion. If you’re using a foam cannon for gas pressure washer, ensure it is stored separately and properly cleaned as well.
By following these steps, you can extend the life of your equipment and ensure it remains in peak condition for the next cleaning session.
FAQ:
What is snow foam and how does it work with a pressure washer?
Snow foam is a thick, soapy solution that is applied to vehicles before washing. It clings to the surface, allowing it to break down dirt and grime without scratching the paintwork. When used with a pressure washer, the snow foam is sprayed onto the car using a foam lance, which mixes the foam with water and air to create a thick layer. This helps to loosen stubborn dirt, making the subsequent wash easier and more effective.
How do I prepare my pressure washer for using snow foam?
To prepare your pressure washer for snow foam application, first ensure that it is compatible with a foam lance. Attach the foam lance to the pressure washer gun, and then fill the lance container with snow foam solution according to the manufacturer’s instructions. Make sure to adjust the nozzle to achieve the desired foam density. Once everything is set up, connect the pressure washer to a water source and turn it on to start the foam application.

Can I use any type of snow foam with my pressure washer?
Not all snow foams are created equal, and it’s important to choose one that is specifically designed for use with pressure washers. Check the product label for compatibility and follow the manufacturer’s recommendations. Some snow foams are formulated for different types of vehicles or paint finishes, so selecting the right one can enhance the cleaning process and protect your vehicle’s surface.
How long should I leave snow foam on my car before rinsing?
It is generally advisable to let the snow foam sit on the surface for about 5 to 10 minutes. This allows the foam to penetrate and break down the dirt and grime effectively. However, avoid letting it dry out, as this can leave residues. Monitor the foam and rinse it off before it begins to dry for the best results.
What are the benefits of using snow foam with a pressure washer compared to traditional washing methods?
Using snow foam with a pressure washer offers several advantages over traditional washing methods. Firstly, it provides a gentler cleaning process that reduces the risk of scratching the paintwork. The foam clings to the surface, allowing it to lift dirt away without the need for scrubbing. Additionally, it can save time by loosening contaminants before the actual wash. This method can also use less water compared to rinsing and scrubbing, making it a more efficient option for cleaning vehicles.
.jpg)


