


For optimal cleaning, ensure the right detergent is selected for your task. It should be compatible with the machinery and suitable for the surfaces being treated. I’ve found that using a specially formulated cleaner can significantly enhance the performance, breaking down grime and stains that plain water struggles with.
Attach the detergent container firmly to the equipment. Pay attention to the connection points; a secure fit prevents leaks and ensures proper flow. In my experience, a loose attachment can lead to frustrating interruptions during cleaning sessions.
Adjust the nozzle to a low-pressure setting before applying the solution. This creates a controlled spray that allows for even coverage without oversaturation. I recall a time when I rushed this step, leading to excessive suds and a messy area that required additional clean-up.

Once the mixture is applied, switch to a high-pressure setting to rinse thoroughly. This step is critical; it removes the detergent along with the dirt, leaving surfaces spotless. I’ve seen many skip this, thinking a quick rinse would suffice, only to end up with residue that attracts dirt.
Regularly clean and maintain the container to prevent clogs. A simple rinse after each use can save time and ensure longevity of the equipment. Trust me, neglecting this aspect will lead to frustrating performance issues down the line.
Following these simple yet effective steps will ensure you get the most out of your cleaning sessions. With the right approach, tackling tough jobs becomes more manageable, and the results speak for themselves.
Utilising the Cleaning Agent Feature on Your Greenworks Model
Begin by ensuring the container for the cleaning solution is securely attached to your machine. Fill it with the appropriate cleaner, observing the manufacturer’s guidelines for dilution ratios. This ensures the mixture is effective while remaining safe for the surfaces you intend to clean.
Adjusting Settings
Next, switch your unit to the low-pressure setting. This is crucial as it allows the detergent to be drawn into the system properly without causing damage. After selecting this setting, pull the trigger on the wand to prime the system. You’ll notice the solution being drawn in; at this stage, you can see the cleaning agent mixing with the water.
Application Technique
- Start by applying the solution from the bottom upwards on the surface. This prevents streaking as the cleaner works its way down.
- Allow the cleaning agent to dwell for 5 to 10 minutes, which optimises its effectiveness against grime and stains.
- After the dwell time, rinse thoroughly with clean water, ensuring all detergent residues are removed.
For those exploring other models, consider checking out Generac pressure washers for a comparison of features and performance. Each brand has its strengths, and it’s beneficial to understand the options available.
Identifying the Soap Dispenser Component on Your Greenworks Pressure Washer
Locate the specific attachment for cleaning agents on your unit, typically found near the nozzle connection. This is often a separate tank or a built-in compartment designed for blending detergents with water.
- Check the user manual for diagrams that highlight the location of this component.
- Look for a transparent or semi-opaque container; it should be clearly labelled.
- Inspect the area around the lance or trigger gun, as many models integrate the tank in this section.
In my experience, these containers usually have a cap that needs to be unscrewed for filling. Make sure to tighten it securely after adding your cleaner to prevent leaks during operation.
- Ensure the unit is powered off before examining the tank.
- Remove the cap and inspect the inside; it should be free from debris.
- Fill it with the appropriate solution, adhering to the manufacturer’s recommendations.
During my years testing various models, I found that some units may also have an adjustable dial or setting to control the amount of cleaner dispensed. This feature can enhance your cleaning effectiveness, so pay attention to its functionality.
By identifying and understanding this component, you will maximise your cleaning performance and achieve better results with your equipment. Experience has taught me that proper usage of cleaning agents can significantly reduce scrubbing time while providing a thorough clean.
Choosing the Right Soap for Optimal Performance
For effective cleaning, select a detergent specifically designed for high-pressure machines. Regular household cleaners can damage components and reduce performance. Look for biodegradable options that won’t harm plants or surfaces. I recall testing a citrus-based cleaner that worked wonders on grease stains without leaving residues.
Pay attention to the viscosity of the liquid. A thinner formulation can flow easily through the system, while thicker products might clog the mechanism. I once used a gel-like cleaner which caused significant issues, leading to a frustrating cleaning session. Always opt for liquids that are marked as suitable for your equipment type.
Consider the target surface as well. For example, if you’re tackling vehicles, choose a gentle formula that won’t strip wax or paint. I’ve found that car-specific solutions can enhance shine while effectively removing dirt. Conversely, for driveways or patios, a stronger cleaner with degreasing properties can be beneficial.
Lastly, test a small area first if you’re unsure about a new product. I’ve learned the hard way that not all detergents interact well with every surface. A quick patch test can save you from costly mistakes and ensure the best outcome for your cleaning efforts.
Filling the Detergent Container: Step-by-step Guide
Begin with the right approach to ensure a seamless filling process. First, locate the container, typically found on the side of the unit. Make sure the machine is off and unplugged to prevent any accidental activation.
Gathering Necessary Materials
Collect the following items:
| Item | Purpose |
|---|---|
| Appropriate cleaning solution | For effective cleaning |
| Funnel (if available) | To avoid spills |
| Measuring cup | For accurate measurement |
Filling Process
1. Using the measuring cup, pour the correct amount of your chosen cleaning solution into the container. Typically, a ratio of one part cleaner to four parts water yields optimal results. Adjust based on the manufacturer’s instructions or the task at hand.
2. If available, utilise a funnel to guide the liquid and prevent overflow. This keeps the area tidy and ensures you do not waste any product.
3. After filling, securely attach the lid of the container to prevent any leakage during operation.
4. Finally, check the connections to ensure everything is sealed properly before starting the machine. This simple check can save you from messy surprises later on.
For additional cleaning tips, including insights on maintaining different surfaces effectively, check out how to clean laminate floors tips and tricks for spotless flooring.
Adjusting the soap ratio for different cleaning tasks
For lighter jobs, such as washing cars or cleaning outdoor furniture, a lower concentration of cleaning agent is ideal. I recommend mixing one part cleaner with four parts water. This gentler solution effectively removes grime without risking damage to delicate surfaces.
When tackling tougher stains, like those on driveways or patios, increase the mixture to a 1:2 ratio. This stronger blend penetrates stubborn dirt and grease more effectively, ensuring a thorough clean. I recall using this ratio on a particularly stained driveway, and the results were impressive–years of grime vanished with minimal effort.
For heavy-duty applications, such as stripping old paint or cleaning mould from surfaces, consider a 1:1 ratio. While this approach is potent, it’s essential to test the solution on a small area first to avoid any unwanted damage. I’ve seen how powerful this mix can be on neglected surfaces, but caution is key.
Always adjust the concentration based on the specific task at hand. The right balance not only enhances cleaning efficiency but also preserves the integrity of the surfaces you’re working on. Don’t hesitate to tweak the ratios as needed–experience will guide you to the perfect mix for each job.
Operating the washer with the cleaning solution engaged
After filling the reservoir, ensure the nozzle is set to low-pressure mode. This allows the cleaning agent to mix with the water effectively. I’ve found that switching to a wide-angle nozzle can help distribute the liquid more evenly across surfaces, especially large areas.
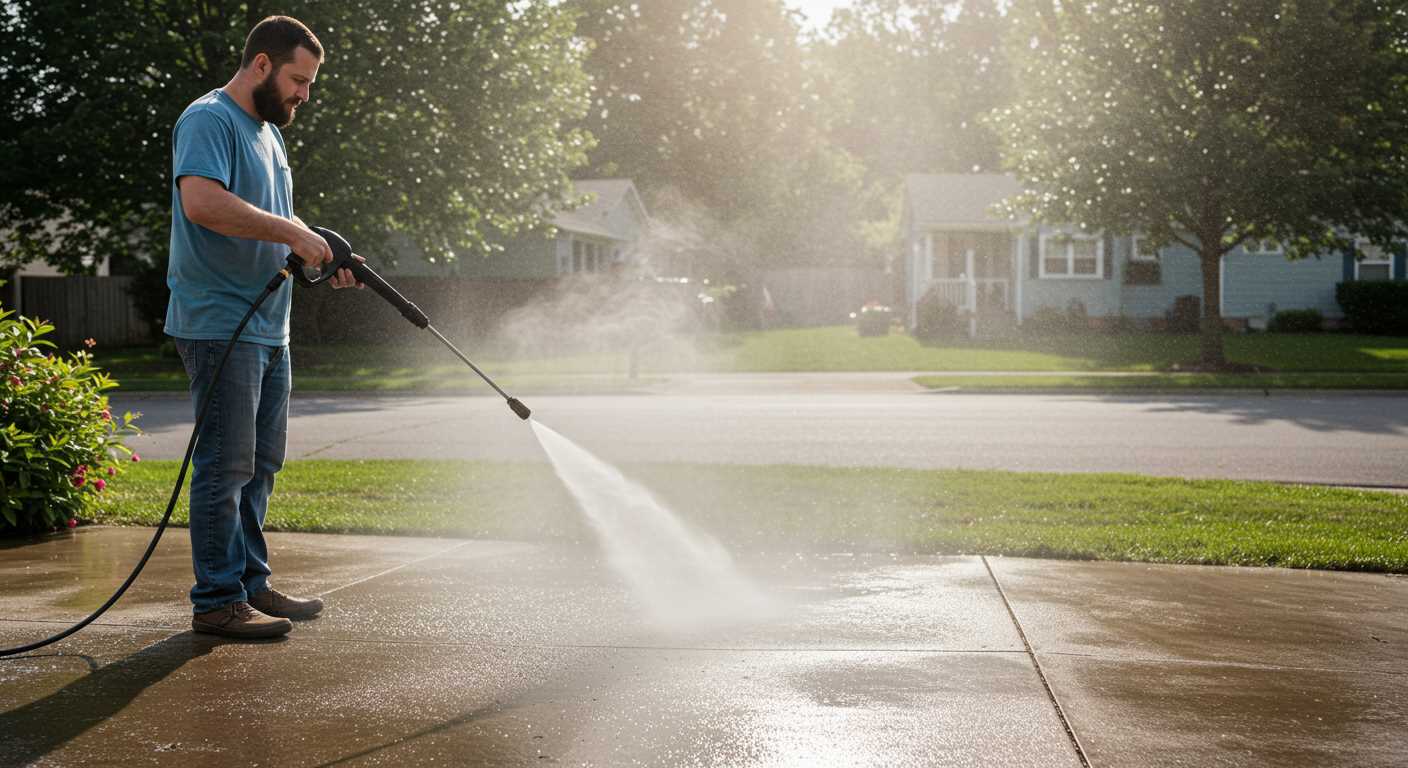
Begin by applying the solution from the bottom up. This technique prevents streaking and ensures that dirt is lifted as you work your way up. I recall a time when I made the mistake of starting from the top, which left unsightly lines as the cleaner ran down. Avoid that pitfall!
Maintain a consistent distance of about 12 to 18 inches from the surface. Getting too close can cause damage, while being too far may reduce the effectiveness of the cleaner. I always keep an eye on the surface texture; if it’s particularly delicate, I adjust my distance accordingly.
Allow the solution to dwell for a few minutes. This step is crucial, as it gives the cleaner time to break down grime. I often set a timer for five minutes–this is usually sufficient for most cleaning tasks. After the dwell time, rinse thoroughly with clean water to remove any residue and ensure a spotless finish.
If you’re tackling stubborn stains, I recommend reapplying the cleaning agent and letting it sit a bit longer before rinsing. I once spent a whole afternoon battling oil stains on a driveway. A second application made all the difference, turning what seemed like a lost cause into a success.
Remember to rinse your equipment after use to prevent any build-up of cleaning agents. A quick flush with clean water will keep everything in good working order for your next task. I’ve learned that a little maintenance goes a long way in prolonging the life of your equipment.
Cleaning and maintaining the soap dispenser after use
After completing your cleaning tasks, it’s crucial to leave your liquid reservoir in good condition. First, disconnect it from the unit to prevent any unwanted leaks. Rinse it thoroughly with warm water to remove any lingering residue. I’ve found that using a small brush can help reach the corners and ensure no product remains stuck inside. This step is vital; any leftover cleaner can harden and clog the system over time.
Next, fill the reservoir with clean water, attach it back to the machine, and run it for a few minutes. This action will flush out any remaining traces of cleaning solution from the internal components. I once neglected this step, and it led to a frustrating blockage that required disassembly to fix. After flushing, remove the reservoir once more and dry it completely before storing. Keeping it dry helps prevent mould and mildew, which can develop in damp environments.
Periodic inspections
Every few months, conduct a thorough inspection of the liquid tank and its connections. Check for cracks or wear that could lead to leaks. If you spot any damage, consider replacing the component to avoid issues later. I recall a time when I overlooked a small crack; it caused a mess during my next cleaning session. Regular maintenance can save you from such mishaps and prolong the lifespan of your equipment.
Storage tips
Store the reservoir in a cool, dry place away from direct sunlight. Excessive heat can warp the plastic, compromising its integrity. I always keep mine in a shaded area of the garage, ensuring it’s safe until the next time I need it. Taking these simple steps will keep your cleaning gear in top shape and ready for action whenever you need it.

.jpg)


