


Mixing the right cleaning agents with your high-pressure system can significantly enhance your cleaning tasks. Always check the manufacturer’s recommendations for compatible products, as using the wrong type can damage the machine or void your warranty.
When preparing your mixture, adhere to the specified dilution ratios. A concentrated solution can lead to residue that may require additional rinsing, while a weak solution may fail to lift stubborn grime. From my experience, a ratio of 1:10 works wonders for most surfaces, striking a balance between strength and safety.
Employ a dedicated detergent injection system if your equipment supports it. This feature allows for consistent mixing and reduces the risk of clogging the nozzle. If not, consider a foam cannon attachment. It creates a thick layer of cleaning foam that clings to surfaces, giving it time to penetrate and breakdown dirt.

Always start from the bottom and work your way up when applying the solution. This technique ensures that dirt flows down with the cleaning agent, preventing streaks and enhancing the overall appearance. After allowing the detergent to dwell for the recommended time, rinse thoroughly using clear water to avoid any residue.
Finally, remember to clean your equipment after each use. Residual cleaning agents can cause wear over time. A quick rinse through the system will extend its lifespan and maintain optimal performance.
Choosing the Right Soap for Your Pressure Washer
Opt for a detergent specifically designed for high-powered cleaning units. During my years in the field, I’ve seen the difference a quality cleaner makes. One time, I used a generic household product, thinking it would work fine. The result was disappointing; it simply didn’t cut through the grime like the professional-grade options. Invest in something formulated to tackle the tough stuff.
Consider the surface you’re tackling as well. For vehicles, a pH-neutral cleaner is ideal. I recall a customer who used an aggressive alkaline formula on his car, which left marks and damage to the paint. Always check the label to ensure compatibility with the material you’re cleaning.
For patios and driveways, a heavy-duty solution is often necessary. I vividly remember a project where I had to restore a neglected driveway. Using a dedicated concrete cleaner made the process not only easier but also yielded impressive results. The grime lifted off effortlessly, and the customer was thrilled.
Eco-friendliness can also be a deciding factor. I’ve encountered brands that offer biodegradable options that work just as well without harming the environment. One time, I used a product that was both powerful and green, and I felt good knowing I wasn’t leaving harmful residues behind.
Don’t forget to check the dilution ratio. Some concentrates require mixing with water, while others come ready to use. I remember mixing a highly concentrated cleaner too weakly once, thinking I’d save some money. It didn’t perform nearly as well as it should have, so follow the instructions carefully.
Lastly, consider the scent. While this may seem minor, I’ve worked with some cleaners that had a harsh chemical smell. Opt for options with a pleasant fragrance, especially if you’re working in enclosed spaces. It makes the whole experience a lot more enjoyable.
Properly Diluting Cleaning Solution for Optimal Results
A perfect blend can significantly enhance the cleaning power of your device. When mixing the cleaning agent, a common ratio is 1 part detergent to 4 parts water. This dilution ensures that the solution remains potent enough to break down grime without causing damage to surfaces.
Based on my experience, always refer to the manufacturer’s instructions on the detergent label for specific dilution guidelines. Some concentrated formulations may require different ratios. For instance, a highly concentrated cleaner might need a 1:10 mix to achieve optimal effectiveness.
Before applying, conduct a patch test on a small, inconspicuous area to ensure no adverse reactions occur. This is particularly important for delicate surfaces like painted finishes or wood. Adjusting the concentration based on your findings can save you from potential damage.
When preparing the mixture, use a clean bucket or container to avoid contamination with residues from previous cleaning agents. Pour the water first, followed by the detergent, to minimise foam formation during mixing. Stir gently to combine; excessive agitation can introduce unwanted bubbles, which may affect application.
For those utilising a small petrol pressure washer, ensure that the diluted solution is compatible with your unit. Some models may have specific requirements regarding the type of cleaning agents that can be used, so always check the user manual.
Lastly, keep any unused mixture sealed in a cool, dry place for future use, but be mindful of the shelf life of the detergent. Regularly check for any changes in consistency or odour before reapplying. This practice guarantees that you achieve the best results every time you tackle a cleaning task.
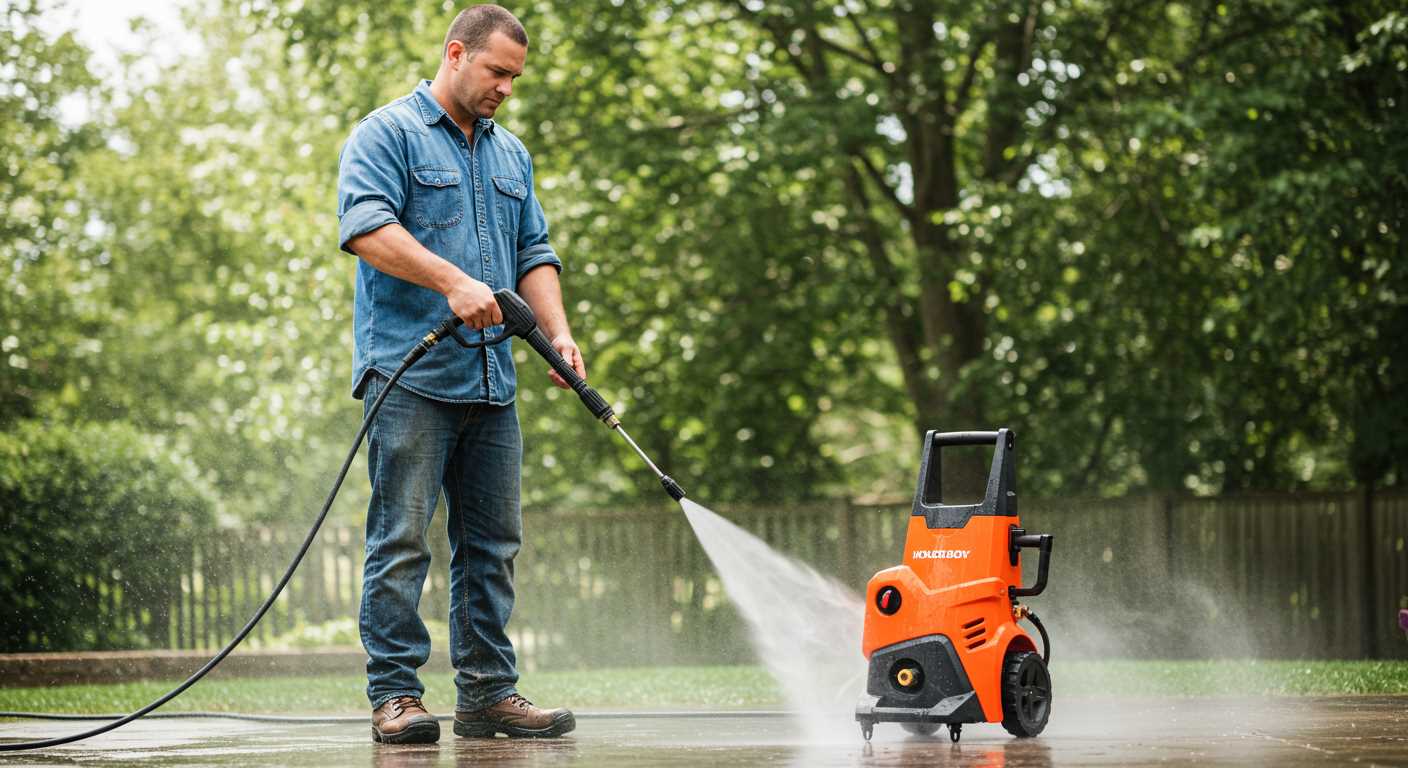
Setting up your washer for soap application
Begin with the correct nozzle. A low-pressure nozzle is essential for applying cleaning agents without causing damage. Typically, this is a white or black nozzle, depending on your model. Ensure it’s securely attached before proceeding.
Connecting the soap injector

If your equipment includes a built-in injector, locate the soap inlet. It’s usually on the side of the unit. Attach the appropriate hose, ensuring a tight fit to prevent leaks. If you’re using a separate injector, follow the manufacturer’s guidelines for installation.
Preparing your workspace
- Clear the area of any obstacles to facilitate movement.
- Cover nearby plants or surfaces that might be sensitive to cleaning agents.
- Ensure proper drainage to avoid pooling of solutions.
Once everything is connected and your workspace is ready, it’s time to test the system. Turn on the machine and activate the cleaning agent function. Adjust the pressure settings to the lowest setting to ensure a gentle application.
Watch for proper flow. If the solution isn’t reaching the surface, check for clogs in the hose or nozzle. A good practice is to run a small amount of water through the system before applying the mixture to ensure all components are clear.
Lastly, follow up by rinsing the area thoroughly once the job is done. This ensures no residue is left behind, maintaining the integrity of the surfaces you’ve cleaned. Regular maintenance of your equipment will prolong its lifespan and keep it functioning optimally for future tasks.
Techniques for applying soap with a pressure washer
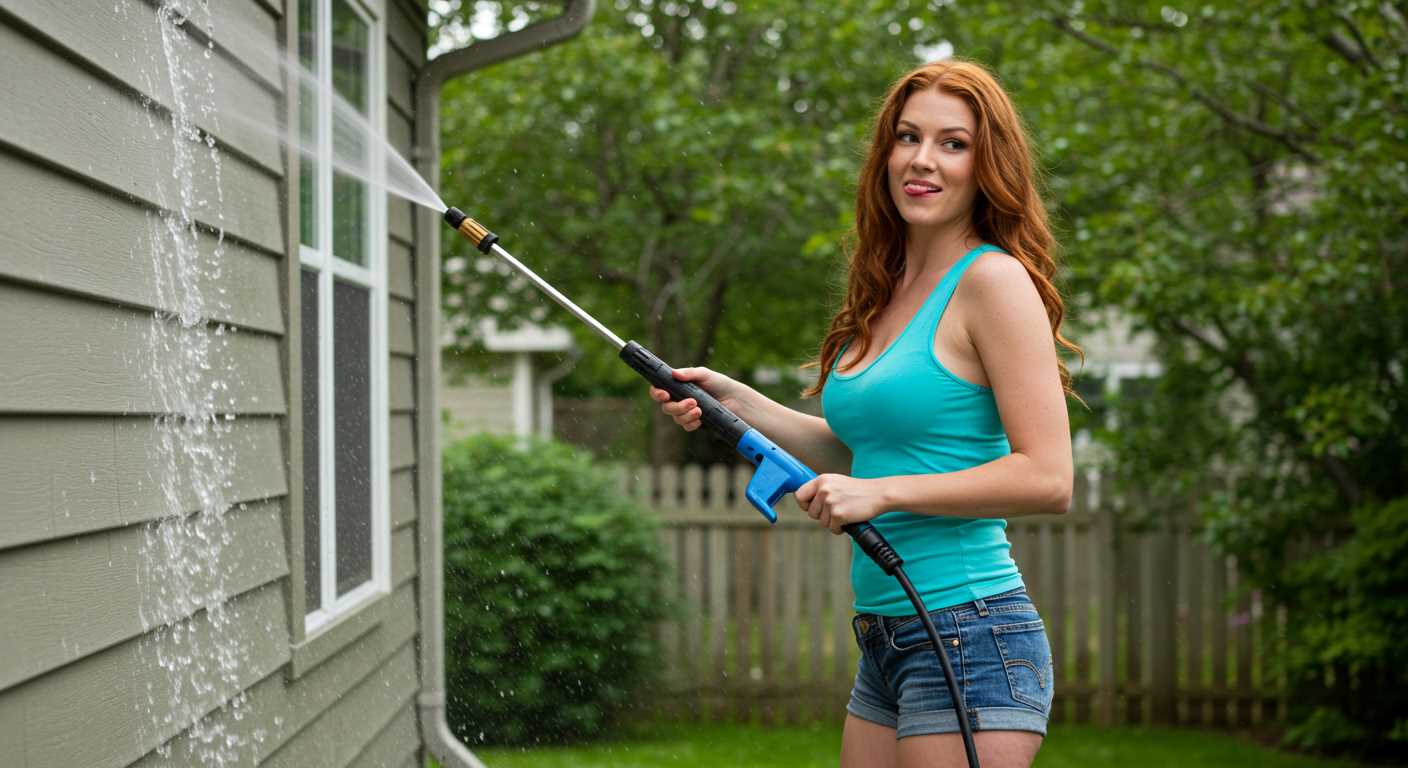
Begin with a low-pressure nozzle, typically a soap or detergent nozzle. This reduces the force of water, allowing the cleaning agent to cling to surfaces. I remember cleaning my patio; switching to a wider spray pattern helped cover more area without risking damage to the stonework.
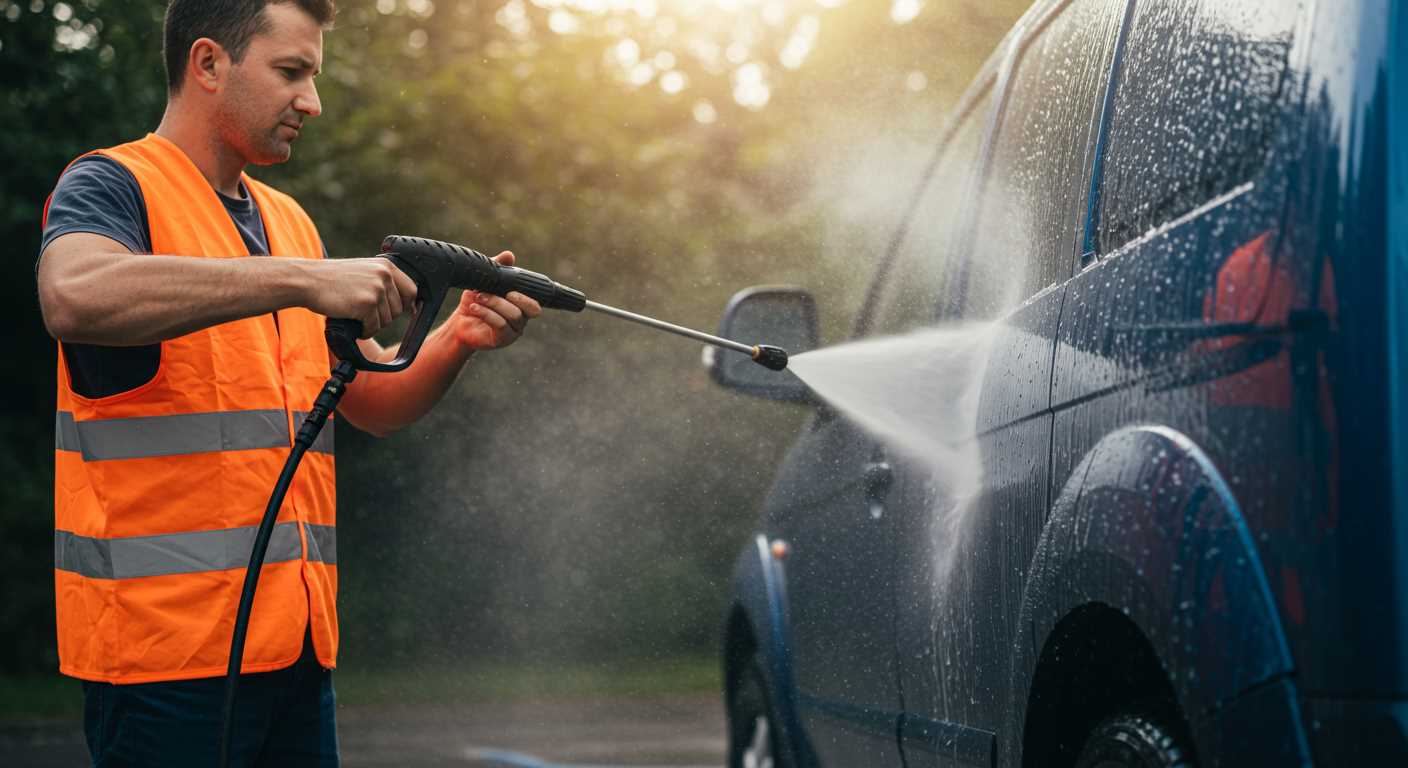
Apply the cleaning solution from the bottom up. This technique ensures that the mixture clings to the dirt rather than running off. When tackling my car, I started at the bottom of the doors and worked my way up, ensuring the grime had time to loosen before rinsing.
Let the mixture dwell for several minutes but avoid letting it dry out. I’ve found that a good ten-minute wait strikes a balance; it’s long enough to break down stubborn stains but short enough to prevent residue from forming. Always check the manufacturer’s instructions for specific dwell times.
Use a sweeping motion while applying the mixture, overlapping each pass slightly. This technique not only ensures even coverage but also prevents streaks. I often visualise a fan shape while spraying to keep my movements fluid and consistent.
After applying, rinse thoroughly but avoid high pressure on delicate surfaces. When cleaning my outdoor furniture, I switch to a gentle setting, allowing the solution to wash away without causing harm to the material.
For larger jobs, consider a dedicated foam cannon attachment. This tool creates a thick lather that clings to surfaces, maximising cleaning effectiveness. I’ve had great results using it on my driveway, where it helped lift embedded dirt effortlessly.
Always remember to clean the nozzle and any attachments after use. Residue can clog the system, leading to inefficiencies. I make it a habit to run clean water through the system for a few minutes after each session; it’s a simple step that prolongs the life of the equipment.
Cleaning and rinsing after soap application
After applying the cleaning agent, it’s crucial to rinse thoroughly to achieve a spotless finish. I always begin by switching the nozzle to a high-pressure setting. This helps to effectively remove any residue left on the surface. Keeping the nozzle at a distance of about 2 feet from the surface prevents damage while ensuring a strong spray. I’ve found that working from the top downwards helps to prevent dirt from settling on already cleaned areas.
Technique for rinsing
When rinsing, I prefer to use sweeping motions, moving side to side rather than focusing on one spot. This technique helps avoid streaks and ensures even coverage. If you notice stubborn spots that require extra attention, it’s beneficial to go over them again with a concentrated stream. Make sure to keep the water flowing continuously to flush away all remnants of the cleaner. After rinsing, I always check the surface for any missed spots before finishing up.
Final touches
After the main rinsing is complete, I like to give everything one last check. If any grime remains, I might apply a bit of extra pressure in those areas. Lastly, for surfaces like car paint or patio furniture, it’s wise to let everything dry naturally. For additional cleaning tips, you might find this guide on how to clean stained teaspoons a step by step guide helpful. Following these steps ensures a thorough clean, leaving surfaces looking brand new.
Common Mistakes to Avoid When Using Detergents
One of the first missteps I often see is neglecting to pre-wet surfaces before applying the cleaning solution. This simple act can significantly enhance the adherence of the cleaning agent, ensuring it works effectively on dirt and grime.
Incorrect Dilution Ratios
Over-concentrating the mixture is another frequent error. Many assume that more detergent equals better results. In reality, using too much can lead to residue buildup and potentially harm surfaces. Always refer to the manufacturer’s guidelines for proper ratios.
Inadequate Rinsing
Failing to rinse thoroughly after application can cause streaks and leave surfaces looking worse than before. Rinse from the bottom up to ensure that all residues are washed away. Pay special attention to areas with intricate details or textures, as they can trap remnants of the cleaning solution.
| Mistake | Consequence | Solution |
|---|---|---|
| Not pre-wetting surfaces | Poor adhesion and ineffective cleaning | Always dampen surfaces beforehand |
| Using incorrect dilution ratios | Residue buildup and potential damage | Follow manufacturer guidelines closely |
| Inadequate rinsing | Streaks and unsatisfactory results | Rinse thoroughly from bottom to top |
Lastly, mixing cleaning agents can lead to hazardous chemical reactions. Stick to one type of cleaner at a time to avoid unforeseen issues. Keeping these pointers in mind can turn your cleaning experience from a chore into a satisfying task with impressive results.
FAQ:
Can I use any type of soap in a pressure washer?
Not all soaps are suitable for pressure washers. It’s important to use detergents specifically formulated for pressure washers, as they are designed to be safe for the machine and effective at cleaning. Regular dish soap or household cleaners can create too much foam or may damage the pressure washer components. Always check the manufacturer’s recommendations for compatible soaps.
How do I properly mix soap with water for my pressure washer?
To mix soap with water for a pressure washer, follow the instructions on the soap bottle for the correct dilution ratio. Generally, it involves mixing a specific amount of soap with a certain volume of water, often in a separate container. After mixing, pour the solution into the pressure washer’s soap tank. Ensure to mix thoroughly to achieve the desired cleaning power.
What are the benefits of using soap with my pressure washer?
Using soap with a pressure washer helps to break down dirt, grease, and grime more effectively than water alone. The detergent helps to lift stubborn stains and can also sanitise surfaces. This is particularly beneficial for cleaning vehicles, patios, and outdoor furniture, where dirt may be embedded. Overall, soap enhances the cleaning performance of the pressure washer.
How do I apply soap when using a pressure washer?
To apply soap with a pressure washer, first, ensure the soap tank is filled with the mixed solution. Then, switch the pressure washer to the low-pressure soap setting, often indicated on the machine. Start washing the surface from the bottom up to avoid streaks, allowing the soap to sit for a few minutes for optimal results before rinsing it off with high-pressure water. Always follow the manufacturer’s guidance on soap application.
Are there any surfaces I should avoid using soap on with my pressure washer?
Yes, there are certain surfaces where using soap may not be advisable. For instance, delicate materials like unsealed wood, certain types of painted surfaces, or items with sensitive finishes can be damaged by soap and high pressure. It’s best to consult the pressure washer’s manual and test on a small, inconspicuous area first. Always choose a soap that is safe for the specific surface you intend to clean.
Can I use any type of soap in my pressure washer?
Not all soaps are suitable for use in pressure washers. It’s important to use a soap specifically designed for pressure washers, as these are formulated to work effectively with the equipment without causing damage. Regular household soaps or detergents may not create the right amount of suds or could harm the internal components of the machine. Check the manufacturer’s guidelines or product specifications to ensure compatibility.
How do I properly mix soap for my pressure washer?
Mixing soap for a pressure washer typically involves diluting the soap with water. Always refer to the instructions on the soap packaging for the recommended dilution ratio, as different products may vary. Generally, you would combine one part soap with a certain number of parts water, depending on the concentration of the soap. Once mixed, pour the solution into the designated soap reservoir of your pressure washer. It’s advisable to test the mixture on a small area before proceeding with the entire cleaning project to ensure it works effectively.
.jpg)


