


To achieve optimal results with your cleaning solution, begin by selecting the right type designed for your task. Many formulations are available, catering to various surfaces and dirt types, from grime on vehicles to mildew on patios. I always recommend reading the label to ensure compatibility.
Attach the appropriate nozzle to your equipment; usually, a wider spray pattern works best for applying the liquid without damage. Mix the cleaner with water according to the instructions–getting the ratio right is key to avoiding residue or streaks. I recall a project where I miscalculated the mixture, and the outcome was less than desirable; lesson learned!
Next, connect the solution tank to your machine, ensuring it’s securely fastened. This step is often overlooked, but a loose connection can lead to leaks and wasted product. Once everything is set up, apply the mixture evenly over the surface, allowing it to dwell for a few minutes. I’ve found that this waiting period significantly enhances the cleaning power, breaking down tough stains effectively.
Finally, rinse thoroughly with clean water to remove any leftover cleaner and dirt. Using a higher-pressure setting during rinsing can help eliminate any stubborn residues. After one particularly messy job, I was amazed at how a proper rinse transformed the surface, revealing a clean finish that was almost effortless. Trust me, the right approach makes all the difference.

Applying Cleaning Solution with Your Equipment
Begin by ensuring the unit is turned off and disconnected from the power source. Locate the detergent tank or bottle, which is typically situated on the side or back of the equipment. Fill this tank with a suitable cleaning solution, ensuring you follow the manufacturer’s recommendations for dilution and type of product.
Once the tank is filled, reconnect the power and turn on the machine. Adjust the nozzle to the low-pressure setting, as this is crucial for proper application of the cleaning solution. Spraying at high pressure can cause the detergent to foam excessively or not adhere properly to surfaces.
Applying the Solution
Stand a few feet away from the surface you wish to clean. Start spraying from the bottom and work your way up to prevent streaking. Ensure even coverage by overlapping each pass slightly. Allow the solution to sit for the recommended time, usually around 5 to 10 minutes, but avoid letting it dry out.
Rinsing Off
After the dwell time, switch to the high-pressure setting and rinse thoroughly from top to bottom. This step removes any remaining debris and the cleaning solution itself. Be mindful of the distance between the nozzle and the surface to avoid damage. For stubborn spots, a second application may be necessary.
Selecting the Right Cleaning Solution
For optimal results, choose a cleaning agent that aligns with the surface you’re addressing. For instance, if you’re tackling greasy surfaces like driveways or garage floors, a degreaser will prove invaluable. I recall a time when I faced an oil-stained driveway. A dedicated degreaser worked wonders, lifting the stains effortlessly.
When addressing delicate surfaces like vehicles or patio furniture, opt for milder formulations. A gentle formula will prevent damage while effectively cleansing. I once made the mistake of using a powerful cleaner on my car, resulting in minor scratches. Lesson learned–always verify compatibility with the surface material.
Environmental considerations are also paramount. Many manufacturers offer eco-friendly options that are biodegradable and less harmful to surrounding flora and fauna. I’ve personally switched to a biodegradable formula and noticed no compromise in cleaning power, plus it’s a great feeling knowing I’m being kind to the environment.
Lastly, pay attention to the dilution ratios provided by the manufacturer. A solution that’s too concentrated can leave residues or cause unwanted effects on surfaces. I remember miscalculating once and ended up with streaks on my patio. Now, I always double-check the recommended mixing instructions.
Preparing the soap solution for application
Mixing the cleaning agent correctly is critical for achieving optimal results. Start by checking the manufacturer’s guidelines for the recommended dilution ratios. I’ve often found that using too concentrated a mix can lead to residue that’s tough to rinse away.
For most formulations, a standard ratio involves one part cleaner to four parts water. Measure accurately; I like to use a measuring jug for precision. After mixing, stir gently to create a uniform solution, avoiding excessive bubbles that can hinder application.
When combining components, always opt for clean water to prevent any impurities from interfering with the cleaning performance. I recall a time when I used tap water without considering the mineral content, which left streaks on the surface I was cleaning.
After preparing the mixture, let it sit for a few minutes. This allows any air bubbles to dissipate, ensuring a smoother application. If you’re dealing with particularly stubborn stains, consider letting the mixture sit for a while before applying it to the surface. This can enhance its effectiveness.
Always test the solution on a small, inconspicuous area first. This step helps assess compatibility with the surface and avoids potential damage. I’ve had a few surprises in the past that taught me the value of cautious testing.
Finally, pour the prepared solution into the designated container of your machine. Make sure it’s securely fastened to prevent any leaks during operation. A well-prepared cleaning solution sets the foundation for a successful cleaning experience.
Setting up your Generac pressure washer for soap use
Begin by ensuring that your machine is turned off and disconnected from the power source. Locate the detergent tank, usually situated at the rear or side. Fill it with the pre-mixed cleaning solution or soap, ensuring not to exceed the maximum fill line. A concentrated solution may require dilution as per the manufacturer’s instructions. Proper mixing ensures optimal performance during application.
Connecting the detergent hose
If your unit features a detergent injection system, connect the hose securely to the intake port of the detergent tank. Make sure it is tightly fitted to prevent leaks. If your model has a siphon tube, ensure it is submerged in the cleaning solution, allowing for effective drawing of the mix into the system.
Adjusting the spray nozzle
Select the correct nozzle for applying the cleaning solution. Typically, a low-pressure nozzle, often colour-coded, is ideal for this task. This setting allows for a gentle application, ensuring the solution adheres to surfaces without causing damage. Attach the nozzle to the wand and test it briefly to confirm proper function before commencing the cleaning process.
Applying soap to surfaces with the pressure cleaner
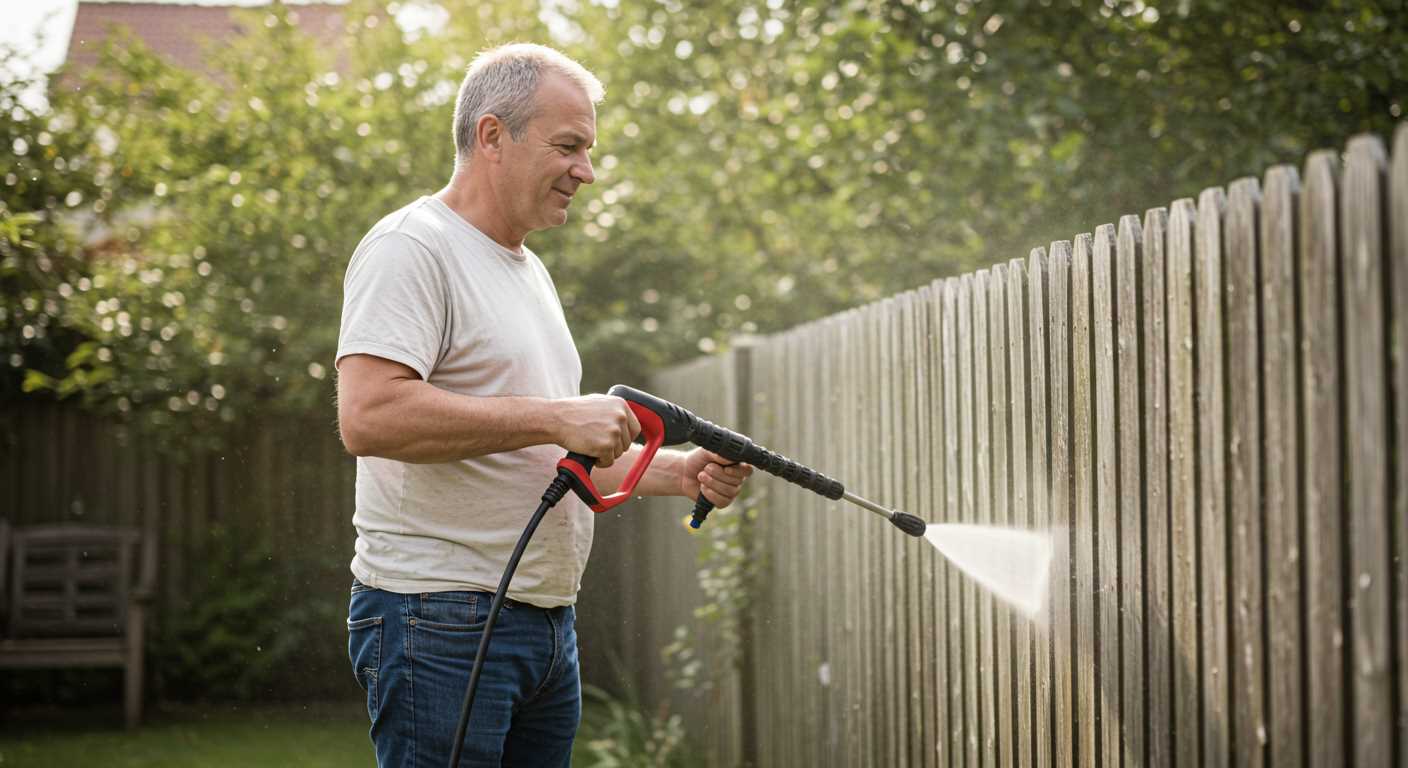
For optimal results, apply the cleaning solution starting from the bottom and moving upwards. This technique ensures that the product adheres better to vertical surfaces, allowing it to break down grime effectively before rinsing.
Surface Considerations
Different materials react uniquely to cleaning agents. For instance, wooden decks require a more diluted mixture to prevent damage. Conversely, concrete surfaces can handle stronger concentrations. Always test a small, inconspicuous area first to gauge compatibility.
Technique for Application
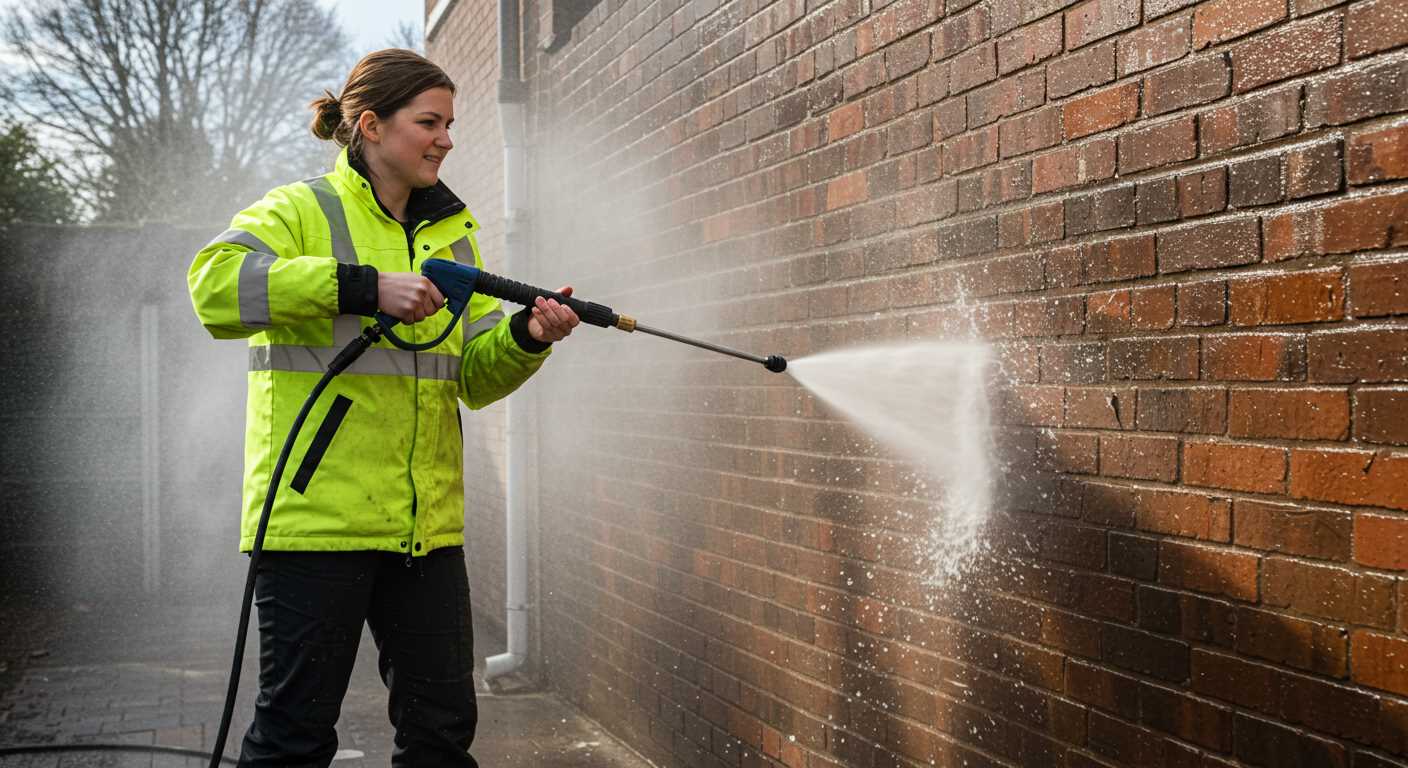
Utilise a wide spray pattern for even distribution. A 40-degree nozzle is ideal for most surfaces, providing a gentle mist that covers a broader area without causing harm. Maintain a distance of around 2 feet from the surface to avoid streaking or uneven application.
Allow the solution to dwell for 5 to 10 minutes. This dwell time is crucial as it lets the cleaner penetrate the dirt and stains. Avoid letting it dry on the surface, as this can lead to residue build-up. Rinse thoroughly with clean water, ensuring all traces of the cleaning agent are removed.
In my experience, one of the best approaches is to work in sections. This way, you can monitor the effectiveness of the cleaner and adjust as needed. I’ve found that taking this methodical approach yields the best outcomes, leaving surfaces spotless and refreshed.
Rinsing Off Residue and Ensuring Proper Clean-Up

After applying the cleaning solution, it’s vital to thoroughly rinse the surface to remove any remaining residues. I always recommend starting with a lower pressure setting to avoid damaging delicate surfaces. Gradually increase the pressure if needed. The goal is to wash away the product without leaving streaks or remnants, which can attract dirt over time.
For optimal results, follow these steps:
| Step | Description |
|---|---|
| 1 | Switch to a wide-angle nozzle, typically 25 or 40 degrees, to create a gentle spray that covers more area. |
| 2 | Begin rinsing from the top and work downwards. This ensures that any drips are washed away as you progress. |
| 3 | Maintain a consistent distance of about 2 to 3 feet from the surface. This helps in effectively removing residues without causing damage. |
| 4 | After rinsing, inspect the surface. If any cleaning agent remains, repeat the rinsing process in those areas. |
| 5 | Once satisfied, allow the surface to air dry or wipe it down with a clean cloth for a polished finish. |
Don’t forget to clean your equipment after finishing. Flush the system with clean water to prevent any build-up of chemicals in the tank or hoses. A well-maintained machine will extend its lifespan and ensure it operates at peak performance.
For selecting the most suitable cleansing products, check out the best car wash soap to use with pressure washer. This guide can help you make informed choices for future cleaning tasks.
Maintaining Your Equipment After Application
After applying cleaning agents, it’s crucial to perform a thorough maintenance routine to ensure longevity and optimal performance. Here’s a concise guide based on my experience.
Steps for Effective Maintenance
- Flush the System: Immediately after cleaning, run plain water through the system for at least 5 minutes. This helps eliminate any residual chemicals that could corrode components.
- Inspect the Nozzle: Check the nozzle for clogs or damage. A blocked nozzle can affect performance, leading to uneven cleaning.
- Clean the Filters: If your unit has a water inlet filter, remove it and rinse thoroughly to prevent debris buildup.
- Store Properly: After cleaning, always store the equipment in a dry place. Avoid leaving it exposed to the elements, which can cause wear and tear.
Additional Tips
- Consider applying a protective spray on metal parts to prevent rust.
- Keep the detergent tank clean, rinsing it out to avoid buildup.
- Regularly check hoses for wear and replace them if any cracks or leaks appear.
These simple practices can significantly extend the life of your machine. For those looking to powerfully clean paving stones with a high pressure cleaner, maintaining your device is just as important as the cleaning process itself.
.jpg)


