


To achieve that pristine finish on your surfaces, I recommend incorporating foam into your cleaning routine. When I first experimented with this technique, the transformation was astonishing. Instead of just water, the foam clings to dirt and grime, breaking it down effectively and making the rinsing process much smoother.
Using the right mixture is key. I typically blend the foam concentrate with water, following the manufacturer’s guidelines. This balance ensures optimal performance without risking any damage to the equipment. My early mistakes involved using too much or too little, which often led to unsatisfactory results and unnecessary frustration.

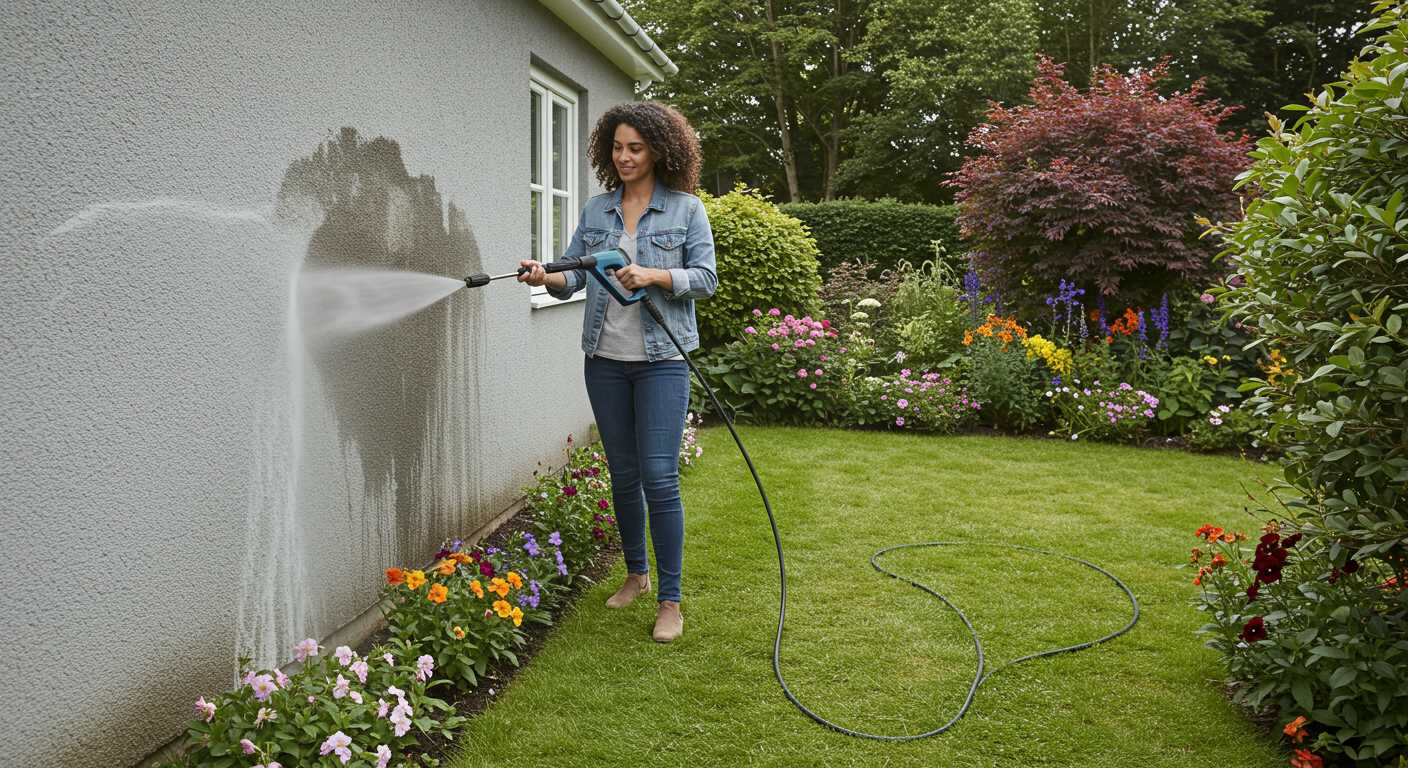
When it comes to application, I’ve found that starting from the bottom and working my way up yields the best results. This technique prevents streaks and ensures that the foam doesn’t run down and dry unevenly. After applying, give it a few minutes to dwell; this step is vital as it allows the foam to penetrate and lift the grime effectively. During my first sessions, I often rushed this process, thinking quick was better, but patience proved to be a game-changer.
Finally, rinsing is just as important as application. A gentle, even spray setting on your device works wonders, allowing for thorough removal of the foam along with the dirt. I always finish up by inspecting the surface for any missed spots, ensuring everything is spotless. Trust me, taking these steps will elevate your cleaning game significantly.
Application of Cleaning Solution in a High-Pressure Cleaning Experience
To incorporate a cleaning agent effectively, ensure that your equipment is compatible with it. Select the right blend for the task at hand. I’ve often found that a concentrated formula works wonders on stubborn grime, especially on surfaces like patios or vehicles.
Begin by attaching the detergent container to the main unit, if your model includes one. If it doesn’t, a separate bottle can be used. Fill it with the selected cleaning mix according to the manufacturer’s guidelines. I’ve learned that overfilling can lead to wastage and mess–less is often more.
Adjust the nozzle to a low-pressure setting. This is key; a gentle application allows the solution to adhere to the surface for optimal cleaning. In my experience, starting from the bottom and working upwards prevents streaking, especially on vertical surfaces. Let the mixture sit for a few minutes, but avoid letting it dry out.
After the dwell time, switch back to a high-pressure setting to rinse away the residue. I recommend doing this in sections to ensure thorough cleaning without leaving any product behind. Observing the transformation is always rewarding, as stubborn stains often vanish with just a little patience and the right method.
Lastly, clean the detergent system after each use. A quick flush with plain water prevents any build-up that could affect future performance. Trust me, maintaining your equipment ensures longevity and efficiency.
Understanding Soap Types Available in the Game
Choosing the right cleaning agent is pivotal for achieving the best results. Different types of cleaners serve specific purposes, and knowing their characteristics can enhance your efficiency.
- Standard Cleaner: This is your all-purpose solution, effective for general grime and dirt. It’s ideal for routine clean-ups, ensuring a tidy appearance on various surfaces.
- Heavy-Duty Cleaner: Designed for tough stains, this option excels in removing stubborn residues like grease and oil. I often recommend this for vehicles or machinery that require that extra effort.
- Eco-Friendly Cleaner: For those who prefer sustainable choices, this cleaner works wonders without harsh chemicals. It’s perfect for sensitive environments, such as gardens or near water sources.
- Foaming Cleaner: This variant creates a thick lather, providing extended dwell time on surfaces. The foam clings better, which can be particularly useful for vertical surfaces like walls.
During my years in the industry, I found that using the appropriate cleaner not only saves time but also reduces the need for excessive scrubbing. Tailoring your choice to the job at hand can lead to impressive results, making the entire process more satisfying.
Experimenting with these different formulations can also enhance your technique. For instance, I discovered that pairing the heavy-duty cleaner with a specific nozzle type greatly improved my cleaning efficiency on oily surfaces. Take time to test each option to find what works best for your specific needs.
How to Access Cleaning Agents in the Game
To gain access to cleaning agents, focus on completing specific missions and challenges that are part of the gameplay. These tasks often require you to clean certain objects or areas efficiently, and they can unlock new options for detergents as you progress.
Complete Early Levels
Early stages are crucial for earning points and experience. Concentrate on achieving high ratings on your cleaning tasks. This not only boosts your confidence but also increases your chances of unlocking various cleaning solutions. I remember grinding through the initial levels, and once I hit a key milestone, I was rewarded with a new formula that made a noticeable difference in my performance.
Participate in Events
Keep an eye out for special events within the game. These limited-time occurrences often provide unique opportunities to acquire advanced cleaning agents. I once participated in a weekend event that offered exclusive items, which greatly enhanced my cleaning arsenal. Make sure to engage in these events to expand your options.
It’s also beneficial to interact with the community. Sharing experiences and strategies can provide insights into hidden tasks that might lead to unlocking additional cleaning products. Trust me, the more you engage with others, the more tips you’ll gather to enhance your gameplay.
Selecting the Right Soap for Different Surfaces
Choosing the appropriate cleaning agent can significantly affect your results. Each surface type requires a specific formulation to ensure optimal cleaning without damage.
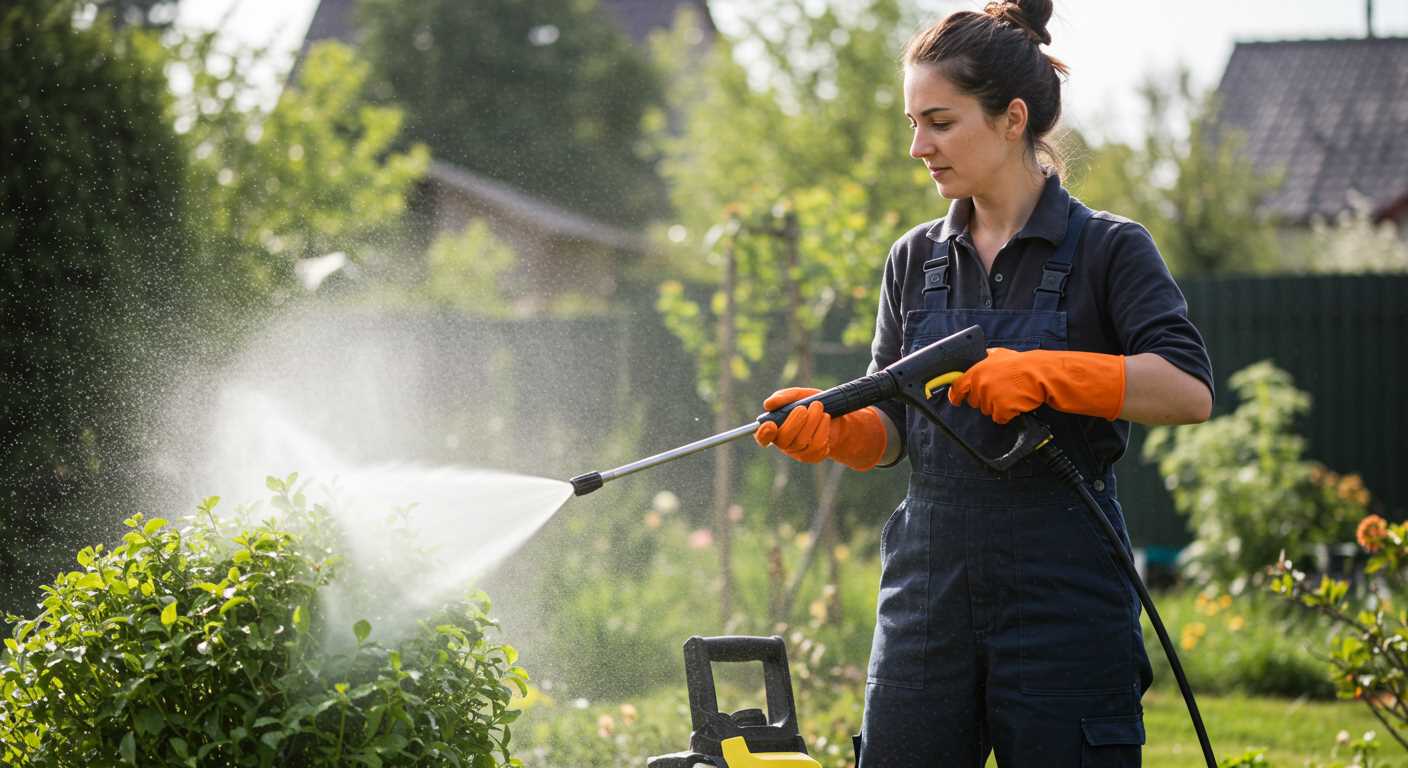
- Wood: For wooden surfaces, opt for biodegradable products. They are gentle yet effective, helping to lift dirt without harming the finish or the wood itself.
- Concrete: Heavy-duty cleaners are your best bet here. Look for formulas designed to tackle grease and oil stains, as concrete can absorb these substances deeply.
- Glass: A clear, streak-free solution is essential. Products specifically made for glass will prevent smudging and provide a shiny finish, ensuring visibility.
- Vinyl siding: Mild detergents work well on vinyl. Choose a product that effectively removes mildew and dirt without causing discolouration.
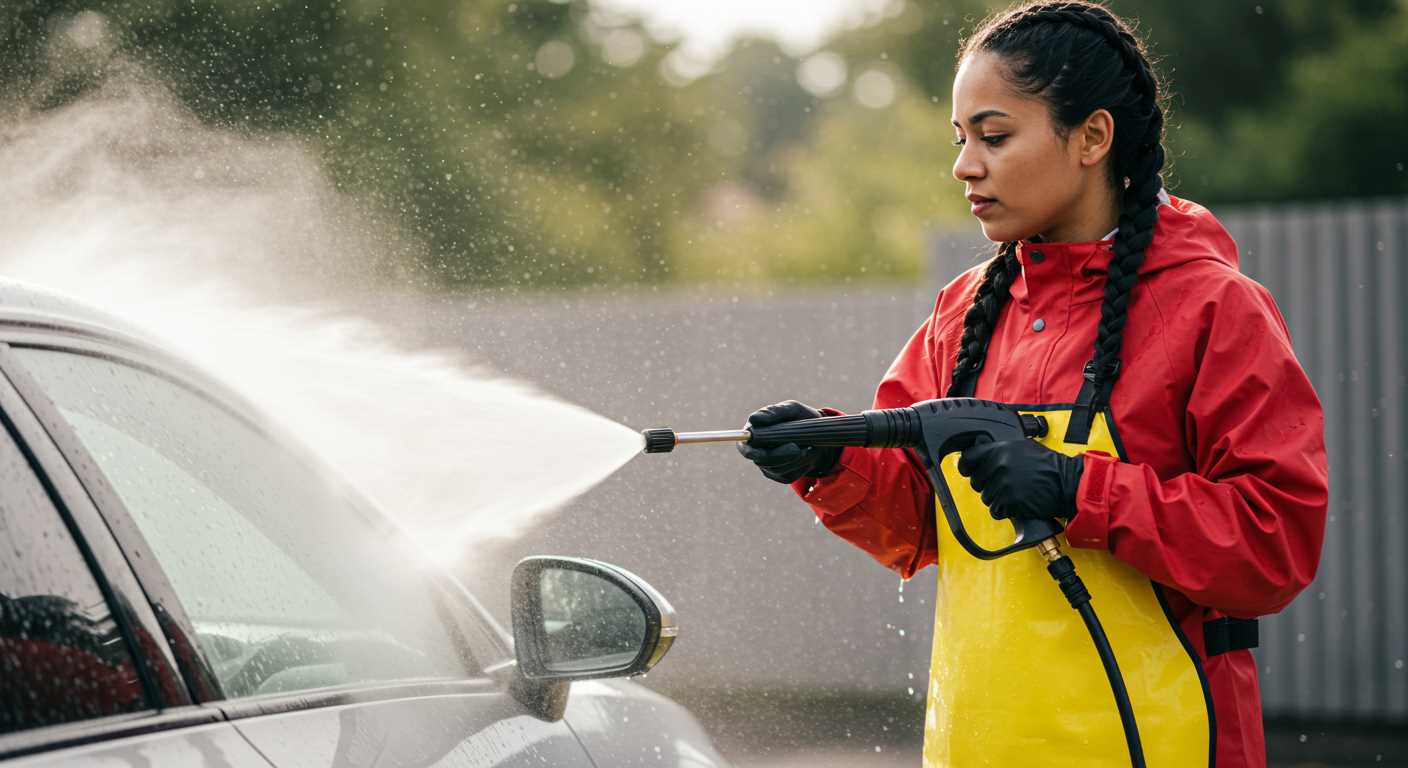
- Vehicles: Use pH-balanced cleaners designed for automotive surfaces. These are formulated to lift grime while protecting paintwork.
In my experience, I once used a heavy-duty cleaner meant for concrete on a wooden deck, thinking it would save time. The results were disastrous; the wood became discoloured and required extensive refinishing. Always match your cleaning agent to the surface type.
Test on a small area first, especially with unfamiliar products. This simple step can prevent costly mistakes and ensure the surface remains in good condition.
Finally, consider the environment. Using eco-friendly options not only benefits nature but also adds an extra layer of safety for your surfaces.
Steps to Apply Cleaning Solution Using Your Equipment
First, ensure you’ve selected the appropriate attachment for dispensing the cleaning solution. Many models come with a dedicated nozzle or a foam cannon that optimally mixes the liquid with air for enhanced coverage.
Preparation
Fill the container with the chosen cleaning agent, adhering to the recommended dilution ratios from the manufacturer. If you’re unsure, refer to resources like best car wash soap for pressure washer jeep jl for guidance on suitable options.
Application Process
Begin by spraying the surface from a distance of around 2-3 feet. This prevents any damage and allows for even coverage. Move in a consistent, overlapping motion to ensure all areas are treated.
| Step | Action |
|---|---|
| 1 | Select correct attachment for dispensing. |
| 2 | Fill container with cleaning agent at recommended dilution. |
| 3 | Spray from a distance of 2-3 feet. |
| 4 | Use a consistent, overlapping motion. |
After application, give the solution time to work–typically about 5-10 minutes–before rinsing with clean water. This ensures the best results and leaves surfaces spotless.
Adjusting Pressure Settings for Soap Application
For optimal cleaning results, calibrating the intensity is key. A lower setting is advisable when applying cleaning solutions, as it prevents overspray and ensures even coverage. In my experience, starting with a pressure level around 1000 PSI is ideal, allowing the detergent to adhere effectively to surfaces without causing damage.
Here’s a simple guide to adjusting settings:

| Surface Type | Recommended Pressure (PSI) | Comments |
|---|---|---|
| Wood | 800-1200 | Gentle application to avoid splintering. |
| Concrete | 1200-2000 | Effective for deep cleaning but monitor for surface damage. |
| Metal | 1500-2500 | Higher pressure may be required for stubborn grime. |
| Glass | 600-800 | Low pressure to prevent breakage. |
Always test on a small area first. If you notice any adverse effects, reduce the pressure further. Also, consider the nozzle type. A fan nozzle disperses the solution better, while a pinpoint nozzle may concentrate the cleaning power too much, risking surface damage.
Using a portable pressure washer for horses can provide versatility. Adjustments may vary depending on the model, so consult your user manual for specific guidance on pressure settings and soap application techniques.
Finally, while applying the cleaning agent, ensure you maintain a consistent distance from the surface. A distance of around 2-3 feet typically yields the best results, allowing the solution to activate properly before rinsing.
Optimising Soap Usage for Maximum Cleanliness
To achieve the best results, start by applying the right amount of cleansing solution. I’ve found that a thin, even layer works wonders. Over-saturating a surface can not only waste product but also lead to streaks. Aim for a light mist that covers without pooling.
- Timing Matters: Allow the solution to dwell for at least 5-10 minutes. This activation period lets it penetrate grime effectively. I’ve rushed this step before, only to find that stubborn stains remained.
- Surface Preparation: Before application, remove loose debris. A quick sweep or blow can make a significant difference. I learned this the hard way when mud clumps interfered with the cleaning process.
- Mixing Ratios: Follow the manufacturer’s guidelines on dilution. Too strong a mixture can damage surfaces, while too weak may not yield results. I’ve experimented with different ratios, and it’s clear that sticking to recommended levels pays off.
When it comes to the nozzle, using a wider fan setting has always been my go-to for applying the cleaning solution. This method ensures even coverage, and I’ve seen marked improvements in cleaning efficiency compared to narrow settings.
- Start from the bottom and work your way up. Gravity helps, and it’s easier to rinse away any remaining product.
- Overlap your strokes slightly. This technique prevents streaks and ensures no areas are missed.
- After the dwell time, switch to a rinsing nozzle. A high-pressure setting will effectively remove residues without damaging the surface.
After rinsing, check for missed spots. I often take a step back to evaluate the work before considering it done. If you find areas still dirty, a second application may be necessary, but ensure you adjust the pressure and time based on the surface type.
Incorporating these practices into your routine can lead to noticeably cleaner outcomes and make the whole process more satisfying. Each cleaning session becomes an opportunity to refine your technique, and that’s where the true satisfaction lies.
Common Mistakes to Avoid When Using Soap
One critical error is applying the cleaning solution directly to dry surfaces. Always pre-wet the area first. This simple step ensures even distribution and enhances the cleaning process. I learned this the hard way when I noticed streaks on a patio after using a concentrated mixture without pre-wetting.
Another frequent oversight is using too much of the cleaning agent. A little goes a long way. During my early days, I thought more would yield better results, only to find myself rinsing off excess solution without any significant improvement in cleanliness. Stick to the recommended dilution ratios for the best outcome.
Ineffective Rinsing Techniques
Many overlook the importance of rinsing thoroughly after application. Leaving any residue can lead to surface damage or attract dirt faster. I recall a time when I didn’t rinse properly after cleaning a car. The remnants caused a sticky film that collected dirt, making the vehicle look worse than before.
Ignoring Surface Compatibility
Not checking the compatibility of the cleaning agent with different materials can cause irreversible damage. I once used a strong solution on a painted wood surface, resulting in peeling paint. Always read the instructions and make sure the chosen cleaner is suitable for the specific surface you’re working on.
Cleaning Techniques for Best Results with Soap
For maximum cleanliness, always pre-rinse the surface before applying any cleaning solution. This initial rinse removes loose dirt and debris, allowing the detergent to penetrate more effectively. In my experience, I’ve found that starting with a clear run significantly enhances the outcome.
When tackling tough stains, let the cleaning agent dwell for a few minutes. I recall a stubborn oil stain on my driveway; I applied the solution, waited a bit, then watched as it lifted the grime effortlessly. Patience pays off here.
Utilising a low-pressure setting during application is key. High pressure can cause the solution to bead up rather than adhere to the surface. I’ve often seen people blast away at stains, only to find the cleaner running off without doing its job. A gentle approach works wonders.
Using the right nozzle can make a significant difference. I prefer a wide-angle nozzle for spreading the agent evenly across large areas. It maximises coverage while ensuring that the solution stays in contact with the surface. This technique proved invaluable during a recent patio cleaning project.
After allowing the cleaning agent to sit, rinse thoroughly but avoid using excessive pressure again. A final rinse with a medium setting helps wash away any residue without damaging the surface underneath. I’ve seen too many surfaces marred by a heavy-handed rinse.
For surfaces like glass or painted finishes, always opt for a non-abrasive cleaner. A few years ago, I mistakenly used a harsh formula on a delicate surface, leading to unsightly scratches. Now, I double-check the compatibility of the product with the surface type.
Lastly, never underestimate the power of a proper technique. Overlapping passes during rinsing ensures that no area is missed, leaving surfaces consistently clean. I learned this the hard way after noticing streaks on my car; a little extra diligence goes a long way.
.jpg)


