


For optimal results, ensure the detergent attachment is set up correctly before you start. Attach it securely to the end of your equipment, making sure it fits snugly to avoid leaks. I recall the first time I overlooked this detail; I ended up with a mess instead of a clean surface. A tight connection is key to a smooth operation.
Next, adjust the chemical settings on your machine. Many models allow you to tweak the ratio of detergent to water. In my experience, a 1:10 ratio works wonders for tough grime while preventing damage to surfaces. Mixing too much can lead to residue, and nobody wants to deal with that after a thorough clean.

Don’t forget to prime the system. Turn on your equipment without the cleaning solution to get the water flowing. This step often gets missed, but I’ve learned that it helps eliminate air pockets and ensures an even application later on. After a few seconds, switch to the detergent and watch how effortlessly it tackles dirt and stains.
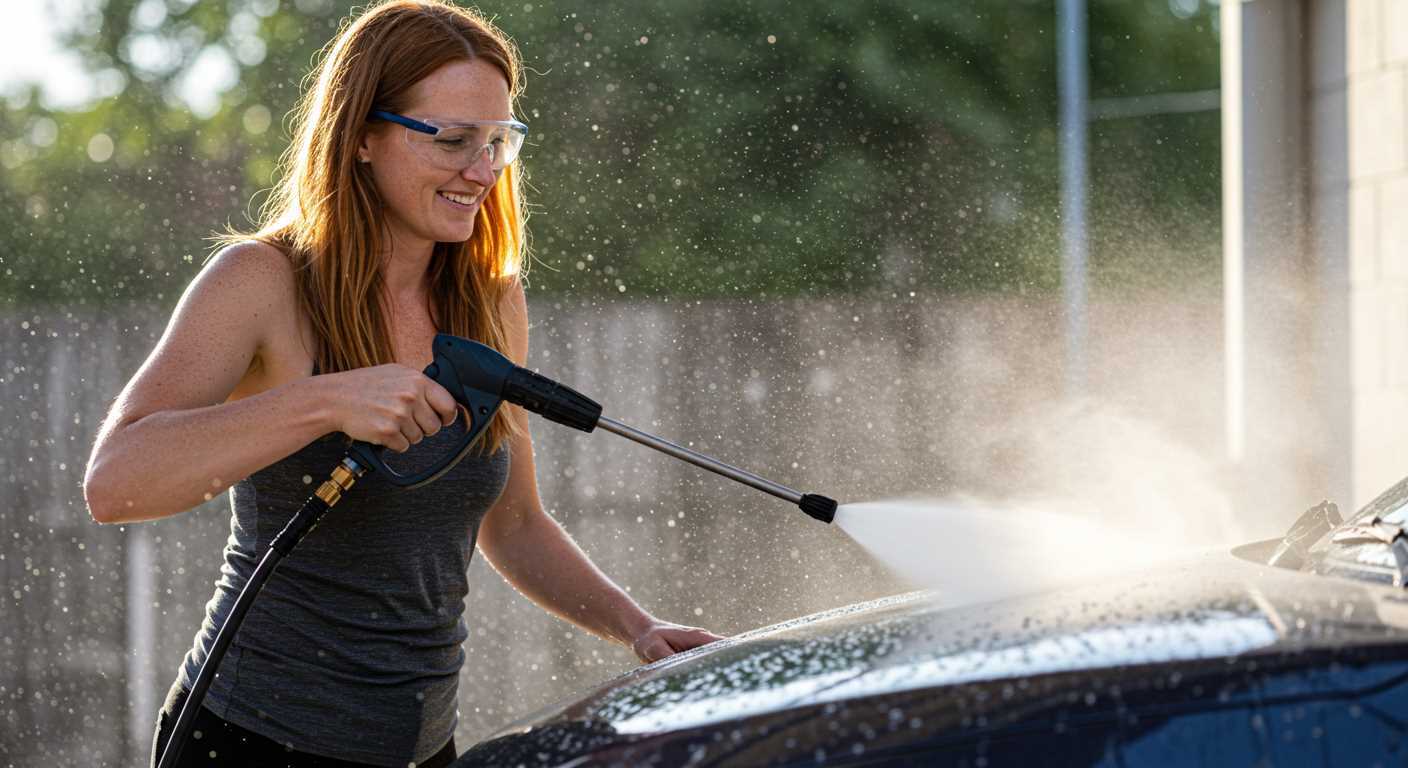
Lastly, maintain a consistent distance from the surface. Keeping the wand about 2-3 feet away allows for better coverage and reduces the risk of damage. I once got too close while cleaning a delicate patio surface, and the results were less than satisfactory. A steady hand and the right distance will yield the best results.
Selecting the Right Cleaning Agent for Your Equipment
Choose a formulation specifically designed for your cleaning apparatus. Many products on the market are tailored to different tasks, such as degreasing, mould removal, or surface restoration. Always check the label for compatibility with your unit.
Types of Formulations
- Biodegradable options: Ideal for environmentally conscious users, these break down naturally and are less harmful to plants and wildlife.
- Heavy-duty cleaners: Suitable for tough stains and grime, often containing stronger chemicals that may require protective gear.
- Gentle solutions: Best for sensitive surfaces like vehicles or painted areas, ensuring no damage occurs during cleaning.
Key Considerations
- Check the pH level. Neutral pH products are safer for most surfaces.
- Look for concentrated formulas; they offer more cleaning power and can be diluted as needed.
- Read reviews and seek recommendations from others who have used the same equipment.
Once you’ve selected the right formulation, follow the manufacturer’s guidelines regarding dilution and application for optimal results. Always test on a small, inconspicuous area before full application to ensure compatibility.
Installing the soap nozzle correctly
To ensure optimal performance, align the fitting of the attachment with the connector on your machine. This guarantees a secure fit and prevents leaks during operation, which can waste detergent and reduce efficiency.
Check Compatibility
Before proceeding, verify that the attachment matches your device’s specifications. Consult the user manual for guidance on compatible elements. I recall a time when I hastily connected an unsuitable fitting, leading to frustrating leaks and a messy clean-up.
Secure Attachment
Once aligned, twist the attachment clockwise until it locks into place. This simple action confirms a tight seal and prevents any disconnections during the cleaning process. I’ve seen many users overlook this step, resulting in less effective cleaning and more hassle than necessary.
After installation, turn on the machine to check for any leaks. If you notice any, disconnect, recheck the fitting, and ensure a snug connection. Taking these precautions can save you time and ensure your cleaning tasks are completed without interruptions.
Adjusting the Pressure Settings for Soap Application
Begin with the unit set to a low pressure, typically between 1000 to 1500 PSI. This range is optimal for mixing cleaning agents effectively without risking damage to surfaces. If the settings are too high, you might end up splattering foam rather than applying it evenly.
After you’ve mixed the cleaning solution, switch to the application mode. I recall a time when I rushed the process–using a higher setting resulted in a mess and wasted product. Adjusting the pressure down made all the difference, allowing for a steady stream that clung to surfaces, enhancing cleaning results.
If you notice that the foam isn’t adhering well, reduce the pressure further. A gentle application allows the detergent to penetrate and work on grime. Remember, sometimes less is more. I’ve found that taking the time to adjust and test the pressure leads to much better results than forcing the cleaning agent out at high speeds.
As you progress, observe how the foam behaves. If it’s running off too quickly, lower the pressure incrementally until you achieve that perfect balance. My experience has shown that patience in adjusting leads to a more thorough clean and often saves additional product, maximizing efficiency.
Lastly, after you’ve finished, remember to switch back to your normal settings for rinsing. This ensures that any residual cleaning agents are effectively removed. I’ve seen the difference it makes when this step is overlooked; it can leave surfaces slick and potentially cause issues later. Adjustments in pressure are key not only for application but for a successful finish overall.
Understanding the Soap Mixing Process
To achieve optimal cleaning results, it’s vital to grasp the nuances of mixing cleaning agents with water. The right dilution enhances effectiveness while preventing damage to surfaces. Always refer to the manufacturer’s guidelines for the specific cleaner you’re using.
Proportions Matter
For most cleaning products, a typical mixing ratio ranges from 1:10 to 1:4. This means one part detergent to ten or four parts water, respectively. Here’s a quick breakdown:
- Light cleaning: 1 part cleaner to 10 parts water.
- Moderate grime: 1 part cleaner to 5 parts water.
- Heavy stains: 1 part cleaner to 4 parts water.
Mixing Techniques
When preparing your solution, follow these steps for the best results:
- Fill a clean container with the required amount of water.
- Add the recommended volume of detergent gradually, stirring gently to avoid excessive foaming.
- Allow the mixture to rest for a few minutes to ensure proper blending.
Always remember, the quality of the cleaner plays a significant role in the final outcome. Use high-quality products designed for your equipment, as inferior options can lead to poor performance and potential damage.
Lastly, keep the mixing area clean and free from contaminants. Any residue from previous mixtures could alter the effectiveness of your new solution. Regularly clean your mixing containers to ensure the integrity of your cleaning agents.
Techniques for Applying Cleaning Solution Evenly
To ensure a uniform application of cleaning solution, start by maintaining a consistent distance from the surface. Ideally, this should be around 3 to 4 feet. Holding the wand too close can lead to excessive concentration in one area, while too far away can result in ineffective coverage.
Utilising Overlapping Passes
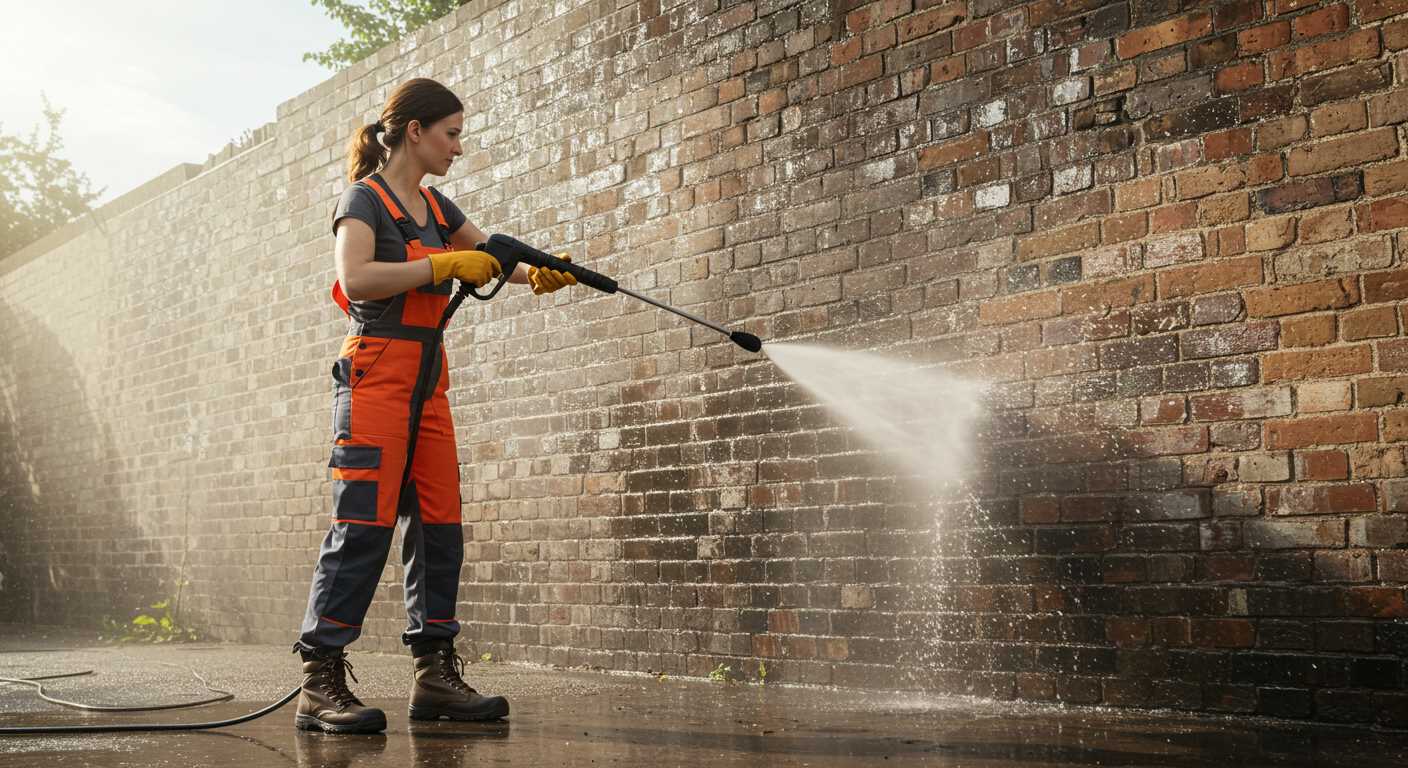
When working across a surface, think of it like painting a wall. Overlap your strokes by about 50% to ensure no patches are left untreated. This technique promotes an even distribution, allowing the solution to penetrate effectively. I once faced stubborn grime on a patio, and employing this method made a noticeable difference in the final outcome.
Adjusting the Nozzle Angle
Aiming the wand at a slight angle can significantly improve coverage. Instead of pointing it directly at the surface, tilt it slightly to allow the solution to spread out more evenly. This approach also helps in reaching into crevices and corners that might otherwise be neglected. Remember to keep an eye on how the solution is settling on the surface; if it runs off too quickly, you may need to adjust your technique.
For those interested in versatile machines, check out this pressure washer for cyclocross. It offers features that can enhance your cleaning routine.
After application, let the solution sit for a few minutes to break down the grime. However, avoid letting it dry completely, as this can lead to residue. If you’re looking for another practical skill, consider learning how to can chili without a pressure cooker. Just like with cleaning, patience and precision make all the difference.
Rinsing Off without Damaging Surfaces
Start with a low-pressure setting. This prevents the risk of causing damage to delicate surfaces. For instance, when rinsing off vehicles or painted surfaces, use a fan spray pattern. This distributes water evenly and minimises the force impact on the surface.
Technique for Effective Rinsing
Position the lance at least two to three feet away from the surface. This distance helps to avoid the concentrated force of the water stream, which can strip paint or etch softer materials like wood or vinyl. Move the wand in a sweeping motion to ensure all areas are covered without lingering too long in one spot.

Final Rinse Tips
Always rinse from the top down. This method allows dirt and residue to flow downwards, preventing streaks. After rinsing, inspect for any missed spots or areas that may need another pass. If you notice any stubborn residue, it may require a second application of your chosen cleaning agent followed by another gentle rinse. Always remember to check surface compatibility if you’re dealing with more sensitive materials.
Maintaining Your Cleaning Attachment for Longevity
Regular maintenance of your cleaning attachment significantly extends its lifespan. After each use, flush the attachment with clean water to remove any residual detergent. This simple step prevents clogging and ensures smooth operation the next time it’s needed.
Routine Care Tips
Inspect the attachment for any signs of wear, such as cracks or blockages. If you notice any damage, replace the component promptly to avoid further issues. Additionally, keep the connection points clean and free from debris to maintain a secure fit and optimal performance.
Storage Recommendations
Store the attachment in a cool, dry place away from direct sunlight. This helps prevent degradation of materials, particularly if the component is made from plastic or rubber. Consider using a protective cover to shield it from dust and environmental factors.
| Maintenance Task | Frequency | Notes |
|---|---|---|
| Flush with water | After each use | Removes detergent residues |
| Inspect for wear | Monthly | Look for cracks or blockages |
| Clean connection points | As needed | Ensure a secure fit |
| Store properly | After each use | Avoid direct sunlight and dust |
By incorporating these practices into your routine, you’ll ensure that your cleaning attachment remains in excellent condition, ready for the next task at hand. Regular attention to maintenance not only saves time and money but also enhances your overall cleaning experience.

.jpg)


