


For a thorough clean, incorporate a quality cleaning agent into your routine. Begin by selecting a suitable product designed for high-pressure machines. Avoid those that are too harsh; they can damage components or surfaces. I’ve tested various brands, and I recommend ones that are biodegradable and safe for the environment.
Before mixing, ensure your device is turned off and disconnected from the power source. This avoids any accidental activation while you’re preparing the solution. Measure the detergent according to the manufacturer’s instructions, typically a small amount mixed with water suffices. I’ve found that a 1:5 ratio often yields impressive results.
Once prepared, pour the mixture into the designated compartment. If your model doesn’t have a specific tank, a foam cannon attachment works wonders. My personal experience has shown that foam applications allow the detergent to cling to surfaces, breaking down grime effectively.
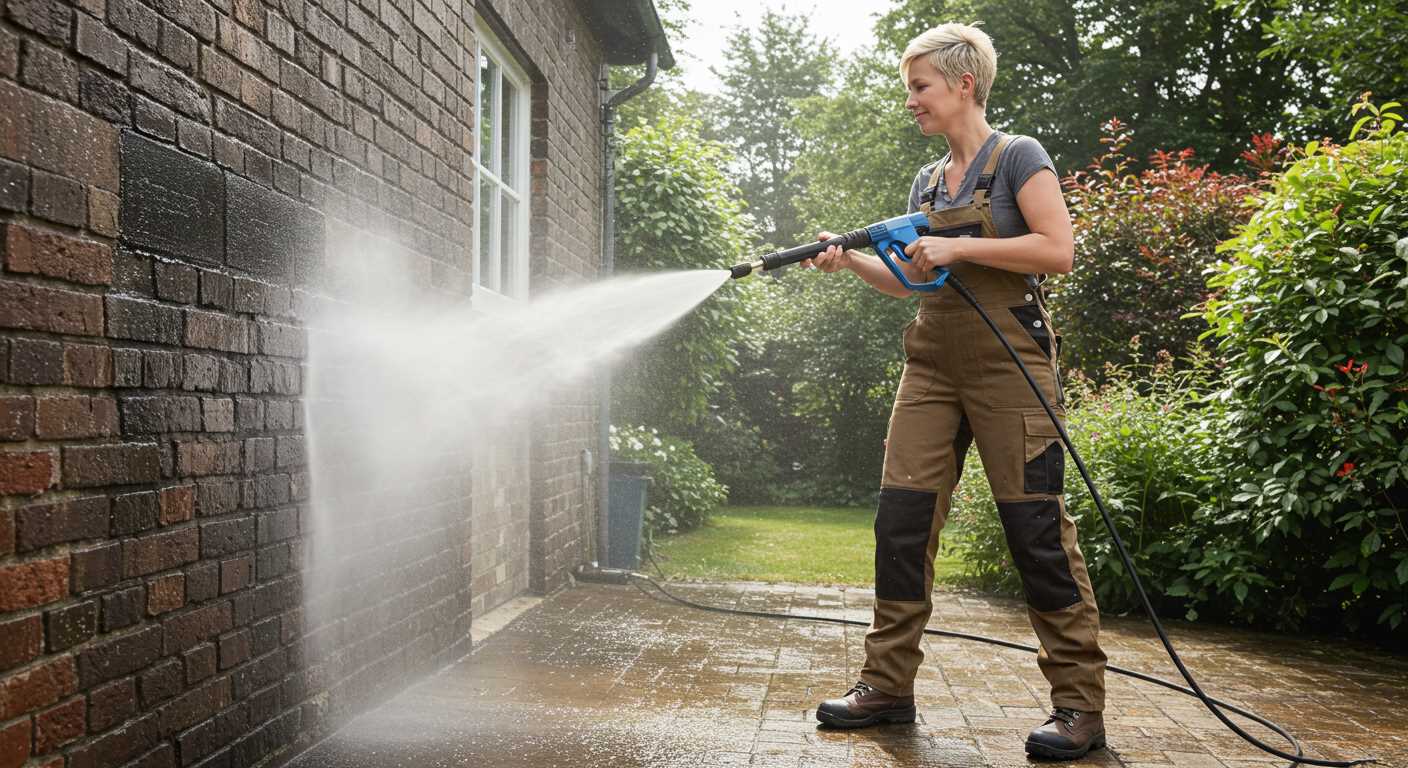
When it’s time to start cleaning, adjust the nozzle to a wide spray pattern. This allows the detergent to cover a larger area without forcing it into crevices where it might cause damage. During my years in the field, I’ve seen too many people make the mistake of using a narrow spray, which can lead to unwanted wear on surfaces.
Allow the solution to dwell for a few minutes; this activation time is crucial for optimal results. After that, rinse thoroughly with clean water. Observing these steps will enhance your cleaning experience and prolong the life of your equipment.
Application of Detergent Using Honda Equipment
Start by selecting the right cleaning agent suitable for your task. I’ve found that products specifically formulated for pressure cleaning yield the best results. Make sure to read the label to ensure compatibility with your device.
Next, locate the detergent tank on your unit. Fill it with the chosen cleaner, following the manufacturer’s guidelines for dilution if necessary. Over-concentration can lead to residue issues later on.
Adjust the nozzle to the low-pressure setting. This is key; high pressure can cause the detergent to spray too forcefully, diminishing its effectiveness. With the low-pressure setting, the cleaner will adhere better to surfaces, allowing it to penetrate and work on grime.
Begin spraying at the bottom of the surface and work your way up. This technique prevents streaks and ensures even coverage. I often let the detergent sit for a few minutes before rinsing, allowing it to break down stubborn dirt.
After the dwell time, switch back to a high-pressure nozzle to rinse away the detergent. Start from the top and move downwards, ensuring all residue is removed. I recommend using a fan spray pattern for an even rinse.
Lastly, rinse the detergent tank and any attachments used. This prevents any leftover cleaner from causing damage or clogging in future sessions. Clean equipment lasts longer and performs better.
Choosing the Right Cleaning Agent for Your Washer

Opt for a formula specifically designed for high-powered machines. When I first started in this field, I experimented with various brands and types. I found that products labelled as biodegradable not only performed well but were also environmentally friendly. Always check for compatibility with your equipment to avoid potential damage.
Consider the type of surface you’ll be tackling. For instance, a concentrated solution is ideal for tough stains on concrete, while a gentler mix can be suitable for vehicles or delicate surfaces. I recall a time I used an all-purpose cleaner on my car–while it did the job, it left streaks that took ages to buff out. Lesson learned: match the cleaner to the task.
Concentrated formulas often require dilution. Follow the manufacturer’s instructions carefully to achieve the best results. I once miscalculated a dilution ratio and ended up with a foamy mess that took longer to rinse off. Always measure accurately for optimal performance.
Fragrance can enhance the experience. I’ve used lemon-scented cleaners that made the task more enjoyable, but I also advise caution. Strong scents can be overwhelming or irritating. Choose according to your preference and sensitivity.
Lastly, consider the pH level of the cleaner. Acidic solutions are effective for rust and mineral deposits, while alkaline options work wonders on grease and oil. I remember using an alkaline cleaner on a particularly greasy grill; the results were astonishing. Understanding the chemistry behind your cleaning solution can elevate your results significantly.
Preparing Your Honda Pressure Washer for Soap Application
Begin by ensuring the machine is off and unplugged. Check the detergent tank; it should be clean and free of any residue from previous cleaning agents. If it’s dirty, rinse it thoroughly to avoid contaminating your new mixture.
Mix the cleaning solution according to the manufacturer’s instructions. It’s crucial to maintain the correct dilution ratio to optimise performance. In my experience, a concentrated mix often leads to better results, but too much can cause damage to the machine.
- Attach the detergent siphon hose to the detergent inlet on the unit.
- Securely connect the other end to the bottle of your prepared cleaning solution.
- Ensure the siphon hose is submerged in the liquid for proper suction.
Adjust the nozzle to the low-pressure setting. This is vital as it allows for even and gentle application of the mixture without causing splatter or damage to surfaces. I recall a time when I inadvertently used a high-pressure setting, resulting in a mess that took longer to clean up.
Before starting your cleaning task, test the solution on a small, inconspicuous area. This step is necessary to ensure compatibility with the surface being cleaned, avoiding any unwanted reactions.
Once everything is set, you can begin. For optimal results, work in sections and allow the solution to sit for a few minutes to break down grime before rinsing. If you’re tackling tougher stains, you may want to repeat the application.
After finishing, clean the siphon hose and detergent tank to prevent any clogs or residue buildup. This simple maintenance step can greatly extend the life of your equipment.
If you’re looking for a model that can handle tough jobs, consider a unit with a rating around 160 bar for powerful performance.
Properly mixing detergent and water for optimal results
For the best cleaning outcomes, I recommend a 1:10 ratio of detergent to water. This means one part detergent to ten parts water. Always check the manufacturer’s guidelines on the detergent packaging, as some products may require different ratios.
Start by pouring the correct amount of cleaner into a clean container. Next, add the appropriate volume of water. Stir gently to avoid excessive foaming. A consistent mixture ensures that the cleaning solution is effective without clogging the nozzle of your equipment.
If you’re tackling a particularly stubborn stain, you might consider increasing the concentration slightly, but never exceed the recommended levels. Too much detergent can leave a residue, making rinsing difficult. I’ve found that testing a small area first can save time and effort later.
After mixing, let the solution rest for a few minutes to allow it to activate. This simple step can enhance its efficacy against dirt and grime. Once ready, fill the soap tank of your machine, and you’re set to achieve impressive results.
For those looking for a high-quality application tool, check out the best car wash high pressure spray gun. A good spray gun can make a significant difference in the distribution of your cleaning mixture.
Applying soap using the pressure washer’s soap nozzle
For optimal results, attach the designated soap nozzle before beginning. This nozzle typically has a wider opening, allowing for a gentle application of cleaning solution. Ensure the tank is filled with the correct mixture of detergent and water, as discussed earlier.
Technique for Application
- Start from the bottom of the surface and work your way up. This prevents streaking and ensures the cleaning agent clings to dirt.
- Maintain a distance of approximately 2 to 3 feet from the surface to avoid causing damage.
- Apply in a consistent, overlapping pattern for even coverage. Move slowly to allow the solution to penetrate and break down grime.
Timing and Effectiveness
Allow the cleaning agent to sit for about 5 to 10 minutes, but avoid letting it dry on the surface. If it dries, it can be more challenging to rinse away. Keep an eye on the weather; applying in direct sunlight can affect the solution’s performance.
After the dwell time, switch back to the regular nozzle for rinsing. Start at the top and work your way down, ensuring all residues are thoroughly removed. A clean finish is essential for the best results.
Techniques for Rinsing Residue Off Surfaces
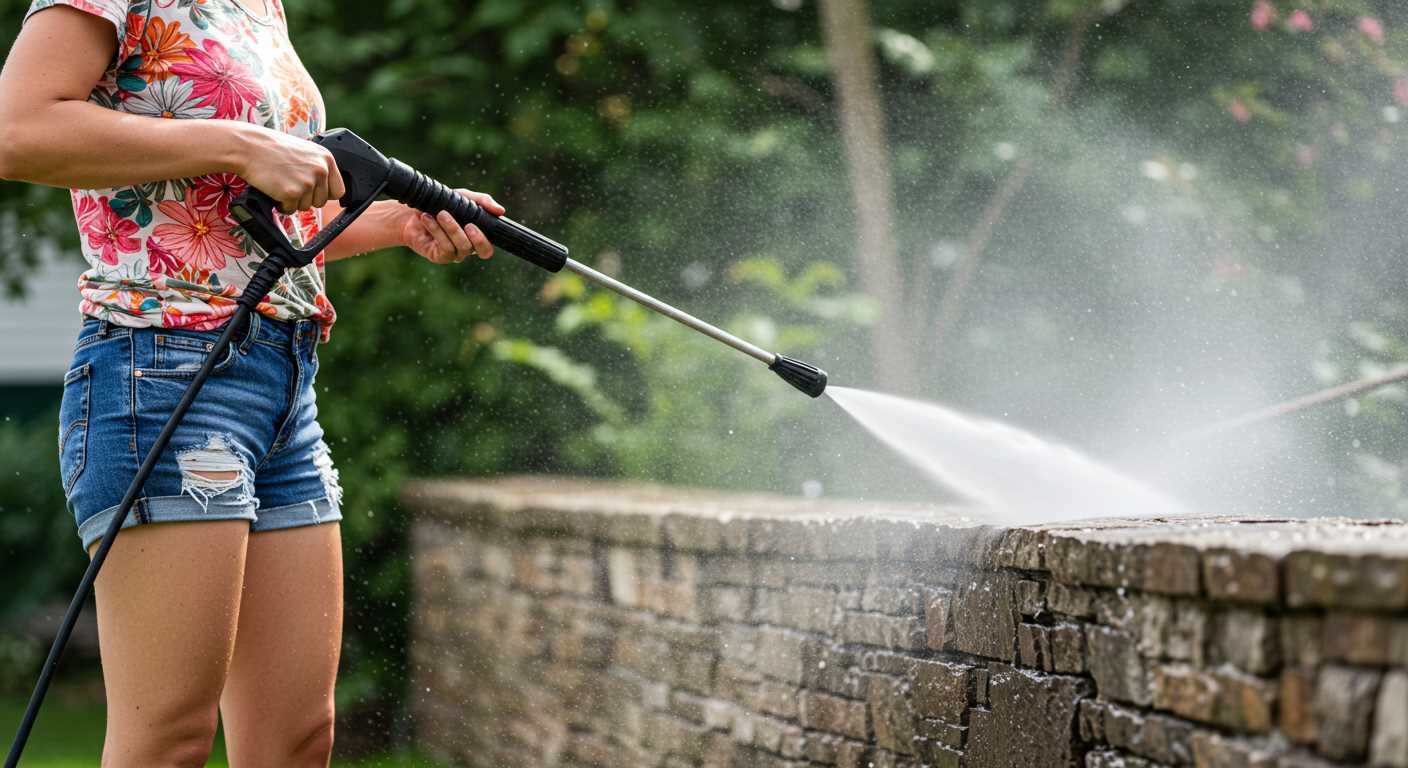
Start by using a fan spray nozzle. This attachment disperses the water over a larger area, helping to remove any lingering detergent from surfaces without causing damage. Position the nozzle approximately 30 to 45 centimetres away from the surface to avoid excessive pressure on delicate materials.
Utilise a two-step rinsing method. First, apply a moderate amount of water to saturate the area, ensuring the cleaning agent is loosened. Follow this with a thorough rinse to wash away any remaining residues. This approach is particularly effective for vertical surfaces, like walls, where gravity aids in the removal process.
Consider the temperature of the water. Warm water enhances the rinsing effect by breaking down any stubborn remnants more effectively than cold. If your equipment allows it, adjust the temperature settings accordingly to maximise rinsing capabilities.
Pay attention to the rinsing angle. Tilt the nozzle slightly downwards to guide the runoff away from the surface, preventing any leftover solution from settling back onto areas that have been cleaned. This is especially relevant for horizontal surfaces, where pooling can occur.
For larger areas, work in sections. Rinse one section completely before moving on to the next. This prevents soap from drying and creating streaks or residues, ensuring a uniform finish across the entire surface.
| Technique | Description |
|---|---|
| Fan Spray Nozzle | Disperses water over a wider area to avoid damage and ensure thorough rinsing. |
| Two-Step Rinsing | Saturate first, then rinse to ensure effective removal of residues. |
| Warm Water | Enhances the breakdown of stubborn remnants, improving overall results. |
| Rinsing Angle | Tilting the nozzle downwards helps guide runoff away from cleaned areas. |
| Work in Sections | Ensures no soap dries on surfaces, leading to a consistent finish. |
Maintaining Your Equipment After Application
After applying cleaning solutions, it’s crucial to perform a thorough maintenance routine. First, ensure you flush out any residual product from the tank. Fill it with clean water, run the machine for a few minutes, and then drain it. This prevents any build-up or clogging that can occur if chemicals are left to sit.
Inspecting Components
Check the nozzle and filter for any blockages caused by leftover detergent. A simple rinse under running water can often clear these areas. Examine hoses for any signs of wear or damage, especially after using harsh chemicals. If you spot any cracks or leaks, it’s best to replace these components to avoid further issues.
Storing Properly
Once cleaned, store the unit in a dry, sheltered area to protect it from the elements. If you’re not planning to use it for an extended period, consider winterising it by draining all fluids and adding a stabiliser to the fuel tank. This will keep everything in top shape for your next cleaning task.

.jpg)


