


For optimal cleaning results, always employ a dedicated cleaning solution designed for high-pressure applications. When I first started using these machines, I learned the hard way that not all detergents are created equal. The right mixture can significantly boost your performance and efficiency.
Begin by filling the detergent tank with the chosen cleaner, ensuring it is compatible. I remember using a generic product once, which not only failed to lift the grime but also clogged the system. It’s crucial to check the manufacturer’s recommendations for suitable options.

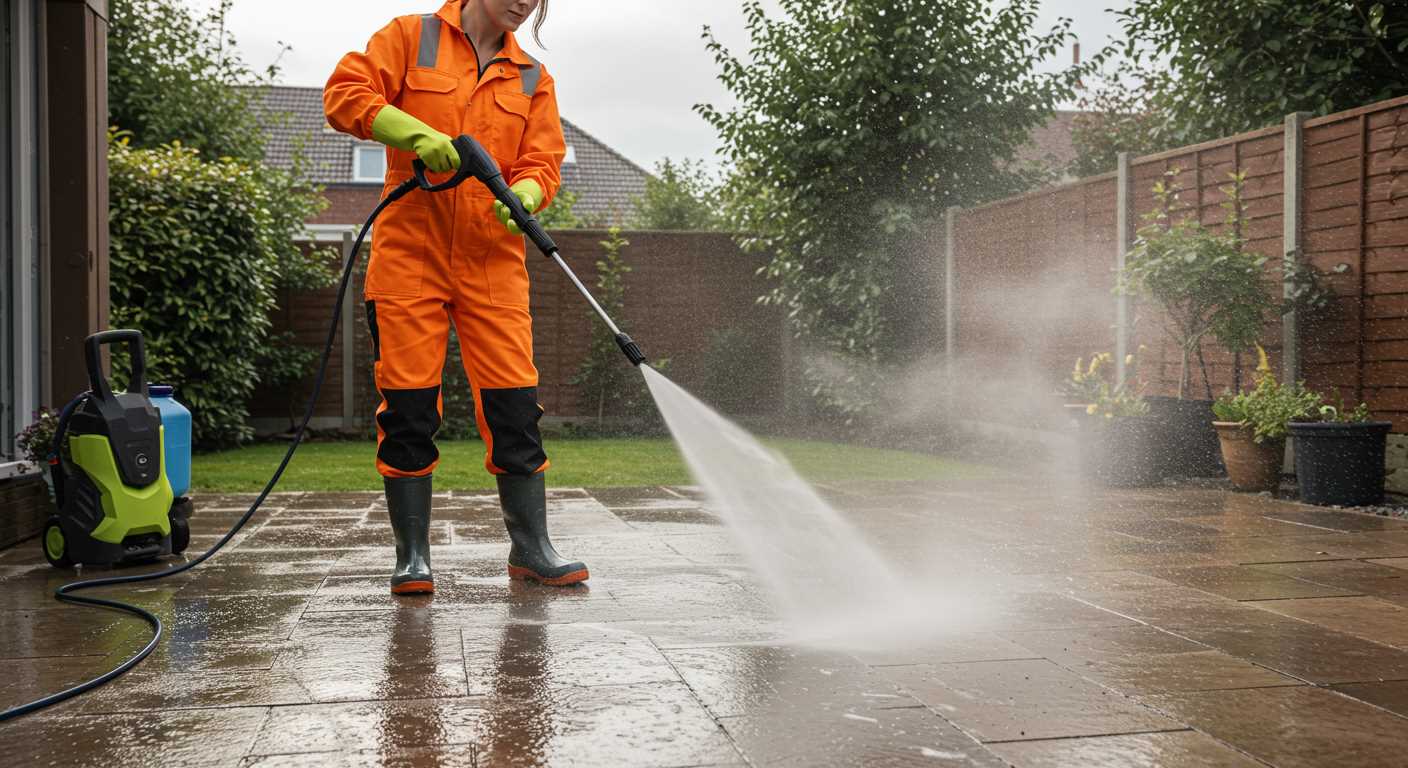
Adjust the nozzle to the appropriate setting for detergent application. A wider spray pattern allows for even distribution, which I found invaluable when tackling large surfaces. In my experience, applying the solution from a distance helps avoid over-saturation, especially on delicate surfaces. Allow the cleaner to dwell for a few minutes to break down tough stains before rinsing.
After application, switch to the high-pressure setting to rinse away the residue. This two-step process always delivered the best results for me, leaving surfaces sparkling clean and free of any chemical traces. Don’t forget to flush the system with clean water after finishing to ensure longevity and prevent any build-up.
Application Techniques for Detergent with Ryobi Equipment
Choosing the right blend is crucial. Opt for a detergent specifically designed for your device to avoid damage. Many users overlook this, thinking any cleaner will suffice. Trust me, it’s worth the investment.
Mixing and Filling
Follow these steps:
- Start with clean water in the detergent tank.
- Add the recommended amount of detergent as per the label instructions.
- Mix gently; avoid vigorous shaking to prevent bubbles that could clog the system.
If your model lacks a dedicated tank, consider using a siphon hose. Attach it to the detergent container, ensuring a secure fit to prevent leaks.
Application Method
Here’s how to apply effectively:
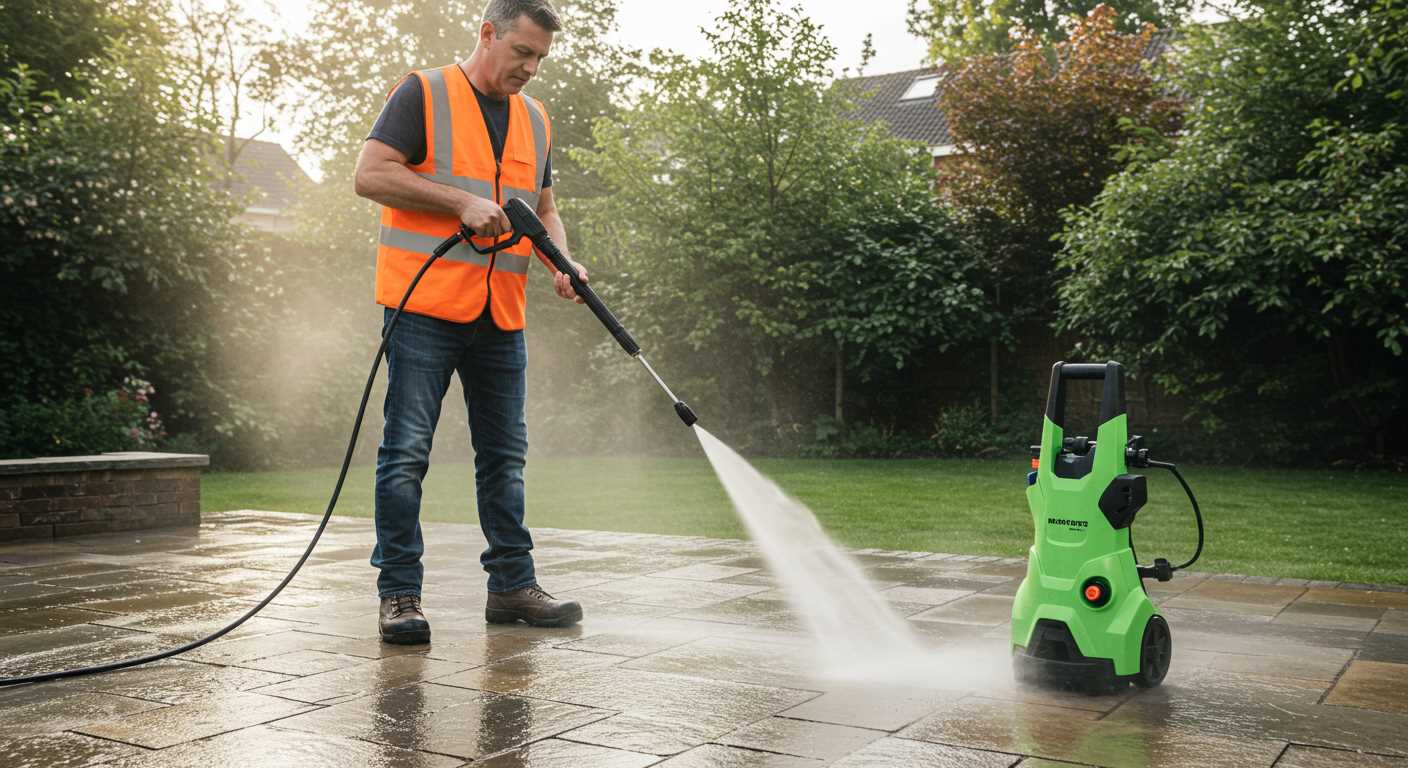
- Adjust the nozzle to a lower pressure setting for a gentle application.
- Maintain a distance of around 30cm from the surface to prevent damage.
- Apply the detergent evenly in a sweeping motion, starting from the bottom and working upwards.
Allow the cleaner to sit for a few minutes, but avoid letting it dry completely. Rinse thoroughly with clean water, starting from the top and moving downwards. This ensures no residue is left behind.
Monitor the results. If you notice stubborn stains, repeat the process, allowing more time for the cleaner to penetrate. My experience shows that patience pays off, especially on tough surfaces.
Selecting the Right Soap for Your Pressure Cleaning Device
Choosing the right detergent is crucial for achieving optimal results. I’ve encountered numerous formulations, and each has its specific use case. Here’s what I recommend based on my experience.
- Type of Surface: Match the cleaner to the material. For example, a gentle formula works best on painted surfaces, while a stronger option is ideal for concrete or brick.
- Stain Type: If tackling oil or grease, look for a degreaser. For mildew or mould, select a cleaner specifically designed to combat those issues.
- Concentration: Opt for concentrated solutions that can be diluted as needed. This allows flexibility for different tasks while ensuring cost efficiency.
- Environmental Impact: Consider eco-friendly options that won’t harm surrounding plants or wildlife. Many brands now offer biodegradable choices that are effective yet safe.
- Compatibility: Ensure the chosen product is compatible with your equipment. Some units require specific formulations to avoid damage or voided warranties.
During one project, I used a multi-surface cleaner on a patio that hadn’t been cleaned in years. The product not only lifted dirt but also restored the colour of the stone. It was a game changer for that area, showcasing the right choice can make a significant difference.
Always read the label for instructions on dilution and application methods. Following the manufacturer’s guidelines is key to achieving the best results without damaging surfaces or equipment.
Preparing Your Pressure Washer for Soap Application
Begin by ensuring that your equipment is unplugged and turned off. Disconnect the water supply to avoid any accidental activation while setting everything up. Inspect the detergent tank; it should be clean and free from any residues from previous cleaning agents. A quick rinse will suffice.
Setting Up the Right Accessories
Attach the appropriate nozzle for applying cleaning solutions. A low-pressure nozzle is crucial as it allows for even distribution without causing damage to surfaces. If your model includes a specific soap nozzle, opt for that to ensure optimal performance.
Next, prepare the detergent by mixing it according to the manufacturer’s instructions. Always follow the recommended dilution ratios to avoid any complications. Pour the mixture into the detergent tank, ensuring not to exceed the fill line.
Final Checks Before Application
Before starting, double-check all connections between the water source, the machine, and the detergent tank. Make sure there are no leaks and everything is secure. Turn on the water supply and engage the trigger to purge any air from the system. This step will ensure a smooth flow of the cleaning solution when you start.
For those looking for the best products, I recommend visiting best car wash soap for electric pressure washer. This resource provides great options tailored to your needs, ensuring excellent results.
Using the Soap Injection System on Ryobi Pressure Washers
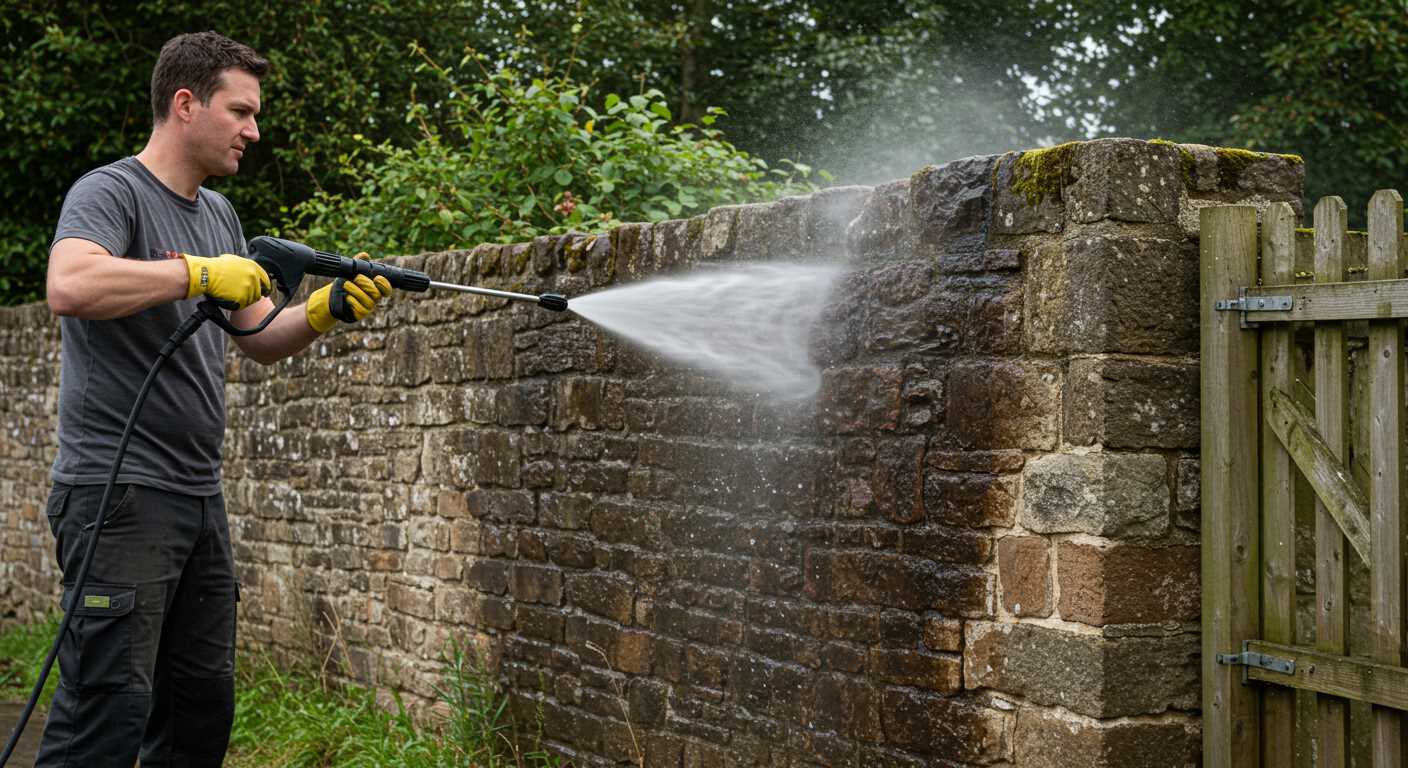
For optimal results, connect the soap injection system directly to the designated port on your Ryobi machine. Ensure the siphon tube is submerged in the cleaning solution, allowing for a steady flow during operation. Adjust the nozzle to the appropriate setting; typically, a low-pressure nozzle is ideal for applying detergents uniformly.
While operating, maintain a consistent distance of approximately 12 to 18 inches from the surface being treated. This distance helps prevent streaks and ensures even coverage. Move the nozzle in a sweeping motion, allowing the detergent to penetrate surfaces for a few minutes before rinsing.
After application, switch to a high-pressure nozzle to rinse away residues effectively. This step is crucial, as it removes both the cleaning agent and any loosened dirt. For those looking to maintain outdoor structures, consider a pressure washer for decks and fences to enhance your cleaning routine.
Regularly check the soap injection system for clogs or debris. A clean system ensures maximum flow and performance. If you notice diminished detergent flow, inspect the siphon tube and the connections for any blockages. Keeping everything clear will enhance your cleaning experience.
Adjusting Pressure Settings for Optimal Soap Use
Begin by setting the pressure level to a lower setting, typically around 1000 to 1500 PSI, to ensure that the cleaning agent adheres properly to the surface. This lower intensity helps the solution penetrate grime and dirt effectively without causing damage.
Finding the Sweet Spot
During my years testing various models, I found that the ideal pressure often varies depending on the surface type. For delicate materials like wood or painted surfaces, stick to the lower end. Conversely, tougher substrates, such as concrete, may benefit from a slightly higher setting.
Trial and Error
Don’t hesitate to experiment. After adjusting, apply a small patch of the cleaning solution to see how it reacts. If it’s not adhering well, decrease the pressure. If it’s splattering too much or not cleaning effectively, gradually increase the intensity until you find that perfect balance.
It’s also wise to consider the nozzle type; a wider spray pattern can help distribute the solution more evenly at lower pressures. This combination ensures thorough coverage without risking the integrity of the surface you’re cleaning.
Adjusting these settings can significantly enhance your cleaning experience, making the task not just more efficient, but also more satisfying.
Cleaning and Maintaining Your Pressure Washer After Soap Use
After applying cleaning agents, immediate attention to your equipment is crucial for longevity. Begin by rinsing the detergent tank thoroughly. Fill it with clean water and run the unit briefly to flush out any residue. This prevents build-up and clogging in the system.
Next, inspect the nozzle. Detergents can cause blockages. Remove the nozzle and run water through it to clear any debris. If necessary, use a soft brush to dislodge stubborn particles. Check for any signs of wear; replacing nozzles periodically ensures optimal performance.

Following this, examine the hoses for any signs of damage or leaks. Detergents can sometimes cause wear over time. If you notice cracks or fraying, replacing hoses will prevent further issues. Ensure all connections are tight and secure to avoid leaks during the next operation.
| Maintenance Task | Action Required | Frequency |
|---|---|---|
| Flush detergent tank | Run clean water through the system | After each use |
| Inspect nozzle | Clear debris and check for wear | After each use |
| Check hoses | Look for damage and replace if needed | Monthly |
| Clean filters | Remove and rinse filters to maintain flow | Every 3 months |
Lastly, storing your equipment properly plays a significant role. Make sure to keep it in a dry area, away from extreme temperatures. Cover it to protect against dust and debris. This simple step can significantly extend its lifespan.
In my experience, maintaining your gear after using cleaning agents not only enhances performance but also saves you from costly repairs down the line. Regular upkeep ensures that your equipment is always ready for the next job.
.jpg)


