
.jpg)


.jpg "How to use the soap dispenser on a pressure washer")
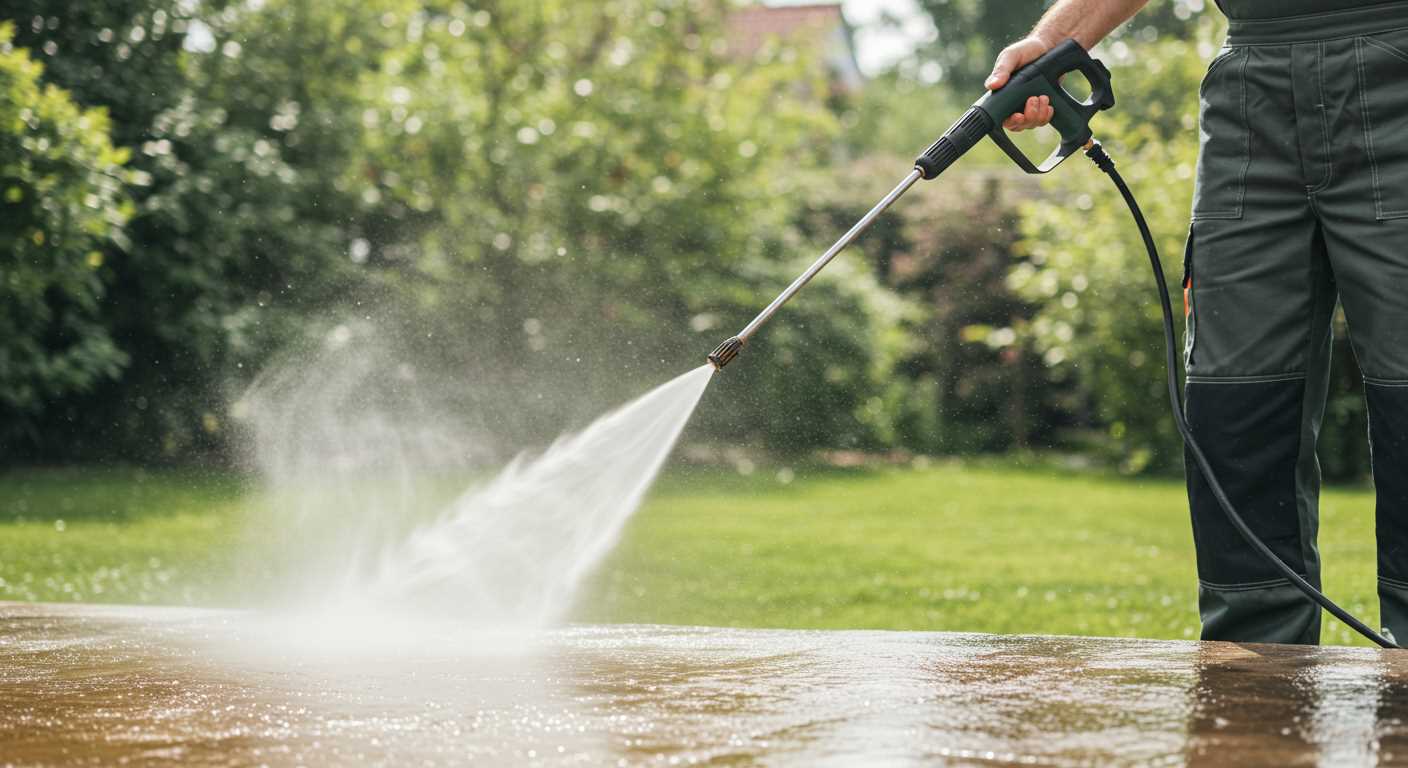
Start by ensuring that the container is filled with the appropriate cleaning solution, diluted as per the manufacturer’s instructions. An incorrect mixture can lead to unsatisfactory results or even damage surfaces. I’ve seen too many people overlook this step, resulting in a soapy mess instead of a sparkling clean finish.
Attach the container securely to your machine, making sure it locks in place to avoid any leaks during operation. I once had a mishap where a poorly secured tank spilled everywhere, wasting both product and time. Always double-check your connections; it can save you a lot of hassle later.

Adjust the nozzle to the right setting for foam application. A wider spray pattern is often ideal for covering large areas, while a narrower stream is better for detailed work. I remember the first time I switched nozzles; the difference in application was astounding. Experiment with settings to find what works best for your specific task.
Finally, engage the cleaner and watch as the foam is released onto the surface. Move in overlapping strokes to ensure even coverage. I learned this the hard way during my early days; missing spots can lead to uneven cleaning, which means additional effort later on. Consistency is key; take your time and enjoy the process.
Understanding Components of Cleaning Fluid Applicator
Key to mastering cleaning apparatus is knowing parts involved in applying detergent. First, there’s the tank, where liquid is stored. Ensure it’s securely attached and not cracked. I recall a time when I overlooked this, resulting in a messy leak during operation. Always check for tight seals.
Hoses and Nozzles
Next, focus on hoses and nozzles. The hose connects the tank to the machine, allowing fluid to flow. A clogged or damaged hose can hamper performance. I had an instance when the nozzle was partially blocked, leading to inconsistent spray patterns. Regularly inspect and clean these components to maintain optimal functionality.
Adjustment Mechanisms
Adjustment mechanisms control the flow rate of liquid. Some machines include a dial or lever for this purpose. I’ve found that adjusting these settings can significantly enhance results, tailoring application to different surfaces. Experiment with settings to discover what works best for your specific cleaning task.
Selecting the Right Cleaning Agent for Your High-Pressure Cleaner

Choosing the right cleaning agent is critical for optimal results. Always look for products specifically designed for high-pressure equipment. Generic cleaners can damage components or cause inefficiencies.
Types of Agents
- Biodgradable Cleaners: These are eco-friendly and safe for various surfaces. Ideal for outdoor use where runoff may affect plants or wildlife.
- Degreasers: Perfect for greasy surfaces like driveways or garage floors. They cut through oil and grime effectively.
- Exterior Cleaners: Formulated to tackle tough stains on siding, roofs, and decks. These often include mildewcides to prevent future growth.
- Car Wash Solutions: Designed for automotive surfaces. They protect wax and paint while removing dirt without scratching.
Concentration Matters
Always read dilution ratios on the label. Most products require mixing with water. Too concentrated can leave residue, while too diluted may not clean effectively.
- Check compatibility with your machine’s model.
- Conduct a patch test on a small area to ensure no adverse reactions.
- Store unused solutions in a cool, dry place to maintain their effectiveness.
From my experience, using the right cleaner not only enhances performance but also prolongs the life of your equipment. I once used a generic cleaner on a client’s driveway; the results were disappointing, and it resulted in extra work to rectify the situation. Stick to products that suit your specific needs for the best outcome.
Connecting the Soap Dispenser to Your Pressure Washer
Begin by ensuring your unit is powered off. Locate the connection point for the cleaning solution container, typically found near the lance or gun attachment. Most models feature a straightforward twist or click mechanism for secure attachment. Align the dispenser according to the manufacturer’s instructions and lock it in place.
Next, check for any required settings on your equipment. Some units need adjustments to operate with the cleaning solution, such as changing the nozzle or altering the pressure level. If available, switch to a low-pressure nozzle to allow for optimal mixing of water and cleaning agent.
Testing the Connection
With everything connected, it’s time to test. Turn on your device and activate the flow. Watch for a consistent stream of foam or suds from the nozzle. If you notice weak output or no foam at all, double-check the connections and ensure the container is filled with the correct product. It’s also wise to assess the nozzle for clogs or blockages.
Maintenance Tips
After each use, detach the container and rinse it thoroughly to prevent residue buildup. Storing your device with leftover solution can lead to clogs and damage over time. This routine will extend the lifespan of your equipment and keep it ready for your next cleaning task.
If you’re considering enhancing your cleaning experience, explore options like a pressure washer gun for foam cannon. It can provide a thicker layer of foam, improving the cleaning process significantly.
Finally, if you’re interested in tackling additional tasks like preserving food, check out this guide on how to can corn without pressure cooker. It’s a handy skill to complement your cleaning expertise.
Adjusting Concentration Settings
For optimal results, fine-tuning concentration levels is paramount. Begin by identifying the specific cleaning task at hand–whether it’s a vehicle, patio, or siding. Each surface demands a different approach regarding dilution ratios.
Fine-Tuning Ratios
Many models feature adjustable controls. If yours includes this option, start with a mid-range setting. When tackling tough grime, increase concentration incrementally. If you’re cleaning delicate surfaces, dial it back to prevent damage. Observing the results allows for swift adjustments; don’t hesitate to experiment until achieving the desired outcome.
Mixing Solutions
When preparing your cleaning solution, ensure thorough mixing. Proper integration of the product guarantees a consistent application. If you notice streaks or residue, the concentration might be too strong. Reducing the amount and reapplying can enhance results significantly. Remember, less can often be more when it comes to cleaning agents.
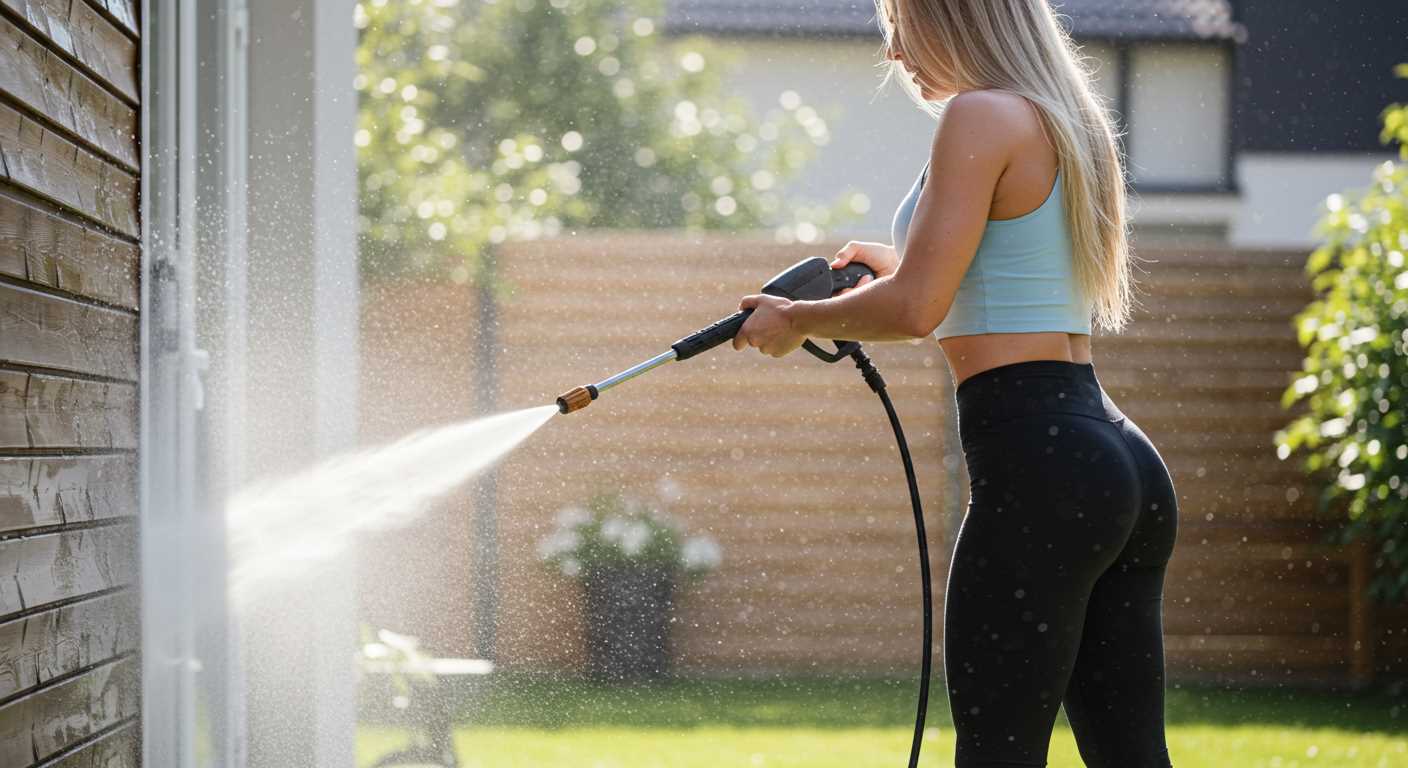
Applying Cleaning Solution Using the Pressure Cleaner
To achieve optimal results with your cleaning solution, start by selecting the correct nozzle. A low-pressure nozzle is ideal for applying the mixture, as it prevents excessive spray and ensures even distribution. I remember a time when I mistakenly used a high-pressure nozzle, resulting in a messy application and wasted product. Trust me, the right nozzle makes all the difference.
Next, maintain a distance of about 2 to 3 feet from the surface while applying the mixture. This prevents oversaturation and allows for proper adhesion of the cleaning agent. During my early days, I often got too close, which led to streaks and uneven coverage. Finding that sweet spot was a game changer.
When you begin applying the solution, move in a sweeping motion, working from the top down. This technique helps avoid drips and ensures that dirt is lifted effectively. I learned this after witnessing stubborn stains that required additional scrubbing because I didn’t follow this method initially.
Allow the cleaning agent to dwell for a few minutes. Patience here is key; the time lets the solution penetrate the grime. I once rushed this step and ended up with unsatisfactory results. A little wait can save you time in scrubbing later on.
After letting the solution sit, rinse thoroughly with clean water using a higher pressure. This step is crucial, as any residue left behind can attract dirt more quickly. I recall a specific project where I neglected this, and it backfired just days later with surfaces looking grimy again.
Finally, inspect the area to ensure the desired cleanliness. If any spots remain, you can repeat the process on those specific areas. I’ve found that this targeted approach helps tackle stubborn stains without reapplying the entire cleaning agent.

Cleaning the soap dispenser after use
After finishing your task, it’s crucial to clean out the container thoroughly. I always recommend rinsing it with fresh water immediately. This prevents any residue from drying and clogging the system. Fill the compartment with clean water, then activate the machine briefly to allow the water to circulate and flush out any remaining detergent.
Next, disconnect the unit from the supply line. Make sure to check for any leftover liquid in the lines. A simple way to do this is by running the unit for a few seconds without any product. You’ll be surprised how much can linger in there.
For a deep clean, I often soak the container in a mixture of warm water and mild detergent for about 30 minutes. This helps dissolve any stubborn deposits. After soaking, scrub with a soft brush or cloth to ensure every nook and cranny is spotless.
Once cleaned, rinse everything with water again. Allow the components to air dry completely before storing. Moisture left inside can lead to mould or mildew, which you definitely want to avoid for longevity of the equipment.
It’s also a good idea to periodically inspect any seals or gaskets for wear and tear. Over time, these can degrade and affect performance. Replacing them when necessary can save you headaches down the line.
.jpg)


