


Mix a cup of this common household ingredient with water in your equipment’s reservoir for an instant upgrade in grime removal. During my years testing various cleaning machines, I discovered this method works wonders, especially on stubborn stains and mildew. It’s a simple trick that can save you time and effort.
Before you begin, ensure your equipment is turned off and disconnected. This step prevents any unwanted splashes or accidents. Once you’ve prepared your mixture, pour it into the designated compartment, ensuring not to exceed the recommended fill level. I’ve often found that a 1:1 ratio of the acidic solution to water does the trick effectively.
Don’t rush through the process; let the mixture sit for a few minutes before starting your machine. This pause allows the acidity to penetrate tough spots, making the actual washing smoother. During one of my trials, I noticed a significant difference in effectiveness after letting it rest, particularly on outdoor furniture that had built up layers of dirt over time.
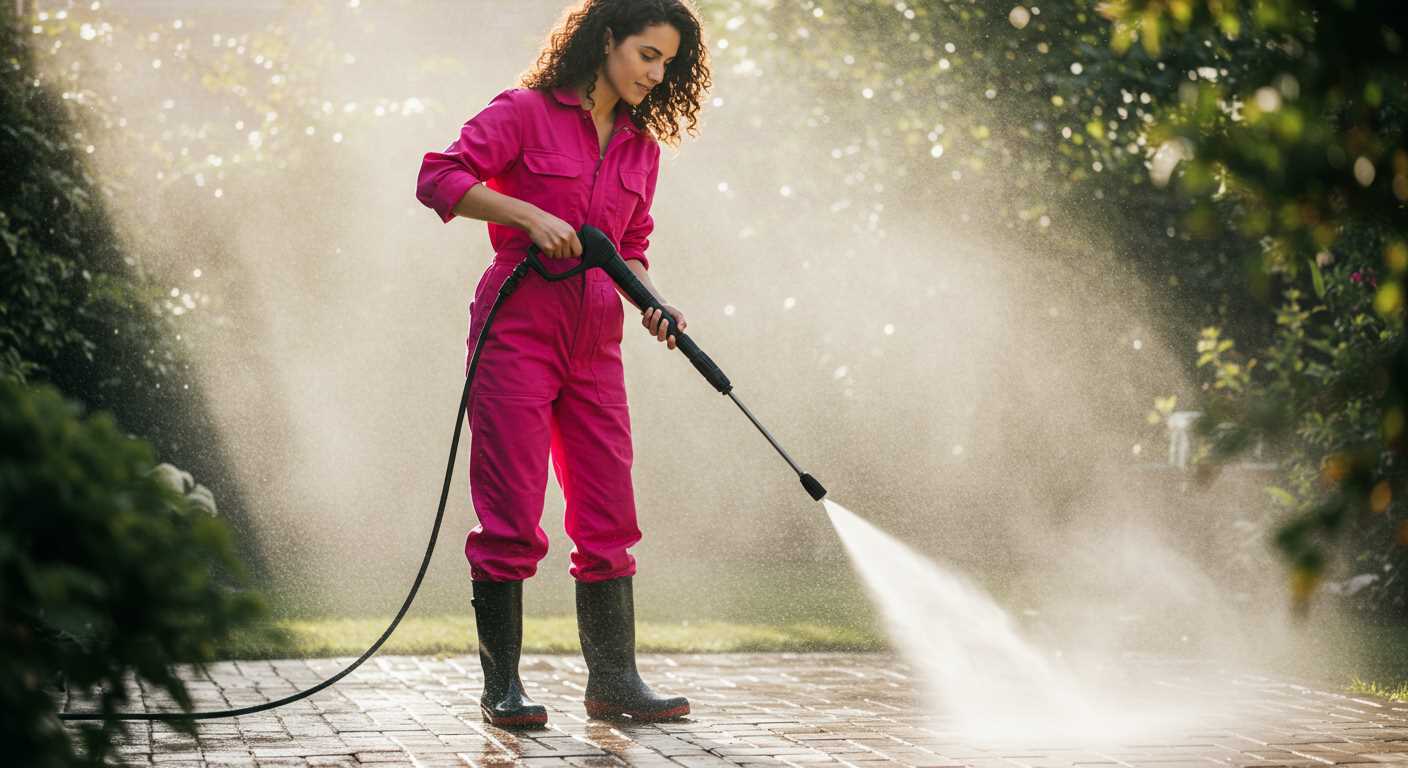
As you begin cleaning, adjust the nozzle to a wide spray pattern to avoid any concentrated force that might damage surfaces. Always test a small area first. I learned this the hard way when I accidentally stripped paint off a wooden deck. A wide spray allows for gentle yet thorough cleaning, making the process more forgiving.
After finishing, rinse out the reservoir thoroughly. Any leftover solution can lead to unpleasant odours or residue in future cleanings. I’ve made it a habit to do a quick rinse after every session, ensuring my equipment stays in top condition for the next round of cleaning.
Choosing the Right Type of Vinegar for Cleaning
For optimal results, select the appropriate acidity level. I recommend opting for white distilled liquid, which typically has an acidity of 5%. This type is effective for most cleaning tasks without leaving any residue.
Types of Vinegar and Their Applications
- White Vinegar: The most versatile option. Perfect for general cleaning, it tackles grime and stains effectively.
- Apple Cider Vinegar: Slightly less acidic, this variety is excellent for removing mineral deposits and has a pleasant scent, making it suitable for indoor cleaning.
- Balsamic Vinegar: Not ideal for cleaning due to its sugar content, which can leave sticky residues.
Considerations When Selecting Vinegar
- Concentration: Always check the acidity. Higher levels may be required for tough stains.
- Purity: Choose natural products without additives for better performance.
- Availability: Ensure the selected type is easily accessible in your local stores.
- Price: Generally, white distilled is the most cost-effective option.
In my experience, keeping a bottle of white distilled and apple cider varieties on hand covers most cleaning needs efficiently. Each has its strengths, allowing for a tailored approach based on the specific task at hand.

Preparing the Cleaner for Acidic Solutions
Before incorporating an acidic solution into your cleaning machine, always ensure to consult the manufacturer’s manual. This helps avoid any potential damage to components. I remember one instance where a colleague overlooked this step and ended up with a malfunctioning device.
Start by disconnecting the unit from the power source. Safety first! Next, remove any existing detergent or cleaning solutions from the reservoir. Residual products can react adversely with the new solution, compromising the cleaning effectiveness.
Thoroughly rinse the tank with water to eliminate any remnants. A quick flush can save you from unwanted chemical interactions. I find that filling the tank halfway with water and running the machine briefly works wonders for cleaning out any stubborn residues.
Once the reservoir is clean, mix the acidic solution with water according to the desired concentration. For most tasks, a solution of one part acid to three parts water is sufficient. Always add the acid to water, never the other way around, to prevent splattering.
After mixing, pour the solution into the tank, ensuring not to exceed the maximum fill line. This is where I learned from experience; overfilling can lead to messy spills during operation. Finally, check all hoses and connections for any signs of wear or cracks. Inspecting these components is crucial, as the acidic solution can exacerbate existing damage.
Once everything is in order, reconnect the device to the power source and conduct a brief test run. This step helps ensure that everything is functioning correctly before tackling larger cleaning tasks. I’ve found that taking these precautions leads to more successful outcomes and prolongs the life of the equipment.
Mixing vinegar with water for optimal results
For best outcomes when cleaning, combine a solution of one part acetic liquid to three parts water. This ratio effectively balances cleaning power while ensuring the mixture is gentle on surfaces. I’ve found this blend works exceptionally well on grime and stains without causing damage.
Application tips
Before commencing, always conduct a small test on an inconspicuous area to check for any adverse reactions. Once confirmed, fill the detergent tank of your equipment with the prepared solution. The gentle acidity of the liquid will break down dirt, making it easier to remove.
Additional recommendations
Consider using a rotary surface cleaner for pressure washer for enhanced cleaning efficiency. This attachment allows for an even application and optimises the cleaning process, especially on larger flat surfaces.
After cleaning, rinse the surfaces thoroughly with water to ensure no residue remains. This step is crucial for maintaining the integrity of the cleaned areas and preventing potential discolouration.
Applying Vinegar Solution to Different Surfaces
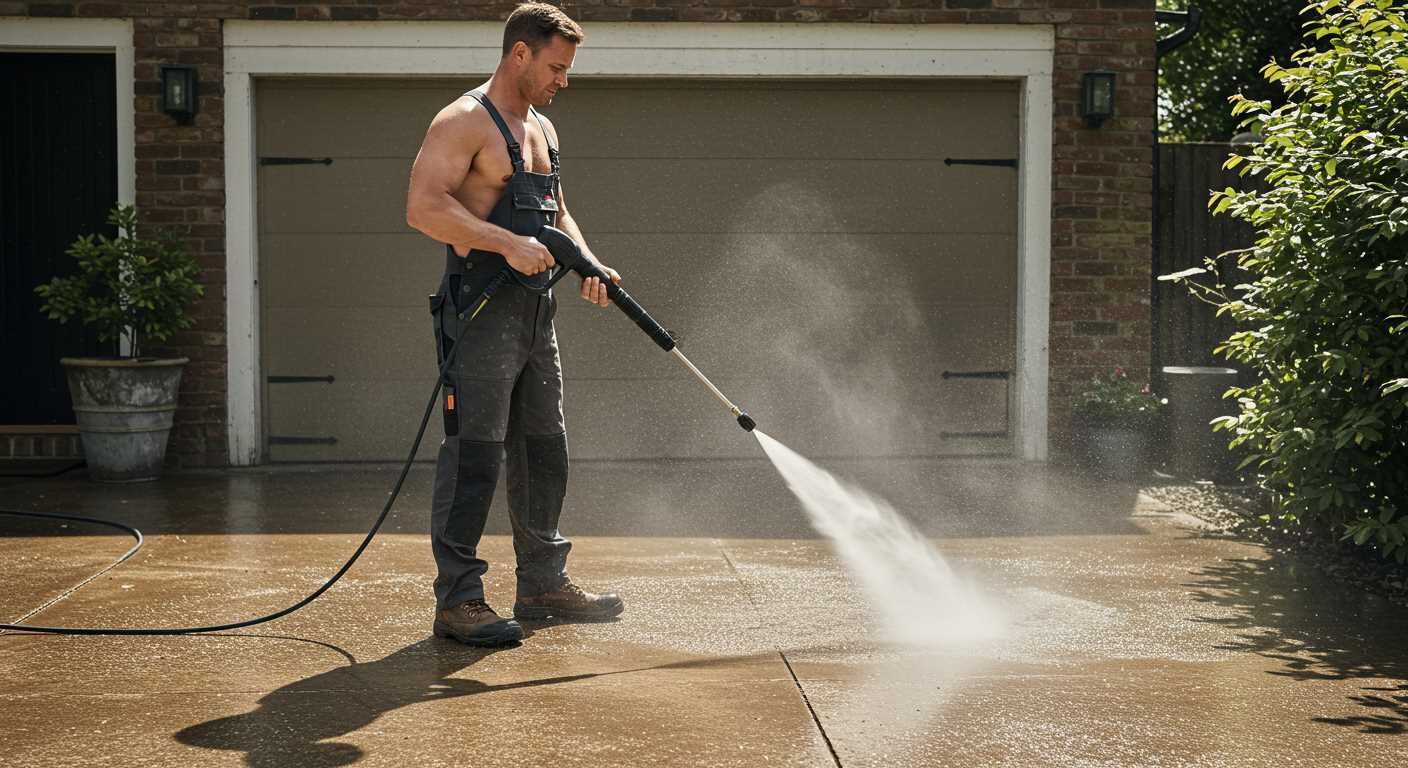
For effective cleaning, adapting the vinegar solution to various surfaces is key. Concrete driveways respond well to a 1:1 mixture of the acidic solution. Spray it evenly, let it sit for a few minutes, and then rinse off. This method tackles stains and grime effectively without damaging the surface.
Wooden Decks and Fences
When dealing with wooden surfaces, dilution is crucial. A 1:3 ratio of vinegar to water is recommended. Apply with a wide nozzle to avoid saturating the wood. After application, allow it to penetrate for a few minutes before rinsing. This approach helps lift dirt while protecting the wood’s integrity.
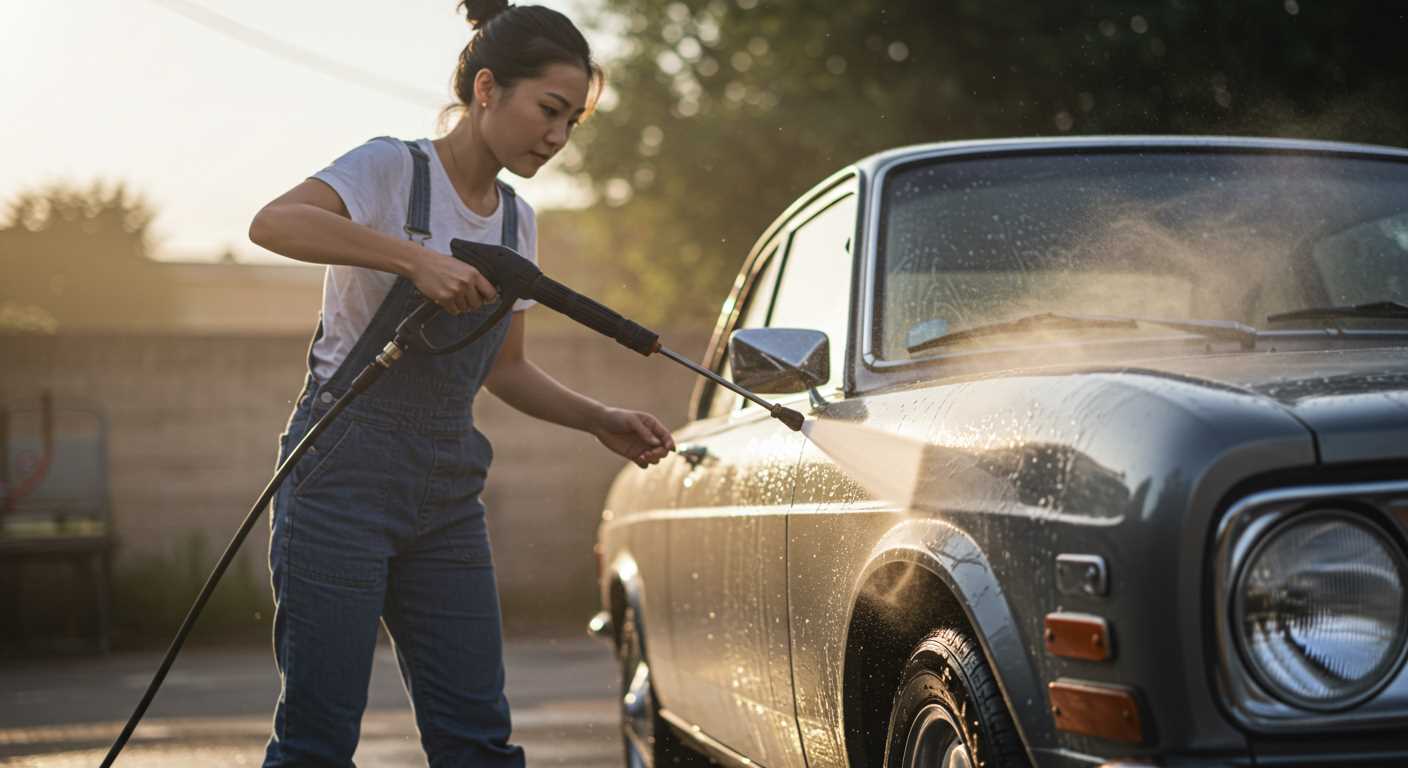
Vehicles and Outdoor Furniture
For cars and garden furniture, a more diluted solution is best, around 1:4. This concentration ensures that the finish is preserved while still removing dirt and grime. Use a soft-bristled attachment to gently apply the mixture, followed by a thorough rinse to avoid any residue that could dull the surface.
Cleaning tips for stubborn stains using vinegar
For those persistent marks, a straightforward approach can yield surprising results. Begin by applying a concentrated solution directly to the stain. This method works wonders for mildew, rust, and mineral deposits.
Targeting specific stains
- Mildew: Spray the solution on affected areas, allowing it to sit for 10-15 minutes before rinsing. This helps break down the spores effectively.
- Rust: For rust stains on metal surfaces, apply the solution and sprinkle baking soda on top. Let it fizz for a while, then scrub gently with a soft brush.
- Grease: Mix equal parts with a degreaser for kitchen surfaces. This combo tackles tough grease with ease.
- Mineral deposits: On glass or tile, apply the solution and let it sit for a few minutes. Wipe with a microfiber cloth for a streak-free finish.
Additional tips for enhanced results
- Always test a small, inconspicuous area first to ensure no damage occurs.
- Combine with baking soda for a paste that can tackle more rigid stains.
- Use a brush with soft bristles for scrubbing to avoid scratching surfaces.
- Ensure adequate ventilation, especially with stronger mixtures.
These methods have proven effective in my experience. Each type of stain may require a slightly different approach, but patience and the right technique will lead to a cleaner surface.
Maintaining Your Equipment After Cleaning
Rinsing the system thoroughly after a cleaning session is crucial. I always flush out the solution by running plain water through the machine for several minutes. This step helps eliminate any residual acidity that can cause damage over time. Make sure to run the water through all attachments and hoses to ensure a complete cleanse.
Next, check the nozzles and filters for any build-up. I recommend removing them and rinsing under hot water. Sometimes, stubborn deposits require a soft brush to dislodge. Regular maintenance of these components can prolong the lifespan of your device significantly.
After cleaning, inspect the hoses for any signs of wear or leaks. If you notice any cracks or abrasions, replacing them promptly will prevent further issues. I’ve seen hoses fail during operation, which can lead to accidents and costly repairs.
Finally, store the equipment in a cool, dry place. I’ve learned that extreme temperatures can affect performance, so keeping it sheltered from heat and frost is wise. Additionally, covering the unit helps protect it from dust and debris, ensuring it’s ready for the next task.
For those interested in maintaining surfaces like stainless steel, consider checking out this how to clean stainless steel the ultimate guide. It provides valuable insights on keeping your surfaces pristine.
.jpg)


