
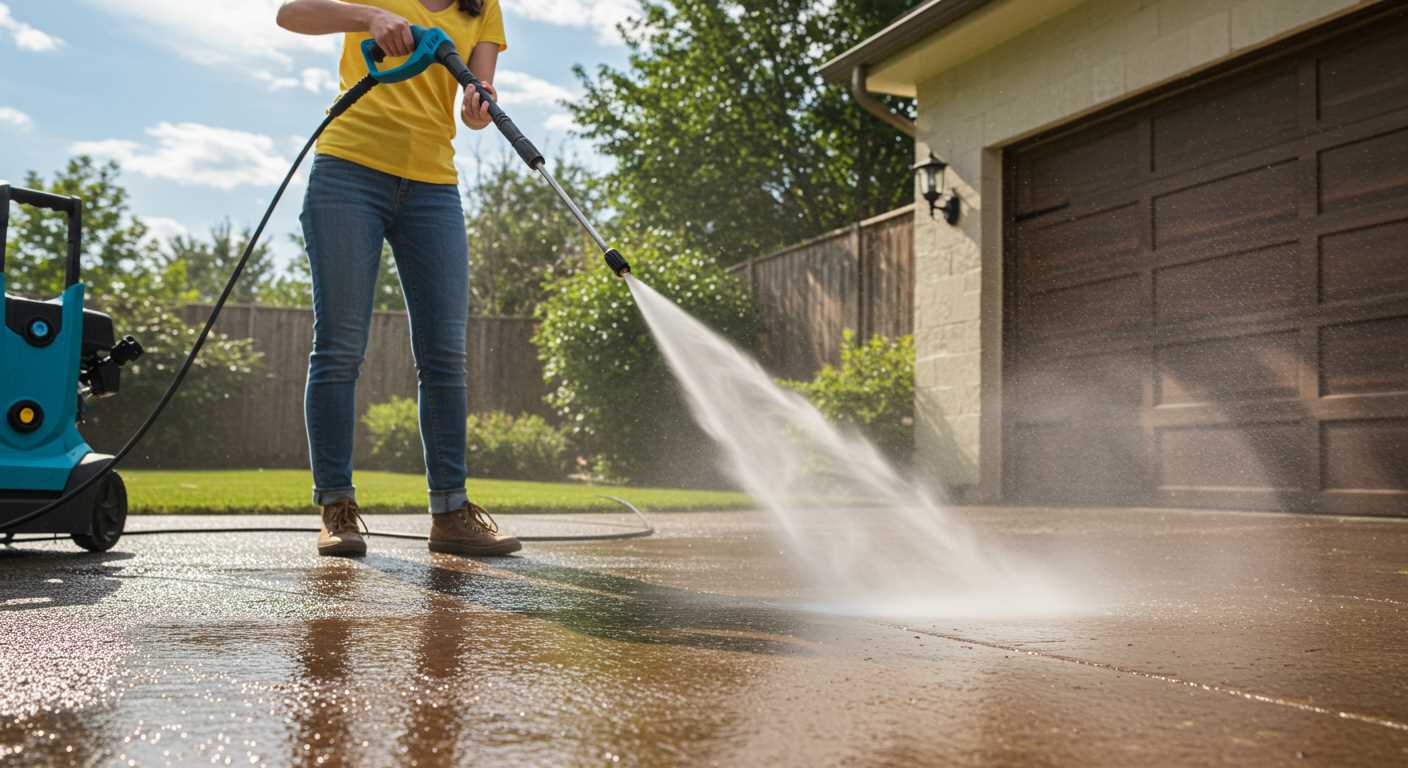


Start with connecting the garden hose to the inlet. Ensure a tight fit to prevent leaks. I once overlooked this step, resulting in a frustrating spray of water that didn’t reach my patio. Before switching on the device, check that the nozzle is securely attached; a loose nozzle can lead to unpredictable water pressure and uneven cleaning.
Next, it’s time to choose the right nozzle for the task. I’ve learned that different surfaces require different approaches. For instance, the narrow nozzle is fantastic for stubborn stains on concrete, while a wider one works wonders for washing cars or delicate outdoor furniture. Always keep an eye on the pressure settings; adjusting them can make a significant difference in your results.
When you’re ready to begin, keep a steady motion while cleaning. I recall the first time I rushed through a job–the uneven surface left noticeable streaks. Maintaining a consistent distance of about 30 centimetres from the surface ensures an even clean without causing damage. Remember to overlap your strokes slightly for best results.

Incorporate detergent when necessary, especially for oily or greasy surfaces. I found that applying it before the high-pressure clean yields better outcomes. Just be cautious with the concentration; too much can create a slippery mess. Rinsing thoroughly afterwards is crucial to avoid residue.
Finally, always take time to clean and store your equipment properly after each session. A quick rinse of the hoses and nozzles can significantly extend their lifespan. I’ve made the mistake of neglecting this step, only to face clogs the next time I needed my gear. A little care goes a long way in ensuring your cleaning tasks are both efficient and satisfying.
Preparing Your Cleaning Equipment for Action
Begin with a thorough inspection of your unit. Check for any visible damage or wear on hoses, nozzles, and connections. Make sure everything is tightly secured to prevent leaks during operation.
Fill the detergent tank with an appropriate cleaning solution. I recommend using a product specifically designed for high-pressure systems, as it will not only enhance cleaning effectiveness but also protect the internal components of your device.
Next, attach the water supply hose to the inlet. Ensure it is firmly connected to avoid any disruptions. Before turning on the motor, it’s wise to run water through the hose to eliminate any air bubbles. This simple step can prevent unnecessary strain on the pump.
Connect the power cable and ensure the electrical outlet is suitable for your equipment’s requirements. I’ve seen many issues arise from using the wrong voltage, leading to performance problems or even damage.
Now select the right nozzle for your task. Different tips provide varying spray patterns and pressure levels. For instance, a wide-angle nozzle is ideal for delicate surfaces, while a narrow one delivers a more concentrated stream for tough grime. I’ve often switched between nozzles during a job to adapt to different cleaning needs.
Before you start, position your cleaning unit close to the work area. This will minimise the length of hoses and cables, making your task more manageable. Keep in mind that a clutter-free space allows for better mobility and safety.
Finally, with everything in place, perform a quick test run. Activate the equipment briefly to ensure all systems are functioning correctly. This check can save you from unexpected interruptions once you begin your cleaning session.
Selecting the Right Nozzle for Your Cleaning Task
For optimal results, matching the nozzle to your specific cleaning requirement is crucial. Each nozzle delivers a different spray pattern and pressure, tailored to various surfaces and grime levels. Here’s what I’ve learned over the years.
Nozzle Types
- Zero-Degree Nozzle: Produces a concentrated stream, ideal for tough stains on hard surfaces like concrete. Use it cautiously as it can damage softer materials.
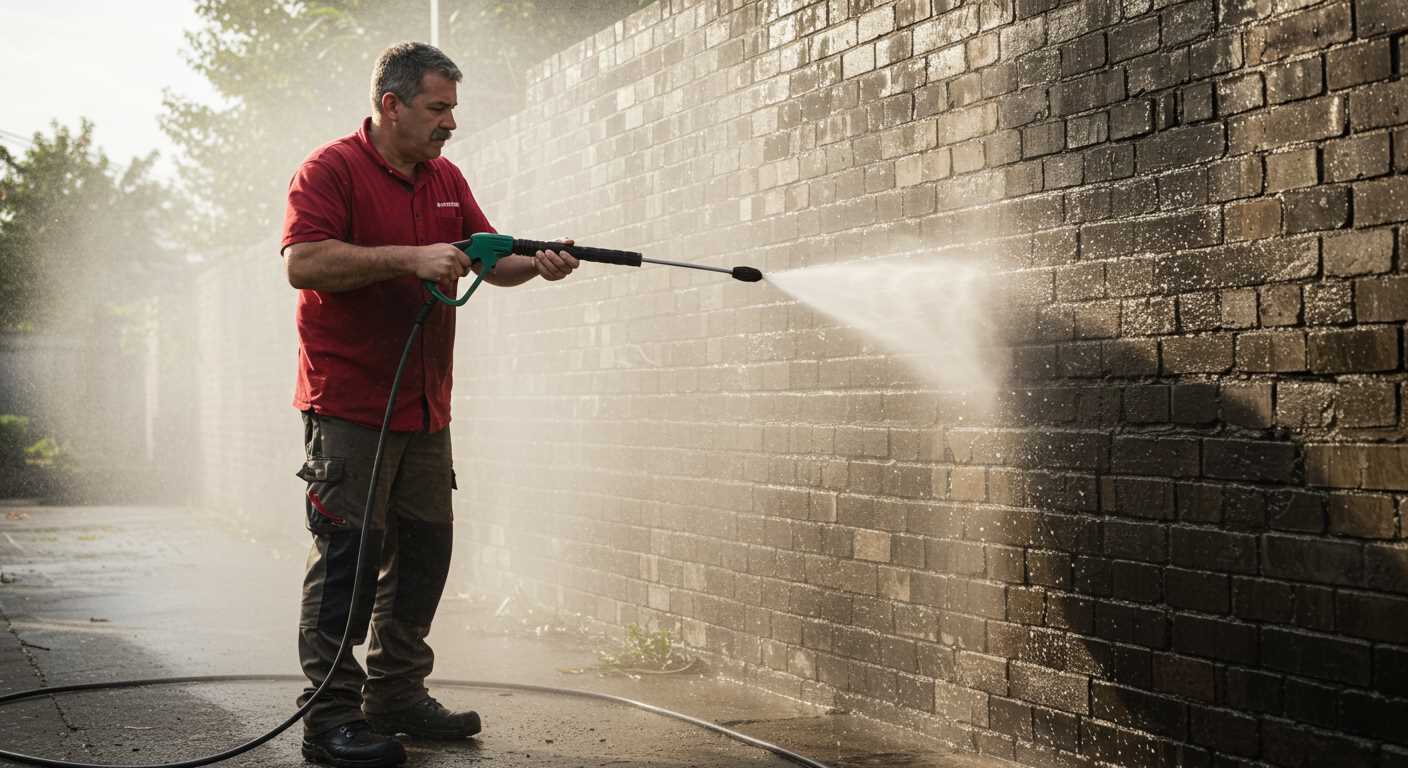
- 15-Degree Nozzle: A wider spray for heavy-duty cleaning on surfaces such as brick or stone. Great for removing stubborn dirt and mildew.
- 25-Degree Nozzle: Versatile option for general cleaning tasks. Works well on wood decks and vehicles without causing damage.
- 40-Degree Nozzle: Gentle spray, perfect for delicate surfaces like windows or painted surfaces. It’s excellent for rinsing and light cleaning.
- Soap Nozzle: Designed for applying detergent effectively. It has a wider spray to ensure even coverage when cleaning larger areas.
Choosing the Right Nozzle
- Assess the surface: Determine if the area is hard, soft, or delicate.
- Consider the type of dirt: Heavy grime requires a more concentrated spray, while light dirt can be handled with a wider pattern.
- Check manufacturer recommendations: Each machine has specific nozzle attachments designed for its power and capabilities.
In my experience, having a variety of nozzles on hand is beneficial. I often switch between them based on the task at hand. For instance, I once had a challenging job where years of grime had built up on a patio. The 15-degree nozzle made quick work of it, saving me hours compared to using a gentler option.
Experimenting with different nozzles can lead to discovering the best fit for your cleaning needs. Always test on a small area first to avoid any damage, and adjust your technique accordingly. Happy cleaning!
Connecting Your Pressure Cleaner to a Water Source
For optimal performance, connect the unit to a reliable water supply. Start with a standard garden hose that can handle the required water flow. Ensure the hose is free of kinks and leaks to maintain a steady stream. Connect one end to the water source, typically a tap, and the other to the inlet on your device. This is often a quick-release fitting, making it simple to attach and detach.
Check Water Quality and Temperature
Before you begin, check the water quality. Avoid using water that contains debris, as this can clog the internal components. Ideally, the temperature should be between 5°C and 40°C. Extreme temperatures can cause damage to the seals and hoses. If you’re unsure about your water’s quality, consider using a filter to avoid potential issues down the line.
Pressure Test
Once connected, turn on the water supply and check for leaks around the fittings. Turn the unit on briefly to test the flow and ensure everything is working correctly. If you’ve ever had a malfunction, you know how important it is to ensure a proper connection before starting your cleaning tasks. Remember, a well-maintained connection not only enhances performance but also extends the life of your equipment. If you’re curious about other methods for cooking, you can learn about how long to roast a chicken in pressure cooker.
Understanding the Pressure Settings and Adjustments
Adjusting the pressure settings is key to achieving the best results without damaging surfaces. Most units feature a dial or lever that lets you modulate the force of the water. I recall a time when I was cleaning my patio. I started with a high setting, which was too aggressive for the delicate stone tiles. A quick adjustment to a lower setting made all the difference, allowing me to clean effectively without causing harm.
When determining the right pressure level, consider the surface you’re tackling. For painted surfaces or wood, a lower setting around 1300-2000 PSI is often suitable. On concrete driveways, you can ramp it up to 3000 PSI or more. Always test a small area first; this helps prevent unintentional damage.
Some machines come with adjustable nozzles that change the spray pattern. A wider spray is gentler and better for larger areas, while a narrow stream is more concentrated and effective for tough stains. I once had to remove stubborn grease from a garage floor. Switching to a narrower spray allowed me to focus the force where it was needed most.
Don’t overlook the importance of distance. The closer you are to the surface, the more effective the cleaning will be, but too close can lead to surface damage. I learned this the hard way when I stripped paint off a wooden fence because I was too close while using a high setting. A good rule of thumb is to start about two feet away and adjust as necessary based on the results.
Finally, keep an eye on the water temperature if your model supports hot water. Hot water can enhance cleaning power, especially on oil or grease. I’ve found that for really tough jobs, a combination of the right pressure and hot water can save a lot of time and effort.
Proper technique for operating the cleaning equipment
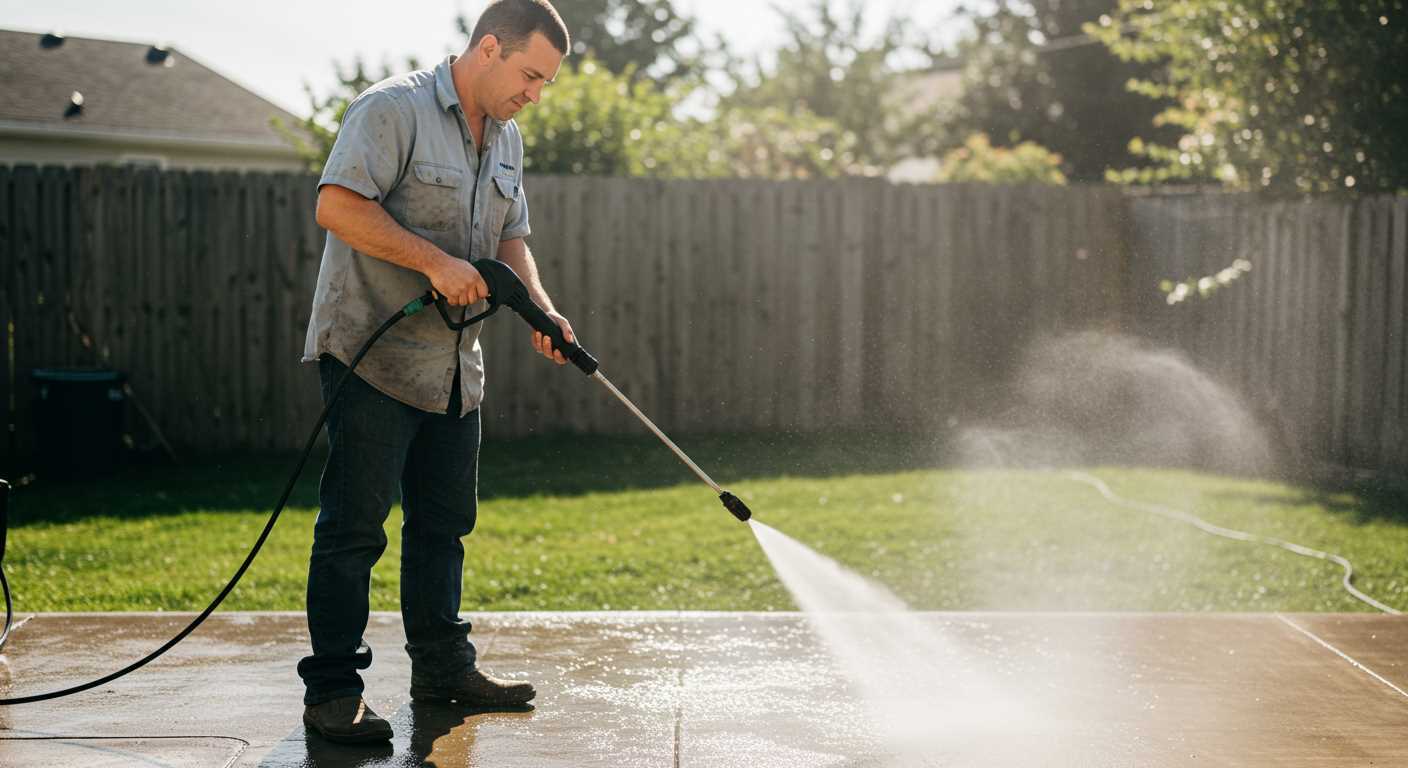
Stand at a comfortable distance, typically between 2 to 4 feet, from the surface you’re tackling. This range offers an optimal balance of power and control, allowing for effective cleaning without risking damage to the surface. I recall a time I got a bit too close while cleaning a patio, and the strong stream chipped the stone. It’s a lesson I won’t forget!
Body Position and Grip
Maintain a firm grip on the handle with both hands. Your feet should be shoulder-width apart for stability. Lean into the equipment slightly, allowing your body weight to help control the direction of the spray. This stance not only aids in maintaining balance but also prevents unnecessary strain on your arms and back.
Technique for Cleaning
Start with a sweeping motion, moving the nozzle side to side in a consistent pattern. This technique ensures even coverage. When tackling stubborn stains, pause briefly on the area while keeping the nozzle moving. A back-and-forth motion can be effective, but avoid lingering too long in one spot to prevent damage. After cleaning, always rinse the surface with water to remove any residual detergent or dirt.
| Technique | Description |
|---|---|
| Distance | 2 to 4 feet from surface |
| Grip | Both hands on handle |
| Body Position | Feet shoulder-width apart |
| Movement | Sweeping side to side |
| Stain Removal | Pause briefly on stubborn areas |
Lastly, always keep the nozzle in motion when the unit is operating. This prevents any concentrated pressure from causing damage. I’ve seen too many people make that mistake, thinking they can just focus on one spot. Trust me, your surfaces will thank you for following this advice!
Cleaning Various Surfaces with Your Pressure Cleaner
For optimal results, always adjust the pressure and nozzle based on the surface type. For instance, a wide-angle nozzle works wonders on delicate surfaces like wooden decks, while a narrow jet is ideal for tough stains on concrete.
Driveways and Patios
On concrete driveways, I recommend starting with a 25-degree nozzle. This setting strikes a balance between pressure and coverage. Move slowly, allowing the water to penetrate the grime, and work in sections. For stubborn stains, consider a pre-treatment with a suitable cleaner. I’ve often found that tackling oil spots with a degreaser before washing yields fantastic results.
Decks and Fences
Wooden surfaces require gentler care. Use a 40-degree nozzle to prevent damage. Maintain a distance of at least 12 inches to avoid gouging the wood. I’ve seen many homeowners ruin their decks by getting too close. After cleaning, it’s wise to seal the wood to protect it from future wear.
For garage floors, I recommend a thorough approach with a turbo nozzle for heavy-duty cleaning. This attachment combines power and efficiency, making it perfect for removing grease and grime.
Lastly, always remember to rinse the surfaces thoroughly to remove any cleaning agents. This final step prevents residue build-up and leaves surfaces looking pristine.
Maintaining Your Equipment After Use
After each task, it’s crucial to perform a few simple maintenance steps. Start by disconnecting the water supply and releasing any remaining pressure in the hose. This prevents potential damage and ensures safety during storage.
Next, clean the nozzle thoroughly. I’ve seen clogged nozzles lead to uneven cleaning and can even cause damage if not addressed. A small brush or a pin can help clear any debris. Rinse it under water to remove any soap or dirt residues.
Storage Tips
Store the equipment in a dry area, away from direct sunlight and extreme temperatures. I’ve made the mistake of leaving mine in a damp garage, which led to rust on some components. Wrapping the hose carefully and coiling it without kinks also extends its longevity.
Regular Checks
Periodically inspect the seals and hoses for wear and tear. I once neglected this and ended up with a leak that required a costly replacement. Keeping an eye on these parts can save time and money down the line. Regularly lubricating moving parts also ensures smooth operation during your next cleaning task.
Common troubleshooting tips for pressure cleaners
When your unit isn’t performing as expected, there are a few straightforward checks that can often resolve the issue.
Low pressure issues
- Check the water supply. Ensure the hose is securely connected and there are no kinks.
- Examine the nozzle. A clogged or incorrect nozzle can hinder performance.
- Inspect the detergent tank. Running with detergent can affect pressure; try rinsing with clean water.
Machine won’t start
- Verify the power source. Ensure the outlet is functioning and the cord is undamaged.
- Check the safety lock feature. Some models have a safety mechanism that prevents operation unless properly engaged.
- Look for tripped circuit breakers or blown fuses in your electrical system.
If you’ve checked these items and still face issues, it may be time to consult the manual or contact customer support for further assistance. Regular maintenance can prevent many of these problems from occurring in the first place, so keep that in mind for future sessions!
Safety Precautions to Follow While Operating a High-Pressure Cleaner
Always wear protective gear, including goggles and gloves, to shield yourself from debris and chemicals. I recall a day when I neglected my safety glasses and ended up with a small piece of grime in my eye. It’s a painful reminder of why precautions matter.
Check Surroundings
Before starting, inspect the area for hazards like electrical wires, fragile items, or pets. I once had a close call when I accidentally sprayed a nearby electrical outlet. Luckily, I noticed just in time. A quick survey can prevent accidents.
Maintain Proper Distance
Keep the nozzle at least 2 feet away from surfaces while cleaning. This distance reduces the risk of damaging the surface or causing injury. I’ve seen painted surfaces stripped bare because someone got too close. Always start at a distance and adjust as needed.
Be mindful of the pressure settings; higher settings can be dangerous and damaging. If you feel resistance while cleaning, it’s best to back off and reassess. I learned this the hard way on a delicate surface, which needed a lighter touch.
Ensure all connections are secure before turning on the machine. Loose hoses can lead to unexpected leaks and sprays. I once had a hose slip off, resulting in a sudden jet of water that soaked me entirely. Double-checking connections can save a lot of trouble.
Lastly, never aim the nozzle at anyone, including yourself. Accidents can happen quickly. In my early days, I had a colleague who playfully aimed their cleaner at another, leading to an unfortunate slip and a bruised ego. Always respect the power of the machine.
Following these precautions not only protects you but also ensures a smoother cleaning process. Experience has taught me that being cautious pays off in the long run.
.jpg)


