


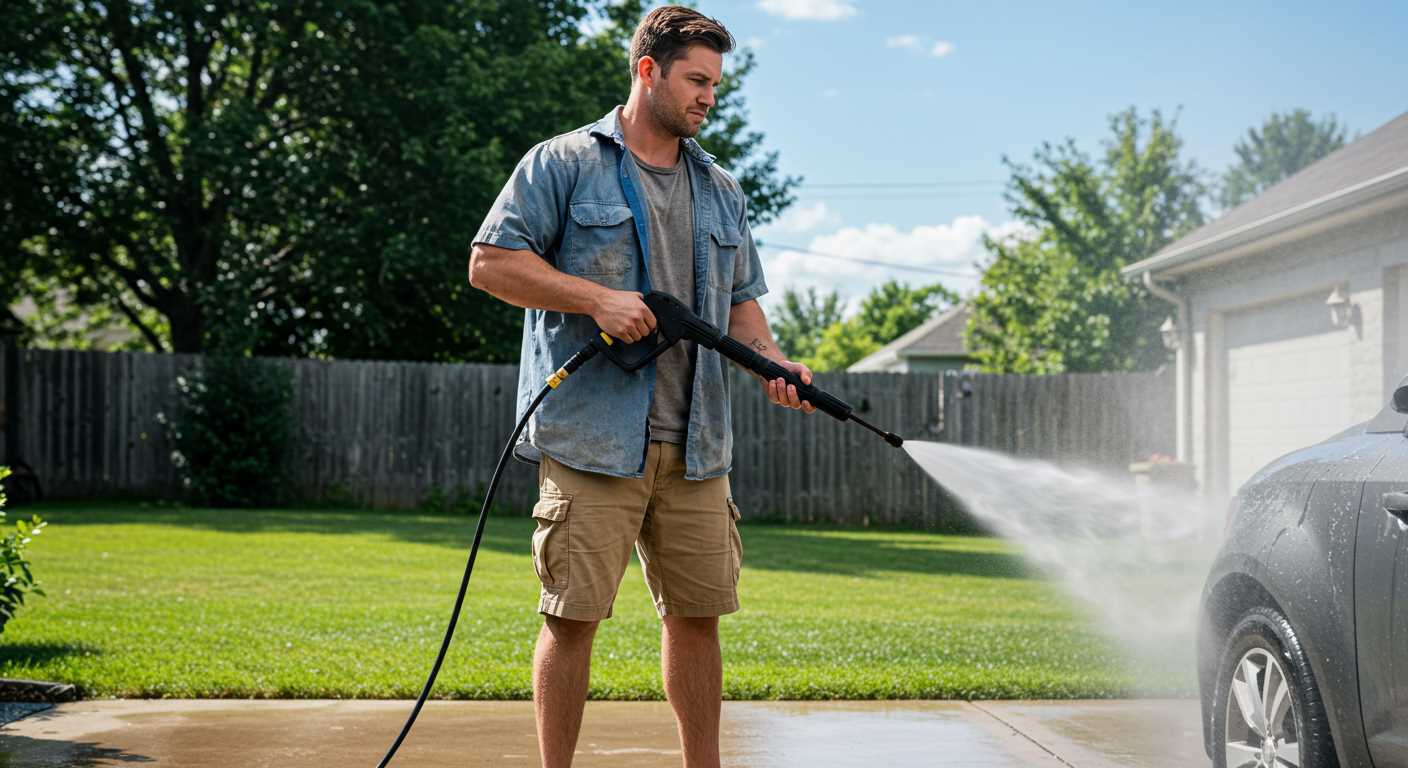
For optimal results, begin by gathering the necessary tools: a quality high-pressure cleaner, appropriate detergent, and a few microfiber cloths. I recall my first time using one of these machines; the transformation was astonishing. The pressure can eliminate grime and dirt far more effectively than a garden hose, ensuring a thorough clean.
Before commencing, ensure the vehicle is parked in a shaded area to prevent soap from drying too quickly. This simple step can save you from unsightly streaks. In my experience, I often found that starting from the top and working your way down reduces the risk of missing any spots.
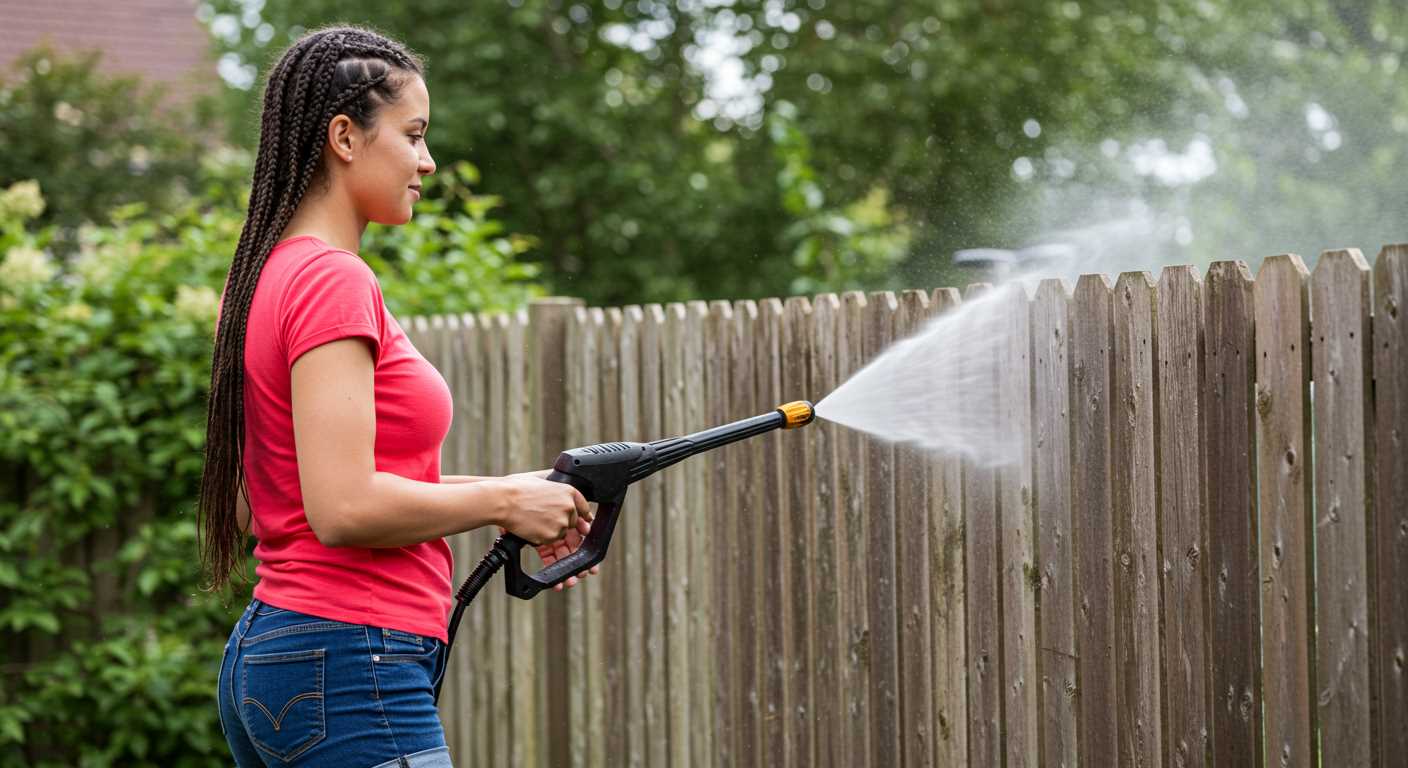
Utilising the right nozzle is critical. A wider spray angle is ideal for rinsing off larger debris, while a narrow jet works wonders on stubborn stains. I once made the mistake of using the wrong attachment and ended up spending extra time scrubbing areas that could have been easily handled with the appropriate pressure.

Don’t overlook the importance of selecting a suitable cleaning solution. Many detergents are designed specifically for automotive surfaces and help lift dirt without damaging the finish. After applying the soap, allow it to sit for a moment to penetrate the grime; this little pause makes a world of difference. I learned this tip after a friend shared his experience, and it has been a game changer in my routine.
Finally, always rinse thoroughly to remove any residues from the soap and dirt. A final inspection for missed spots can save you from having to repeat steps. Trust me, there’s nothing quite like seeing a clean vehicle gleaming under the sunlight, reflecting the effort put into its care.
Cleaning Your Vehicle Using a Karcher Pressure Cleaner
Begin by choosing the correct nozzle. For most surfaces, a wider fan spray (25-40 degrees) is ideal, as it provides a gentle yet effective clean without damaging the paintwork. I often find that starting with a lower pressure setting helps prevent any accidental scratches.
Preparation Steps
Before you start, gather your materials: a bucket, car shampoo compatible with high-pressure systems, and a soft sponge or wash mitt. Rinse the vehicle to remove loose dirt and debris. I typically do this from the top down to avoid redepositing dirt onto cleaner areas.
Technique for a Thorough Clean
Once prepped, apply the shampoo using the pressure cleaner’s foam lance, if available. This method allows the detergent to cling to the surface, breaking down grime effectively. Allow the foam to sit for a few minutes, but avoid letting it dry out on the paint. Rinse thoroughly, again using a top-down approach.
| Step | Action |
|---|---|
| 1 | Select appropriate nozzle and pressure setting. |
| 2 | Gather necessary cleaning supplies. |
| 3 | Pre-rinse to remove loose dirt. |
| 4 | Apply foam and let sit briefly. |
| 5 | Rinse thoroughly from top to bottom. |
For stubborn spots, a targeted approach is beneficial. Use a soft brush to agitate the dirt before rinsing. Afterward, don’t forget to dry the vehicle using a microfibre towel to prevent water spots. I always recommend a final inspection for any missed areas.
Choosing the Right Karcher Model for Your Needs
For anyone keen on maintaining their vehicle’s appearance, selecting the appropriate Karcher model can significantly enhance the experience. In my experience, the K2 series is ideal for light cleaning tasks. It’s compact, easy to manoeuvre, and sufficient for regular maintenance. However, if you’re dealing with more stubborn grime or larger vehicles, consider models from the K4 or K5 series. They boast higher pressure ratings and larger water flow capacities, making them suitable for tougher jobs.
During my years testing various units, I found the K7 series truly impressive for heavy-duty applications. It features advanced technology, which is perfect for those who want to invest in a long-term solution. The adjustable pressure settings allow for versatility, adapting to different cleaning needs with ease.
Another aspect to consider is the accessories that accompany each model. Investing in a unit that comes equipped with a range of nozzles and brushes can save you time and effort. For example, the foam lance available with many models enhances cleaning efficiency, especially when dealing with tough stains.
If you’re on a budget, Karcher offers several options under £200 that still deliver quality performance. Check out under £200 for some reliable choices. Additionally, for those specifically interested in vehicles, I recommend browsing through the best pressure washers for cars to find tailored recommendations.
Ultimately, your choice should align with your cleaning frequency and the level of grime you typically encounter. Assess your needs, and you’ll find the right Karcher model that not only meets but exceeds your expectations.
Preparing Your Vehicle for a Pressure Clean
Before you begin, ensure that all windows and sunroofs are closed tightly. I once had a mishap where I forgot to check, and I ended up with a wet interior–definitely not a pleasant surprise.
Remove any personal items from the cabin and boot. It’s easier to focus on the exterior when you’re not worried about your belongings getting soaked. I recommend taking out floor mats as well; they can be cleaned separately and won’t get in the way.
Make sure to detach any accessories like antennae or bike racks. These can easily be damaged or dislodged by strong jets. I learned this the hard way when a bike rack almost flew off during a session–lesson learned!
Inspect the exterior for any loose parts or existing damage. Pay attention to areas like bumpers and trims. If something is already loose, the force of the water could make it worse. I’ve seen mirrors get knocked off because they weren’t secured properly.
Clear the area around your vehicle of any obstacles. You want enough space to move around freely. I’ve had to stop mid-clean because I was too close to a fence, which was both frustrating and inconvenient.
Lastly, pre-rinse the surface to remove loose dirt and debris. This simple step can prevent scratches during the main cleaning phase. I often do a light spray to ensure I’m not just pushing dirt around. It’s a small effort that makes a significant difference.
Selecting the Appropriate Pressure Washer Settings
Begin by adjusting the nozzle to achieve the desired spray pattern. For cleaning surfaces gently, opt for a wider fan, such as 25 or 40 degrees. If you encounter stubborn dirt, switch to a narrower stream, like 15 degrees, but exercise caution to avoid damaging the paintwork.
Set the pressure level according to the level of grime. For light cleaning, a lower setting around 110-120 bar suffices. For more challenging stains, escalate to 130-160 bar, ensuring you don’t exceed the manufacturer’s recommendations for your vehicle.
- Soap Application: If using a detergent, choose a low-pressure setting. This allows for even distribution without risking streaks or damage.
- Distance: Maintain a distance of at least 1 metre from the surface to prevent chipping or scratching. Adjust closer for tough spots but always keep an eye on the effect.
- Technique: Employ a sweeping motion, moving in a consistent pattern. This avoids concentrating pressure on a single area, reducing the risk of paint damage.
In my experience, the right balance of pressure and distance transforms the cleaning task. I recall a time when I misjudged the pressure settings and inadvertently removed paint from an old classic. Learning from that incident, I always start with lower settings and gradually increase as needed.
Finally, consider the surface type you’re dealing with. Delicate finishes require softer settings and wider angles. Always test on a less visible area to ensure compatibility.
Applying the Right Cleaning Solution
Always use a cleaning solution specifically designed for high-pressure equipment. I recall a time when I experimented with a generic detergent that seemed harmless. The aftermath was a foam disaster that not only created a mess but also left streaks. Stick to products recommended by the manufacturer; they’re formulated to work effectively without damaging surfaces.
Start by mixing the cleaner according to the instructions on the label. A common ratio is one part cleaner to ten parts water, but always double-check. Too much concentrate can lead to residue that requires additional rinsing. I learned this the hard way during a demonstration; it took more time to remove the soap than it did to clean the vehicle!
For an extra boost, consider using a pre-treatment on stubborn spots like bird droppings or tree sap. Apply it directly to the affected area before using the spray. This tactic saved me countless hours and ensured a pristine finish on numerous occasions.
Make sure to use the right nozzle for applying the cleaning solution. A wide-angle spray will distribute the solution evenly, ensuring comprehensive coverage without damaging paintwork. I once used a narrow nozzle and regretted it; the concentrated stream stripped wax and left the paint vulnerable.
After applying the cleaning agent, allow it to sit for a few minutes. This time lets the solution break down dirt and grime. Just don’t let it dry out; a damp surface optimises the cleaning process. I’ve often set a timer to avoid distractions, ensuring the solution has ample time to work its magic.
Lastly, always rinse thoroughly after cleaning. Any leftover solution can dry and leave a film that detracts from the vehicle’s appearance. I’ve witnessed this firsthand during a showcase–what should’ve been a stunning reveal turned into a lesson on thorough rinsing.
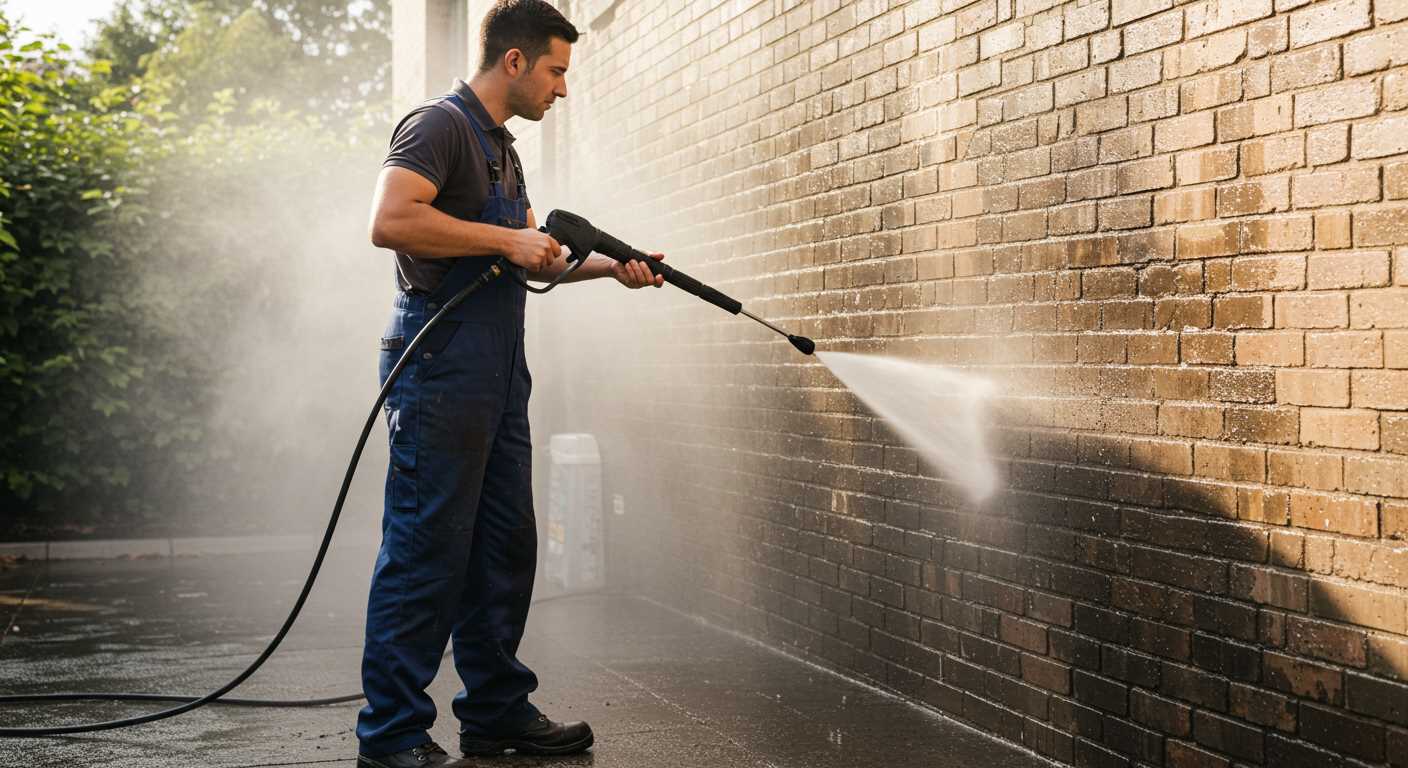
Techniques for Properly Using the Pressure Washer
Always maintain a consistent distance of about 30 cm from the surface during operation. This prevents damage while ensuring an even application of the water stream. I recall a time when I got too close to a vehicle’s paintwork, resulting in some unfortunate scratches. Lesson learned: distance is key.
Angle and Movement
Employ a sweeping motion rather than a direct approach. Move the nozzle in horizontal sweeps, allowing water to flow from the top down. This method not only enhances cleaning but also avoids water pooling in unintended spots. I’ve seen a significant difference when I switched from a stationary stance to a more fluid motion, achieving better results in less time.
Technique Variations
Adjust the nozzle based on the task at hand. For stubborn grime, use a concentrated spray pattern, but switch to a wider angle for rinsing. I often switch between different settings while working on the same object. This flexibility makes a noticeable difference in effectiveness. Always keep an eye on the nozzle position to prevent any mishaps.
| Technique | Description |
|---|---|
| Distance Control | Maintain around 30 cm from the surface to avoid damage. |
| Sweeping Motion | Use horizontal sweeps to ensure even coverage and prevent pooling. |
| Nozzle Adjustment | Change spray pattern for different cleaning needs. |
Regularly check for any blockages in the nozzle. A clogged tip can reduce pressure and lead to uneven cleaning. I’ve encountered this several times and had to stop mid-task, which can be frustrating. Always keep a spare nozzle handy for quick replacements.
Areas of the Vehicle to Focus On During the Clean
Prioritise the wheels and tyres. These areas accumulate dirt, brake dust, and grime, making them crucial for attention. Use a dedicated wheel cleaner and a brush with stiff bristles to penetrate the tough spots, ensuring a thorough clean.
Next, concentrate on the lower panels and sills. These sections often collect mud and road debris, especially after driving in wet conditions. A targeted approach with a suitable nozzle can help dislodge stubborn residues.
Don’t overlook the undercarriage. This area is prone to rust and corrosion due to exposure to salt, especially in winter. A thorough rinse here can prevent long-term damage. Aim the nozzle at different angles to cover all surfaces.
Pay special attention to the front fascia and grille. Insects and road grime tend to build up here, obstructing airflow to the engine. A dedicated cleaning agent can assist in breaking down these deposits effectively.
Finally, inspect the windows and mirrors. Clean these surfaces last to avoid any streaks from the cleaning agents used elsewhere. A dedicated glass cleaner will leave them sparkling and enhance visibility.
Safely Rinsing Off the Soap and Dirt
Start by selecting a suitable nozzle. I usually opt for a 25-degree or 40-degree nozzle for rinsing. These nozzles provide a wider spray, which helps prevent damage to delicate surfaces while ensuring thorough cleaning.
Maintain a safe distance from the surface while rinsing, typically around 2-3 feet. This distance allows the water to effectively remove soap and grime without causing harm. Gradually move closer if needed, but always monitor the impact on the paintwork.
Begin rinsing from the top of the vehicle, working your way downwards. This technique ensures that dirt and soap flow downwards, preventing re-soiling of cleaned areas. Follow this sequence:
- Roof
- Windows
- Bonnet
- Boot
- Sides
- Wheels
Pay special attention to areas where soap may accumulate, such as around door handles and the edges of windows. A gentle sweep of the nozzle over these spots can help remove any remaining residue.
After the initial rinse, check for any spots that may require additional attention. If you notice any soap streaks or dirt remnants, it’s best to focus on those areas again before finishing up.
Finally, ensure all surfaces are rinsed thoroughly. Leaving soap behind can lead to streaking or even damage over time. Once you’ve completed the rinse, I recommend drying the vehicle promptly to prevent water spots.
By following these steps, you’ll achieve a clean finish without risking damage to the exterior. It’s all about being methodical and attentive to detail.
Post-Wash Care and Maintenance Tips
After completing the cleaning process, it’s crucial to protect your vehicle’s finish and ensure longevity. Start by applying a high-quality wax or sealant. This not only enhances shine but also creates a barrier against contaminants. I recall using a spray-on sealant that left an impressive gloss while offering protection from UV rays and dirt. A simple application can make a significant difference in the look and durability of the surface.
Drying Techniques
Utilising a microfiber drying towel is the best method for removing excess moisture. I’ve learned that traditional cotton towels can scratch the surface, so I always keep a stash of high-absorbency microfiber cloths on hand. Patting rather than rubbing is key; this prevents swirl marks. For hard-to-reach areas, a blower can be handy to eliminate water from crevices.
Regular Maintenance Routine
Establishing a consistent maintenance routine is vital. Every few weeks, I recommend inspecting and cleaning the wheels and wheel wells. Brake dust and road grime can accumulate quickly, so a dedicated wheel cleaner can make the task easier. Additionally, consider applying a quick detailer between washes. This keeps your finish looking fresh and helps remove any light dust or fingerprints. Keeping your vehicle in a garage or shaded area also minimises the risk of fading and damage from the sun.
.jpg)


