


Start with a simple solution: a bucket, warm water, and a gentle detergent. Mix a few drops of dish soap with the water to create a soapy mixture that’s tough on grime but gentle on surfaces. I remember a time when I tackled my parents’ old wooden deck using this method, and the results were impressive. Just a sponge and some elbow grease transformed that dull, weathered surface into something that looked fresh and inviting.
Using a long-handled brush can significantly reduce strain on your back while scrubbing vertical surfaces. I fondly recall my first attempt at cleaning the siding of my own home. Armed with a sturdy brush and the soapy solution, I found myself singing along to my favourite tunes. The brush’s bristles did wonders in lifting dirt and algae, and I didn’t have to worry about damaging the paint or finish, which often happens with more aggressive methods.

For stubborn spots, a mixture of vinegar and water can work wonders. I once stumbled upon this tip while researching eco-friendly cleaning solutions. Mixing equal parts of white vinegar and water helped me tackle those pesky stains that wouldn’t budge. Simply spray the solution onto the affected area, let it sit for a few minutes, then scrub gently. The transformation was remarkable, and my neighbours were curious about my secret!
Don’t forget to rinse thoroughly after scrubbing. A garden hose is your best friend here. I learned the importance of this step the hard way after leaving cleaner residue on my driveway, which attracted more dirt. A good rinse ensures that all cleaning agents are washed away, leaving surfaces sparkling clean and ready for summer gatherings.
Effective Techniques for Exterior Cleaning
Start with a bucket of warm water mixed with a mild detergent. Use a long-handled soft-bristle brush to scrub surfaces thoroughly, focusing on one section at a time. This method ensures you can apply more elbow grease where it’s needed, especially on stubborn stains or grime.
For tough spots, a paste made from baking soda and water can work wonders. Apply it directly to the affected area, let it sit for about 15 minutes, then scrub with the brush. Rinse with clean water from a garden hose, ensuring the paste doesn’t dry out before you rinse it off.
Don’t underestimate the power of vinegar. Mix equal parts vinegar and water in a spray bottle, targeting mildew or mould. Let it sit for a few minutes, then scrub. The acidity in vinegar breaks down the organic matter effectively.
Consider using a sponge mop for larger flat surfaces like siding or decks. This tool can cover more area quickly and effectively, and it allows you to apply cleaning solutions evenly.
For windows, a squeegee is your best friend. Use a mixture of water and vinegar to clean the glass, then use the squeegee to remove excess liquid, starting from the top and moving downwards for a streak-free finish.
Finally, a garden sprayer can be a handy tool for applying cleaning solutions to hard-to-reach areas. Fill it with your cleaning mixture, spray generously, and follow up with a scrubbing brush where necessary. This method saves time and keeps you from climbing up and down ladders unnecessarily.
Choosing the Right Cleaning Solution for Your Property
The first step in selecting your cleaning agent is understanding the surface you’re dealing with. For wooden exteriors, a gentle soap solution mixed with warm water works wonders. A few drops of dish soap in a bucket of water will do the trick. This mixture effectively removes dirt without damaging the wood.
If your dwelling features vinyl siding, consider a mixture of vinegar and water. A 70/30 ratio of water to vinegar not only cleans but also helps to combat mould and mildew. Apply this solution with a soft-bristled brush to avoid scratching the surface.
For brick or stucco, a stronger solution like trisodium phosphate (TSP) may be necessary. Mix 1 cup of TSP in a gallon of water for a robust cleaner. Always wear gloves when handling chemicals, and ensure the area is well-ventilated.
On the other hand, if you’re dealing with stains from rust or algae, a commercial cleaner specifically designed for these issues can be beneficial. Look for biodegradable options that are safe for your plants and pets.
Don’t forget to test any cleaning solution on a small, inconspicuous area first. This step helps to ensure that the mixture won’t cause discolouration or damage to the surface. I always recommend this precaution based on a past experience where a harsh chemical ruined a beautiful paint job.
In my years of working with various cleaning products, I’ve found that sometimes the simplest solutions are the most effective. Baking soda mixed with water creates a paste that can tackle stubborn stains. Apply it, let it sit for a few minutes, and rinse off with a garden hose.
Choosing the right cleaner is about knowing your surfaces and the type of dirt or grime you’re facing. Armed with the right knowledge, you can achieve great results without resorting to high-powered equipment.
Gathering Necessary Tools and Equipment

To tackle the task effectively, gather a few key items that will make the process smoother. Start with a sturdy ladder. You’ll need it to reach high areas safely. A telescoping extension pole can also be handy for those hard-to-reach spots. I remember using one on a particularly tall home where the upper parts were covered in grime.
Cleaning Supplies
Next, you’ll want a soft-bristled brush or a sponge. I always preferred a brush with a long handle; it really saves your back during those extended cleaning sessions. Microfibre cloths are great for detailing work, especially around windows and trim. Don’t forget a bucket for mixing your cleaning solution. A good-sized one can hold enough water to last through a significant portion of the project.
Safety Gear
Safety should never be overlooked. Invest in a pair of gloves to protect your hands from chemicals and dirt. Safety goggles are also a wise choice; they shield your eyes from splashes. If you’re sensitive to dust or fumes, consider wearing a mask. I learned the hard way that proper gear makes a huge difference, especially when dealing with stubborn stains or mould.
Lastly, have a hose ready. A standard garden hose will suffice for rinsing off the cleaning solution. Ensure it has a spray nozzle with adjustable settings; this will help control the water flow better, saving you time and effort.
With the right tools and equipment assembled, you’re set to embark on a successful cleaning venture.
Preparing the Exterior Surfaces for Washing
Before tackling the grime on your property’s façade, it’s crucial to prepare the surfaces adequately. I’ve seen many homeowners skip this step, which often leads to unsatisfactory results.
First, inspect the exterior for any loose materials. Pay attention to:
- Peeling paint or loose siding
- Cracks in the walls
- Damaged roofing shingles
If you spot any of these issues, address them before proceeding. Loose paint can come off during cleaning, creating more mess than you started with.
Next, clear the area around the building. Remove any furniture, planters, or decorations that could get in the way. This not only protects your belongings but also makes the process smoother. I’ve had a few close calls with decorative items that ended up needing repair due to lack of preparation.
Additionally, check for overhanging branches. Trimming back any foliage can prevent debris from falling onto freshly cleaned surfaces. I once had to redo an entire section because I overlooked a single branch, and it dropped leaves right after I finished.
Consider the weather as well. Choose a day that isn’t too hot or windy. High temperatures can cause cleaning solutions to dry too quickly, while wind can blow debris back onto the surface. Personally, I prefer overcast days; they provide a more controlled environment.
Lastly, secure windows and doors. Ensure they’re tightly closed to prevent cleaning solutions from seeping inside. A simple check can save hours of cleanup later. I’ve had my share of mishaps from an unlatched window, and it’s not a pleasant experience.
With these preparations done, you’re set for an efficient cleaning session. Trust me, the more thorough your prep work, the better the outcome will be.
Step-by-Step Process for Hand Washing Walls
Begin with a thorough inspection of the walls to identify any areas requiring extra attention, such as stains or mildew.
- Gather Cleaning Supplies: Collect a bucket, soft-bristle brush or sponge, and a garden hose. Ensure you have a ladder for hard-to-reach spots.
- Choose Your Cleaning Solution: Mix warm water with a mild detergent or vinegar solution. For mould or mildew, consider adding a bit of bleach to the mix.
- Test the Solution: Before applying the mixture to the entire surface, test it on a small, inconspicuous area to ensure it won’t damage the paint or finish.
- Apply the Solution: Using the sponge or brush, apply the cleaning solution starting from the top of the wall and working your way down to prevent streaks.
- Scrub Gently: For stubborn stains, a bit more pressure may be necessary. Avoid aggressive scrubbing that could damage the surface.
- Rinse Thoroughly: Use a garden hose to rinse the walls from top to bottom, ensuring all cleaning solution is removed. This step is crucial to prevent residue buildup.
- Dry the Surface: Allow the walls to air dry. If you have direct sunlight, this will speed up the drying process. For shaded areas, you may want to use a clean cloth to speed up drying.
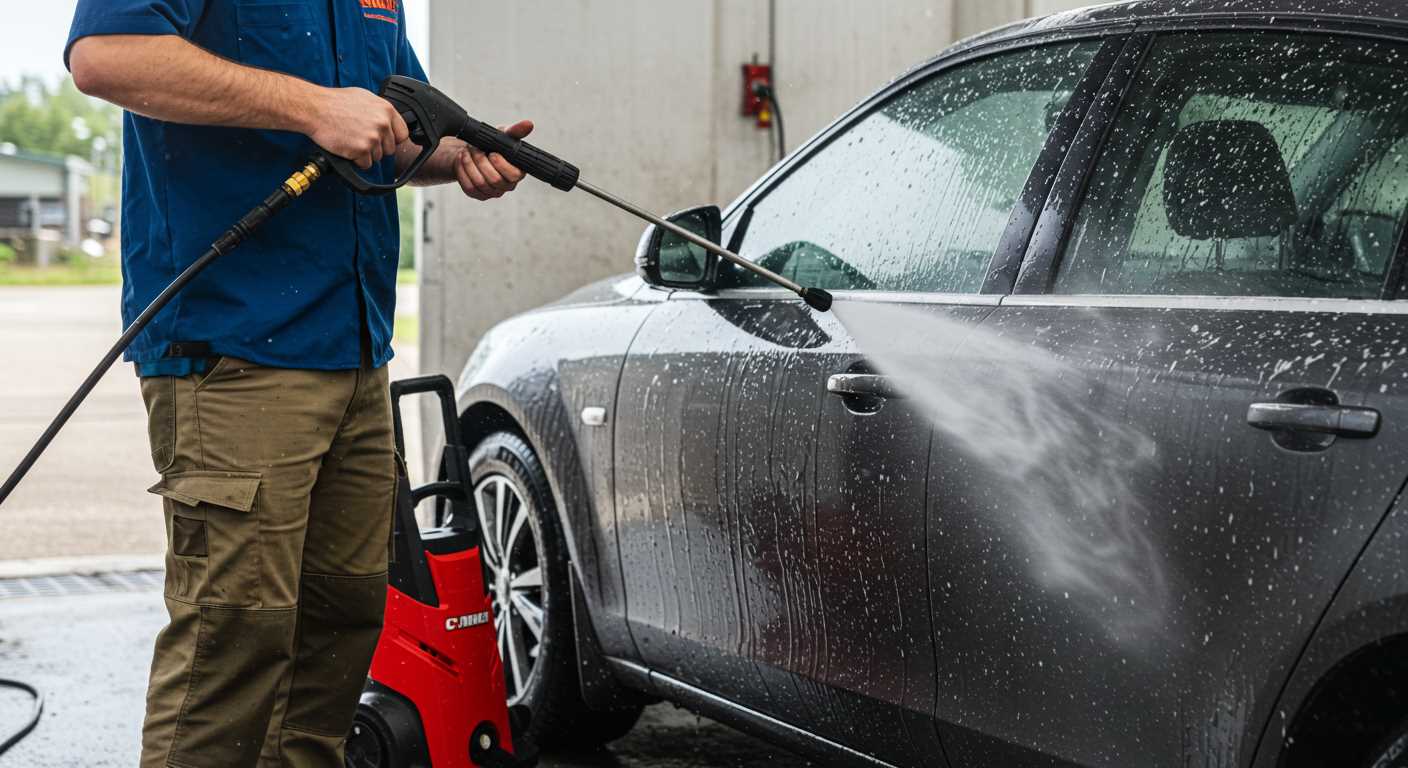
After completing this task, you might find yourself intrigued by other cleaning equipment options. I stumbled upon a silence pressure washer for car that piqued my interest for its quiet operation and efficiency.
Regular maintenance of your walls will keep your property looking fresh and well-cared for. Frequent inspections can help catch any issues early, ensuring your efforts pay off in the long run.
Tips for Safely Cleaning Windows Without Pressure
Start by gathering a bucket, a soft sponge, and a squeegee. These tools are key for achieving streak-free results. Always use clean, lint-free cloths to dry the edges and avoid leaving any marks behind.
Mix a gentle cleaning solution using warm water and a few drops of dish soap. This combination effectively removes dirt and grime without causing damage to the glass. For an extra shine, consider adding a splash of vinegar to the mixture.

When applying the solution, work from the top down. This prevents dirty water from dripping onto clean areas. Use the sponge to gently scrub the glass, paying attention to corners and edges where dirt tends to accumulate.
After scrubbing, take your squeegee and draw it down the glass in a smooth motion. Wipe the blade with a clean cloth after each stroke to keep it free of water and debris. Finish by wiping the edges with a cloth to catch any drips.
If you encounter stubborn stains or water spots, a mixture of baking soda and water can be effective. Apply this paste to the area, let it sit for a few minutes, then scrub gently before rinsing with your cleaning solution.
For those hard-to-reach areas, consider using a telescopic pole with a squeegee attachment. This allows you to clean safely from the ground without the need for ladders.
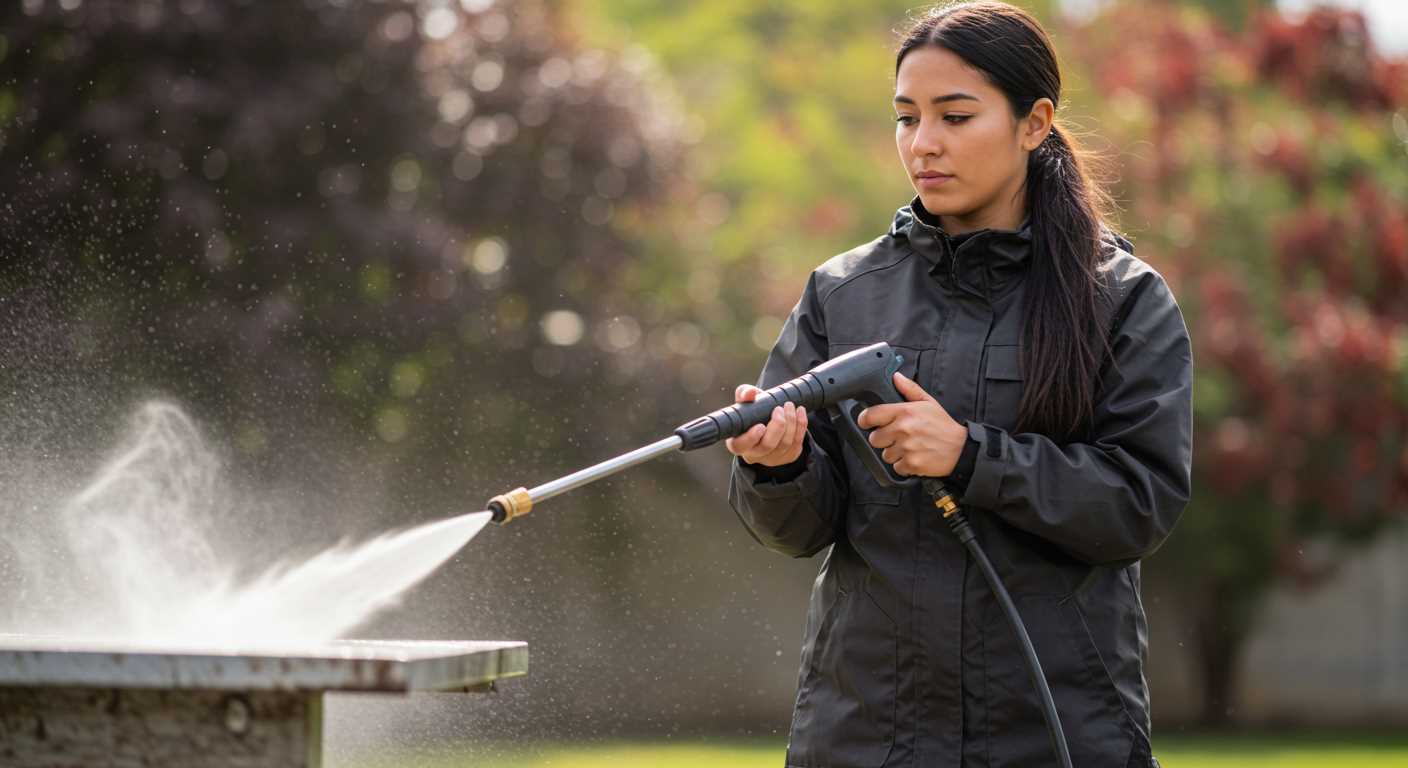
Always remember to check the weather before starting; overcast days are ideal, as direct sunlight may cause the cleaning solution to dry too quickly, resulting in streaks. And if you’re looking for a versatile tool, check out the best air compressor for car cleaning, which can also be handy for other cleaning tasks around your property.
Dealing with Stubborn Stains and Mildew
Begin with a mixture of warm water and a cleaning solution specifically designed for mildew and tough stains. A common approach is to use a blend of one part white vinegar to one part water. This concoction is effective in breaking down the build-up without causing damage to the surface.
For particularly stubborn stains, consider adding a small amount of baking soda to the vinegar solution. This will create a mild abrasive that can further assist in lifting the grime. Apply the mixture directly to the stain using a sponge or cloth, allowing it to sit for 10-15 minutes to penetrate the material.

Next, make use of a soft-bristled brush to gently scrub the affected area. Be cautious with the amount of pressure applied; the goal is to lift the stain rather than scratch the surface. Rinse thoroughly with clean water, ensuring all residues are washed away.
If mildew persists, a more concentrated solution might be necessary. An option is to use a diluted bleach solution, mixing one part bleach with ten parts water. Test this solution on a small, inconspicuous area first to ensure it does not damage the finish. Apply it carefully to the mouldy area, allowing it to sit for a few minutes before scrubbing and rinsing.
After tackling the stains, it’s wise to implement preventive measures. Regularly inspect the exterior for signs of mildew or staining, and clean surfaces at least twice a year to maintain their appearance. This proactive approach will save time and effort in the long run.
| Stain Type | Recommended Solution | Application Method |
|---|---|---|
| Mildew | Vinegar and water | Spray, let sit, scrub |
| Stubborn stains | Vinegar, water, and baking soda | Apply, let sit, scrub |
| Severe mildew | Bleach and water | Test, apply, let sit, scrub |
Finishing Touches and Post-Cleaning Maintenance
After completing the cleaning process, inspect all surfaces to ensure no spots were missed. Use a soft cloth to wipe down any areas that may need a final touch, such as corners or intricate details. This attention to detail can dramatically enhance the overall appearance.
Once everything looks pristine, consider applying a protective sealant or coat to surfaces prone to dirt accumulation. For wooden elements, a suitable wood preservative will help prevent future weathering and extend longevity. For painted areas, a clear coat can add an extra layer of protection against the elements.
Regular maintenance is key. Schedule periodic checks every few months to assess the condition of the exterior. Keep an eye out for mould, mildew, or dirt build-up. Addressing these issues early prevents them from becoming entrenched problems that require more intensive cleaning efforts later.
Establish a routine for light cleaning, such as a quick wash with a bucket and sponge to remove any light grime. This habit not only keeps surfaces looking fresh but also makes the next major cleaning session easier. Consider using a garden sprayer to apply a mild cleaning solution occasionally, which can help maintain the cleanliness between deep cleans.
Finally, don’t overlook the importance of landscaping around your structure. Keeping plants trimmed and away from the walls reduces moisture retention and prevents dirt from splattering onto surfaces during rain. A tidy perimeter can significantly enhance the visual appeal and protect your investment over time.

.jpg)


