


Choosing a high-pressure cleaner for your textile can yield impressive results, but there are a few key steps to follow. First, ensure the surface is thoroughly vacuumed to remove any loose dirt and debris. This will prevent further embedding of particles during the cleaning process.
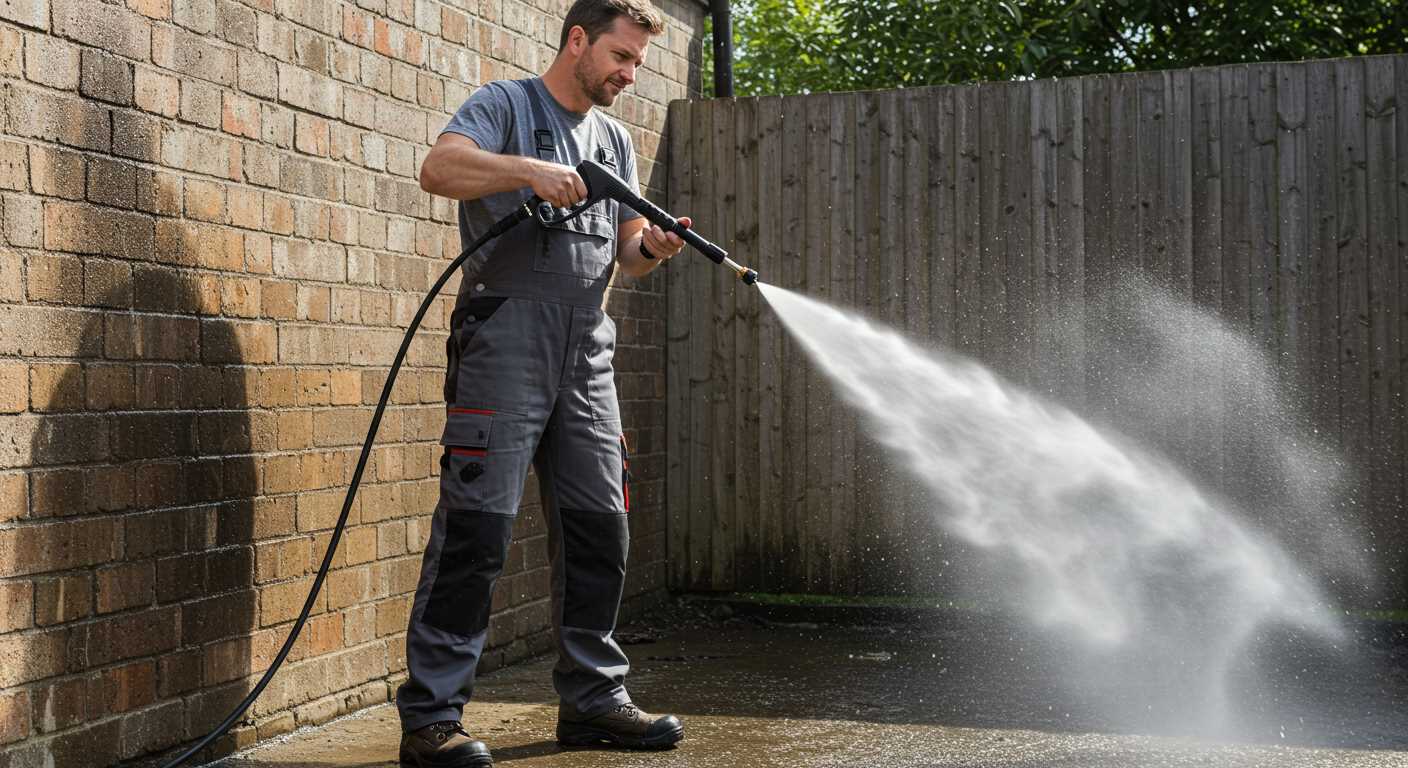
Next, select a suitable nozzle; a fan spray nozzle works best for this type of task. Adjust the pressure settings, starting from a lower level, around 1200 PSI, to avoid damaging the fibres. Keep the nozzle at least 12 inches away from the surface to prevent any undue wear.
As you work, maintain a steady, sweeping motion. This not only ensures even coverage but also helps in avoiding streaks. Pay special attention to heavily soiled areas, where you may need to linger a bit longer. After you’ve completed the cleaning, allow the textile to dry fully before placing it back in its original spot to prevent mould growth.
From my experience, using the right techniques makes all the difference. I once tackled a stained textile in my own home, and following these steps transformed it back to its original state. The satisfaction of seeing it refreshed was well worth the effort.
Effective Cleaning Method for Textiles
Begin by selecting a suitable outdoor area, free from debris and sharp objects. Lay your textile flat on a clean, dry surface, ensuring it is fully unfolded. Inspect for any loose threads or damage; repair these before proceeding to avoid further issues during the cleaning process.
Preparation Steps
Utilise a vacuum cleaner to eliminate dust and loose particles. This step is vital for achieving a thorough clean, as it prevents dirt from becoming embedded during the washing process. Mix a solution of mild detergent and water in a bucket. Test this mixture on a small, inconspicuous area to ensure it does not cause discolouration.
Cleaning Technique
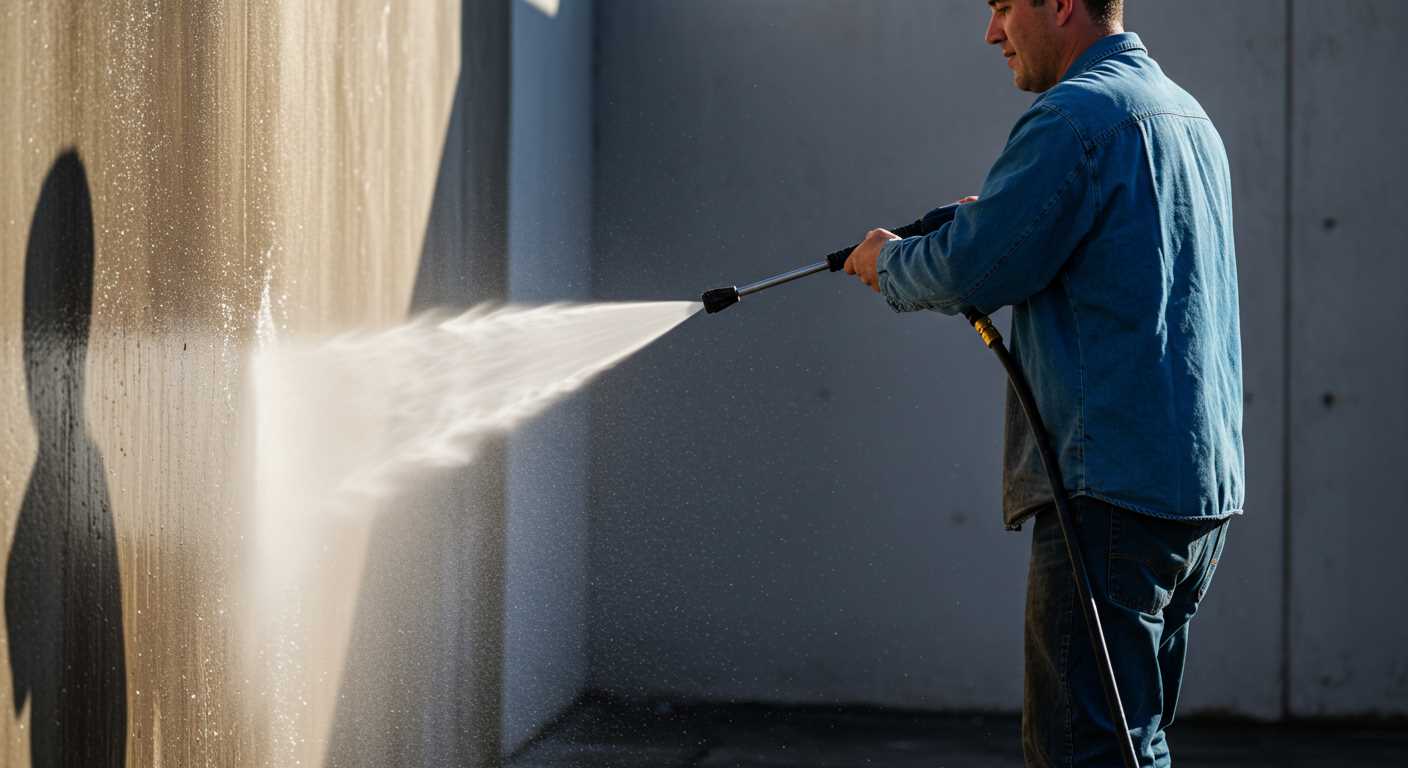
Attach a suitable nozzle to the cleaning device. A wide fan spray is ideal for even coverage without causing damage. Start at one end, keeping the nozzle at least 12 inches above the textile surface. Use sweeping motions, applying the detergent solution generously. Allow it to sit for a few minutes to break down grime. Rinse thoroughly, ensuring all detergent is removed. Finally, allow the textile to air dry completely before returning it indoors.
Choosing the Right Pressure Washer for Rug Cleaning
Opt for a machine that delivers a minimum of 1500 PSI for effective cleaning. In my experience, this pressure range ensures a thorough lift of dirt and grime without damaging delicate fibres.
Consider flow rate as well. A minimum of 1.4 gallons per minute (GPM) works wonders for rinsing away debris quickly. I’ve found that higher flow rates often yield better results, especially on larger surfaces.
Electric models are typically quieter and easier to handle, making them suitable for home use. However, if you’re dealing with larger areas or tougher stains, gas-powered units might provide the additional power needed.
Look for adjustable nozzles. A wide range of spray patterns allows you to switch from a concentrated jet to a gentle mist, giving you control over the cleaning process. I once had a model where the nozzle could be easily adjusted, which made a significant difference when tackling various stains.
Weight and portability are also factors to consider. A lighter model is easier to manoeuvre, especially if you need to move it around your garden or patio. I remember struggling with a heavy unit that was cumbersome, making the task more tedious than necessary.
Check the accessories included. A good brush attachment can enhance cleaning efficiency, especially for stubborn stains. I’ve often used a brush with softer bristles to lift dirt without causing any damage.
Lastly, pay attention to the warranty and customer support. A reliable manufacturer with good service can save you headaches down the line. I’ve had experiences where a quick call resolved issues with equipment, making it easier to maintain my cleaning routine.
- 1500 PSI minimum for effective cleaning
- 1.4 GPM for efficient rinsing
- Electric for home use; gas for tougher jobs
- Adjustable nozzles for versatility
- Lightweight for portability
- Quality accessories enhance performance
- Good warranty and customer support are invaluable
Preparing the Rug for Cleaning
Remove any loose debris and dirt before starting. A simple shake or a gentle brush can do wonders to eliminate surface particles. This step is crucial; it prevents clogging and ensures a more thorough clean.
Next, inspect for stains or spots that require special attention. Treat these areas with a suitable stain remover. Apply the solution directly and allow it to sit for a few minutes. This pre-treatment can significantly improve results.
Before proceeding, check the material of your textile. Some fibres can be delicate and may not withstand high water pressure. If you’re unsure, conduct a small patch test in an inconspicuous area. This test helps to identify how the material reacts to the cleaning method.
Once you’ve addressed stains and confirmed fabric compatibility, it’s wise to secure the edges of your item. Use weights or clamps to prevent movement during the cleaning process. This will ensure that the item remains stable and doesn’t shift, which could lead to uneven cleaning.
- Shake or lightly brush to remove debris.
- Treat specific stains with a stain remover.
- Test a small area for material compatibility.
- Secure edges to avoid movement during cleaning.
Finally, consider the location. If possible, take the item outdoors or to a well-ventilated area. This helps in drying and prevents excess moisture accumulation indoors.
Selecting Suitable Cleaning Solutions
For optimal results, it’s crucial to choose the right cleaning agents. Based on my extensive experience, I recommend using biodegradable detergents specifically formulated for textile materials. These solutions effectively lift dirt without harming the fibres of your item.
When selecting a cleaner, look for those that are pH-balanced. Alkaline detergents can damage natural fibres, while acidic ones might cause fading. Always conduct a patch test on a small area to ensure compatibility.
Here are some effective cleaning solutions to consider:
| Type of Cleaner | Recommended Use | Pros |
|---|---|---|
| Biodegradable Detergent | General cleaning | Environmentally friendly, safe for fibres |
| Enzyme Cleaner | Stain removal | Breaks down organic stains, effective on pet messes |
| Fabric Softener | Post-cleaning | Makes fibres feel softer, reduces static |
Mix the chosen solution according to the manufacturer’s instructions, ensuring the right concentration. For best results, apply the detergent before rinsing; it allows the cleaner to penetrate and dissolve grime more effectively.
For those in Castro Valley, consider local suppliers for high-quality options. You can explore this pressure washer castro valley ca for further insights on compatible cleaning products.
Remember, always rinse thoroughly after applying any cleaning solution to prevent residue build-up.
Setting Up the Pressure Washer Correctly
Adjusting the unit before use is key. Start by checking the water source; it should be clean and free from debris. I once had a client whose machine failed due to a clogged inlet filter. Always inspect it to prevent flow issues.
Next, ensure all connections are secure. Loose hoses can lead to leaks and loss of pressure. I learned this the hard way–one time, I was halfway through cleaning a large area, and a hose popped off, leaving me with a mess. Tighten everything before you begin.
Choosing the Right Nozzle
Selecting the appropriate nozzle is crucial. A wide-angle nozzle is great for larger surfaces, while a narrow one is better for tough stains. I remember using a 25-degree nozzle on a particularly stubborn mark, and it worked wonders without damaging the material. Always test a small, inconspicuous area first to gauge the impact.
Setting the Correct Pressure
Adjusting the pressure settings is also important. For delicate materials, lower settings will prevent damage. I’ve seen rugs become frayed after using too much force. I recommend starting at a lower pressure, then gradually increasing it if needed. Your goal is to clean effectively without causing harm.
Techniques for Washing Different Rug Materials
Each fabric demands a tailored approach. For synthetic fibres, a moderate pressure setting suffices. I recall a time when I tackled a polypropylene piece; the key was keeping the nozzle at least 30cm away to prevent damage while effectively dislodging dirt.
Natural Fibres
When dealing with natural materials like wool or cotton, caution is paramount. A lower PSI setting is necessary, ideally below 1500, to avoid compromising the integrity of the fibres. I once used a gentle spray on a wool mat, and the results were remarkable, but I made sure to act swiftly, as excessive moisture can lead to mould growth.
Delicate or Antique Pieces
For delicate or vintage items, hand cleaning is often the safest route. If pressure cleaning is unavoidable, always conduct a patch test on an inconspicuous area. I made this mistake once and learned the hard way; an antique Persian piece should have been treated with far more care. A gentle rinse and a soft brush can often suffice to maintain their beauty without risking damage.
Adjusting Pressure Settings for Optimal Results
For best outcomes, start by setting the pressure between 1200 to 1500 PSI. This range effectively cleans without risking damage to delicate fibres. I recall a time I used too high a setting, and it resulted in frayed edges on a beautiful Persian piece. Lesson learned: always begin lower.
Next, assess the material of the item being cleaned. For synthetic fibres, a higher pressure can be appropriate, while natural materials such as wool require gentler settings. Take time to test a small, inconspicuous area first. This step can save you from potential disasters.
Adjust the nozzle depending on the fabric type. A 25-degree nozzle is versatile for most materials, but for tighter weaves, a 15-degree option may be necessary. I’ve often switched nozzles mid-clean to tackle stubborn spots, finding that the right angle can make all the difference.
If you’re dealing with heavy stains, consider increasing the pressure slightly, but monitor closely. I once encountered a stubborn stain that seemed impossible to remove. A careful increase in pressure, combined with a suitable cleaning solution, finally did the trick. Always remember, patience pays off.
Finally, maintain a consistent distance of about 12 to 18 inches from the surface. Too close, and you risk damage; too far, and the cleaning becomes ineffective. I’ve seen the difference it makes when I keep that distance steady. It’s all about balance and control.
Rinsing and Removing Excess Water
After thoroughly cleaning the textile, the next crucial step is rinsing and removing surplus moisture. This process ensures that no cleaning solutions remain, which could potentially damage the fibres or attract dirt after drying.
Rinsing Techniques
Utilise the same high-pressure device but adjust the nozzle to a wider spray pattern. This helps to disperse the water evenly across the surface. Start from one end and work your way to the opposite side, ensuring you cover every inch. For optimal results, keep the nozzle at a distance of about 18-24 inches from the surface. This prevents any potential damage while effectively rinsing.
Excess Water Removal
Once rinsing is complete, the next task is to eliminate excess moisture. You can achieve this by using a wet/dry vacuum. If a vacuum isn’t available, consider using a squeegee or a clean, absorbent towel to soak up water. This reduces drying time significantly and helps prevent mould or mildew growth.
| Method | Description |
|---|---|
| High-Pressure Rinse | Use a wide spray pattern from a distance to rinse off cleaning solutions. |
| Wet/Dry Vacuum | Efficiently removes excess moisture from the fibres. |
| Squeegee | Manually pushes water off the surface for quicker drying. |
| Absorbent Towel | Soaks up residual water, reducing drying time. |
Consider the cleaning solution used during the process, as some may leave residues. A product like the best car wash soap for electric pressure washer can be effective in preventing build-up, making rinsing easier.
Lastly, allow the textile to dry in a well-ventilated area, preferably in sunlight, as this aids in the drying process and helps eliminate any lingering odours.
Drying the Rug Safely After Cleaning
For optimal results, ensure proper drying methods are used after the cleaning process. Here are key techniques I recommend:
- Choose the Right Location: Find a shaded outdoor area or a well-ventilated indoor space. Direct sunlight can cause fading, while poor airflow may lead to mildew.
- Use Fans: Position fans to increase airflow around the material. This can significantly reduce drying time. I’ve seen fans cut drying duration in half.
- Elevate the Material: Hang or lay the item flat on a clean surface. Elevating it allows air circulation underneath, preventing damp spots.
- Check for Moisture: Regularly check the underside for dampness. If it’s still wet, continue the drying process until completely dry.
- Use Towels for Absorption: Before moving to the drying phase, blot excess water using clean, absorbent towels. This helps speed up drying.
In my experience, avoiding any heat sources like radiators is crucial, as excessive heat can damage fibres. Patience is key; allow ample time for thorough drying to prevent any unpleasant odours or mould growth.
Finally, remember to flip the material halfway through the drying process. This ensures even exposure to air and helps prevent any trapped moisture. Following these steps will maintain the quality and longevity of your textile.
Maintaining Your Cleaning Equipment for Future Use
Regular upkeep of your cleaning tool can prolong its lifespan and ensure optimal performance. Start by flushing the system after each use to clear out any detergent or debris. This simple step prevents clogs and maintains pressure consistency. I’ve seen too many units suffer from neglect in this area.
Check the water inlet filter frequently. A clean filter allows for better water flow, which directly affects efficiency. I once neglected this step and ended up with reduced power during a crucial job. It’s a small component but plays a significant role.
Inspect the nozzle tips. Different tasks require specific tips, and wear can lead to uneven spray patterns. Keep a selection handy and replace any that show signs of damage. I always carry spares; it saves time during larger cleaning projects.
Store your equipment properly to avoid unnecessary wear. A dry, sheltered location prevents rust and degradation of hoses. I learned this the hard way when I left a unit outside and had to replace several parts due to corrosion.
Periodically check the oil levels if your model operates on a petrol engine. Changing the oil as per the manufacturer’s recommendations can significantly enhance performance. I once skipped an oil change, and it resulted in engine issues that could have been easily avoided.
Finally, refer to the manufacturer’s manual for specific maintenance guidelines tailored to your model. Following these recommendations ensures longevity and reliability. Trust me, investing a little time in maintenance pays off in the long run.

.jpg)


