


For a thorough clean of your home’s exterior, consider using a simple mixture of warm water and mild detergent. This combination is gentle enough for most surfaces yet potent against dirt and grime. I recommend using a soft-bristled brush to apply the solution, ensuring you cover all areas evenly. This method not only protects the surface but also minimises the risk of damage that harsher techniques might cause.
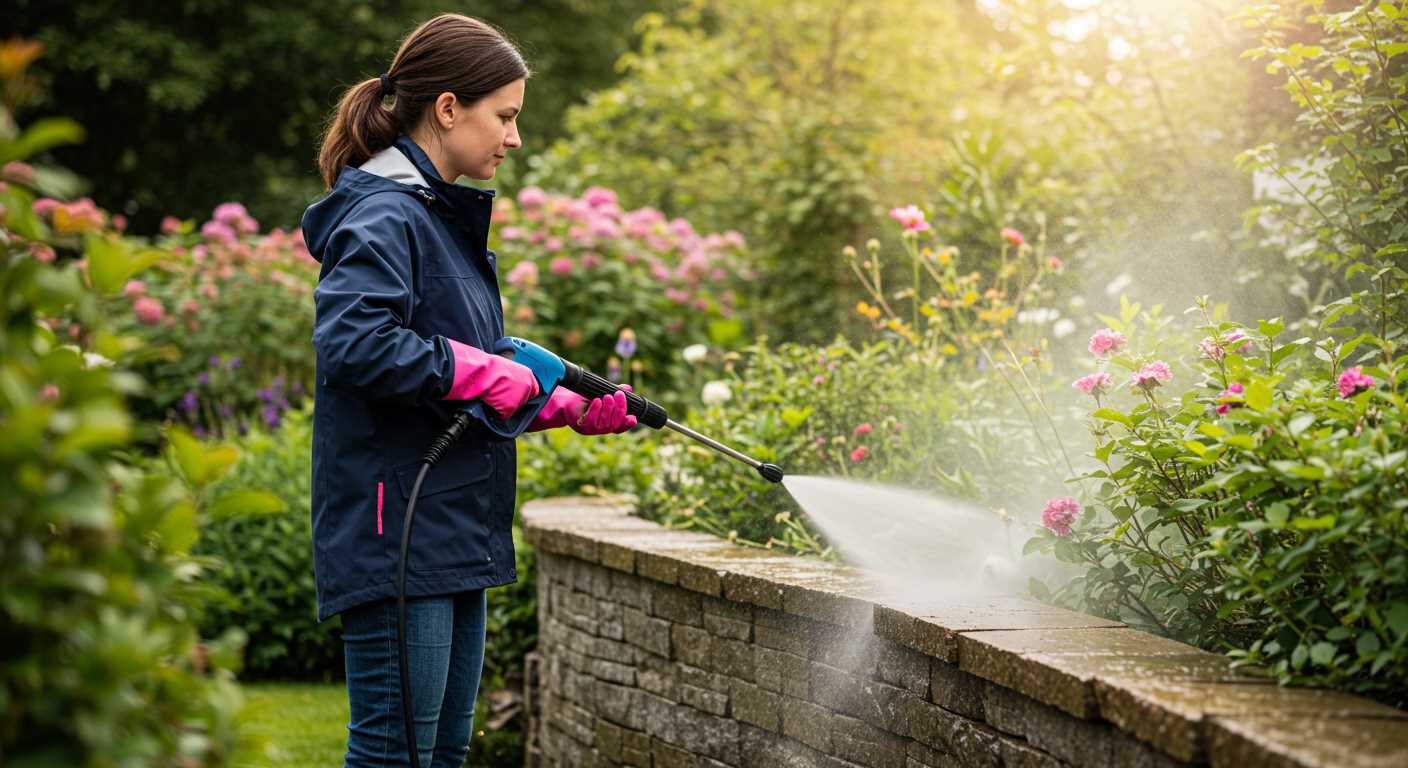
Another approach involves utilising a garden sprayer. Fill it with the warm soapy water and spray a section of your exterior, allowing the solution to sit for a few minutes. This dwell time helps break down stubborn stains and organic growth. Follow up with a gentle scrub using a non-abrasive sponge or cloth to lift the dirt away effortlessly. Rinse thoroughly with clean water to ensure no residue remains.

If you’re dealing with more challenging spots, consider a vinegar solution. Mix equal parts of vinegar and water for a natural cleaning agent that’s particularly effective against mildew. Spray on the affected areas and let it sit for ten to fifteen minutes before scrubbing. This method not only cleans but also sanitises the surface, leaving it fresh and revitalised.
Lastly, a regular maintenance schedule can prevent heavy build-up. A simple wash every six months or so can keep your exterior looking its best. Incorporating these tips will not only enhance your home’s appearance but also prolong the life of the materials, saving you from costly repairs down the line. Cleaning doesn’t have to be complicated or involve specialised equipment; with the right approach, anyone can achieve great results.
Cleaning Techniques for Exterior Panels
For a thorough clean, use a mix of warm water and a mild detergent. Apply this solution with a soft-bristle brush or cloth. Start from the top and work downwards to prevent streaking. Ensure you rinse thoroughly after scrubbing, as residue can attract dirt.
Supplies Needed
| Item | Purpose |
|---|---|
| Soft-bristle brush | Gentle scrubbing |
| Mild detergent | Cleaning agent |
| Bucket | Mixing solution |
| Garden hose | Rinsing |
| Cloth or sponge | Wiping surfaces |
Tips for Best Results
Avoid abrasive materials that can scratch the surface. If stubborn stains persist, consider using a vinegar and water solution. Let it sit for a few minutes before scrubbing. Always test any cleaning solution on a small, inconspicuous area first to ensure compatibility with the material.
Choosing the Right Cleaning Solution for Different Siding Materials
Opt for a solution tailored to the specific material of your home’s exterior for optimal results. Here’s a breakdown of suitable options for various surfaces:
Vinyl Cladding
- Use a mixture of warm water and dish soap. This gentle formula effectively removes dirt and grime.
- An alternative is a vinegar solution (1 part vinegar to 3 parts water) to tackle mildew.
Wood Panels
- For natural wood, consider a mix of water and biodegradable soap. This maintains the wood’s integrity while cleaning.
- If mould is present, a solution of bleach and water (1:10 ratio) can help, but rinse thoroughly to avoid damage.
Aluminium Surfaces
- Utilise a solution of water and mild detergent, as abrasive cleaners can scratch the finish.
- For tougher stains, a paste of baking soda and water can effectively lift grime without harming the surface.
Fiber Cement
- A mixture of water and a non-abrasive cleaner works well. Avoid acidic solutions that may degrade the material.
- For heavy stains, a diluted bleach solution can be applied, followed by a thorough rinse.
Always test any cleaning solution on a small, inconspicuous area first. This ensures compatibility with the material and helps avoid unexpected damage. Tailoring your approach based on the surface will yield the best outcome while preserving the integrity of your home’s exterior.
Preparing Your Siding for Cleaning
Begin by inspecting the surface for any loose or damaged materials. This prevents further issues during the cleaning process. Repair any cracks or gaps to ensure that dirt and moisture don’t penetrate behind the exterior.
Clear the area around the building. Remove any plants, furniture, or decor that might obstruct your access. This not only protects your belongings but also avoids potential damage from cleaning solutions.
Next, sweep away loose debris, such as leaves and dust. A simple broom will do the trick, ensuring the surface is clear for effective treatment. Pay attention to corners and edges where dirt tends to accumulate.
If you notice significant mildew or mould, consider treating these spots with a diluted solution of bleach and water. Apply it carefully with a sponge or cloth, allowing it to sit for a few minutes before rinsing. This step can save time during the main cleaning process.
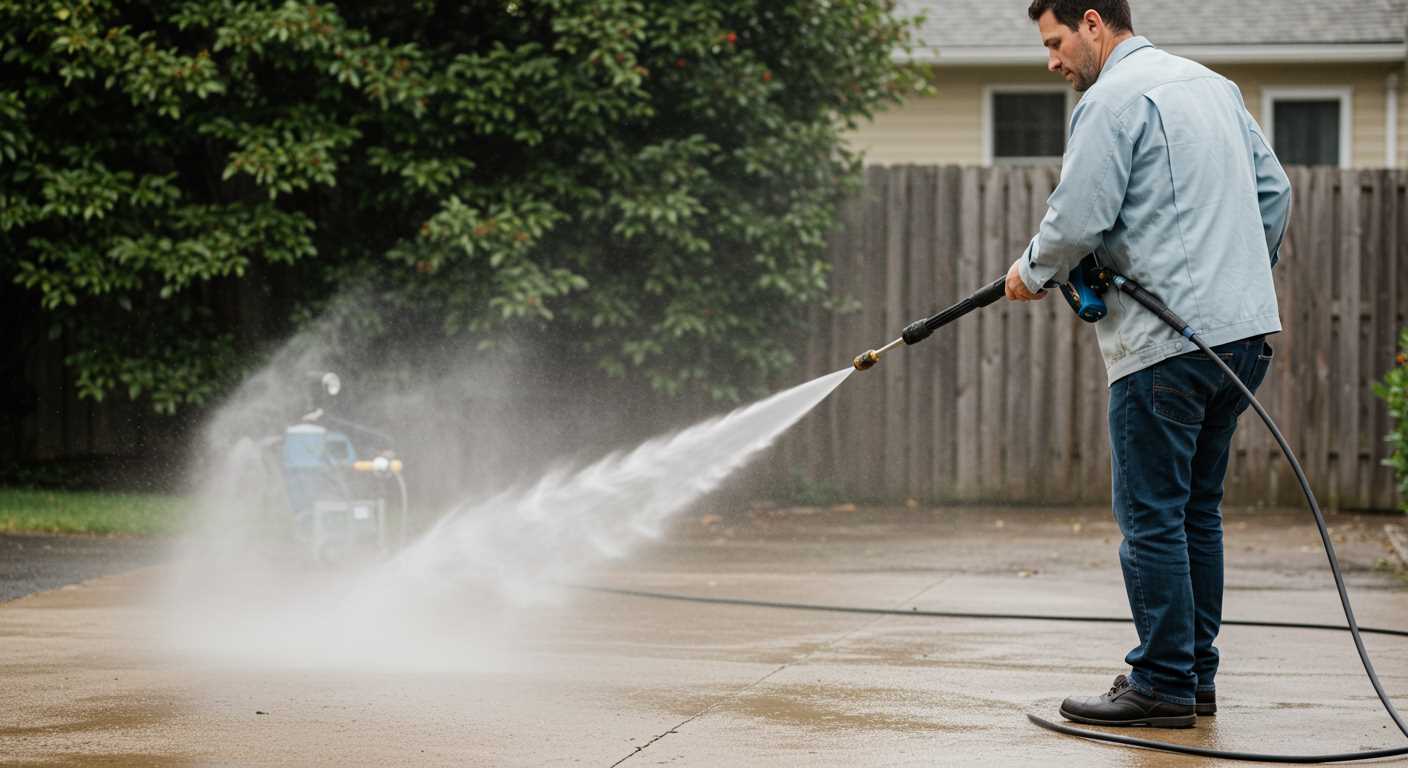
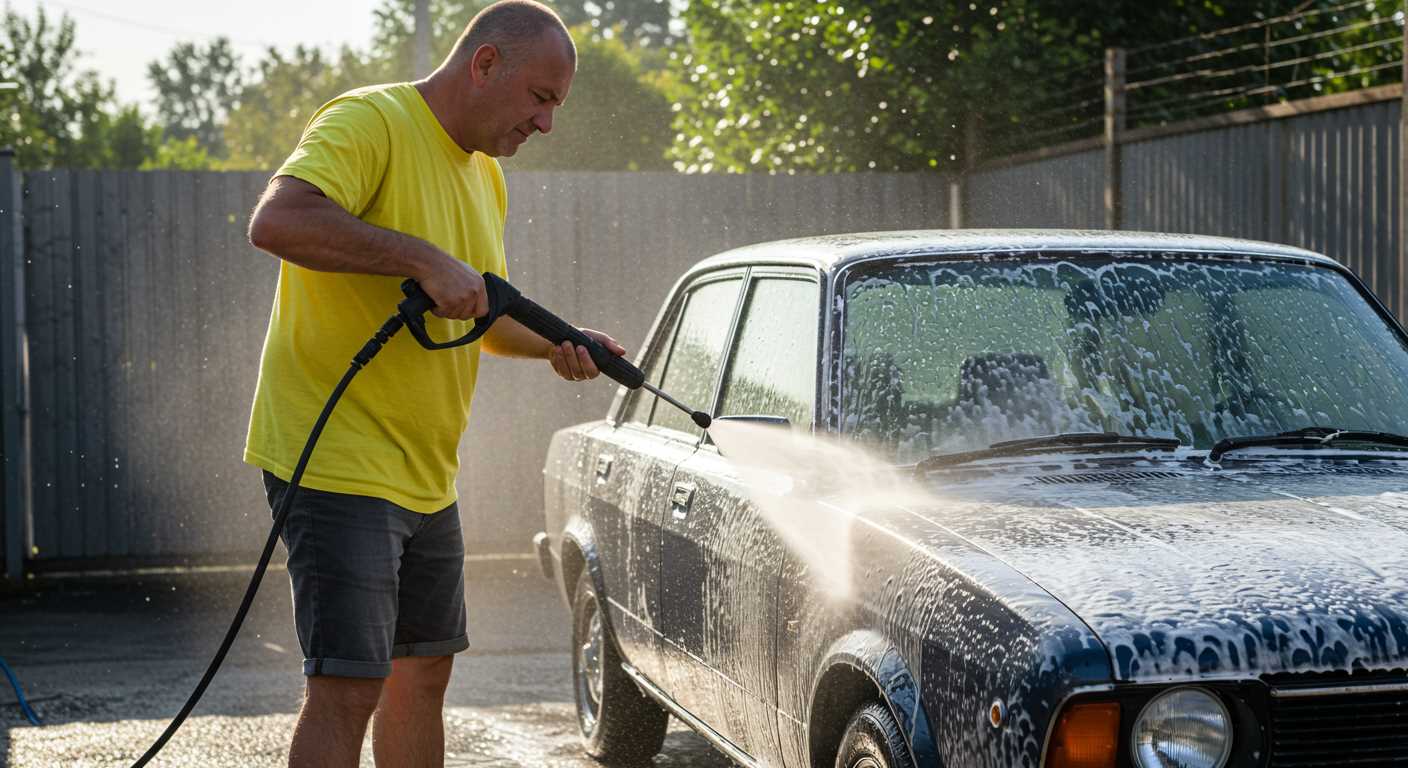
Gather your supplies, including buckets, sponges, and soft brushes. If you’re considering a more robust method, a car wash high pressure washer can be beneficial for thorough cleaning, but here we focus on gentler approaches.
Finally, ensure the weather is favourable. Choose a cloudy day to avoid rapid drying, which can lead to streaks or spots. With these preparations in place, you’ll set yourself up for a successful and satisfying cleaning experience.
Gathering Necessary Tools for Manual Cleaning
Start by collecting a sturdy ladder. Ensure it’s stable and tall enough to reach all areas. A good quality extension ladder works best for multi-storey homes, allowing you to access higher sections safely.
Cleaning Equipment
You’ll need a bucket for mixing your cleaning solution. A long-handled scrub brush is crucial for reaching tough spots, particularly if your exterior has grooves or textures. Soft sponges are excellent for delicate surfaces, preventing scratches.
Protective Gear
Invest in gloves to protect your hands from chemicals and grime. Safety goggles will shield your eyes from splashes. A mask is advisable if you’re sensitive to dust or cleaning products.
Lastly, gather a garden hose with a spray nozzle. A nozzle with adjustable settings allows for a gentle spray, ideal for rinsing surfaces without causing damage.
Step-by-Step Process for Hand Washing Siding
Begin with a thorough inspection of the surface. Look for any loose panels, cracks, or areas needing repair. Address these issues before cleaning to prevent further damage.
Next, mix the chosen cleaning solution according to the manufacturer’s instructions. A bucket will be your best friend here; fill it with warm water and add the appropriate amount of cleaner. Stir it well to ensure an even mixture.
Use a soft-bristle brush with an extendable handle. This tool allows you to reach high areas without straining yourself. Dip the brush into the solution, ensuring it is well-soaked but not dripping. Start scrubbing from the top and work downwards. This technique prevents dirty water from running down onto already cleaned areas.
For tough stains, allow the solution to sit for a few minutes before scrubbing. This will help lift grime and make it easier to remove. Always test a small, inconspicuous area first to ensure the cleaner won’t damage the material.
After scrubbing, rinse the area with clean water. A garden hose with a spray nozzle will do the trick. Ensure you rinse thoroughly to remove all cleaning residue, as leftover chemicals can cause build-up over time.
Finally, inspect the area once more after rinsing. Look for any spots that may need additional attention. If necessary, repeat the process on these stubborn areas until everything looks pristine.
Tips for Removing Stubborn Stains and Mildew
For those persistent blemishes and mildew, a proactive approach is key. I often recommend a solution of equal parts white vinegar and water. This natural remedy works wonders on most surfaces and is safe for various materials.

Apply the mixture using a sponge or cloth, letting it sit for 10-15 minutes to penetrate the stains. For tougher areas, a soft-bristle brush can be employed to gently scrub the affected spots. Avoid harsh scrubbing, which can damage the material.
If vinegar doesn’t do the trick, consider a baking soda paste made from mixing baking soda with a small amount of water. Spread it over the stain and let it sit for a while before scrubbing lightly. This method is particularly effective for mildew, as baking soda naturally kills mould spores.
For large areas or particularly stubborn mildew, investing in specialized cleaning tools, such as the best air scrubbers for mold, can save time and effort. These devices circulate air while cleaning, effectively removing spores and improving air quality.
After treatment, rinse thoroughly with clean water to prevent any residue from forming, which could attract dirt over time. Always test any cleaning solution on a small, inconspicuous area first to ensure it doesn’t harm the surface.
Drying Techniques to Prevent Water Damage
After cleaning, ensuring surfaces dry thoroughly is paramount to avoid water-related issues. I recommend using a combination of natural airflow and absorbent materials. Open windows and doors to create cross-ventilation, which significantly speeds up the drying process. Ceiling fans also work wonders, circulating air effectively.
Utilising Towels and Mops
For immediate moisture removal, keep a stack of dry towels handy. After rinsing, use them to wipe down areas, especially in crevices where water tends to linger. A microfiber mop can also be beneficial for larger surfaces, soaking up excess moisture without leaving streaks.
Timing Matters
Choose a sunny day for this task. The sun not only warms the surfaces but also aids evaporation. If it’s cloudy or humid, consider waiting for a more suitable day. After cleaning, allow at least a few hours for surfaces to dry completely before any other maintenance work. This simple timing strategy can save you from potential long-term problems.
Maintaining Exterior Cladding After Cleaning for Longevity

After a thorough cleaning session, it’s crucial to implement a few maintenance practices to extend the life of your exterior surfaces. Here are some straightforward recommendations that I’ve gathered over the years in my experience.
Regular Inspections
- Conduct visual checks every few months for signs of wear, such as cracks, peeling, or discolouration.
- Pay special attention to areas around windows and doors, as these spots often require additional attention.
Protective Coatings
- Consider applying a protective sealant suitable for your material type. This can help repel dirt and moisture, making future cleaning easier.
- Reapply the sealant every few years, depending on the manufacturer’s recommendations and local weather conditions.
In my experience, using a mild solution of vinegar and water for regular touch-ups can keep surfaces looking fresh. It’s a simple way to maintain cleanliness between deep cleaning sessions.
Landscaping and Drainage
- Ensure that plants and shrubs are trimmed back to prevent moisture accumulation against the exterior.
- Check that gutters and downspouts are functioning properly to direct water away from the structure.
These small adjustments can significantly impact how well your surfaces resist weathering and staining. Trust me, a little proactive care goes a long way in preserving the appearance and integrity of your home’s exterior.
Routine Maintenance Schedule
- Develop a cleaning and inspection schedule based on your local climate.
- Include seasonal tasks like clearing debris and checking for mildew growth.
- Set reminders for when to reapply protective coatings.
By staying on top of these maintenance tasks, you’ll not only enhance the aesthetic appeal of your property but also safeguard your investment for years to come.
FAQ:
What materials do I need to wash siding without a pressure washer?
To wash siding without a pressure washer, you will need several basic materials. Gather a bucket, a soft-bristle brush or sponge, a garden hose, and a cleaning solution. You can make your own cleaning solution by mixing water with a gentle detergent or vinegar. If you prefer a commercial product, choose one that is suitable for the type of siding you have, such as vinyl, wood, or aluminium.
Can I use bleach to clean my siding without a pressure washer?
Yes, you can use bleach to clean siding, but it is important to dilute it properly. A mixture of one part bleach to three parts water is usually effective. Apply the solution using a sponge or brush, and be cautious not to let it sit for too long to avoid damage to the siding. Always rinse thoroughly with water after cleaning to remove any bleach residue, and consider protecting nearby plants and surfaces from the bleach solution.
How do I prevent streaks when washing my siding without a pressure washer?
To prevent streaks while washing your siding, work in sections and rinse each section thoroughly before moving on to the next. Use a soft-bristle brush to apply the cleaning solution, and avoid using excessive force, which can damage the siding. Rinse from the top down, allowing the water to carry dirt and cleaning solution downwards, and be sure to keep the siding wet as you clean to avoid streaking.
How often should I wash my siding without a pressure washer?
The frequency of washing your siding depends on various factors such as your local environment, weather conditions, and the type of siding material. Generally, it is advisable to wash your siding at least once a year to remove dirt, dust, and mildew. If you live in a particularly dusty area or near the ocean, you may need to clean it more frequently, perhaps twice a year, to maintain its appearance and longevity.
What are some tips for cleaning different types of siding without a pressure washer?
When cleaning different types of siding without a pressure washer, consider the following tips: For vinyl siding, use a mixture of water and mild detergent, scrubbing gently with a soft brush. For wood siding, avoid saturating the wood and use a vinegar-water solution to prevent warping. For aluminium siding, a gentle cleaner will suffice, but be sure to rinse well to prevent streaks. Always test any cleaning solution on a small, inconspicuous area first to ensure it does not damage the finish.
What are the best methods to wash siding without a pressure washer?
To clean siding without a pressure washer, you can use a few effective methods. One common approach is to mix a solution of warm water with a mild detergent, such as dish soap. Apply this solution using a soft-bristle brush or a sponge, scrubbing the siding gently to remove dirt and grime. After scrubbing, rinse the siding with clean water using a garden hose, ensuring that all soap is washed away. Another method is to use a vinegar solution, mixing equal parts of vinegar and water. This can help to tackle mildew and mould. Apply it similarly with a sponge or cloth, then rinse thoroughly. For tougher stains, a commercial siding cleaner can be used, following the manufacturer’s instructions. Always test any cleaner on a small area first to ensure it does not damage the surface.
How often should I wash my siding if I don’t use a pressure washer?
The frequency of washing your siding can depend on several factors, including your local climate, the amount of rainfall, and the presence of trees or plants that might cause debris to accumulate. Generally, it’s advisable to wash your siding at least once a year to maintain its appearance and prevent the build-up of dirt, mildew, and mould. If you live in a particularly dusty area or near the ocean where salt can accumulate, you might want to consider cleaning it more often, perhaps every six months. Regular inspections can help you determine when it’s time for a wash; if you notice discolouration or a buildup of grime, it’s a good indication that cleaning is needed.
.jpg)


