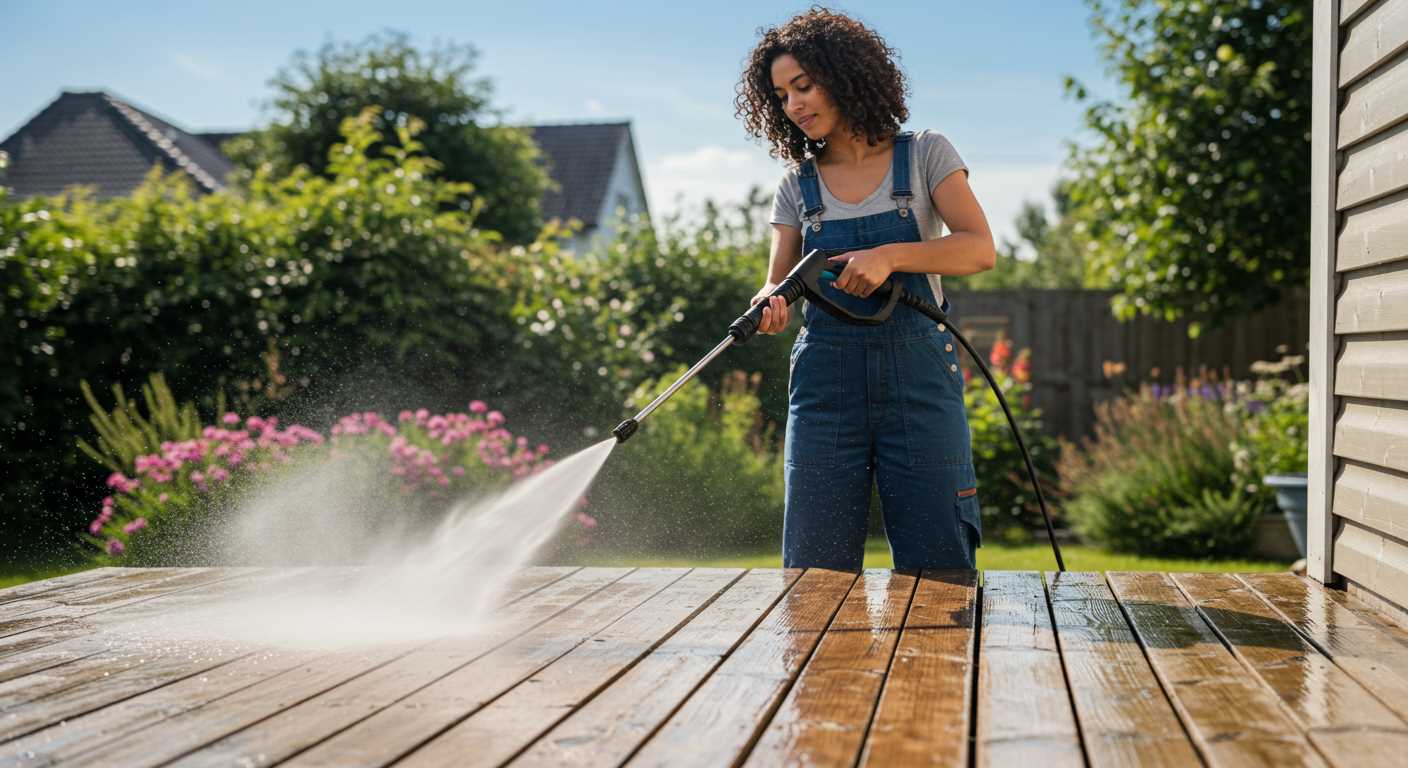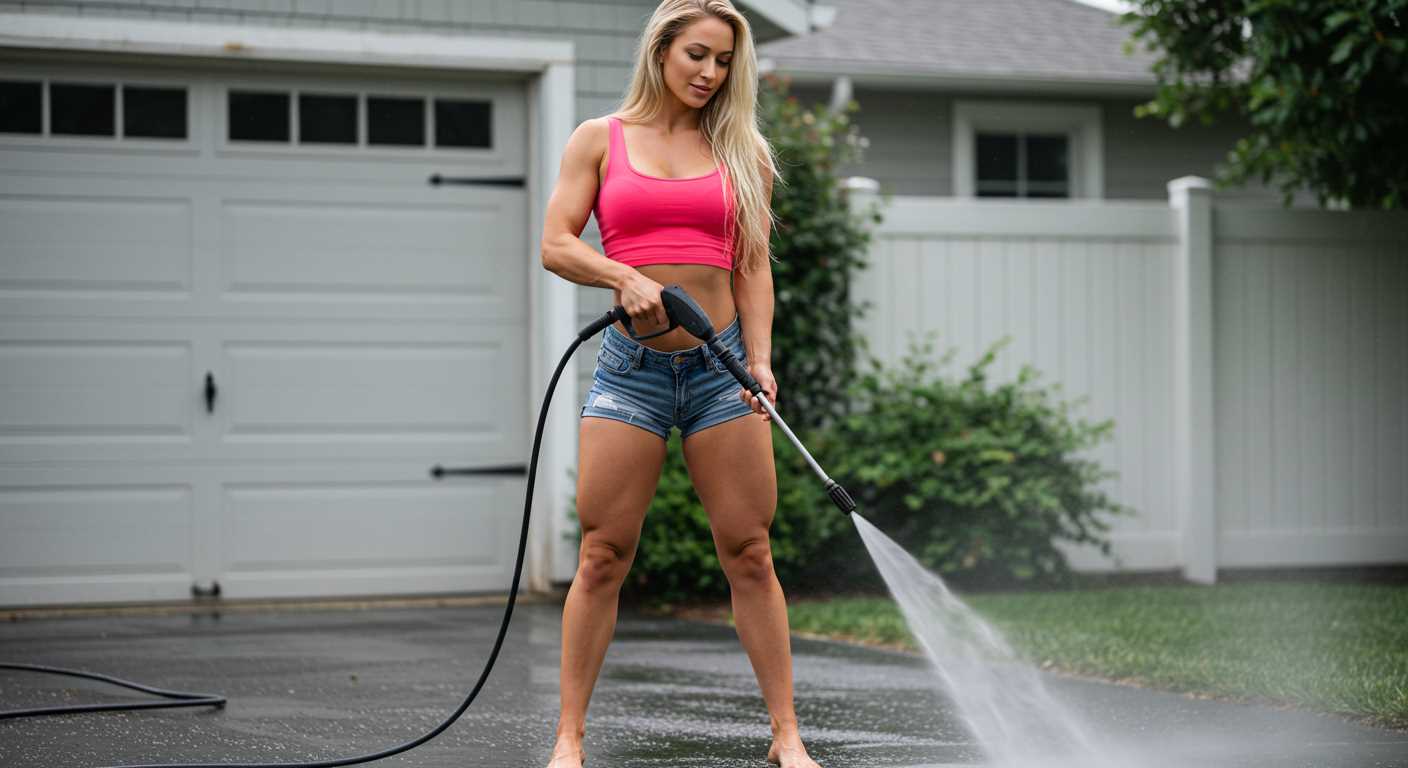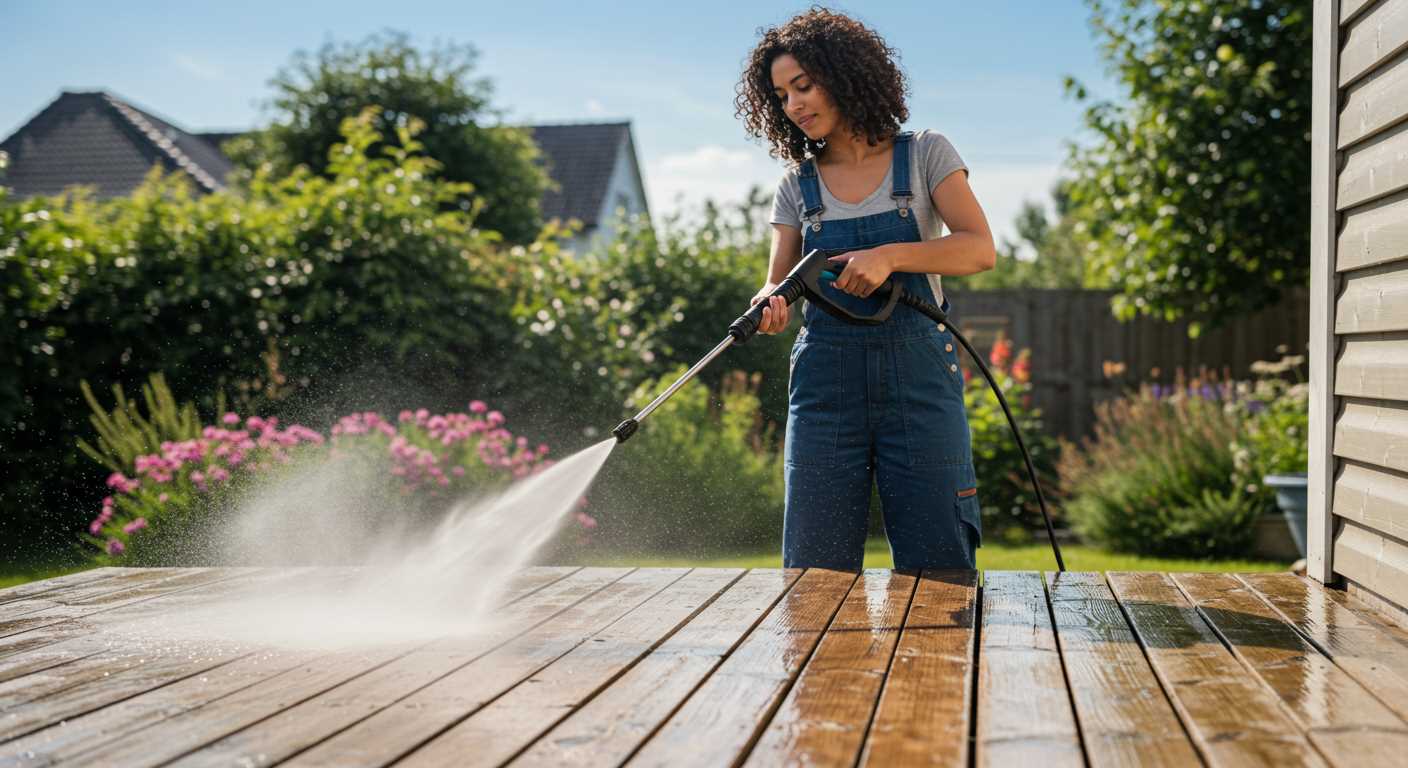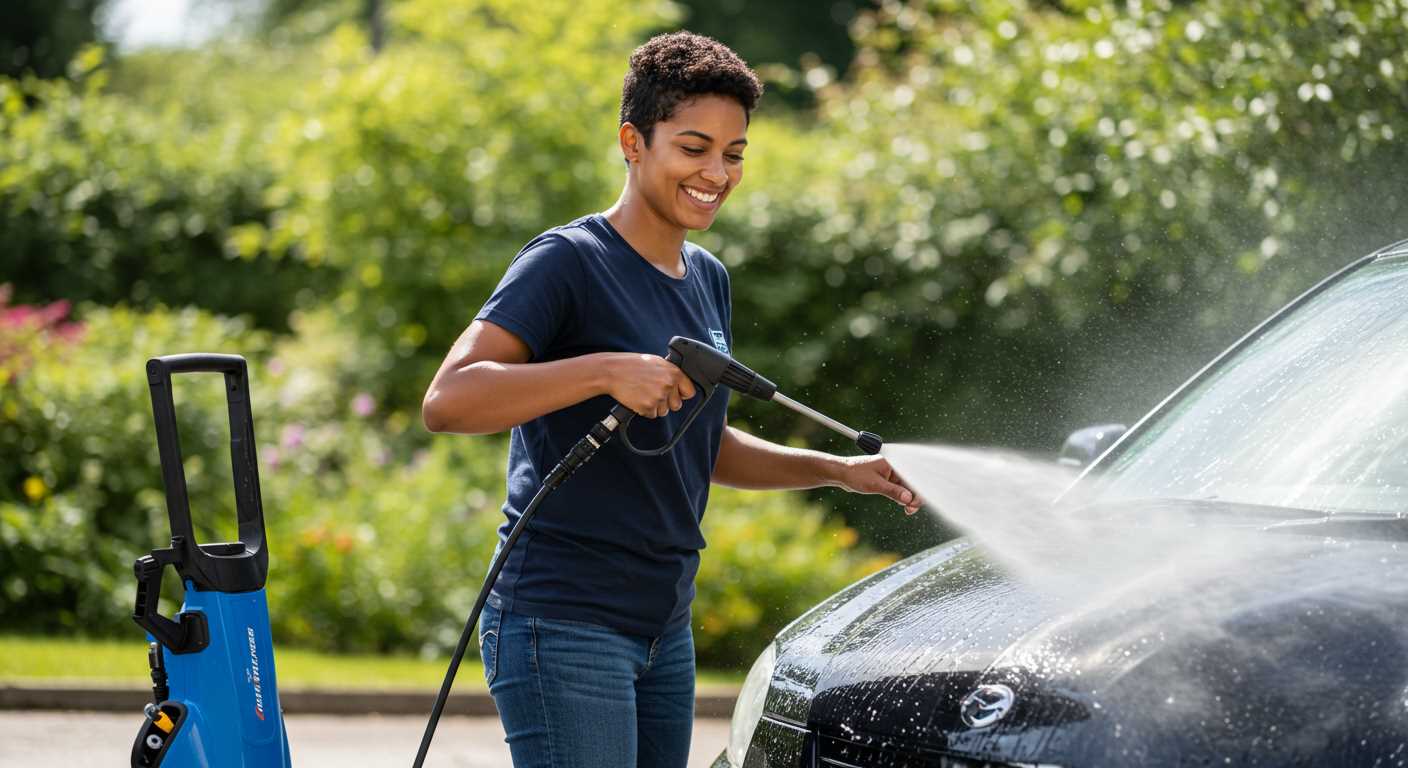


Begin with a thorough inspection of the surface you’re tackling. Look for any areas with significant grime buildup or organic growth. It’s crucial to treat these spots before you reach for the sprayer, as a quick rinse may not suffice. A quality cleaning solution can help break down stubborn residues, ensuring a more efficient process.
Set your equipment to the appropriate pressure setting. Too high, and you risk damaging the material; too low, and you’ll waste time on stubborn stains. I recommend starting around 1500 to 2000 PSI for most tasks. You can always adjust based on what you encounter. A test patch on an inconspicuous area can save you from costly mistakes.
When applying the cleaning solution, use a low-pressure nozzle to avoid splattering and ensure even coverage. Allow it to sit for several minutes, but don’t let it dry out completely. This waiting period allows the cleaner to penetrate and lift the grime effectively. While waiting, I’ve found it beneficial to prepare my workspace, ensuring everything is within reach for a smooth operation.
Once the cleaner has had time to work, switch to a fan nozzle to rinse off the area. Begin from the top and work your way down, maintaining a consistent distance of about 12 to 18 inches from the surface. This technique prevents streaks and ensures a thorough rinse.
After completing the task, inspect the results. If any spots remain, consider a second application of the cleaner or a targeted approach with a brush. Remember, persistence often pays off with stubborn stains. Having tackled numerous projects over the years, I’ve seen the difference a little extra effort can make.
Cleaning Your Exterior with a High-Pressure System
Begin by selecting a suitable detergent. I often opt for a blend specifically designed for outdoor surfaces; it effectively breaks down grime without damaging the material. Mix according to the manufacturer’s instructions to ensure optimal results.
Before you start, inspect the area for loose debris. A quick sweep with a broom can prevent clogs and ensure a smooth cleaning process.
Adjust the nozzle to a fan spray setting; this helps cover a larger area without directing too much force at one spot. I usually keep the distance between the nozzle and the surface at around two feet to avoid any potential damage.
- Apply the cleaning solution from the bottom up. This method prevents streaks and ensures the cleaner clings to the surface.
- Allow the detergent to sit for 5–10 minutes, but avoid letting it dry completely. This waiting period lets the product work its magic.
- Rinse thoroughly from the top down. This sequence ensures that any remaining dirt flows down and away from the cleaned area.
For stubborn stains, a second application of detergent may be necessary. In my experience, tackling particularly tough areas with a circular motion can lift the grime effectively.
- Always check local guidelines regarding water usage and detergent disposal.
- Wearing protective gear, such as goggles and gloves, is advisable.
- Once finished, inspect for any missed spots and touch them up as needed.
After the job is done, store your equipment properly. Cleaning the nozzle and hose will prolong their lifespan and maintain performance for future projects.
Choosing the Right Pressure Washer for Vinyl Siding
For optimal results, select a unit with a pressure rating between 1300 to 1600 PSI. This range effectively removes dirt without damaging the surface. I recall using a 1500 PSI model that tackled grime effortlessly, leaving the exterior looking brand new.
Electric models are often lighter and quieter, making them suitable for residential tasks. I once used a compact electric machine for a friend’s home, and it proved perfect for the job–great for manoeuvring around tight spaces. If you prefer gas-powered options, they typically offer higher pressure levels and greater mobility, which is beneficial for larger properties.
Pay attention to the flow rate as well; aim for at least 1.2 GPM. A higher flow rate helps rinse away soap and debris more effectively. I had a unit with 1.5 GPM, and it made a noticeable difference in cleaning efficiency.
A variety of nozzles can enhance your cleaning experience. Use a 25-degree nozzle for wider coverage and a 40-degree nozzle for delicate areas. I always kept a pressure washer spray gun handy, as it allows for better control and precision during the task.
Lastly, consider the weight and portability of the unit. A heavier machine may be difficult to manoeuvre, especially on ladders or uneven ground. I learned to appreciate lightweight models during long cleaning sessions, as they reduce fatigue significantly.
Preparing the Area Before Washing
Clear the space around the exterior to ensure a smooth operation. Remove any furniture, potted plants, and decorative items from the vicinity. This helps prevent damage and makes it easier to access all surfaces. I remember one time when I overlooked this step and ended up with a broken flowerpot–definitely not the highlight of my day.
Protect Surroundings
Cover windows, doors, and any fixtures that could be vulnerable to water pressure. Use plastic sheeting or tarps to shield them. I learned the hard way that a sudden blast of water can cause unexpected leaks in window seals, leading to a bigger mess to clean up later.
Check for Debris
Inspect the ground for any loose items such as branches, toys, or tools. They can easily become projectiles when the nozzle is in action. One time, I had a small rock fly out and hit a neighbour’s car–an awkward conversation followed. Clearing the area not only protects your belongings but also provides a safer environment for you during the task.
Selecting the Appropriate Cleaning Solution
For optimal results, I recommend using a cleaning solution specifically formulated for outdoor surfaces. These products are designed to tackle dirt, mildew, and algae that can accumulate on exteriors. When I first started, I made the mistake of using all-purpose cleaners, which often fell short. Trust me, a dedicated exterior cleaner will save you time and effort.
Types of Cleaning Solutions
Here are a few types of solutions that I’ve found to be particularly effective:
| Type | Description |
|---|---|
| Chlorine Bleach Solution | Great for mildew and algae; mix with water (1 part bleach to 3 parts water) for a potent solution. |
| Oxygen Bleach | A safer, more environmentally friendly option, effective against stains without harsh chemicals. |
| Commercial Vinyl Cleaners | Usually ready-to-use and specifically formulated for exterior surfaces, these products often require no mixing. |
Safety and Considerations

Always check the labels for compatibility with your specific material. I recall a time when I used a harsh chemical that damaged the surface instead of cleaning it. Keep safety gear handy, such as gloves and protective eyewear, especially when working with bleach-based solutions. Proper dilution is crucial; too strong a mixture can lead to irreversible damage.
Mixing your solution in a bucket is convenient, but I find that a pump sprayer provides better control when applying it to vertical surfaces. This method allows for even coverage and helps avoid wastage. Remember to test any solution on a small, inconspicuous area first to ensure it won’t cause discolouration or damage.
Setting Up the Pressure Washer Properly
Ensure the device is placed on a flat, stable surface to prevent any tipping during operation. Connect the water supply securely, checking for leaks. I once had a situation where a loose connection resulted in water spraying everywhere, making a mess instead of cleaning.
Adjust the pressure settings according to the requirements. For softer surfaces, a lower setting is ideal. I recall a time when I started at too high a pressure, which caused damage to the surface I was cleaning. Always consult the manufacturer’s guidelines for recommended settings.
Use the right nozzle for the job. A wider spray pattern is often more effective for large areas, while a narrower one is suited for tough spots. I remember switching nozzles mid-cleaning to tackle stubborn grime, which made a noticeable difference.
Check the detergent tank, if available. Fill it with the appropriate solution, ensuring it’s designed for the type of cleaning you’re undertaking. I once used the wrong cleaner, which not only failed to work but also left a residue that required additional effort to remove.
Before starting, test a small area to gauge the effectiveness of both pressure and cleaning solution. This practice saved me from making mistakes in the past. Once, I started a project without testing and ended up with uneven results.
| Setup Step | Tip |
|---|---|
| Surface Stability | Place the unit on even ground to avoid tipping. |
| Pressure Adjustment | Start with a lower setting for delicate surfaces. |
| Nozzle Selection | Use the right nozzle for the area being cleaned. |
| Detergent Check | Ensure the cleaner is suitable for the task. |
| Test Area | Always test a small section before full application. |
After the setup, you’ll be ready for effective cleaning. If you’re also curious about other cleaning methods, I recommend checking out how to clean oven with steam cleaner. It can be enlightening to explore various techniques.
Techniques for Washing Vinyl Siding
Utilising a high-pressure device effectively requires not just the right equipment, but also knowing how to handle it. Here are some practical techniques I’ve learned over the years:
- Maintain a Consistent Distance: Keep the nozzle about 12 to 18 inches away from the surface. This distance prevents damage while ensuring thorough cleaning.
- Angle the Spray: Aim the spray at a downward angle. This approach helps to lift dirt and grime away from the surface, rather than forcing it into crevices.
- Start from the Top: Work from the top down. This method prevents dirty water from dripping onto cleaned areas, ensuring a uniform finish.
- Use a Wide Spray Pattern: A wider spray pattern covers more area and reduces the chance of concentrated force damaging the surface. Adjust the nozzle accordingly.
- Utilise a Ladder Safely: If reaching higher areas, ensure your ladder is stable. Consider using a ladder stabiliser to prevent slips.
- Section the Job: Divide the work into manageable sections. This approach helps maintain focus and ensures thorough coverage without missing spots.
- Follow a Routine: Establish a pattern for your movements. For example, left to right or top to bottom, to ensure you don’t overlook any areas.
These strategies can be the difference between a mediocre clean and a pristine finish. Over the years, I’ve witnessed many individuals rush through the process, leading to unsatisfactory results. Taking the time to apply these techniques can save you from repeated efforts.
Always remember to adjust your technique based on the specific conditions of the surface. Different areas may require varying levels of attention. Trust your instincts and make adjustments as necessary for the best outcome.
Dealing with Stubborn Stains and Mildew
For those persistent stains and mildew, begin by applying a targeted cleaner. A mixture of water and a high-quality mildew remover can work wonders. I’ve had great success with a solution containing bleach, but always test a small, inconspicuous area first to ensure it won’t discolour the surface.
When dealing with tough spots, let the cleaner sit for at least 10-15 minutes. This dwell time allows the solution to penetrate and break down the grime. Afterward, use a soft-bristle brush to agitate the area gently; this can significantly enhance the cleaning process without causing damage.
Once you’ve pre-treated the stains, return to your sprayer. Adjust the nozzle to a wider spray pattern to avoid any potential damage while rinsing. Maintain a distance of at least 2-3 feet from the surface to prevent high pressure from causing dents or scratches.
If, after your initial efforts, some stains remain, don’t hesitate to repeat the process. Resilience is key. For particularly stubborn mildew, consider a second application of your cleaner. It’s all about persistence and patience.
Always remember to rinse thoroughly. Residues from cleaning agents can lead to further discolouration or streaking, so ensure all remnants are washed away completely. Afterward, a final inspection can help identify any missed spots or areas that may need a second pass.
Rinsing Techniques to Avoid Damage
For optimal results while cleaning exterior surfaces, a gentle rinse is key. Aiming your nozzle at a low angle helps prevent water from getting trapped behind panels, which can lead to mould and mildew growth. Always maintain a distance of at least 3 feet from the surface to avoid unintentional damage.
Utilising a Wide Spray Pattern
A wide spray pattern disperses water more gently over the surface, reducing the risk of dents or scratches. I’ve found that using a 25-degree or wider nozzle works wonders. This approach allows you to cover larger areas while minimising the force applied to the material.
Timing Your Rinse
Timing is everything. Rinse sections promptly after applying your cleaning solution, ideally within 5 to 10 minutes. The longer the cleaner sits, the more it can potentially damage underlying surfaces. I’ve had experiences where a quick rinse turned a tedious job into an efficient one, preserving the integrity of the exterior.
Always rinse from the top down. This technique prevents dirty water from running over cleaned areas, ensuring a consistent finish. Keep moving your nozzle in a steady motion, avoiding lingering too long in one spot. This practice not only maintains a clean surface but also protects it from the risk of water damage.
Lastly, consider the wind. Rinsing on a breezy day can cause water to spray back towards you or onto areas you’ve already cleaned. Adjust your position and angle to account for this, ensuring you maintain control over your rinsing process.
Maintaining Your Vinyl Siding After Washing
To keep your exterior looking pristine, regular maintenance is key. After a thorough clean, consider these steps to ensure long-lasting results:
- Inspect for Damage: Post-cleaning, examine the surface for any cracks or chips. Minor issues can lead to bigger problems if left unattended.
- Touch Up Paint: If there are areas where paint has chipped, a quick touch-up can prevent moisture infiltration and maintain aesthetic appeal.
- Sealant Application: Consider applying a sealant designed for synthetic materials. This can protect against UV rays and help repel dirt.
- Gutter Maintenance: Ensure gutters are clear to prevent water damage. Clogged gutters can cause overflow, leading to mildew growth.
- Regular Inspections: Set a schedule for inspections every six months. Catching issues early can save time and money in the long run.
- Routine Cleaning: Implement a light cleaning routine every few months. A gentle rinse with a hose can remove dust and prevent buildup.
Sharing a personal experience: I once overlooked the importance of inspecting after cleaning. A small crack in the siding went unnoticed, leading to significant mould growth. Since then, I always recommend a thorough check after each cleaning session. Preventative care saves time and ensures your exterior remains in top shape.
Finally, keep an eye on your surroundings. Overhanging branches can trap debris and moisture, increasing the likelihood of stains. Regular trimming can make a difference in the longevity of your home’s exterior.


.jpg)

.jpg)


