


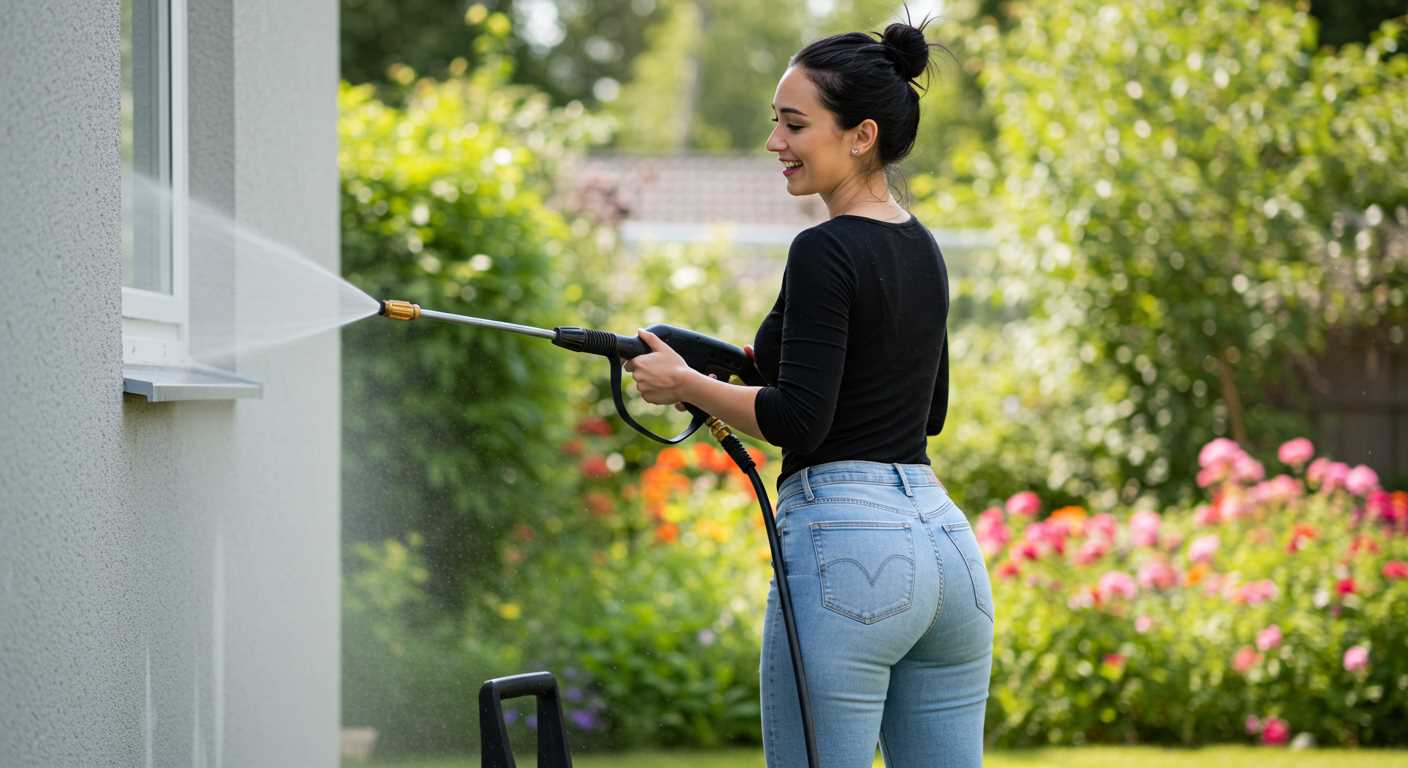
Begin with a thorough rinse to remove loose dirt and debris. Position the nozzle at a distance of about 2-3 feet from the surface to prevent damage. It’s crucial to use the correct nozzle attachment; a 25-degree or 40-degree tip works best for this initial step. My experience has taught me that rushing this part can lead to scratches later on.
Next, apply a suitable detergent specifically designed for automotive surfaces. This helps to break down stubborn grime and grease. I often opt for foaming attachments, as they create a thick layer of suds that clings to the surfaces, enhancing cleaning effectiveness. Allow the foam to sit for a few minutes, but don’t let it dry out. I once made that mistake and ended up with a more challenging clean-up.
Once the detergent has done its job, return to the sprayer. Rinse thoroughly, starting from the top and working downwards. This method avoids redistributing dirt back onto cleaner areas. I’ve found that keeping the nozzle moving in a steady motion helps prevent streaks and ensures an even clean. After a few rounds, you’ll notice how effortlessly dirt and grime come off.
Finally, for those hard-to-reach spots, like wheel wells and undercarriages, a narrow nozzle can be particularly useful. My personal tip: pay extra attention to these areas, as they often collect unseen grime that can lead to corrosion over time. A few minutes spent there can save you a lot of trouble down the line.
Effective Techniques for a Spotless Finish
Begin with a thorough inspection of the exterior. Check for any loose debris, dirt, or grime that could scratch the surface during the cleaning process. I recommend using a soft brush to remove any stubborn particles before applying any liquid solution.
Next, choose a suitable detergent specifically designed for automotive surfaces. Avoid household cleaners as they can damage the paint. Mix the detergent with water according to the manufacturer’s instructions, creating a solution that will effectively lift away dirt and grime without harming the finish.
Application Tips
Utilise the foam cannon attachment if available. This tool allows for an even distribution of the cleaning solution across the vehicle, ensuring every corner is treated. Apply the foam starting from the top and work your way down, allowing the solution to cling for a few minutes to break down contaminants.
After the foam has set, employ a wide-angle nozzle for rinsing. This helps cover larger areas quickly while reducing the risk of damage. Maintain a distance of at least 2 feet from the surface to avoid any potential harm to the paint. Use sweeping motions rather than direct streams to prevent concentrated pressure on one spot.
Drying and Finishing Touches
Once the rinsing is complete, dry the vehicle with a microfibre towel. This step is crucial to avoid water spots. I prefer to use a blotting technique rather than wiping, which helps prevent scratches.
Finally, consider applying a wax or sealant for added protection. This not only enhances the shine but also creates a barrier against future contaminants. Remember, a well-maintained exterior can significantly prolong the life of the paintwork.
Choosing the Right Pressure Washer for Car Cleaning
For optimal results, look for a model with a pressure range of 1200 to 1900 PSI. This level is gentle enough for automotive surfaces yet powerful enough to remove dirt and grime effectively. A unit with an adjustable nozzle is also beneficial, allowing you to switch between fan spray for broader areas and pinpoint streams for stubborn spots.
Electric models often provide sufficient power for routine maintenance and are generally lighter and quieter than gas alternatives. If you prefer a more portable option, consider a compact design that is easy to manoeuvre around the vehicle.
When selecting a device, pay attention to the GPM (gallons per minute). A higher GPM indicates more water flow, leading to faster cleaning. Aim for at least 1.2 GPM to ensure thorough rinsing without excessive effort.
| Feature | Ideal Specification |
|---|---|
| Pressure (PSI) | 1200 – 1900 |
| Water Flow (GPM) | 1.2 or higher |
| Weight | Lightweight for easy handling |
| Nozzle Options | Adjustable or interchangeable |
| Power Source | Electric for convenience |
In my experience, a quality accessory kit can enhance the overall cleaning process. Look for options that include brushes, foam cannons, and different nozzle attachments to tackle various surfaces. Also, consider compatibility with additional cleaning products, like a concrete cleaner with pressure washer, for those tougher jobs.
Lastly, don’t forget about safety features. A model with an automatic shut-off will help conserve energy and prolong the life of the unit. Always prioritise reliability and customer reviews when making your decision; a solid track record speaks volumes about a product’s performance.
Selecting the Appropriate Nozzle for a Safe Clean
For effective cleaning without damaging the surface, choose the right nozzle carefully. A 25-degree (green) nozzle is often ideal for automotive surfaces, providing a balance between pressure and coverage. This option effectively removes dirt without risking scratches.
When I first started in this field, I learned the hard way about nozzle selection. I used a 0-degree (red) nozzle on a delicate surface once, thinking it would clean better. The result was a nasty gouge that took a lot of effort to repair. Avoid that mistake by understanding nozzle types. A 40-degree (white) nozzle may be suitable for rinsing and soap application, while the 15-degree (yellow) can handle tougher grime on wheels and undercarriages.
Testing Nozzles Before Use
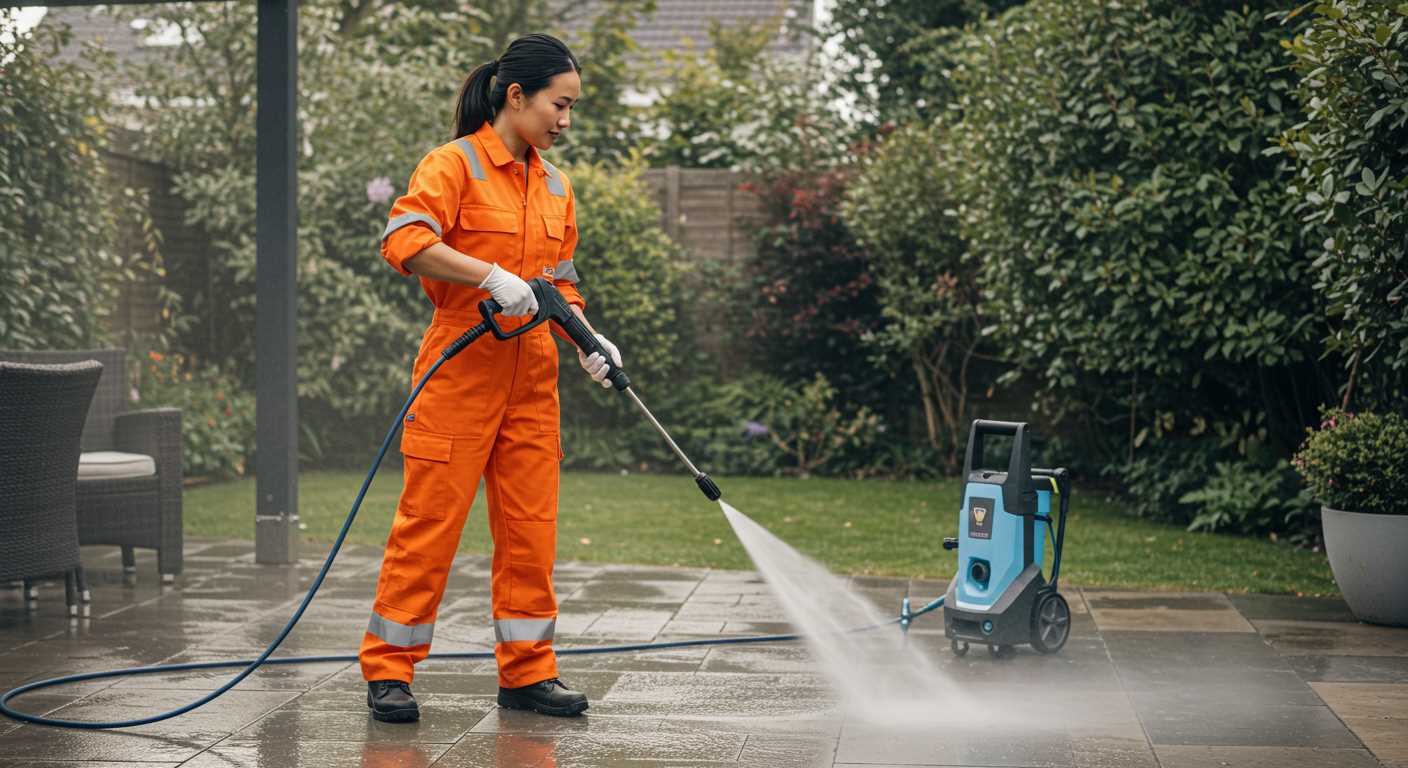
Before you begin, test the nozzle at a distance of at least 2-3 feet from the surface. Gradually move closer if necessary, but always maintain caution. The first time I tested a new setup, I positioned myself too close and ended up with a damaged paint job. Always remember that maintaining the right distance with the correct nozzle is key to avoiding unwanted damage.
Additional Considerations
Consider the cleaning solution compatibility with your selected nozzle. Some nozzles work better with specific detergents. For example, if you’re using a foaming agent, ensure the nozzle allows for proper dispersion. If you’re looking for professional-grade options, check out the best commercial pressure washers for insight on effective and safe cleaning solutions.
Preparing Your Vehicle for High-Pressure Cleaning
Before starting the deep cleaning process, ensure all windows and sunroofs are tightly closed. This simple step prevents water from entering the interior and avoids potential damage to electronics. I recall a time when I neglected this, and it resulted in a soggy interior that took days to dry out.
Remove any personal belongings, mats, and items from the boot. Loose items can become projectiles under high pressure and may scratch the surface. I once lost a small tool kit during a session, which caused a dent on my neighbour’s car parked nearby.
Prepping the Exterior
Inspect for any loose trim or parts. If something is not firmly attached, it could be dislodged during the cleaning. I’ve seen trims fly off during intense sprays, creating more hassle than anticipated. Secure or remove any items like antennas that could be damaged.
Rinse off any heavy debris like mud or gravel from the wheel wells and underbody. I always start with a gentle rinse to avoid scratching the paint with grit when I get into the detailed cleaning. A quick garden hose can help here, setting the stage for a thorough clean.
Choosing the Right Location
Select a shaded area to avoid drying spots caused by the sun. If you’re working in direct sunlight, water can evaporate too quickly, leaving unsightly marks. I once made the mistake of cleaning under the midday sun, and it turned into a frustrating experience. Finding a shady spot makes all the difference.
Lastly, ensure you have all necessary supplies within arm’s reach: detergents, brushes, and drying cloths. This keeps the workflow smooth and prevents unnecessary interruptions. I always lay everything out before I start, so I can focus entirely on the task without running back and forth.
Applying Car Shampoo with a Pressure Washer
For optimal results, mix the shampoo according to the manufacturer’s instructions. Typically, a ratio of 1:10 works well; however, this may vary based on the product. Ensure the mixture is thoroughly combined and ready to go.
Choosing the Right Method
- Attach a foam cannon to the nozzle for an even distribution of shampoo. This accessory creates a thick layer of foam, allowing the cleaning solution to cling to the surface.
- Alternatively, use a detergent bottle if a foam cannon isn’t available. This method is effective, but foam may not be as thick.
Application Techniques
- Start at the top of the vehicle and work your way down. This prevents dirty water from running over cleaned sections.
- Apply the shampoo in overlapping horizontal strokes to ensure even coverage.
- Allow the foam to sit for a few minutes to break down grime and dirt. This dwell time is key for effective cleaning.
After the dwell time, rinse with clean water. Make sure to remove all residues to avoid streaks. If needed, repeat the application for heavily soiled areas.
Techniques for Rinsing Thoroughly
After applying shampoo, the next step is rinsing. A good rinse removes all soap residues, which can cause streaking or spotting if left on the surface. My go-to method involves starting from the top and working downwards. This ensures that dirt and soap flow downwards, preventing any re-depositing on already cleaned areas.
Utilising a Wide-Angle Nozzle
Switching to a wide-angle nozzle during rinsing is vital. This nozzle provides a broader spray pattern, allowing for even distribution of water. It’s less likely to concentrate pressure on one spot, which can cause damage. I remember one time I used a narrow nozzle by mistake and ended up with a few paint chips. Stick to the wider options for a safer experience.
Maintaining Distance and Angle
Keep the nozzle at least two feet away from the surface. This distance helps avoid any potential damage to the paintwork. Adjust the angle of the spray as well; a 45-degree angle works wonders. It directs the water flow effectively, ensuring that it reaches all nooks and crannies, especially around wheel arches and under the bumpers. I often find that these areas accumulate a lot of grime and are easily overlooked, but with the right angle, everything gets a thorough rinse.
Drying Your Vehicle After Pressure Cleaning
Microfibre towels are the best choice for drying. They absorb moisture quickly without scratching the surface. I recommend having at least two large towels on hand. Start from the top and work your way down, making sure to wring out the towel frequently to avoid spreading water around.
Techniques for Effective Drying
Blotting is more effective than dragging the towel across the surface. This technique reduces the risk of scratches and ensures a more thorough drying. If you have access to a leaf blower or an air compressor, consider using it to blow away excess water from hard-to-reach areas like door sills and wheel wells. This can save time and prevent water spots.
Finishing Touches
After the main drying, inspect the entire exterior for any missed spots or streaks. For a polished look, apply a quick detailer spray. This not only adds shine but also helps in protecting the paint from contaminants. Regular drying and detailing keep the finish looking fresh and vibrant.
Maintaining Your Pressure Washer for Car Cleaning
Regular upkeep of your cleaning device significantly enhances performance and longevity. Here are specific steps to ensure it remains in optimal condition:
- Check the Oil Level: Inspect the oil level before each use, especially for gas models. Change the oil according to the manufacturer’s recommendations to prevent engine wear.
- Clean the Filter: A clogged filter can reduce efficiency. Rinse or replace it regularly to ensure a steady flow of water.
- Inspect Hoses and Connections: Look for cracks or leaks in hoses. Replace any damaged parts immediately to avoid pressure loss and potential hazards.
- Flush the System: After each use, run clean water through the unit to clear detergent residues. This helps prevent clogging and prolongs the life of internal components.
- Store Properly: Keep the machine in a dry place, protected from extreme temperatures. Winterise it if needed to avoid freezing damage in colder climates.
I’ve had my fair share of experiences with neglecting maintenance. Once, I was in a rush and skipped checking the oil before a session. Halfway through, the engine sputtered and died. Lesson learned–the few minutes spent on upkeep save hours of frustration. Regular checks can make all the difference.
Lastly, always refer to the user manual for specific maintenance guidelines tailored to your model. Each machine may have unique requirements that ensure peak performance.


.jpg)


