


Before the cold sets in, ensuring your cleaning unit is ready for the season is paramount. Begin by draining all the water from the system to prevent freezing. I once neglected this step, and the result was a costly repair after a harsh winter; a cracked pump can lead to extensive damage that’s best avoided.
Next, consider adding a specialised antifreeze to the unit. This additional measure provides protection against extreme temperatures. I’ve found that using a non-toxic antifreeze solution works effectively without causing harm to the internal components. Simply follow the manufacturer’s instructions to ensure the right amount is used.
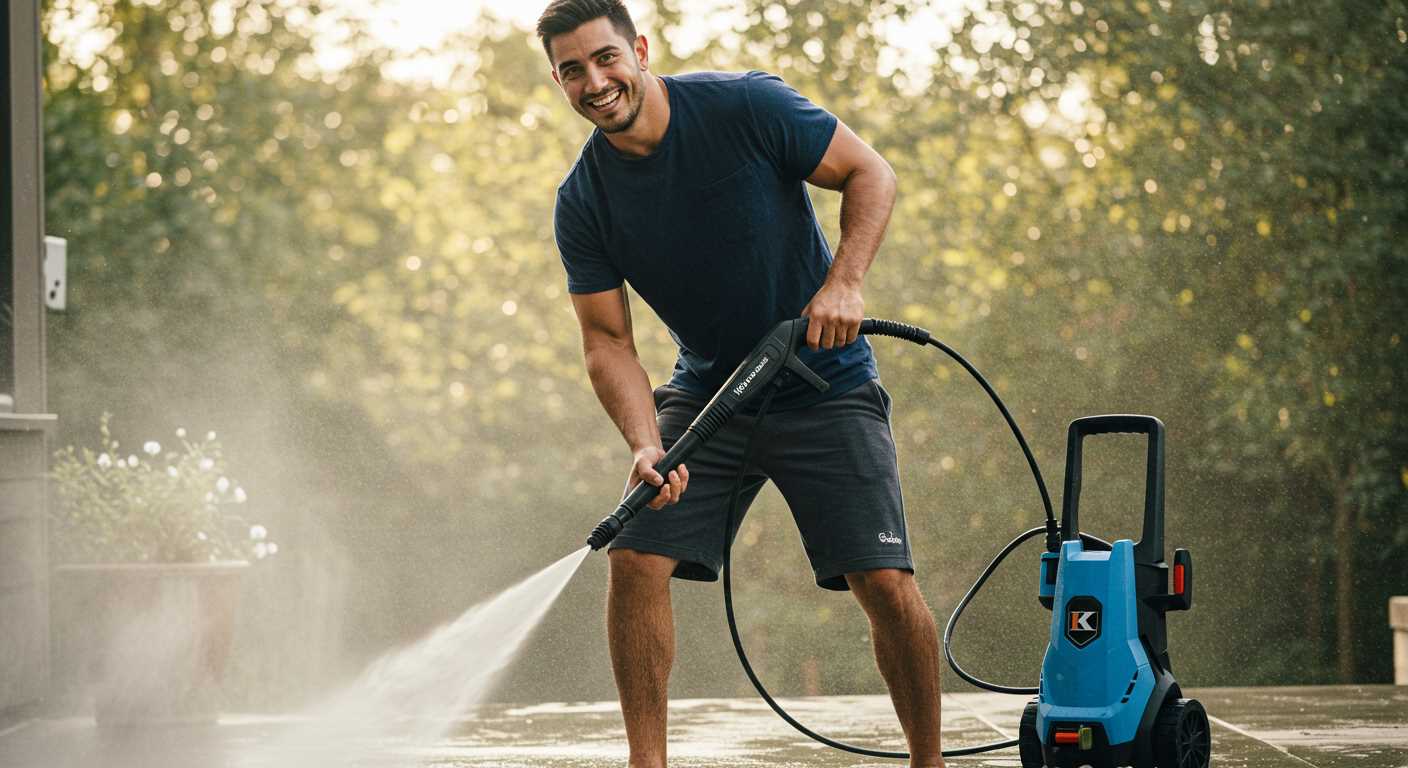
Don’t overlook the hoses and nozzles. Store them in a dry, warm place to prevent any damage from frost. I learned the hard way that leaving hoses exposed can lead to cracks, making them ineffective when spring arrives. A quick inspection of the connections can save you time and hassle when you’re ready to put your gear back to work.
Lastly, give the exterior a thorough cleaning and apply a protective cover. I’ve seen many units left out in the elements, leading to rust and degradation. A simple cover can extend the life of your equipment significantly. Taking these steps ensures your cleaning companion will be ready to tackle those spring cleaning tasks without a hitch.
Preparation for Cold Storage
First, ensure the unit is completely drained of any liquid. Start by running the machine without any detergent or water until it stalls. This step eliminates moisture from the internal components, preventing rust and damage during low temperatures.
Fuel System Management
Next, treat the fuel with a stabiliser. I’ve seen many machines suffer due to old fuel sitting in the tank over winter. Add the stabiliser to fresh petrol, run the engine for a few minutes to circulate it through the system, and then turn off the engine. This keeps the fuel system clean and ready for use in spring.
Protecting Hoses and Accessories
Remove and store all hoses, nozzles, and extensions in a dry location. I always recommend coiling the hoses without twisting or kinking them to avoid permanent damage. Clean any attachments to remove dirt and grime before storing to extend their lifespan.
Draining the Water from the Pump
First and foremost, ensure the unit is turned off and disconnected from the power source. This is critical for safety. Next, locate the pump’s drain plug, which is typically situated at the bottom of the pump assembly. You’ll need a suitable container to catch the water.
Here’s a step-by-step approach:
- Place the container under the drain plug.
- Using a wrench, carefully loosen the drain plug. Be prepared for water to start flowing out immediately.
- Allow all the water to drain completely. This might take a minute or two.
- Once drained, securely tighten the drain plug back into place to prevent any leaks.
During my years of working with various models, I learned that neglecting this step can lead to significant problems. I once forgot to drain a unit, and it resulted in a cracked pump after a hard freeze. The cost of repair was frustrating and entirely avoidable.
After draining, it’s a good idea to run the machine for a few seconds without any water to help expel any remaining moisture. This simple practice can save you from potential damage in cold weather.
Always refer to the specific user manual for your equipment as there may be unique requirements based on the model. Adhering to these guidelines will ensure your device remains in optimal condition for the next use.
Adding Fuel Stabiliser to the Tank
Before hibernating your machine, add a fuel stabiliser to the tank. This step prevents the fuel from degrading over time, ensuring that your engine starts smoothly when you bring it back to life. I remember one winter when I neglected this part; the engine struggled to ignite in spring, and I spent hours troubleshooting. Don’t make the same mistake.
Steps to Add Stabiliser
First, ensure the fuel tank is at least half full. This helps minimise condensation inside the tank. Pour the recommended amount of stabiliser into the fuel, typically about 1 ounce per gallon. After adding the stabiliser, run the engine for about 10 minutes. This allows the treated fuel to circulate through the system, reaching the carburettor and fuel lines. It’s a simple process but makes a significant difference.
Tips for Best Results
Always use a high-quality stabiliser, as not all products are created equal. I found that some brands leave a residue that can clog the carburettor. If you’re uncertain about which product to choose, consult the manual or ask your local dealer for recommendations. Storing the machine with treated fuel means you won’t have to deal with the hassle of draining and refilling the tank come spring.
Finally, label the machine with the date you added the stabiliser. This way, you’ll remember when it’s time to check the fuel before use. Taking these simple steps ensures your equipment will be ready for action when the weather warms up.
Changing the Oil Before Storage
Draining the old oil and replacing it with fresh oil is a key step in maintenance. I recommend doing this after the last use of the season, as it prevents contaminants from sitting in the engine over the cold months. Start by running the machine for a few minutes to warm up the oil; this helps it flow out more easily.
Once warmed, turn off the engine and let it sit for a minute. Position a suitable container underneath the oil drain plug to catch the old oil. Remove the drain plug and allow the oil to fully drain. While this is happening, take the opportunity to inspect the oil for signs of metal shavings or excessive debris, which could indicate wear on engine components.
After the old oil has completely drained, replace the drain plug securely. Now, it’s time to fill the engine with fresh oil. Refer to the user manual for the correct type and quantity. I usually opt for a synthetic oil, as it provides better protection in extreme temperatures. Use a funnel to avoid spills, and fill it up to the recommended level. Once done, run the engine briefly again, then check the oil level with the dipstick to ensure proper filling.
Proper oil maintenance not only extends the life of the engine but ensures it’s ready to go when the warm weather returns. Trust me, you don’t want to deal with engine issues because of neglected oil. Keeping it fresh leads to smoother operation and better performance come spring. It’s a simple yet effective practice that pays dividends in the long run.
Cleaning the Filter and Nozzles
Remove the filter and nozzles from the unit for a thorough cleaning. I found that a clogged filter can significantly reduce performance, so it’s essential to address this regularly. Rinse the filter under warm, soapy water, using a soft brush to dislodge any stubborn debris. After rinsing, allow it to dry completely before reinstalling.
For the nozzles, a simple soak in vinegar can help dissolve any mineral build-up. After soaking, use a small, soft-bristled brush to clean out the nozzle orifice. This step ensures that you maintain optimal spray patterns for future use. Always inspect them for any signs of wear or damage; replacing them is better than risking subpar cleaning results.
While you’re at it, consider investing in a best air scrubber for construction dust to keep your workspace clean. Having the right equipment can make maintenance a breeze and prolong the life of your tools.
Protecting the Hose and Accessories
Always detach the hose and accessories before storing the equipment. This prevents kinks and damage during the colder months. Lay the hose flat and make sure it’s free from any water. A wet hose can freeze and crack, leading to costly replacements.
For added protection, consider coiling the hose loosely and securing it with a strap or rope. Avoid tight coils, as they can create weak spots. If the hose is particularly long, storing it on a reel or hanger can keep it tidy and functional.
Inspect all accessories, including nozzles and connectors, for any signs of wear or damage. Replace any cracked or worn components to ensure optimal performance when you return to using the machine. A small investment in new parts can save time and frustration later.
Store accessories in a dry, cool place, ideally in a plastic container or bag to keep them free from dust and debris. Labelling the container can help you find the right attachments quickly when you need them again.
Finally, consider applying a light coating of lubricant to any metal parts, including the connectors. This helps prevent rust and ensures a smooth connection when you’re ready to put everything back into action. Taking these steps will extend the life of your equipment and maintain its efficiency for years to come.
Storing the Pressure Washer in a Safe Location

Choose a dry, sheltered area for storage, ideally indoors, to protect the equipment from harsh winter conditions. A garage or shed works well, but ensure it is well-ventilated to prevent moisture buildup. Avoid damp basements or outdoor storage options that expose the unit to freezing temperatures.
When placing the equipment, keep it off the ground using a shelf or platform. This prevents contact with cold surfaces that can lead to freezing in the pump and other components. Additionally, store it away from chemicals or corrosive materials that might damage the unit over time.
It’s wise to cover the equipment with a breathable tarp or dedicated cover. This keeps dust and debris away while allowing moisture to escape, preventing mould and corrosion. Avoid plastic covers that trap moisture inside.
Ensure that the storage area is secure to prevent theft or tampering. If possible, lock the door or use a cable lock to secure the unit. It’s also beneficial to keep an inventory of your accessories and tools, documenting them in a simple table like the one below:
| Accessory | Condition | Location |
|---|---|---|
| Spray Gun | Good | Top shelf |
| Nozzles | New | Drawer |
| Hose | Needs cleaning | Hanging hook |
| Filter | Clean | Box |
Lastly, regularly check the storage area for any signs of moisture or pest activity. Keeping the environment controlled ensures that your equipment remains in top shape and ready for use when the season changes.
Checking and Maintaining the Battery (if applicable)
For models equipped with a battery, ensuring its longevity during the colder months is crucial. Start by disconnecting the battery from the unit. This will prevent any parasitic drain while in storage.
Inspection Steps
- Examine the battery terminals for corrosion. If you spot any, clean them with a mixture of baking soda and water to neutralise the acid.
- Check the fluid level in the battery cells (if applicable). Top up with distilled water if necessary.
- Inspect the battery case for cracks or leaks; any damage should be addressed immediately.
Charging Recommendations
- Fully charge the battery before storing it. A fully charged battery is less likely to freeze.
- Consider using a battery maintainer or trickle charger. This keeps the battery at an optimal charge without overcharging.
- Store the battery in a cool, dry place, away from direct sunlight and extreme temperatures.
For those considering attachments, ensure to check compatibility. A good example is the pressure washer nozzle for concrete, which can enhance cleaning efficiency when you’re back in action.
FAQ:
What steps should I take to prepare my Honda pressure washer for winter storage?
To prepare your Honda pressure washer for winter storage, begin by thoroughly cleaning the machine. This includes removing any debris from the nozzle and hoses. Next, drain the water from the pump by running the washer for a few minutes without water. After that, add a fuel stabiliser to the gas tank and run the engine for a few minutes to ensure the stabiliser reaches the carburettor. Finally, store the pressure washer in a dry, sheltered location, ideally with a cover to protect it from dust and moisture.
How do I ensure the pump of my Honda pressure washer does not freeze during winter?
To prevent the pump from freezing, it is crucial to remove all water from the system. This can be done by running the washer for a few minutes without water until the pump runs dry. After draining, you can also add a pump protector or antifreeze specifically designed for pressure washers to provide extra protection against freezing temperatures. Make sure to follow the manufacturer’s guidelines for the correct procedure.
Is it necessary to change the oil in my Honda pressure washer before winter storage?
Yes, changing the oil before winter storage is advisable. Old oil can contain contaminants that may damage the engine over time. To change the oil, first warm up the engine for a few minutes, then turn it off and let it cool. Drain the old oil and replace it with fresh oil according to the specifications in the user manual. This practice helps maintain engine health and ensures your pressure washer is ready for use in the spring.
What should I do if my Honda pressure washer has not been winterized and is exposed to freezing temperatures?
If your pressure washer has been exposed to freezing temperatures without proper winterization, first, bring it indoors to a temperature above freezing. Allow it to thaw completely before attempting to use it. Inspect the unit for any visible damage, especially to the pump and hoses. If there is any sign of cracking or leaks, consult a professional for repairs. It’s also wise to check the oil and fuel for any issues before trying to start the machine.
Can I use my Honda pressure washer in cold weather without winterizing it?
Using your Honda pressure washer in cold weather without winterizing it is not recommended. Low temperatures can cause water inside the pump and hoses to freeze, potentially leading to significant damage. If you must use the washer in cold conditions, ensure that you are using it in an area where temperatures remain above freezing and that you have drained the water from the system immediately after use. However, for the longevity of your machine, proper winterization is always the best approach.

.jpg)


