


Draining the water from your unit is the first step to ensure it operates smoothly when temperatures drop. I’ve seen too many machines suffer from damage due to water freezing inside the pump and hoses. After using it, disconnect the water supply and start the machine for a few moments to expel any remaining liquid. This simple task can save you from costly repairs down the line.
Next, it’s wise to introduce a specially formulated antifreeze into the system. I remember a particularly cold winter when I neglected this step; the result was a complete breakdown that took weeks to resolve. Pouring antifreeze into the tank, then running the unit until it reaches the spray wand ensures that every component is protected against frost. Always check the manufacturer’s recommendations for the right product to use.

Don’t forget about the accessories. Hoses and nozzles can also be susceptible to freeze damage. Store them indoors when not in use, and give them a thorough inspection for any cracks or wear. I’ve often found that a little maintenance on these smaller parts can extend their lifespan significantly.
Finally, covering your machine with a weather-resistant tarp or storing it in a sheltered area can provide an extra layer of protection. I learned this lesson the hard way after leaving my equipment outside one winter; the elements took their toll, and I ended up needing to replace several parts. Taking these precautions will ensure that your cleaning device remains in top condition when spring arrives.
Winter Preparation for Your Cleaning Equipment
Begin by disconnecting all hoses and attachments. This step is crucial to prevent any remaining water from freezing within the system. I remember working on a machine that suffered severe damage simply because the owner overlooked this initial task. After disconnecting, ensure to drain the water from the unit completely.
Using Antifreeze Solution
Next, consider running a non-toxic antifreeze through the system. This method has worked wonders for me in the past. Pour the solution directly into the inlet and run the machine for a short period. This process protects the internal components from freezing temperatures. Always check the manufacturer’s recommendations for the right type of antifreeze.
Storing Your Equipment
Finally, find a suitable indoor storage area. Keeping the machine in a heated environment helps avoid any cold-related issues. I’ve seen units left outside suffer from rust and other damage that could have been easily prevented. Cover the equipment with a breathable tarp to protect it from dust while allowing any residual moisture to evaporate.
Inspect and Clean the Pressure Washer Components
Begin with a thorough examination of the machine’s exterior. Look for any signs of wear, cracks, or damage, especially around the hoses and fittings. I remember one winter, a client neglected this step and ended up with a frozen hose that burst during the first use of spring. Avoid that hassle by checking all connections and ensuring they are tight and free from debris.
Next, focus on the water inlet filter. This component can accumulate dirt and minerals over time. Remove it and clean it with soapy water, then rinse thoroughly. A blocked filter can lead to pump damage, which is costly. I’ve seen great machines rendered useless simply because of a neglected filter.
Inspect the spray gun and nozzle as well. These parts can become clogged with residue, affecting performance. Use a small wire or a needle to clear any blockages. I once had a nozzle that looked clean but was barely functioning due to a tiny piece of debris lodged inside. A simple cleaning restored its power, saving time and frustration later.
Don’t forget to check the oil level in the engine. If it’s low, top it up with the recommended type. I once had a colleague ignore this, and it led to engine failure mid-operation. Regular maintenance can prevent such mishaps and prolong the lifespan of your equipment.
Finally, give the entire unit a good wipe down to remove any grime or build-up. Use a soft cloth and a mild cleaner to avoid scratching surfaces. A clean machine not only looks better but also runs more efficiently. Your equipment deserves a little TLC, especially before the colder months set in.
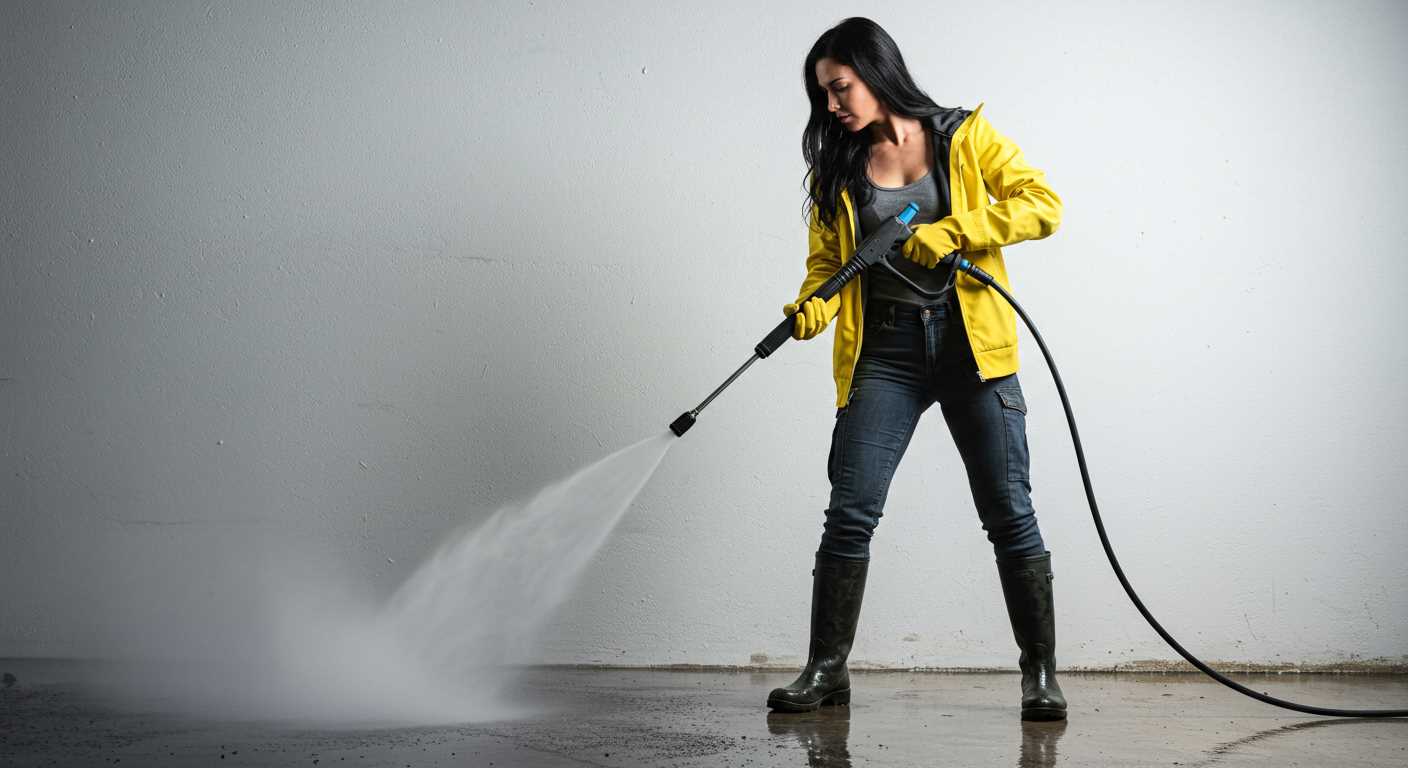
Drain the Water from the Pump and Hoses
To prevent damage during the cold months, ensure all water is removed from the pump and hoses. This simple yet critical step will save you from costly repairs come spring.
Steps to Drain the System
- Start by disconnecting the water supply from the unit.
- Activate the machine briefly while aiming the nozzle at a safe location. This allows any remaining water to flow out.
- Shut off the machine and disconnect the high-pressure hose from the pump.
- Hold the hose upwards at an angle to encourage any trapped water to escape. You may need to shake it gently.
- Remove the drain plug, if your model has one, to assist in expelling leftover liquid.
Additional Considerations
- Inspect the hoses for any signs of wear or damage. Replace if necessary.
- Consider using compressed air to blow out any residual moisture in hard-to-reach spots.
- Store the unit in a dry place to prevent moisture accumulation during storage.
I’ve seen several units suffer severe damage from neglecting this step. One winter, I forgot to drain a model I had been using extensively. When I pulled it out in the spring, the pump was frozen solid. Don’t let that happen to you. Take a few minutes now to protect your investment.
Add Antifreeze to the Pump System
To safeguard your equipment during colder months, incorporating antifreeze into the pump system is an effective strategy. Begin by selecting a non-toxic antifreeze suitable for your machine. This will prevent any damage from freezing temperatures.
Follow these steps for adding antifreeze:
| Step | Description |
|---|---|
| 1 | Prepare the antifreeze by pouring the appropriate amount into a clean container. Consult your manual for guidance on the quantity needed. |
| 2 | Disconnect the water supply and ensure all hoses are drained. This will prevent any remaining water from diluting the antifreeze. |
| 3 | Using a siphon or funnel, introduce the antifreeze into the pump inlet. This is crucial for protecting the internal components. |
| 4 | Run the machine briefly to circulate the antifreeze throughout the system. This ensures complete coverage and protection. |
| 5 | After circulation, turn off the unit and reconnect any hoses for storage. |
After applying antifreeze, check the seals and gaskets for any wear. Regular maintenance of these parts can extend the life of your equipment. If you’re interested in keeping other household items in top condition, consider reading this how to clean the plastic strip on a shower door ultimate guide.
Remove and Store the Spray Gun and Nozzle
Detach the spray gun and nozzle from the unit. This process is straightforward, but ensure you handle them gently to avoid damaging any components. Start by releasing any remaining pressure in the system; this can be done by squeezing the trigger of the gun. Once the pressure is released, locate the connection point where the spray gun meets the hose. Unscrew or unlock the mechanism, depending on your model.
After removal, inspect both the gun and nozzle for any signs of wear or damage. Clean them thoroughly using a soft cloth and warm, soapy water. Pay close attention to the nozzle tip; any clogs can affect performance in the future. If you notice significant blockages or wear, consider replacing the nozzle to ensure optimal function next season.
Proper Storage Techniques
Store the items in a dry, cool place away from direct sunlight. A toolbox or a dedicated storage bin works well. Ensure they are completely dry to prevent mould or rust. You might want to wrap them in a soft cloth for added protection. If you have a dedicated cleaning equipment storage area, this is an excellent time to organise it, making future setup and use more efficient.
Taking these steps not only protects your equipment but also extends its life. I remember neglecting this part once and the nozzle got clogged over the winter, leading to frustration during the first use of the season. Don’t make the same mistake–proper care now saves time and hassle later.
Disconnect and Protect the Water Supply Hose
First and foremost, detach the water supply hose from the unit. This step prevents any residual water from freezing inside the hose, which can lead to cracks or ruptures. After disconnecting, inspect the hose carefully for any signs of wear or damage. If you notice any issues, it’s best to replace it before the next use.
Storage Tips for the Hose
Once the hose is disconnected, store it in a dry, sheltered location. Avoid coiling it tightly, as this can create kinks. Instead, loosely loop it or hang it up to maintain its shape. If possible, keep it indoors or in a shed to protect it from harsh winter conditions.
Additional Protection
Consider applying a silicone-based spray to the fittings of the hose. This can help prevent rust and corrosion during the cold months. Make sure the spray is completely dry before storing it away. Taking these steps ensures that when you’re ready to use your equipment again, the water supply hose will be in optimal condition, ready for action without any hassle.
Check and Replace the Oil in the Engine
Regularly inspecting and changing the engine oil is crucial for maintaining the longevity and performance of your cleaning machine. Start by locating the oil dipstick or filler cap–usually found on the engine itself. Pull out the dipstick, wipe it clean, and reinsert it to check the oil level. If it’s low, topping it up is essential.
Changing the Oil
To replace the oil, first ensure the machine is on a level surface and has cooled down. Locate the oil drain plug, usually at the bottom of the engine. Position a container beneath it to catch the old oil. Remove the plug and let the oil drain completely. Once drained, replace the plug securely. Next, pour in the new oil through the dipstick tube, using the type specified in your manual. Typically, a high-quality detergent oil with a viscosity of SAE 30 is suitable for warmer conditions, while SAE 10W-30 is recommended for cooler temperatures.
Final Checks
After changing the oil, check for any leaks around the drain plug and dipstick. Run the engine for a few minutes, then turn it off and check the oil level again. Adjust as necessary. This simple task can enhance the efficiency and reliability of your equipment significantly. For anyone deciding between different models, consider visiting pressure washer gas or electric to find the best option for your needs.
Clean or Replace the Air Filter
Before the cold sets in, inspect the air filter carefully. A clean filter ensures optimal performance. If it’s clogged with dust and debris, it can strain the engine and lead to starting issues in colder weather.
- Remove the filter from its housing. Check for any visible damage or excessive dirt.
- If it’s a foam filter, wash it with warm, soapy water, then rinse thoroughly and allow it to dry completely.
- For paper filters, tap them gently to dislodge dirt. If they remain dirty or damaged, replacement is necessary.
- Reinstall the filter securely, ensuring a tight seal to prevent unfiltered air from entering the engine.
From my experience, maintaining a clean air intake has saved me countless hours of troubleshooting during peak seasons. I once overlooked a dirty filter, thinking it was just a minor issue. That mistake led to engine sputtering and a frustrating day spent on repairs. Avoid that hassle by making this a regular part of your maintenance routine.
Store the Pressure Washer in a Dry Location
After completing the necessary preparations, selecting the right storage environment is key. I recommend placing the machine in a location that is consistently dry and well-ventilated. A garage or a dedicated storage shed works well, but ensure that it is not exposed to extreme temperatures or moisture. I’ve seen machines left outside or in damp basements suffer from rust and corrosion, which can severely impact their performance.
Protect from Temperature Extremes
Temperature fluctuations can damage components and lead to costly repairs. I once had a unit that was stored in a location prone to freezing temperatures, and the pump cracked due to water left inside. A stable environment, ideally above freezing, will help maintain the integrity of the internal systems. If you live in an area with severe winters, consider using a heated storage space or insulating the area to protect your equipment.
Elevate from the Ground
Whenever possible, elevate your unit off the floor. This simple step can prevent moisture from seeping in through the bottom, especially if you’re storing it on a concrete surface. Using a pallet or a shelf keeps it dry and makes it easier to access when needed. I learned this tip the hard way after finding a machine sitting in a puddle of water after heavy rains. Keeping the unit elevated ensures its longevity and reliability for future use.
Review Manufacturer’s Winterization Recommendations
Consulting the manufacturer’s guidelines has saved me from many headaches. Each brand often has specific instructions tailored to their models. For example, I remember working with a unit that required a unique antifreeze formula. Following the manufacturer’s advice ensured the pump was properly protected against freezing temperatures.
Key Points from the Manual
Most manuals recommend the use of non-toxic antifreeze specifically designed for pressure cleaning systems. One brand I worked with suggested using a 50/50 mix of water and antifreeze to fill the pump, ensuring complete coverage and protection. Always double-check if the antifreeze is safe for your model, as some formulations can damage internal components.
Regular Maintenance Checks
Regular checks on seals and hoses are highlighted in many manuals. I’ve seen how neglecting these parts can lead to leaks or cracks after a harsh winter. The guidance to inspect and replace worn components before storing the equipment has always paid off, preventing unexpected repairs in the spring. Following these recommendations not only prolongs the lifespan of the equipment but also enhances its performance when it’s time to use it again.

.jpg)


