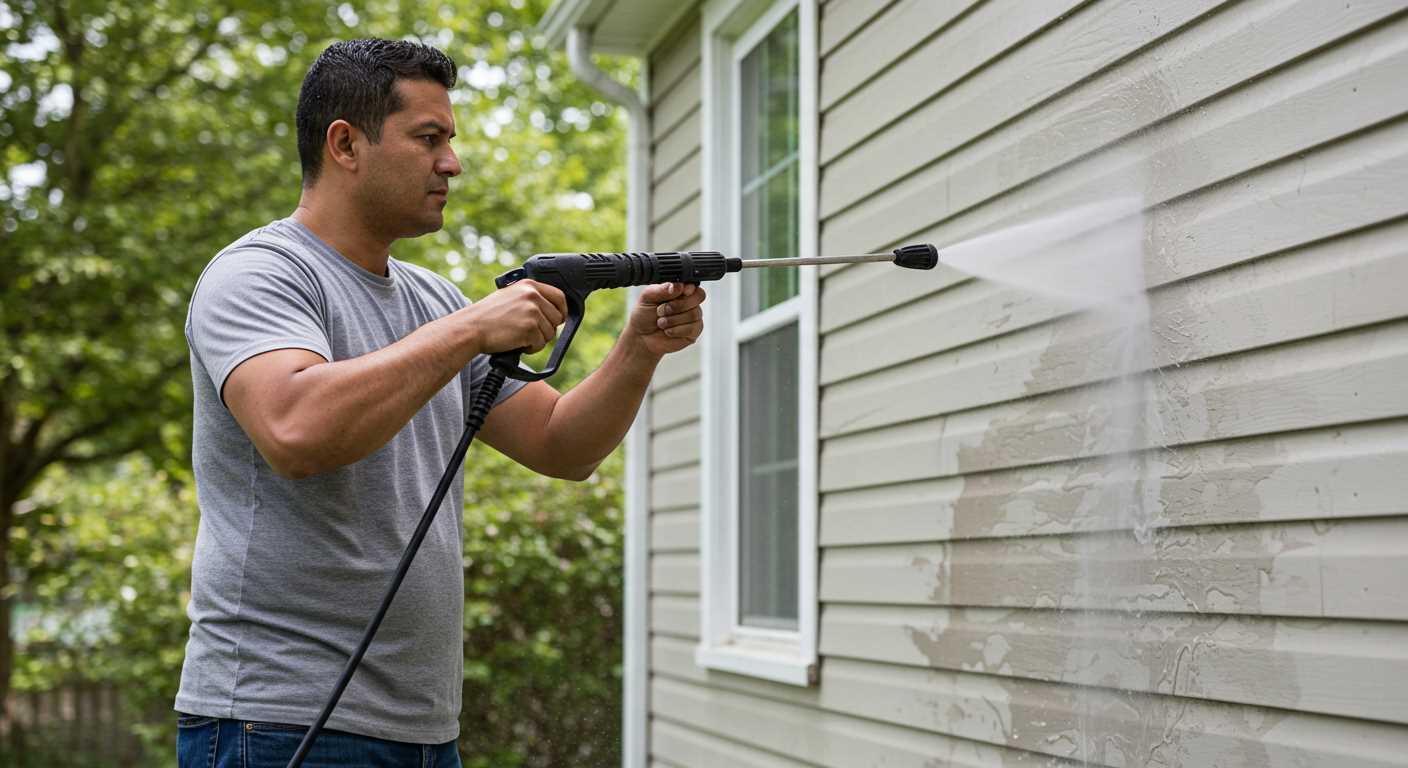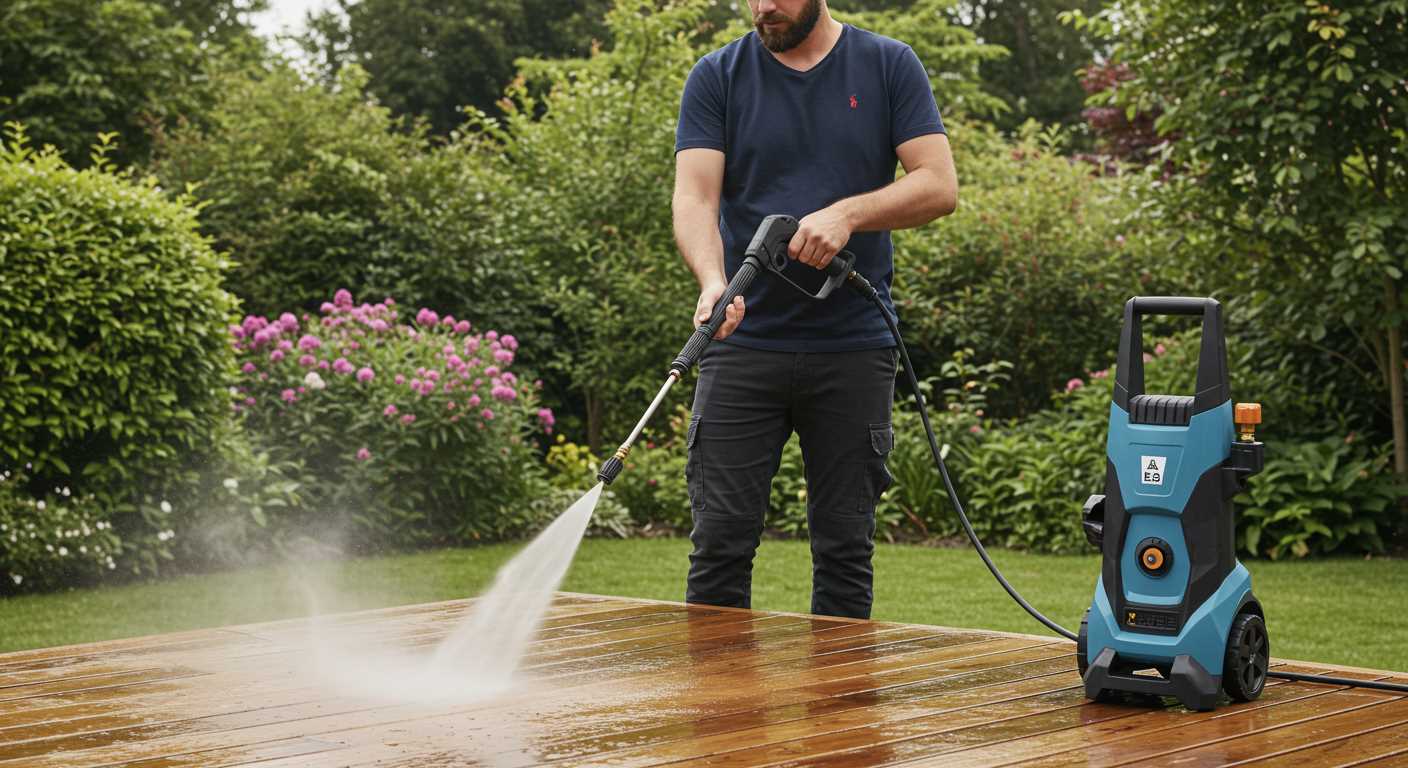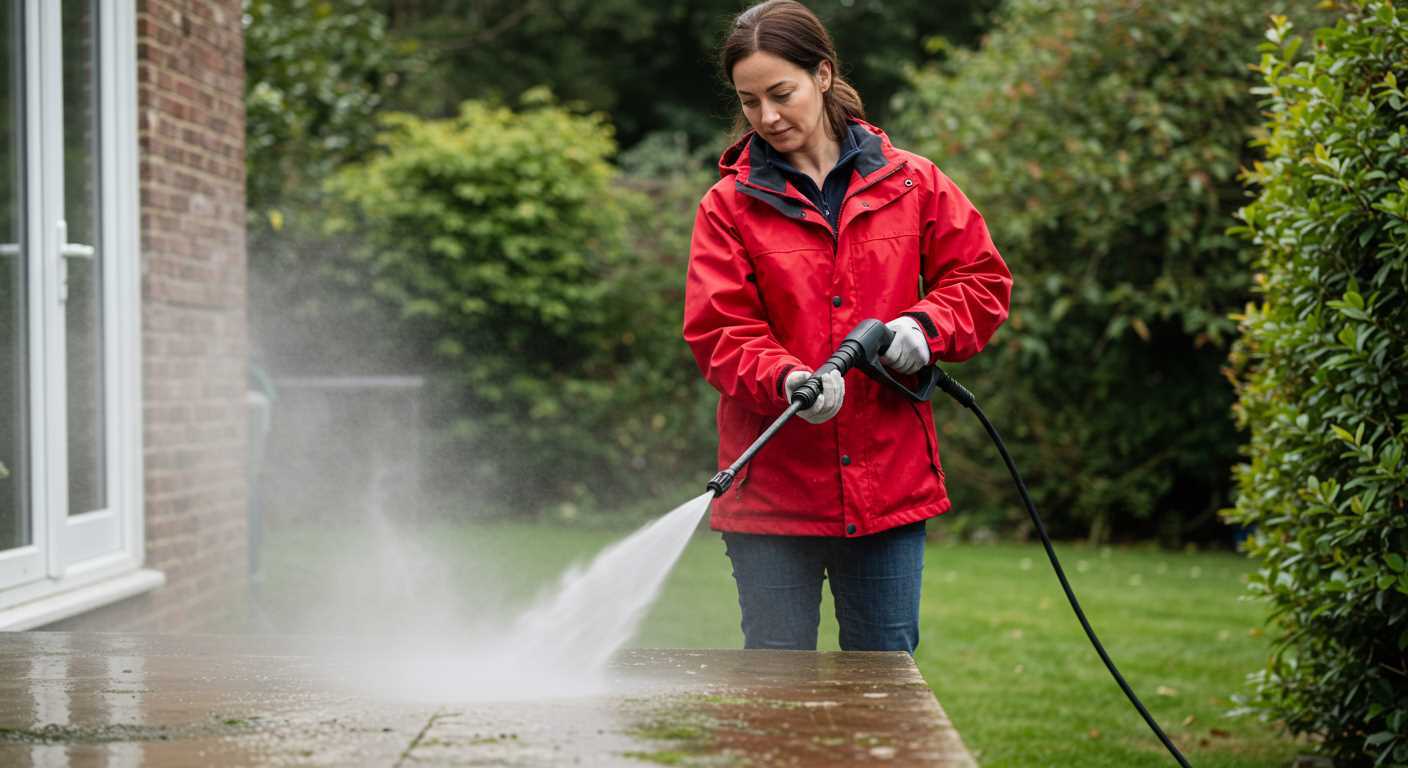


To prevent damage, it’s crucial to drain all fluids from the machine before temperatures drop. Begin by removing any leftover water from the tank and the internal components. A simple gravity drain often suffices; just tilt the unit and let the water flow out. If you’ve been using a detergent, ensure that any residue is flushed out as well, as it can cause clogs or corrosion.
Next, consider adding a protective solution to the system. A dedicated pump protector can be an excellent choice. It’s designed to lubricate and shield the internal parts from freezing. Pour the recommended amount into the inlet, then run the unit briefly to circulate the fluid. This step not only safeguards against freezing but also helps to maintain the seals and O-rings, extending the life of your machine.
Don’t overlook the hoses and accessories. Store them in a dry, sheltered place to avoid brittleness and cracking. If the hoses are frozen, never force them to bend; allow them to thaw naturally. A little care in the off-season goes a long way in ensuring that your equipment remains in peak condition and ready for action when spring arrives.
Preparing Your High-Pressure Cleaner for Cold Weather
Begin with draining all water from the system. Disconnect the hose and spray gun, then run the machine for a few moments to expel any remaining liquid. This step prevents freezing and potential damage to internal components.
Next, consider using a special antifreeze solution designed for these machines. Pour it directly into the inlet where the water usually flows in. Run the unit for about 30 seconds to ensure the fluid circulates through the entire system. This not only protects the internal mechanisms but also lubricates seals, prolonging their lifespan.
Inspect hoses and fittings for any signs of wear or damage. Cold temperatures can exacerbate existing issues, so replacing worn parts now can save you from headaches later. Store any accessories like nozzles and filters in a dry, safe place to avoid corrosion.
Finally, keep your equipment covered in a dry area away from extreme cold. A dedicated storage space helps maintain optimal conditions, preventing potential deterioration. Trust me, a few simple steps can save you from costly repairs and ensure a smooth start when the warm weather returns.
Gather Necessary Materials for Winterization
Before beginning the preparation of your equipment for the colder months, ensure you have the following materials on hand:
| Material | Purpose |
|---|---|
| Anti-freeze solution | Protects internal components from freezing and cracking. |
| Garden hose | For flushing the system and removing residual water. |
| Oil | To lubricate moving parts and maintain performance. |
| Wrench set | Required for any necessary disassembly and maintenance. |
| Protective gloves | To keep your hands safe during handling and maintenance. |
| Storage container | For safely storing the equipment in a dry place. |
Having these items ready will streamline the process and ensure that you don’t overlook any critical steps. I remember once rushing through the preparation without gathering everything first, which led to a last-minute trip to the shop. It’s not something I’d recommend! If you’re considering a pressure washer for hand car wash, pay special attention to the specifics of the model, as some may have unique requirements.
Drain Water from the Pump System
Begin by disconnecting the water supply from the machine. Turn off the unit and unplug it to ensure safety. Locate the drain plug, usually situated at the base of the unit. Place a container underneath to catch the water. Open the drain plug and allow all residual water to flow out completely. This step is crucial; any remaining liquid can freeze and cause significant damage.
Next, activate the trigger gun to relieve any pressure remaining in the system. This will help expel any trapped water within the internal components. Keep the gun engaged until water stops flowing; this indicates that the system is fully drained. After that, inspect the drain plug for any debris or build-up that could obstruct it in the future, cleaning it as necessary.
For added precaution, consider tilting the machine slightly to ensure that any lingering water in corners or crevices is removed. Taking the extra time to ensure everything is dry will pay off when you start your machine again in the spring.
Once you confirm that all water is drained, reinsert the drain plug securely. This prevents dust and debris from entering the system while it’s stored away. Following these steps ensures that your equipment remains in good condition, ready for use when the warm weather returns.
Flush the Pump with Pump Saver Fluid
After draining the system, the next step involves using a pump saver fluid. This product is designed to protect your equipment during colder months. I recall a time when I neglected this step, thinking it wasn’t necessary. The following spring, I was faced with a costly repair due to corrosion. That experience taught me the value of preventative maintenance.
Application Process
Begin by ensuring the unit is off and disconnected from the power source. Next, pour the recommended amount of pump saver fluid into the inlet. Use a funnel for precision to avoid spills. Once added, reconnect the hose and run the motor for about 10-15 seconds. This action circulates the fluid throughout the internal components, coating them thoroughly. I remember the first time I did this, I could hear the difference in how smoothly everything operated afterward.
Benefits of Pump Saver Fluid
This fluid not only prevents freezing but also lubricates seals and internal parts, extending the lifespan of your machine. I’ve seen firsthand how consistent use leads to fewer repairs and better performance. It’s a small investment that pays off significantly in the long run. Just ensure you store the unit in a dry, sheltered place, and you’ll be ready to tackle any cleaning task when the weather warms up again.
Inspect and Clean the Inlet Filter
First thing, check the inlet filter regularly. A clogged filter can restrict water flow, which might lead to overheating and damage. I remember a time when I neglected this step, and it cost me a lot of hassle during a crucial job. So, let’s avoid that.
To inspect, simply unscrew the filter from the inlet. You should see a mesh screen. If it’s dirty or blocked, rinse it under running water. For stubborn debris, a soft brush works wonders. Just be gentle to avoid damaging the mesh.
Once cleaned, dry it thoroughly before reinserting it back into the unit. A wet filter can lead to rust or corrosion. I learned this the hard way after encountering rust issues on a unit that I thought was in good shape.
After replacing the filter, ensure it’s secured properly. A loose filter can cause leaks and further complications. It might seem like a small task, but keeping the inlet filter in good condition is a straightforward way to extend the life of your equipment.
Check and Replace Oil in the Pump
Start by ensuring the equipment is off and completely cool. Locate the oil fill cap on the side of the motor. Unscrew it and wipe the dipstick clean with a cloth. Reinsert the dipstick without screwing it in, then remove it again to check the oil level. If it’s below the recommended mark, it’s time to add new oil.
I always recommend using a high-quality oil specifically designed for the type of machinery you’re working with. For most models, a 30-weight detergent oil is suitable, but always consult the manufacturer’s guidelines for specifics. When adding oil, use a funnel to avoid spills. Fill until the dipstick shows the correct level, but don’t overfill, as that can lead to leaks or slippage.
After checking and refilling, it’s wise to replace the oil annually, or more frequently if the equipment has seen heavy use. To do this, locate the oil drain plug, usually at the bottom of the housing. Place a suitable container beneath it, unscrew the plug, and allow the old oil to drain completely. Once drained, replace the plug securely.
After replacing the oil, run the motor for a few minutes to circulate the new oil, then shut it off and check the level again. Proper maintenance of the oil system ensures the smooth operation and longevity of your machinery, helping you avoid costly repairs down the line.
Protect Hoses from Freezing Temperatures
To keep hoses safe during cold months, ensure they’re stored properly. After use, drain all water thoroughly to prevent ice formation. I remember a colleague who once left his hoses coiled up outside during a frost. The next spring, they were beyond repair due to cracks and brittleness.
Storage Tips

Store hoses in a dry, sheltered area. Avoid leaving them exposed to harsh weather. A garage or shed works well. If you must keep them outdoors, cover them with insulated material or move them to a warmer spot whenever you expect freezing conditions.
Regular Inspection
Check hoses regularly for signs of wear and tear. Look for any kinks, cracks, or bulges. I always made it a habit to inspect mine before the season change. If you spot any damage, replace the affected section. This proactive approach saves time and hassle when you need your equipment the most.
Wrapping hoses with insulation can add an extra layer of protection against low temperatures. Use foam pipe insulation or even old towels in a pinch. Just be sure to secure them so they don’t shift during storage. It’s a small effort that goes a long way in maintaining the life of your hoses.
Store the Pressure Cleaner in a Dry Location
To protect your cleaning device during the cold months, it’s crucial to find a suitable storage spot. A dry environment prevents moisture accumulation that could lead to corrosion or damage.
- Choose an indoor area, such as a garage or shed, that is well-ventilated and away from direct exposure to moisture.
- Avoid basements or other places prone to dampness; instead, opt for elevated surfaces when possible to prevent flooding risks.
- Consider using a dehumidifier in the storage space if humidity levels are high; this can help maintain a dry atmosphere.
In my experience, I once stored a unit in a less-than-ideal location. After a particularly humid winter, I discovered rust on the components, which could have been avoided with proper storage. It’s a lesson learned: the right environment makes all the difference.
Additionally, keep the cleaner covered with a breathable tarp or cloth to protect it from dust and debris, while still allowing for airflow. This small step can save you headaches come spring when you’re ready to use it again.
Always remember to keep the area free of clutter to avoid accidental damage and to ensure accessibility when you’re ready to bring the equipment back into action.
Cover the Pressure Washer for Added Protection
To shield your cleaning machine from harsh winter elements, covering it is a straightforward yet effective measure. A suitable cover can prevent moisture accumulation and protect against dust and debris.
- Choose a cover made from durable, weather-resistant material. Look for options that are breathable to prevent condensation build-up inside.
- Ensure the cover fits snugly, covering the entire unit, including hoses and accessories. This helps to keep out cold air and moisture.
- If you can, elevate the machine slightly off the ground using a pallet or platform. This adds an extra layer of protection against ground moisture.
In my experience, investing in a quality cover can significantly extend the lifespan of your equipment. I once neglected this step and faced rust issues by spring, which could have been avoided. A well-fitted cover will also make it easier to grab and go when the weather warms up.
Additionally, consider adding a moisture absorber inside the cover. Silica gel packets work wonders in keeping the interior dry. Just check them periodically and replace them as needed.
Finally, while you’re at it, consider safeguarding your camera gear too, especially if you’re wondering are digital cameras better than cell phones. Taking these proactive steps can save you from future headaches and expenses.
Review Manufacturer’s Winterization Recommendations
Check the manual for specific instructions tailored to your model. Every manufacturer has its own guidelines that reflect the unique design and materials used in their equipment. I’ve seen firsthand how adhering to these specific recommendations can prevent costly repairs come spring.
Fluid Recommendations
Some brands recommend using a dedicated pump saver fluid instead of regular antifreeze. This fluid not only protects against freezing but also lubricates internal components, ensuring they remain in peak condition. I’ve found that using the recommended product significantly extends the lifespan of the internal seals and valves.
Storage and Placement Tips
Many manufacturers suggest storing the unit in a temperature-controlled environment. I once had a customer who kept their machine in an unheated shed; the following spring, they faced extensive damage from freezing temperatures. If indoor storage isn’t possible, insulating the unit with blankets or foam can provide an extra layer of protection.


.jpg)


