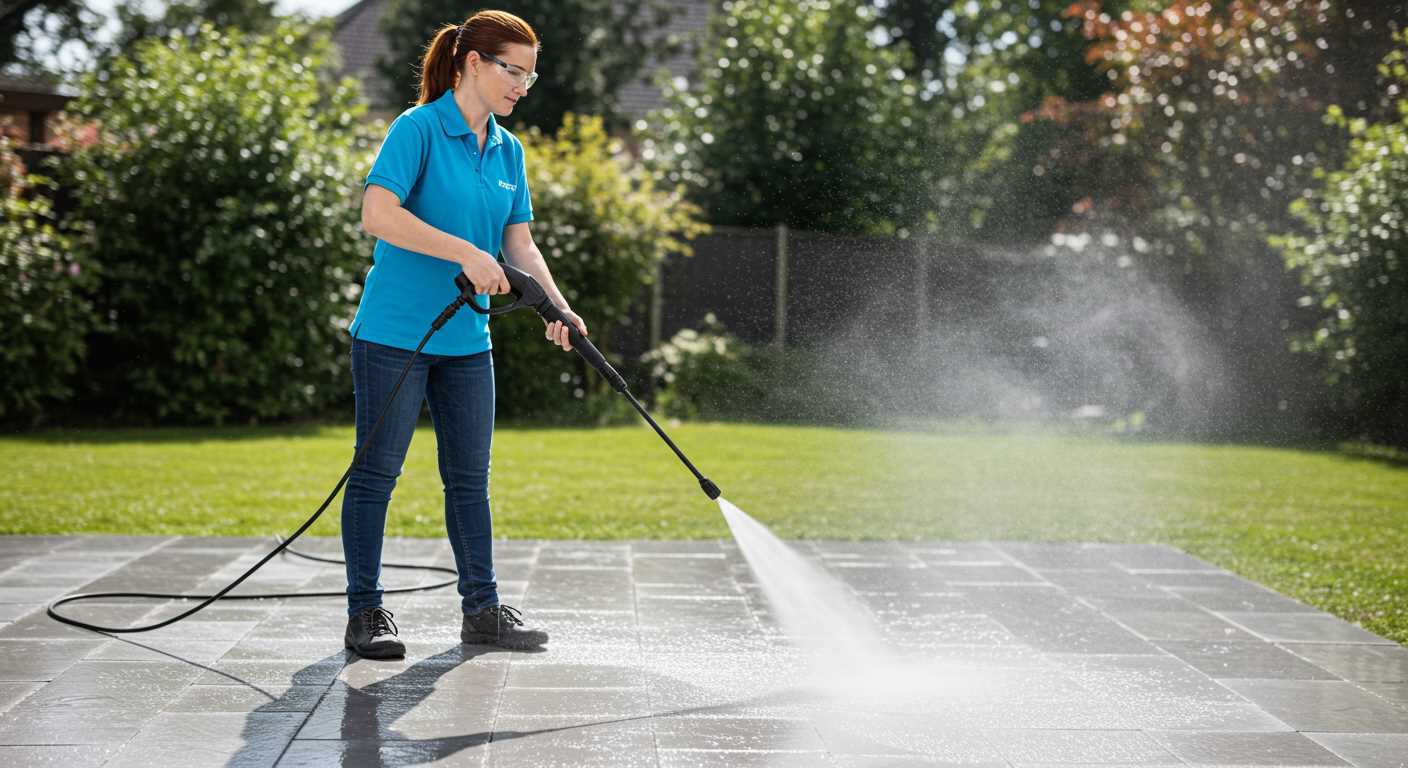


Before the frost sets in, it’s smart to take a few steps to protect your high-pressure cleaner. Begin by emptying the tank of any residual water. This simple act can prevent damage from freezing temperatures, which can crack the pump or cause other serious issues.
Next, consider using a winter formula antifreeze designed specifically for these machines. Adding it to the system can provide an additional layer of protection against the elements. Make sure to run the unit briefly to ensure the antifreeze circulates properly through the components.
Don’t overlook the hoses and connections; inspect them for wear or damage. Storing them in a warm, dry place will help maintain their integrity. If you notice any cracks or leaks, replacing them now can save you hassle when the warmer months return.
Lastly, give your device a thorough cleaning. Remove any debris or dirt from the nozzle and casing. A clean unit not only operates more efficiently but also extends its lifespan. Trust me, taking these precautions will pay off when you pull it out of storage next spring.
Steps for Preparing Your High-Pressure Cleaning Device for Cold Weather
Begin by ensuring the unit is completely devoid of any liquid. Disconnect the water supply and let the machine run until it expels all remaining moisture. This is crucial, as trapped water can lead to freezing and subsequent damage.
Next, focus on the detergent tank. Empty it by running a cycle with plain water until no foam remains. If your model has a siphon tube, detach it and rinse thoroughly to prevent residue build-up during the off-season.
After clearing out fluids, consider adding a stabiliser to the fuel tank if your model runs on gasoline. This step prevents degradation and ensures a reliable start when you resume use in warmer months. Run the engine for a few minutes to circulate the stabiliser throughout the system.
Inspect the hoses and nozzles for any signs of wear. Replace any damaged components to avoid complications when you return to cleaning tasks. Store the hoses in a manner that prevents kinks or bends, preserving their integrity.
Finally, store the entire apparatus in a dry, sheltered location. A garage or shed is ideal; extreme cold can harm sensitive parts. Cover the device with a protective tarp or a dedicated cover to shield it from dust and debris.
Drain the Water from the Pump
To prevent damage during freezing temperatures, ensure all water is removed from the pump. Begin by disconnecting the hose and nozzle. Position the machine so that the pump is level or slightly tilted, allowing gravity to assist in draining. Activate the unit for a few seconds, which will help expel any remaining water through the pump outlet. Listen for any sputtering sounds, indicating water is still present.
Rinse and Drain
After the initial purge, fill the tank with clean water and run the machine briefly again. This step helps wash out any residual detergent or impurities that could cause corrosion. Once complete, turn off the unit and let it sit for a few minutes to allow any trapped water to escape. Check the outlet for any signs of moisture–if present, repeat the process until the water is fully drained.
Consider a Heated Option
If you’re in an area with harsh winters, you might explore options like a heated power washer pressure washing system. These models can operate in lower temperatures without the same risks of freeze damage, providing an effective solution for year-round cleaning tasks.
Flush the System with Pump Saver
To protect your machine during the colder months, using a pump saver is a wise decision. This product serves as a lubricant and antifreeze, safeguarding the internal components from freezing and damage. Simply pour the pump saver into the inlet of the pump, ensuring it fills the system adequately.
Here’s a straightforward process I follow:
| Step | Action |
|---|---|
| 1 | Ensure the washer is off and disconnected from the water supply. |
| 2 | Remove the spray wand and attach a garden hose to the inlet. |
| 3 | Pour the recommended amount of pump saver into the inlet. |
| 4 | Run the unit for about 10-15 seconds to circulate the solution throughout the pump. |
| 5 | Turn off the unit and disconnect the hose. |
In my experience, consistently using a pump saver has significantly extended the life of my equipment. I recall one winter when I neglected this step; the pump froze, leading to costly repairs. Since then, I make it a point to include this in my maintenance routine. It’s a small investment that pays off in the long run.
Store the Equipment in a Dry Area
Choose a location that is not susceptible to moisture. A garage, shed, or basement works well, but ensure it’s well-ventilated to prevent humidity buildup. I’ve seen too many machines suffer damage simply because they were stored in damp conditions. One winter, I left my own unit in a poorly insulated storage space. By spring, I was faced with rust and corrosion that could have easily been avoided.
Protect from Freezing Temperatures
Temperature plays a significant role in maintaining your unit. Ensure the storage area remains above freezing. If you live in an area prone to extreme cold, consider using a space heater or insulation to maintain a stable environment. I remember a colleague who didn’t take this precaution and ended up needing extensive repairs because the water in the pump froze and cracked the casing.
Keep Away from Direct Sunlight
Excessive exposure to sunlight can degrade the plastic and rubber components. Store the equipment in a shaded area or cover it with a tarp or blanket to shield it from UV rays. I’ve learned the hard way that even seemingly minor factors like sunlight can lead to significant wear and tear over time.
Disconnect and Clean the Hose and Nozzle
First off, remove the hose from the unit. This simple step prevents any leftover water from freezing and causing damage. Be careful while unscrewing the connections to avoid stripping the threads. After disconnecting, drain any residual water from the hose by holding it vertically and letting it flow out completely.
Cleaning the Hose
Once the hose is emptied, it’s time to give it a good clean. Here’s how to do it:
- Use a mild detergent mixed with water. A bucket works well for this.
- Grab a soft brush or a cloth and scrub the exterior of the hose to remove dirt and grime.
- Rinse the hose thoroughly with fresh water to eliminate soap residue.
- Hang the hose up to dry completely before storing it away. This avoids any mould or mildew buildup.
Cleaning the Nozzle
The nozzle can become clogged over time, affecting performance. Follow these steps for a thorough clean:
- Detach the nozzle from the wand. This usually just requires a twist or push of a button.
- Examine the nozzle tip for any debris. A toothpick or a small wire can help dislodge any stubborn bits.
- Soak the nozzle in a solution of warm water and vinegar for about 30 minutes to break down mineral deposits.
- After soaking, rinse it under warm water to clear out any remaining residue.
- Before reattaching, ensure the nozzle is completely dry to prevent any water from freezing inside.
With the hose and nozzle cleaned and dried, you can now move on to the next steps in preparing your equipment for the colder months. Keeping these components in top condition will enhance the longevity and functionality of your tools.
Check Fuel and Oil Levels
Before storing your machine for the colder months, ensure both the fuel and oil levels are appropriate. For fuel, if there’s any left in the tank, it’s best to either use it up or add a fuel stabiliser. I remember one winter when I neglected this step; come spring, the engine struggled to start due to stale petrol. Adding a stabiliser prevents the fuel from breaking down, ensuring a smooth start when you need it again.
Next, inspect the oil level. If it appears dark or sludgy, it’s time for a change. A clean oil keeps the engine running smoothly and protects it from wear. I’ve seen engines fail prematurely due to neglecting oil maintenance. Always check the manufacturer’s recommendations for the oil type and ensure it’s filled to the required level. A quick glance at the dipstick can save you from costly repairs down the line.
After checking these levels, take a moment to consider the condition of your hoses and connections. A well-maintained machine is a joy to use. If your hoses are worn or damaged, now’s a good time to explore options for replacements. You can find best pressure washer hoses that fit your needs and ensure optimal performance.
Inspect and Protect Electrical Components
Begin by disconnecting the power supply. This prevents any accidental activation while you work on the device. Carefully examine the power cord for any signs of wear, fraying, or damage. If you spot any issues, replace the cord to avoid potential hazards.
Next, inspect the plug and connections. Ensure they are clean and free of corrosion. A bit of electrical contact cleaner can do wonders here. For added protection, apply a thin layer of dielectric grease to the connections. This helps keep moisture out and prolongs their lifespan.
Look inside the casing for any loose wires or connections. Secure any that appear to be at risk of becoming detached. If you notice any exposed wiring, wrap it with electrical tape or replace the section entirely. A little attention now can save you headaches later on.
If your model includes any electronic components, such as a digital display or automatic shut-off feature, check for moisture accumulation. Wipe down any surfaces with a dry cloth and, if needed, use compressed air to blow out any dust or debris. This ensures that all components function smoothly when you bring the device back into action.
Finally, store the unit in a location that is not prone to temperature fluctuations or humidity. A dry, temperate environment will protect the electrical systems and prolong their life. Taking these simple steps will help ensure your equipment is ready for use when spring arrives.


.jpg)

.jpg)


