


For anyone keen on restoring the pristine appearance of driveways, patios, or garden furniture, utilising a high-pressure cleaning device can save hours of scrubbing. First and foremost, ensure that you have the right nozzle attached. A fan spray nozzle is perfect for wide areas, while a narrow jet is ideal for stubborn stains. From my experience, switching nozzles based on the surface type can significantly enhance cleaning efficiency.
Next, always remember to connect the water supply before starting the machine. I once made the mistake of firing it up without water, resulting in unnecessary wear on the pump. A simple action like checking the hose for kinks or leaks can prevent frustrating interruptions during cleaning. Ensuring a steady flow will not only protect the equipment but also boost its performance.

While operating the device, maintain a consistent distance from the surface being cleaned. I’ve found that keeping about two feet away prevents damage to delicate materials, while still allowing for effective dirt removal. Additionally, using a sweeping motion rather than a direct spray can help cover larger areas without missing spots. Take your time to adjust your technique based on the task at hand, as this will yield better results and prolong the life of your equipment.
Finally, don’t underestimate the power of the right cleaning solution. I recommend using a detergent specifically formulated for high-pressure equipment. It can aid in breaking down tough grime, making your job much easier. Always rinse thoroughly after applying any cleaning agents to prevent residue buildup and maintain the longevity of your surfaces.
Operational Guidance for Your Pressure Cleaning Device
Begin with a thorough inspection of the equipment before initiating any tasks. Ensure that all connections are secure and the hoses are free of leaks. Check the oil level in the engine and refill if necessary. This simple act can prevent potential damage during use.
Setting Up
- Connect the garden hose to the inlet and ensure it’s tightly secured.
- Attach the high-pressure hose to the outlet of the machine.
- Choose the appropriate nozzle for your intended task–narrow for tough stains, wide for larger areas.
- Plug in the unit (if electric) or ensure the fuel tank is filled (for gas models).
Operating the Machine
Before starting, stand clear of the nozzle. Once ready, turn on the water supply and start the engine. Squeeze the trigger to release pressure and begin cleaning. Use a sweeping motion for even coverage. Keep the nozzle at least 12 inches away from surfaces to avoid damage.
- For stubborn dirt, move closer, but never less than 6 inches from the surface.
- Use detergents only if the model supports it; follow the manufacturer’s guidelines for mixing.
- Monitor for any unusual sounds or vibrations, which may indicate a problem.
After completing your task, shut down the engine and turn off the water supply. Squeeze the trigger again to release any remaining pressure in the system. Disconnect the hoses and store the unit in a dry place.
In my experience, regular maintenance ensures longevity. Clean the filter and inspect the nozzle regularly to keep everything functioning smoothly. Don’t hesitate to consult the manual for specifics on your model.
Understanding the Pressure Washer Components
Knowing the main parts of your cleaning equipment leads to better handling and maintenance. The heart of this machine is the motor, which powers the pump and generates the necessary force. Choose a unit with a reliable motor to ensure consistent performance.
The pump is crucial as it determines the water pressure and flow rate. A high-quality pump will provide durability and efficiency, which I learned the hard way with cheaper models that failed after a few uses. Remember, a triplex pump often delivers better results compared to axial ones.
Next, let’s discuss the nozzle. Different types allow for various spray patterns. A narrow jet is great for tough stains, while a wider spray covers larger areas. I often recommend the best car wash nozzle for pressure washer to my friends for safe and effective cleaning.
The hose needs to be durable yet flexible. A quality hose will reduce kinks and wear over time, making your tasks easier. I’ve experienced hoses that deteriorate quickly, leading to frustrating leaks.
Lastly, the accessories–these can enhance your cleaning experience. From brushes to surface cleaners, the right tools make a significant difference. Investing in the proper attachments can save time and improve results, something I can’t stress enough from my years in the industry.
Setting Up Your Cleaning Machine for First Use
Before you get started, ensure you have the following items ready: a garden hose, a water source, and a suitable detergent if needed. Check the owner’s manual for specific requirements regarding detergent types.
First, connect the garden hose to the water inlet on the unit. Make sure the connection is secure to prevent leaks. Turn on the water supply and let it flow through the hose for a minute to clear any debris. This simple step can save you from clogging the internal components later on.
Next, plug the electrical cord into a grounded outlet. Avoid using extension cords, as they can reduce power and lead to safety hazards. If your device runs on petrol, ensure the fuel tank is filled with the proper fuel type as indicated in the manual. Always check for leaks before starting the engine.
Now, assemble any attachments you plan to use. Typically, you’ll have a spray wand and various nozzles. Choose the nozzle according to the task at hand. For larger surfaces, opt for a wider spray pattern, while a narrower pattern is perfect for tough stains.
Here’s a quick overview of the nozzle guide:
| Nozzle Colour | Spray Angle | Use Case |
|---|---|---|
| Red | 0° | Stubborn stains and tough surfaces |
| Yellow | 15° | Difficult dirt on concrete and brick |
| Green | 25° | General cleaning on decks and patios |
| White | 40° | Gentle washing on vehicles and windows |
| Black | Soap | Applying detergent |
After everything is connected, pull the trigger on the wand to release any trapped air in the system. This helps build up pressure once you start the machine. Follow this by engaging the engine according to the instructions provided in your manual.
Finally, take a moment to inspect the surroundings. Ensure that pets and children are at a safe distance before you begin. With everything set up, you’re ready to tackle those cleaning tasks with confidence.
Selecting the Right Nozzle for Your Cleaning Task
Choosing the correct nozzle significantly impacts your cleaning results. I remember a time when I tackled a stubborn oil stain on my driveway. I grabbed the red nozzle, thinking the high pressure would do the trick. Instead, it scattered the dirt everywhere, making the mess even worse. Lesson learned: match the nozzle to the task.
Nozzle Types and Their Uses
Each nozzle type has a specific purpose. The red nozzle, with a 0-degree spray, delivers a concentrated stream perfect for heavy-duty cleaning. However, for delicate surfaces like wooden decks or painted furniture, the white nozzle (40 degrees) disperses water broadly to prevent damage. Always assess the surface before selecting. For general cleaning tasks, the yellow nozzle (15 degrees) strikes a balance, providing enough pressure without the risk of harming the material.
Tips for Effective Use
Adjusting the nozzle is straightforward, but do it while the machine is off to avoid accidents. Start with the widest spray to gauge how much cleaning power you need, then switch to a narrower nozzle if necessary. Keep a safe distance from the surface–about 2 feet is a good rule of thumb. This approach minimises the risk of damage while ensuring dirt and grime are effectively removed.
Connecting the Water Supply and Power Source
Ensure a proper connection to avoid frustrating interruptions. Begin with the water supply; it should be clean and free from debris. Use a garden hose with a diameter of at least 5/8 inch for optimal flow. Inspect the hose for any cracks or leaks before attaching it to your unit.
- Locate the water inlet on your machine, typically situated at the rear or side.
- Securely attach the hose, ensuring it’s hand-tight to prevent leaks.
- Turn on the water supply before starting the unit to purge air from the system.
Next, focus on powering the device. If you have an electric model, make sure your outlet is grounded and rated for the required voltage, typically 120V. For gas-powered variants, ensure you have sufficient fuel and check the oil level.
- For electric machines, use a heavy-duty extension cord rated for outdoor use.
- Plug it into the power outlet, avoiding contact with water.
- For gas models, fill the tank with the recommended fuel type, often unleaded petrol.
Before igniting a gas model, check that the choke is set to the correct position. This will aid in a smooth start. Always follow manufacturer guidelines for specific requirements regarding connections and power sources.
Lastly, perform a quick check. Ensure all connections are secure, there are no leaks, and you’ve adhered to safety protocols. This preparation will set the stage for effective cleaning.
Adjusting Pressure Settings for Different Surfaces
For optimal cleaning results, tailor the force of the spray according to the surface you’re treating. For instance, when tackling delicate materials like wood or painted surfaces, reduce the pressure to around 1200-1500 PSI. This prevents damage while still effectively removing grime. I recall a time when I used too high a setting on a weathered fence, and it left unsightly marks that required extensive sanding to fix.

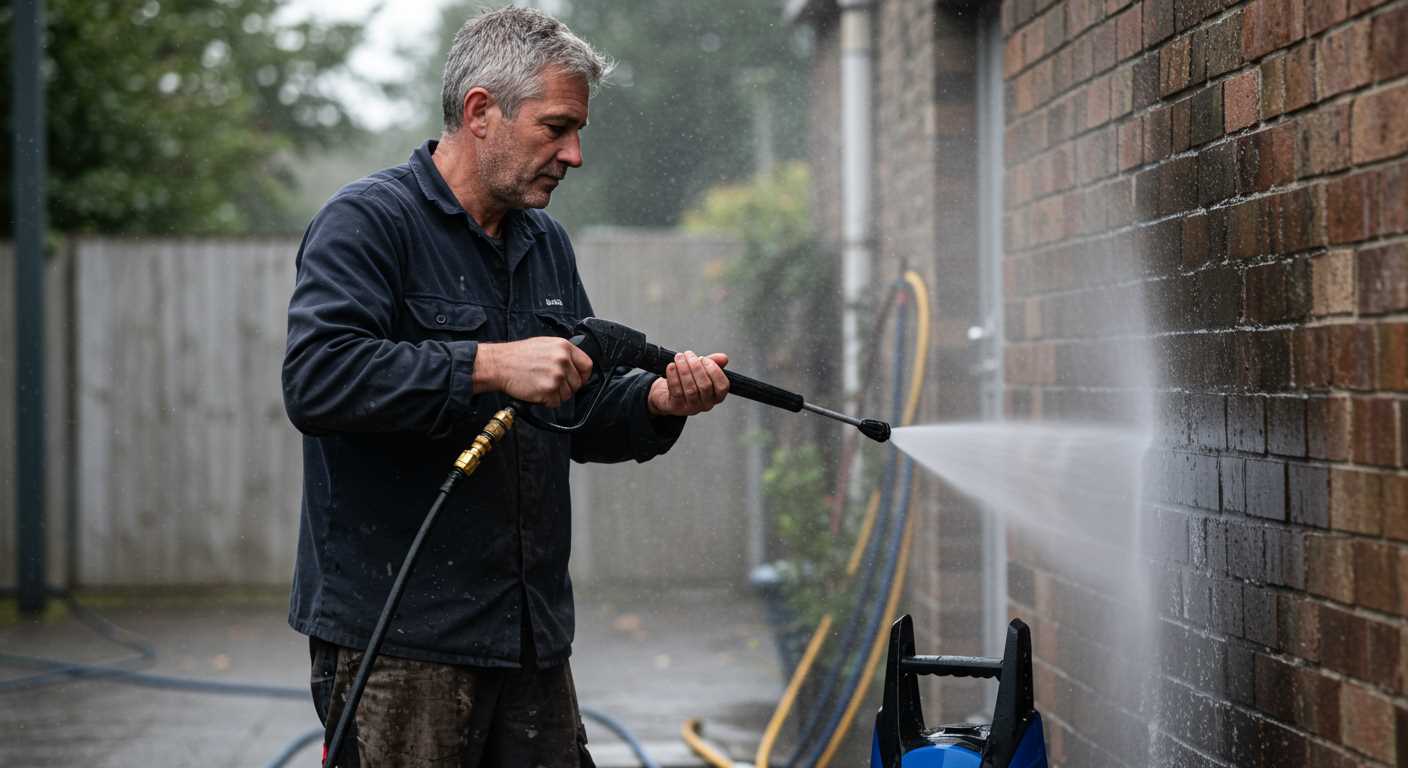
When dealing with concrete or masonry, increase the pressure to approximately 2500-3000 PSI. This range efficiently dislodges tough stains like oil or mildew. During one of my projects, I faced a stubborn oil stain on a driveway; cranking up the pressure made quick work of it, saving me hours of scrubbing.
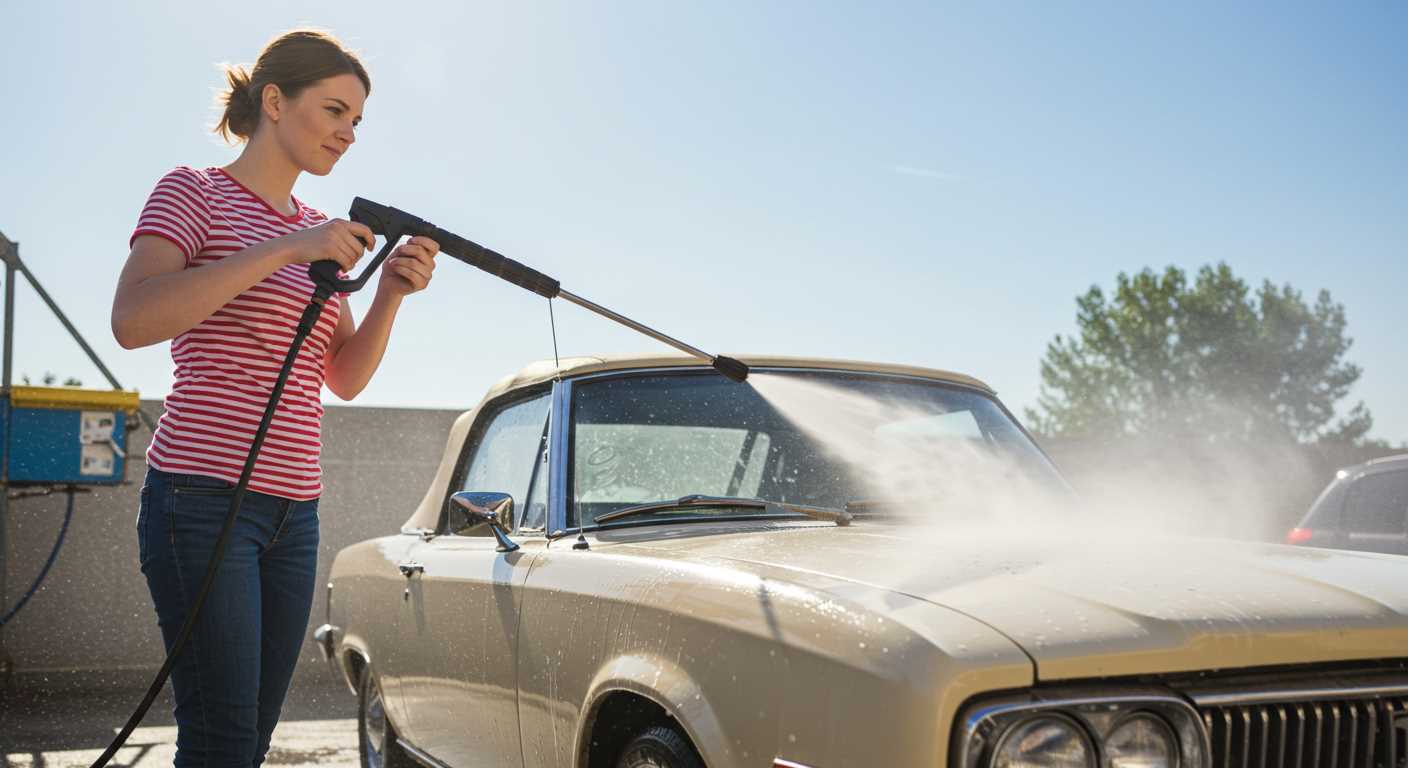
For vehicles, a moderate setting of 1300-1900 PSI works best. This ensures the paint remains intact while effectively cleaning dirt and debris. I’ve seen friends use too much pressure on their cars, leading to paint chipping–a costly mistake that could have been avoided.
Always consult the manufacturer’s guidelines for each surface, but remember that adjusting the pressure according to your specific needs can make a substantial difference in results. Testing on a small, inconspicuous area first is a practice I highly recommend–it helps gauge the right setting without risking damage.
Proper Techniques for Operating the Pressure Washer
Always maintain a consistent distance from the surface you’re cleaning. I’ve found that keeping the nozzle about 2 feet away works wonders for most tasks. This distance helps prevent damage while still delivering adequate force to remove dirt and grime. Adjust as needed; closer for stubborn stains and further away for delicate surfaces like wood.
Body Positioning and Movement
Stand firmly and maintain a solid stance. Using your legs to support your weight allows for better control and reduces fatigue. I often shift my weight slightly to guide the nozzle smoothly across surfaces. Move in a sweeping motion rather than staying in one spot to avoid streaks. Always work from the top down, letting the water flow downwards, which prevents dirt from splashing back onto already cleaned areas.
Using Detergents Wisely
When applying soap, use a low-pressure setting to avoid foaming too aggressively. I’ve learned to apply detergent from the bottom up, which helps the solution cling to surfaces instead of running off. Allow it to sit for a few minutes for maximum effectiveness, but don’t let it dry. Rinse with a high-pressure setting starting from the top and working down, ensuring all detergent is removed to prevent residue.

Cleaning and Maintaining Your Pressure Cleaner
Regular upkeep is a must for prolonging the lifespan of your cleaning equipment. Start with a thorough rinse after each use to eliminate detergent and dirt residues. This prevents clogs and maintains optimal performance. I always keep a bucket of clean water nearby for this purpose. A quick soak of the nozzles in warm water can also help clear any blockages.
Routine Maintenance Steps
Every few months, inspect the unit for any signs of wear. Check the hoses for cracks and leaks; a damaged hose can significantly reduce efficiency. I recommend replacing any compromised hoses with a quality flexible hose for karcher pressure washer. It will improve flexibility and durability during operations.

Additionally, clean or replace the air filter as needed. A clogged filter can lead to overheating. It’s a simple task that can save you from more extensive repairs later.
Storing Your Equipment
When not in use, store the cleaner in a dry, sheltered area. If storing for an extended period, drain all water to prevent freezing and damage. I also recommend running a small amount of pump saver through the system to protect the internal components during off-seasons.
| Maintenance Task | Frequency |
|---|---|
| Rinse unit after use | Every use |
| Inspect hoses | Monthly |
| Clean air filter | Every three months |
| Replace worn hoses | As needed |
| Store properly | After each season |
Following these steps will keep your cleaning unit in top condition, ensuring reliable performance for years to come.
Safety Precautions While Using the Cleaning Equipment
Always wear appropriate personal protective equipment (PPE) before starting. A pair of sturdy shoes with non-slip soles, safety goggles, and gloves are non-negotiables. I’ve learned the hard way that water and high pressure can lead to painful slips and unexpected injuries.
- Check the Area: Before beginning, inspect your surroundings. Look for any obstacles, loose objects, or delicate items that may be damaged by the high-velocity stream. I once accidentally knocked over a garden gnome that a friend cherished, leading to an awkward afternoon of apologies.
- Water Supply: Ensure the hose connections are secure to prevent leaks and water spray. I’ve had instances where a loose connection caused a sudden shower, catching me off guard.
- Electrical Safety: If your unit requires electricity, use a Ground Fault Circuit Interrupter (GFCI) outlet. I recall a moment where I neglected this and faced some tense minutes, worrying about my safety. Always check for frayed cords or exposed wires.
- Keep Children and Pets Away: Designate a safe zone. I’ve seen pets get curious and dart into the line of fire, which is not only risky for them but can distract you, potentially leading to accidents.
Before starting, always review the manufacturer’s manual. I often refer back to it, especially for specific safety features unique to the model I’m using.
- Avoid Direct Body Contact: Never direct the nozzle towards yourself or anyone else. I once learned this lesson the hard way while demonstrating the equipment to a friend. A slip of my finger sent a jet of water right at me, resulting in a rather soggy afternoon.
- Use the Right Nozzle: Selecting the appropriate nozzle for your task is crucial. I’ve seen powerful jets caused by the wrong nozzle choice leading to damage on delicate surfaces. It’s best to start with a wider angle and work your way down if more power is needed.
- Maintain a Safe Distance: Keep the nozzle at a safe distance from surfaces. Too close can cause serious damage. I’ve witnessed paint being stripped off wooden fences because of an overly aggressive approach.
After use, always turn off the equipment and disconnect the water supply. I’ve made it a habit to relieve the pressure by squeezing the trigger after shutting it down. This helps prevent unexpected sprays when you’re winding down.
Lastly, ensure proper storage. I’ve learned that leaving the equipment exposed to the elements can lead to damage and malfunction. A clean, dry storage area is key to prolonging the life of the gear.
Troubleshooting Common Cleaning Equipment Issues
If you encounter difficulties while using your cleaning device, check the water supply first. Ensure the hose is connected securely and there are no kinks preventing flow. In my experience, a simple inspection of the hose has resolved many problems.
Low pressure often stems from a blocked nozzle. I recall a time when I was baffled by inadequate performance, only to discover debris lodged in the spray tip. Cleaning or replacing the nozzle can restore functionality almost instantly.
Another frequent issue is an engine that won’t start. This is often due to stale fuel or a clogged air filter. After attempting to fire it up numerous times, I learned the hard way to regularly check the fuel quality and keep the air filter clean.
If you notice unusual vibrations or noises, inspect the pump and connections for looseness. I once had a machine that rattled excessively, which turned out to be a loose connection. Tightening those bolts made a world of difference.
Lastly, leaks can be a headache. If you spot water seeping from the equipment, examine the seals and hoses for wear and tear. I found a small crack in a hose once, and replacing it resolved the leaking issue right away.
FAQ:
How do I start a Troy Bilt pressure washer?
To start a Troy Bilt pressure washer, first ensure that you have the correct fuel and oil levels. Check the oil level in the reservoir and fill it if necessary. Make sure the fuel tank is filled with fresh gasoline. Next, connect the high-pressure hose to the machine and attach the spray gun. Turn on the water supply and ensure that the water is flowing through the unit. Set the pressure washer to the ‘ON’ position, engage the choke if it’s cold, and pull the starter cord until the engine starts. Once running, you can adjust the choke as needed and begin washing.
What maintenance is required for a Troy Bilt pressure washer?
Regular maintenance is key to keeping your Troy Bilt pressure washer in good working condition. After each use, you should clean the nozzle and hoses to prevent clogs. Check the oil level and change it as recommended in the user manual, usually after every 50 hours of operation. Ensure the air filter is clean and replace it if necessary. At the end of the season, you might want to winterise the machine by emptying the fuel tank and running the engine until it stops. Always consult the specific maintenance schedule in your owner’s manual for detailed information.
Can I use different cleaning solutions with my Troy Bilt pressure washer?
Yes, you can use various cleaning solutions with your Troy Bilt pressure washer, provided they are compatible with the machine. It is recommended to use detergents specifically designed for pressure washers, as they are formulated to work effectively with high pressure. Always refer to the user manual for guidance on suitable cleaning solutions and dilution ratios. Avoid using bleach or corrosive chemicals, as these can damage the components of the pressure washer.
What pressure settings should I use for different surfaces?
Different surfaces require varying pressure settings to avoid damage while effectively cleaning. For delicate surfaces like wood decks or painted surfaces, use a low pressure setting, typically around 1,200 to 1,500 PSI. For concrete or brick driveways, you can increase the pressure to about 2,500 to 3,000 PSI. Always start with the lowest pressure setting and gradually increase it as needed. Using the correct nozzle is also crucial; a wide spray pattern is best for gentle cleaning, while a narrow spray is suited for tougher stains.
What should I do if my Troy Bilt pressure washer won’t start?
If your Troy Bilt pressure washer won’t start, first check the fuel level, ensuring the tank is filled with fresh gasoline. Inspect the oil level and add oil if it is low. Ensure that the water supply is connected and turned on. Check the starter cord for any damage and replace it if necessary. If the engine still doesn’t start, examine the spark plug for wear or damage and replace it if needed. If you continue to experience issues, consult the troubleshooting section of your user manual for further guidance.
How do I start my Troy Bilt pressure washer?
To start your Troy Bilt pressure washer, first ensure it is on a flat surface and all safety measures are in place. Check that the fuel tank is filled with fresh gasoline and the oil level is adequate. Connect a garden hose to the water inlet and ensure the other end is placed in a water source. Turn on the water supply before starting the engine. Set the pressure washer to the low-pressure setting and pull the starter cord or press the ignition button if it’s electric. Once the engine starts, you can adjust the pressure settings as needed for your cleaning task.
.jpg)


