
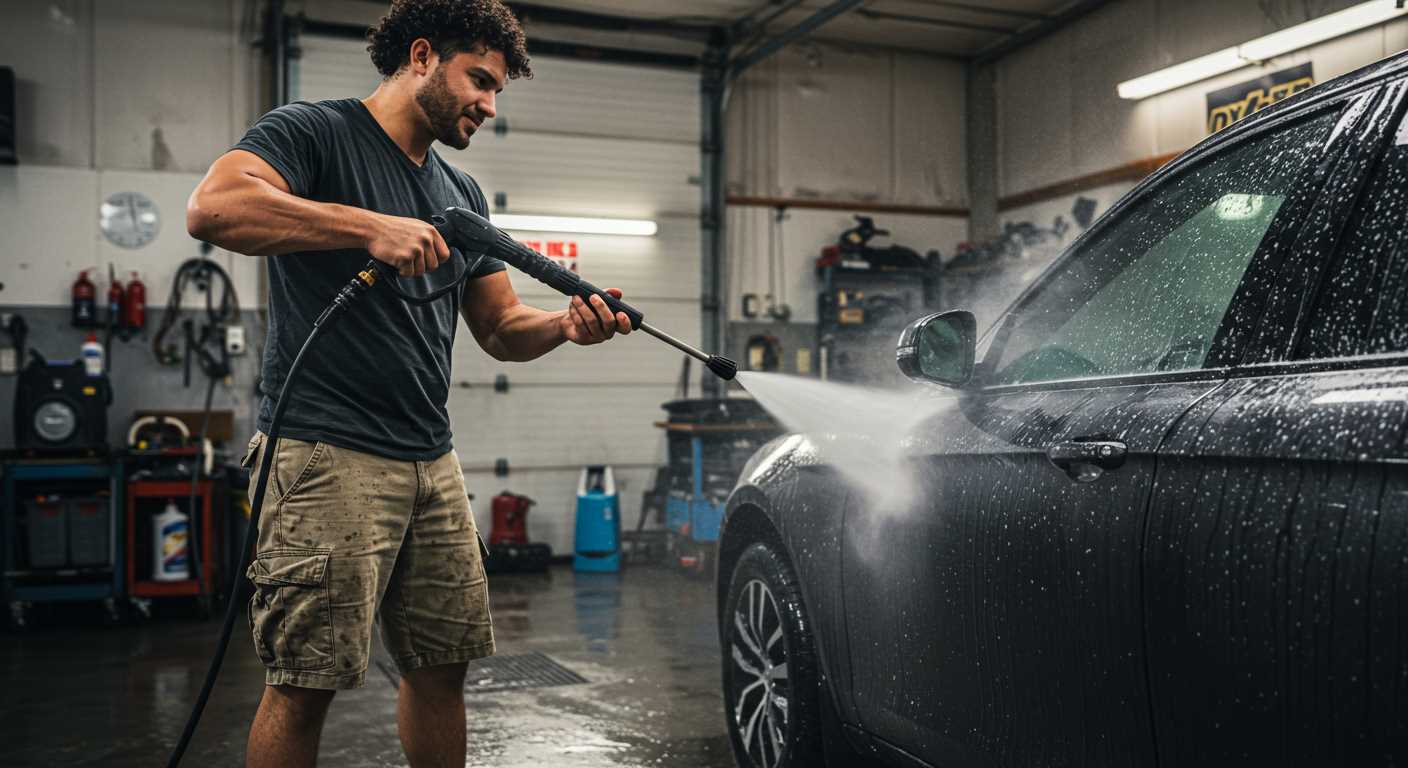


When engaging in screen printing, I consistently recommend a range of 1500 to 3000 PSI for optimal results. This level strikes a balance between effective cleaning and protecting delicate screens, ensuring that the emulsion remains intact while removing unwanted inks and residues. In my years of testing various machines, I found that exceeding 3000 PSI often leads to damage, particularly to the finer mesh screens.
One memorable experience involved a client who initially opted for a unit with a much higher pressure rating. After a few uses, they noticed their screens were fraying, leading to costly replacements and wasted time. Switching to a model within the recommended range not only preserved their equipment but also improved their workflow dramatically. The right choice can save you both money and frustration.

In addition to the pressure rating, pay attention to the nozzle types and spray angles. A wider angle, such as 25 degrees, is ideal for cleaning screens without causing harm. I’ve often recommended starting with a lower pressure and gradually increasing it if necessary. This approach allows for greater control and ensures that you don’t inadvertently damage your tools.
Understanding the Role of PSI in Screen Printing
For optimal results, a range of 1500 to 3000 psi is ideal. This level provides sufficient force to clean screens effectively without damaging the emulsion or mesh. I recall a project where I used a unit set at 2000 psi, which struck the perfect balance; it removed ink residue without risking the integrity of the screen material.
Choosing a model on the lower end of this spectrum is advisable for delicate screens or when working with sensitive emulsions. I made the mistake of using a more powerful machine at 3000 psi early in my career, which led to mesh tearing and costly replacements. Understanding the delicate nature of these materials is crucial.
Adjustability in pressure settings can be beneficial. Machines that allow you to fine-tune the force can adapt to various cleaning tasks. I often switch between settings depending on the type of ink and the state of the screen. It’s a simple way to extend the life of your equipment and save on replacement costs.
Additionally, the nozzle type plays a significant role. A fan spray nozzle disperses pressure more evenly, reducing the risk of damage, while a pinpoint nozzle can concentrate the force for stubborn stains. I’ve found that switching nozzles based on the situation has made a noticeable difference in cleaning efficiency.
Always wear appropriate protective gear when using high-pressure equipment. I’ve had my share of close calls, and the right gloves and eyewear can prevent serious injuries. Safety should never be overlooked, even in the pursuit of a clean screen.
Optimal PSI Levels for Different Screen Printing Applications
For efficient use in various applications, I recommend specific pressure levels tailored to distinct tasks. For rinsing emulsions and cleaning screens, 1500 to 2000 units works well. This range provides sufficient force to eliminate ink residues without damaging the mesh.
Delicate Tasks
When dealing with sensitive materials or intricate designs, a lower setting of around 1000 to 1200 units is ideal. This prevents any potential harm to the artwork while still ensuring cleanliness. I recall a project where using too much force led to the distortion of a fine design, costing hours of rework.
Heavy-Duty Clean-Up
For more robust cleaning tasks, such as removing stubborn ink or cleaning large equipment, you can escalate to 2500 to 3000 units. Just ensure to maintain a reasonable distance to avoid any damage to surfaces. I once tackled a particularly messy batch, and this higher range saved me considerable time and effort.
While selecting the right tool, consider not only the specified levels but also your specific needs. Adapting techniques based on application can enhance both quality and efficiency. For additional tips related to optimal techniques, check out this link on how to can corn without pressure cooker. This approach of adjusting pressure settings ensures you achieve the best results in your work.
Choosing the Right Nozzle for Your High-Pressure Equipment
For optimal results, selecting the appropriate nozzle is crucial. A well-chosen nozzle enhances cleaning efficiency and protects your mesh from damage. I recommend testing different nozzle types to find what works best for your specific tasks.
Nozzle Types
- Zero-Degree Nozzle: Provides a concentrated stream for tough spots but can damage delicate surfaces. Use sparingly.
- 15-Degree Nozzle: Ideal for removing stubborn grime on hard surfaces, yet still requires caution around sensitive materials.
- 25-Degree Nozzle: A versatile option suitable for most cleaning tasks, offering a good balance of power and coverage.
- 40-Degree Nozzle: Best for lighter cleaning tasks and wider coverage, perfect for rinsing off without risk of damaging the mesh.
- Adjustable Nozzle: Provides flexibility to switch spray patterns quickly, making it a valuable tool for various cleaning needs. I often use an adjustable pressure washer nozzle to adapt to different surfaces without changing nozzles.
Tips for Selecting Nozzles
- Assess the surface type and level of dirt to determine the best nozzle angle.
- Test the nozzle’s effectiveness at a safe distance before getting too close to your mesh.
- Keep a variety of nozzles handy for different applications to optimise your cleaning routine.
- Regularly check for wear and tear on nozzles, as damaged ones can negatively impact performance.
Experimentation is key. Take the time to understand how each nozzle performs in different scenarios. Over the years, I’ve found that the right nozzle can make all the difference in achieving clean, professional results without compromising the integrity of your materials.
Comparing Electric vs. Gas Pressure Washers for Screen Printing
Electric models are ideal for indoor operations. They operate quietly and produce zero emissions, making them suitable for enclosed spaces. I remember working in a small workshop where noise was a concern. An electric unit allowed me to clean screens without disturbing my colleagues. Additionally, they require less maintenance and are often lighter, which eases mobility.
On the other hand, gas options offer higher power and mobility. When I needed to tackle large outdoor jobs, I relied on gas machines. Their robust performance easily handled stubborn inks and emulsions, making quick work of even the toughest clean-up tasks. However, they can be louder and produce fumes, which is a consideration if you’re working in a shared environment.
Cost Considerations
Electric units typically have a lower upfront cost and reduced operating expenses, while gas machines may demand a higher investment but provide greater long-term durability. In my experience, if you’re planning to operate frequently and on larger scales, the initial expense of a gas model could be justified by its effectiveness and longevity.
Portability and Storage
Weight and storage space are practical factors. Electric units are compact and easier to store, which I found advantageous when space was limited. Gas models are bulkier and often require more care in storage due to fuel considerations. My tip: if you frequently move between jobs, consider the portability of the machine. Choose one that suits your workflow and workspace best.
Safety Considerations When Using a High-Pressure Cleaner for Screen Printing
Always wear appropriate personal protective equipment (PPE) when operating a high-pressure cleaner. This includes safety goggles to protect your eyes from debris and splashes, gloves to prevent skin irritation, and sturdy footwear to protect your feet from falling objects or slips. A face shield can also be beneficial when working with harsh chemicals.
Handling Chemical Solutions
When using cleaning agents, ensure they are compatible with your equipment. Mixing chemicals can create hazardous reactions. Always read labels carefully and follow manufacturer instructions. I recall a time when I mixed two cleaning solutions without checking compatibility, resulting in a noxious cloud that lingered far longer than expected. Avoiding such scenarios is crucial for safety.
Proper Equipment Maintenance
Regularly inspect your equipment for wear and tear. Look for leaks, frayed hoses, or damaged nozzles. I once overlooked a small crack in a hose, which led to a significant malfunction during a critical task. Keeping your tools in optimal condition not only ensures safety but also enhances performance. Always disconnect the power source when performing maintenance to prevent accidental activation.

Finally, be aware of your surroundings. Ensure you have a clear workspace and that no one is in the line of fire when operating your equipment. High-pressure jets can easily cause injury or damage. Keeping a safe distance from sensitive areas, such as electrical outlets or delicate surfaces, is a must. Through diligence and attention to detail, you can maintain a safe and efficient work environment.
Maintaining Your Pressure Washer for Consistent Performance
Regular upkeep of your cleaning equipment is non-negotiable for optimal functionality. From my years of hands-on experience, I can assure you that a few simple practices can significantly extend the lifespan of your machine and enhance its performance.
Routine Checks and Cleaning
Make it a habit to inspect the unit before and after use. Clear any debris from the intake filters and check hoses for leaks or wear. A clogged filter can dramatically reduce efficiency. I once neglected this step and faced a frustrating situation where the machine failed during a critical job. A quick clean could have prevented that mishap.
After each use, rinse off any cleaning agents or residues. These substances can corrode internal components over time. I recommend using a soft brush and mild detergent to clean the exterior, keeping it free from grime and ensuring easy visibility of any potential issues.
Fluid Maintenance
Regularly change the oil and check the pump lubricant. I’ve seen pumps fail due to neglecting oil changes. If you’re using a model with a certain lubricant, stick to the manufacturer’s recommendations. It’s a small investment for the longevity of your equipment.
Don’t forget about the water source too. Use clean, filtered water to avoid introducing sediments that can clog the system. This simple action saved a colleague of mine from a costly repair when he switched to filtered water after experiencing repeated blockages.
Lastly, store your equipment in a dry, sheltered place to avoid rust and damage from the elements. I learned the hard way when a winter freeze caused significant damage to an unprotected unit. A little foresight goes a long way.
These maintenance tips are straightforward but often overlooked. Consistent care will ensure your cleaning apparatus remains reliable and efficient, allowing you to focus on your work without unexpected interruptions.
.jpg)


