


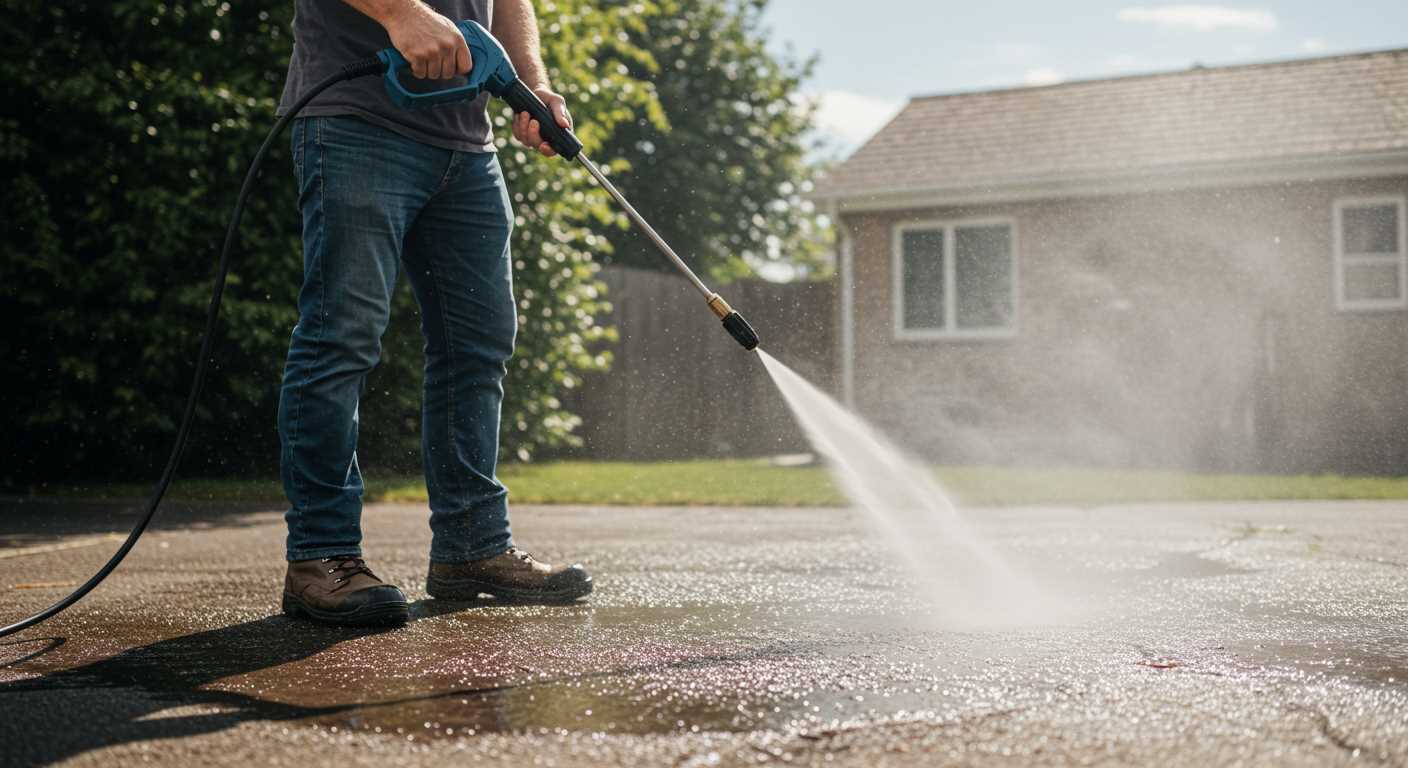
For tackling stubborn coatings on concrete, I’ve found that a minimum of 3000 psi is ideal. This level of force is powerful enough to blast through layers of old finishes without damaging the surface underneath. In my years of hands-on testing, I’ve seen how crucial it is to select the correct equipment to avoid unnecessary wear and tear on your concrete.
When I first started working with these machines, I underestimated the impact of nozzle selection. A 0-degree nozzle can be a game changer when it comes to precision, but it can also be risky if used incorrectly. I recall a time when I got a bit too close to the surface and ended up etching the concrete. A wider angle, like a 25-degree nozzle, provides a good balance between power and safety, allowing for broader coverage while still being effective.
Another vital aspect is the choice of cleaning solution. Pairing the right detergent with your equipment can enhance the overall process. I discovered that using a specially formulated concrete cleaner not only speeds up the job but also ensures a more thorough clean. Remember to pre-soak the area where you plan to work; this simple step can significantly lift the burden of stubborn residues.
Understanding PSI and its Importance for Paint Removal
For effective results in stripping coatings, a unit delivering between 2500 and 3000 PSI is ideal. This level of force is sufficient to dislodge layers without damaging the underlying substrate.
From my experience, the pressure level directly influences the efficiency and speed of the task. High-pressure tools can significantly cut down the time spent on each project. However, it’s crucial to balance pressure with the nozzle type and distance to the surface.
- A narrow nozzle (15-25 degrees) concentrates the force, making it easier to tackle stubborn areas.
- Wider nozzles (25-40 degrees) are more suitable for larger areas, allowing for even distribution.
- Maintaining an appropriate distance (around 12-18 inches) from the surface prevents damage while still delivering adequate force.
I’ve seen too many people use too much pressure, leading to unwanted surface damage. It’s all about finding that sweet spot where the force is enough to tackle the coating but not so much that it harms the underlying material.
It’s also wise to consider the type of coating being stripped. Some paints are more resilient than others, requiring adjustments in pressure and technique. I’ve had success using a combination of heat and pressure for particularly tough jobs, which can soften the coating and make removal more manageable.
In summary, focus on selecting a unit with the right specifications for your needs, and remember that technique plays a crucial role in achieving desired results without causing damage.
Recommended PSI Range for Concrete Paint Stripping
For effective stripping of coatings from hard surfaces, a pressure level between 2500 and 3000 is advisable. This range provides the necessary force to chip away thick layers while minimising the risk of damage to the substrate. Personally, I’ve found that staying within this bracket ensures a balance between power and control, allowing for thorough cleaning without excessive wear on the surface.
Tips for Optimal Use
When utilising equipment in this range, consider using a 15-degree nozzle. This attachment focuses the stream, enhancing its impact on stubborn residues. During my projects, I often adjust the distance between the nozzle and the surface, typically maintaining around 12 inches for most applications. Moving closer may increase effectiveness but can also risk surface damage if not handled carefully.
Water Supply Considerations
While selecting a machine, don’t overlook the significance of water supply. If you’re dealing with low water pressure, exploring a jet washer for low water pressure can be beneficial. These models maintain performance even under challenging conditions, ensuring you achieve the desired results without interruptions.
Choosing the Right Nozzle for Optimal Results
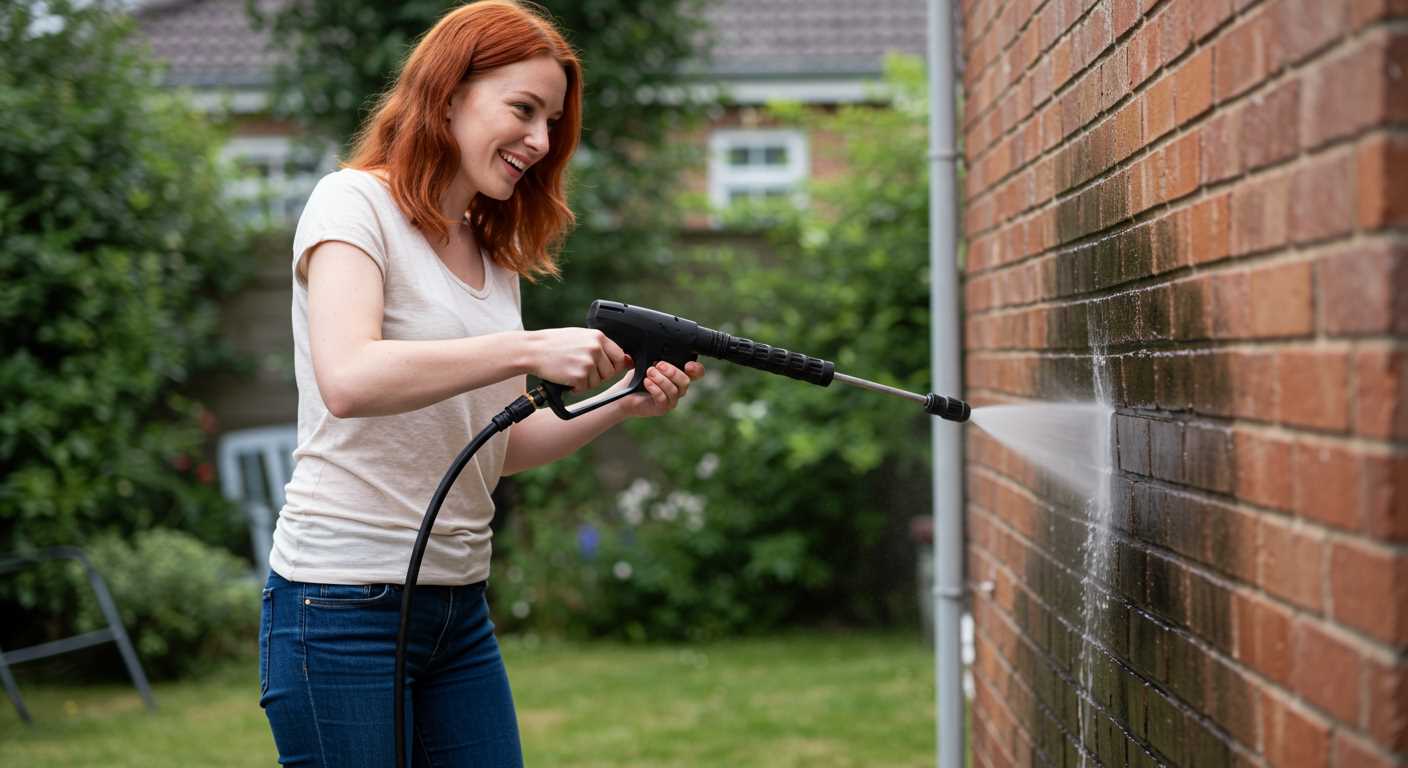
For effective stripping tasks, selecting the correct nozzle is just as vital as the machine’s power. In my experience, a 15-degree or 25-degree nozzle works best for this purpose. The narrower spray angle of the 15-degree nozzle provides higher pressure concentration, making it ideal for stubborn layers. However, if you’re dealing with multiple layers or more delicate surfaces, the 25-degree option offers a broader spray that reduces the risk of damage while still being effective.
Understanding Spray Patterns
Each nozzle type produces a unique spray pattern, influencing how the water interacts with the surface. The 0-degree nozzle delivers a pinpoint stream, perfect for tough spots but can cause surface damage if not used carefully. Conversely, the 40-degree nozzle disperses water over a wider area, making it suitable for rinsing off debris post-stripping. I’ve often found that having a selection of nozzles on hand allows for greater versatility during projects.
Material Considerations
Choosing the right nozzle also depends on the type of coating being stripped. For example, thicker, oil-based paints may require more aggressive approaches, while water-based paints can be tackled with a gentler touch. I recall a job where a 25-degree nozzle helped me effectively strip a patio coated with multiple layers of old paint without causing damage to the underlying surface. Always assess the material and adjust your nozzle choice accordingly for the best results.
Pre-Treatment Steps Before Using a Pressure Washer
Before getting started, it’s critical to prepare the area properly to ensure effective results. Here are the key steps to follow:
- Clear the Area: Remove furniture, plants, or any obstacles that might hinder your work. This ensures a safe and efficient workspace.
- Inspect the Surface: Look for any cracks or damage in the substrate. Repair these issues to prevent further deterioration during the process.
- Test a Small Area: Always try a small section first. This helps gauge how the surface reacts to the cleaning method and allows you to adjust settings if necessary.
- Choose a Suitable Cleaner: Depending on the type of stain, select an appropriate cleaning solution. Pre-treating with a suitable chemical can enhance the effectiveness of the subsequent cleaning.
- Gather Protective Gear: Equip yourself with goggles, gloves, and appropriate footwear. Safety should always be a priority.
- Pre-soak the Surface: If possible, dampen the area with water before applying any cleaning solutions. This can help loosen debris and make the process smoother.
- Set Up Your Equipment: Ensure your machine is in good working order. Check the hoses, connectors, and nozzles for leaks or damage.
By taking these steps, you maximise the chances of achieving the best outcome. Remember, preparation is key to a successful cleaning effort. And if you ever need to document your progress or results, consider using a digital camera or digicam to capture before-and-after shots.
Best Practices for Safely Cleaning Surfaces
Always wear appropriate protective gear including safety goggles, gloves, and a mask. The chemicals used in conjunction with cleaning equipment can be hazardous, especially if inhaled or if they come into contact with your skin.
Before you start, test the equipment on a small, inconspicuous area. This helps assess how the surface reacts without causing extensive damage. I once underestimated the force of a powerful model, resulting in surface chipping in a visible spot. A simple test could have saved me that hassle.
Keep the nozzle at a consistent distance – about 12 to 18 inches from the surface. Too close can cause gouges, while too far may not provide the desired impact. I learned this the hard way during a project; adjusting the distance was key to achieving a uniform finish.
Use sweeping motions rather than focusing on one spot for too long. This technique not only provides an even clean but also prevents potential harm to the substrate. In one of my earlier jobs, I lingered too long in one area and ended up with an uneven surface that required further touch-ups.
Take breaks to clear debris and check your progress. This helps you monitor the effectiveness of your efforts and adjust your approach if necessary. I’ve found that stepping back for a moment can provide insights that are hard to see up close.
Always ensure proper drainage of the area. Water can mix with residual solvents, making it hazardous. I’ve had instances where the pooling water caused slip hazards or unintended chemical reactions, leading to more cleanup work.
Finally, be mindful of the weather. Avoid working in strong winds or rain as these conditions can affect your control and the safety of the environment. I once had to halt a project mid-way because gusts blew debris around, which not only distracted me but also posed a safety risk.
Common Mistakes to Avoid When Pressure Washing
Avoid using the incorrect nozzle. I recall a project where I opted for a wider spray pattern, thinking it would cover more area quickly. Instead, it resulted in uneven stripping, and I ended up spending extra time going over the same spots again. Always match the nozzle size to the task at hand.
Neglecting surface preparation is another pitfall. I’ve seen many people jump straight into the task without clearing debris or pre-treating the area. Taking a few minutes to sweep away loose materials can significantly enhance results and prevent clogging your equipment.
Ignoring Safety Precautions
Many underestimate the potential hazards. I remember a colleague who ignored protective eyewear and ended up with debris in his eye. Always wear safety goggles, gloves, and sturdy footwear. The force generated can launch materials and cause injuries.
Overlooking the Distance
Maintaining the right distance from the surface is key. In my early days, I got too close and damaged the substrate. A good rule of thumb is to keep the nozzle at least 12 inches away, adjusting as necessary based on the surface’s condition. This ensures effective cleaning without causing unnecessary harm.
Post-Cleanup Care for Concrete Surfaces
After tackling the tough task of stripping surfaces, proper maintenance is key to prolonging their life and appearance. Start by rinsing the treated area with clean water to wash away any residual debris or cleaning agents. This step helps to prevent staining and ensures that no harmful chemicals linger on the surface.
Sealing the Surface
Consider applying a high-quality sealant once the surface has dried completely. This protective layer enhances durability and prevents future staining. Choose a sealant designed specifically for the type of surface you’ve treated, ensuring compatibility for the best results.
Regular Maintenance Tips

To maintain the look and integrity of your surface, regular upkeep is vital. Sweep or use a leaf blower to remove debris weekly. For deeper cleans, use a mild detergent mixed with water and a soft brush. Avoid harsh chemicals, as they can degrade the sealant over time.
| Maintenance Task | Frequency | Recommended Products |
|---|---|---|
| Rinse with Water | Monthly | Garden Hose |
| Apply Sealant | Every 1-3 years | Concrete Sealant |
| Debris Removal | Weekly | Leaf Blower |
| Deep Cleaning | Every 6 months | Mild Detergent |
By following these steps, you’ll maintain the integrity and appearance of your surfaces for years to come, ensuring they remain an attractive feature of your property.
FAQ:
What is the recommended psi for a pressure washer to effectively remove paint from concrete?
For removing paint from concrete, a pressure washer with a psi rating of at least 3000 is generally recommended. This level of pressure is suitable for breaking down the paint’s bond with the concrete surface. However, you may also want to consider using a pressure washer with adjustable settings, as different types of paint may require different pressure levels for optimal removal.
Can I use a lower psi pressure washer to remove paint from concrete?
While it is possible to use a lower psi pressure washer, such as one rated around 2000-2500 psi, the effectiveness may be reduced. Lower pressures may struggle to remove stubborn paint and could require more time and effort. If you choose to use a lower psi model, be prepared to use additional methods, such as scrubbing or applying a paint stripper, to aid in the process.
What type of nozzle is best for removing paint from concrete with a pressure washer?
For removing paint from concrete, a 15-degree or 25-degree nozzle is typically the best choice. The narrower spray of the 15-degree nozzle provides a more concentrated force that can help break up the paint, while the 25-degree nozzle offers a wider spray for larger surface areas. Always test on a small area first to determine which nozzle works best for your specific situation.
Are there any additional tips for using a pressure washer to remove paint from concrete?
Yes, there are several tips to keep in mind. Firstly, it’s advisable to start with a lower pressure and gradually increase it to prevent damage to the concrete. Additionally, using a chemical paint stripper can help loosen the paint before pressure washing. Make sure to wear protective gear, such as goggles and gloves, to keep safe from paint particles and chemicals. Finally, ensure that the area is well-ventilated if using any chemical agents.
How long does it typically take to remove paint from concrete with a pressure washer?
The time it takes to remove paint from concrete with a pressure washer can vary significantly based on several factors. These include the type and thickness of the paint, the psi of the pressure washer, and the size of the area being cleaned. Generally, it can take anywhere from a couple of hours to a full day. It’s best to break the job into sections and work methodically for the best results.
What psi pressure washer is best for removing paint from concrete?
For removing paint from concrete, a pressure washer with a minimum of 2500 psi is recommended. This level of pressure is typically sufficient to strip away most types of paint without causing damage to the underlying concrete surface. Higher psi ratings, such as 3000 psi, may be used for tougher jobs or thicker layers of paint, but care should be taken to avoid etching the concrete. Additionally, using the right nozzle, usually a 15-degree or 25-degree tip, can enhance the effectiveness of the pressure washer in removing paint.
Can I use a lower psi pressure washer for paint removal on concrete?
While it is possible to use a lower psi pressure washer, such as one rated around 1500-2000 psi, it may not be as effective for paint removal. Lower psi may require more time and effort, and you might need to go over the same area multiple times to achieve satisfactory results. It is advisable to use a pressure washer with at least 2500 psi for optimal performance. If you choose to use a lower psi model, consider pre-treating the paint with a suitable paint stripper or using a combination of scrubbing with a brush to assist in the removal process.
.jpg)


