


For sparkling clean glass, I always recommend using a dedicated window cleaning formula designed for high-pressure equipment. These products typically contain a blend of surfactants that effectively break down dirt and grime without leaving streaks or residues. My personal favourite is a concentrated window cleaner that can be diluted with water, making it both economical and efficient for larger jobs.
During my years in the field, I discovered that some all-purpose cleaners can leave a sticky film on glass surfaces. It’s crucial to avoid these as they can attract more dirt over time. Instead, opt for a cleaner specifically labelled for glass surfaces. I learned this the hard way after using a general cleaner on a client’s windows, leading to a frustrating re-cleaning session.

When using any solution, always follow the manufacturer’s instructions regarding dilution ratios. In my experience, using too strong a mixture can cause more harm than good, potentially damaging seals and frames around windows. A good rule of thumb is to start with a weaker solution and adjust as needed, ensuring that you achieve that crystal-clear finish without compromising your equipment or surfaces.
Lastly, consider the environmental impact of your chosen cleaner. Some brands offer eco-friendly options that provide excellent results while being gentle on the planet. Using these not only aligns with sustainable practices but also gives peace of mind when cleaning near gardens or outdoor spaces.
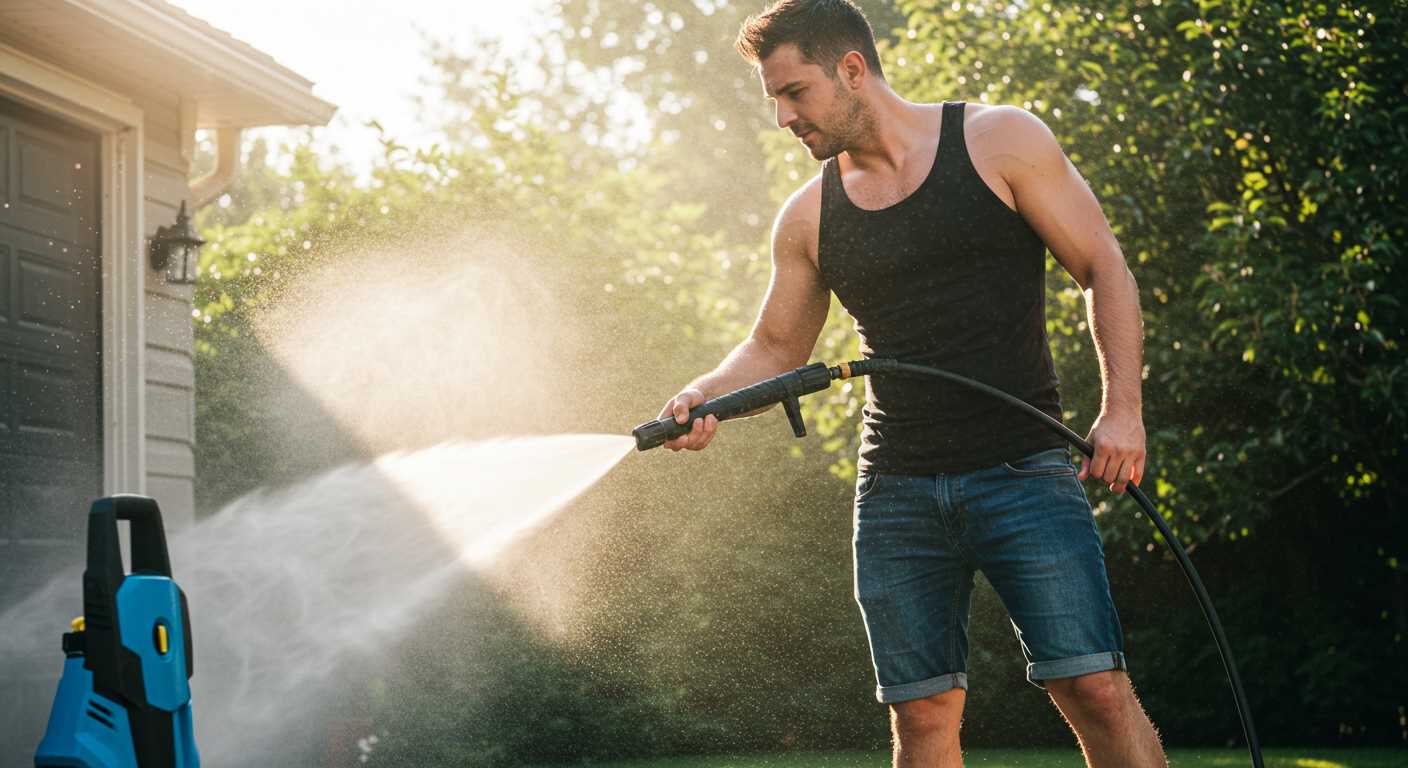
Recommended Cleaners for Window Cleaning with High-Pressure Equipment
For optimal results, I highly recommend using a biodegradable, non-toxic cleaner specifically formulated for glass surfaces. Look for products that are free from ammonia and harsh chemicals. One of my go-to brands is a concentrated formula that can be diluted with water, providing flexibility for various cleaning tasks.
In my experience, a pH-balanced solution works wonders in removing dirt and grime without streaking. I’ve found that products designed for automotive use can also be effective, as they’re engineered to provide a streak-free finish. Just make sure to check that they are safe for residential glass.
When using the cleaner, I typically mix it according to the label instructions, ensuring an effective dilution rate. It’s crucial for the mixture to be compatible with your equipment, so always verify that the cleaner is suitable for high-pressure machinery. I once used a cleaner that was too thick, which led to clogging in the nozzle–definitely a lesson learned!
For added efficiency, apply the solution with a dedicated attachment that allows for even distribution. This not only speeds up the cleaning process but also reduces the amount of product needed. I often use a wide fan tip to ensure an even application, followed by rinsing with clean water to avoid any residue.
Lastly, always test the cleaner on a small area first. This will help you avoid potential damage to your glass surfaces. I’ve encountered instances where the wrong product left behind unwanted streaks or marks, making a second pass necessary. Trust me, a little precaution goes a long way in achieving a pristine finish.
Choosing the Right Type of Soap for Window Cleaning
Start with a pH-neutral formulation, as this type is gentle on surfaces yet effective at cutting through grime. I recall a time when I used an alkaline cleaner on a delicate window frame; the results were less than satisfactory, leaving streaks and damage.
Opt for a biodegradable option. I’ve found that these products not only perform well but are also environmentally friendly. During my years in the field, I’ve seen many clients appreciate a cleaner that is safe for their gardens and pets.
Consider a concentrate; it allows for flexibility in dilution based on the level of dirt. On one occasion, I dealt with a particularly stubborn layer of film on a commercial building. The concentrated solution mixed at the right ratio tackled the challenge without excessive effort.
Look for agents with surfactants that enhance the cleaning process. I remember testing a few brands that claimed to be the best, but those with higher-quality surfactants made all the difference, breaking down contaminants more effectively.
Finally, test a small area before full application. I learned this lesson the hard way when an aggressive cleaner caused a discolouration on a painted surface. A little patch test can save you from a bigger headache. Choose wisely, and your glass will shine like new.
Understanding pH Levels in Cleaning Solutions
Opt for a neutral pH product, around 7, to maintain your surfaces while effectively removing grime. Alkaline cleaners, typically with a pH above 7, excel at breaking down organic materials and can be effective but may risk damaging sensitive glass over time. Acidic solutions, below pH 7, are great for mineral deposits but can also harm the finish of certain surfaces.
Key pH Ranges and Their Effects
- pH 6-7 (Neutral): Ideal for regular cleaning; safe for most surfaces.
- pH 8-10 (Mildly Alkaline): Suitable for removing dirt and light grease; good for tougher stains.
- pH 11-14 (Strongly Alkaline): Best for heavy-duty cleaning but may damage sensitive materials if used incorrectly.
- pH 1-6 (Acidic): Effective for mineral deposits; use cautiously on sensitive surfaces.
Testing pH Levels
Consider using pH test strips to determine the acidity or alkalinity of your chosen cleaning mix. This ensures compatibility with your surfaces, avoiding inadvertent damage. For instance, if you’ve selected a product that’s too alkaline, it could dull the shine of your glass. Always follow product guidelines and adjust as needed.
In addition to pH considerations, ensure you have the right equipment to dry surfaces effectively. A best air compressor for drying car can help remove any residual moisture, leaving your glass spotless and streak-free.
Benefits of Using Biodegradable Soaps
Choosing biodegradable alternatives offers numerous advantages that can enhance your cleaning regime while being environmentally conscious. These products break down naturally, reducing their impact on ecosystems and waterways. In my experience, using these gentle formulations has proven to be just as effective without the harsh chemicals that can harm surrounding flora and fauna.
One significant benefit is the safety aspect. Biodegradable cleaners often contain non-toxic ingredients that pose minimal risk to pets, children, and wildlife. I recall a time when I used a traditional cleaner and noticed a decline in my garden’s health. After switching to a biodegradable option, my plants thrived, and I felt better about my cleaning choices.
Another advantage is the reduced risk of surface damage. Many conventional products can be abrasive or leave residues that require additional rinsing. Biodegradable formulations typically have a gentler composition, allowing for effective cleaning without the worry of scratching or damaging delicate surfaces. During a recent project, I used a biodegradable cleaner on vintage glass and was amazed at how well it preserved the integrity of the surface while delivering a streak-free shine.
Cost-effectiveness also plays a role. While some biodegradable products may appear pricier upfront, their concentrated formulas often require less product per use, extending the life of each bottle. I’ve found that investing in these eco-friendly options ultimately saves money over time due to their efficiency and reduced need for additional cleaning supplies.
Lastly, using biodegradable options aligns well with a growing trend towards sustainability. Many consumers are becoming increasingly aware of their ecological footprint. Opting for these environmentally friendly cleaning agents not only reflects a commitment to personal health but also contributes positively to the planet. I’ve noticed that customers appreciate businesses that prioritise sustainability, and this choice can enhance your reputation in the market.
How to Dilute Soap for Pressure Washing Windows
To achieve optimal results, mix your cleaning solution at a ratio of 1:10, meaning one part concentrate to ten parts water. This dilution ensures that the cleaning agent effectively cuts through grime without leaving any residue.
Start by filling a clean container with the required amount of water. Next, add the specified quantity of the concentrated cleaning agent. For instance, if you’re using 100 ml of concentrate, combine it with 1 litre of water. Stir thoroughly to ensure an even mixture, avoiding any clumps of undissolved product.
Always refer to the manufacturer’s guidelines on the label, as some formulations may require adjustments depending on the type of surface or level of dirt. If the windows have not been cleaned in a while, consider a stronger concentration, such as 1:5, to tackle stubborn stains. However, be cautious with this approach to prevent damage to delicate surfaces.
After mixing, pour the solution into the reservoir of your cleaning device. Test the mixture on a small, inconspicuous area first to ensure compatibility. This step can save you from potential issues and guarantees that the outcome meets your expectations.
Lastly, keep track of the dilution process. Maintaining consistency in your mixtures will lead to better results over time, making your window cleaning routine more effective and efficient.
Common Mistakes When Using Soap in Pressure Washers
Not diluting the solution properly leads to streaks and residue on surfaces. I remember the first time I tackled a large window cleaning job. I thought more product meant better results. Instead, I ended up with a mess. Always follow the manufacturer’s instructions for mixing ratios to achieve optimal cleaning without leaving unwanted marks.
Ignoring the Right Application Technique
Applying too much product at once can create a thick layer that’s tough to rinse off. I learned this lesson the hard way during a sunny afternoon clean. The heat dried the soap before I could rinse it, resulting in a sticky film. A light, even application with a consistent motion helps avoid this issue. Use the correct nozzle for the job, as a wider spray can help distribute the cleaner more evenly.
Not Testing on a Small Area First
Skipping a test patch can lead to unexpected results. I recall one instance where I used a new cleaner without testing it first. The chemical reaction with the window frame caused discolouration. Always test on a small, inconspicuous area to ensure compatibility and avoid costly mistakes. This simple step can save time, money, and frustration.
For more insights on effective methods, check out these tips and techniques for pressure washing brick. They can provide useful parallels for maintaining different surfaces while ensuring you get the best results.

Best Brands of Soap for Window Pressure Washing
I’ve had the chance to test numerous brands over the years, and a few stand out for their performance and reliability. Here are my top recommendations based on personal experience:
| Brand | Features | Recommended For |
|---|---|---|
| Simple Green | Biodegradable, low suds, safe for various surfaces | Eco-conscious users, residential cleaning |
| Krud Kutter | Powerful grease and grime removal, non-toxic | Heavy-duty cleaning, commercial applications |
| Sun Joe | Specialty formula for windows, streak-free finish | Window cleaning enthusiasts, home use |
| Zep | Professional-grade, concentrated formula | Contractors, large-scale projects |
| Mrs. Meyer’s Clean Day | Natural ingredients, pleasant scents | Households looking for gentle options |
When I first tried Simple Green, I was impressed by how it tackled grime without leaving a residue. It’s an excellent choice for anyone who prioritises environmental concerns. On the other hand, Krud Kutter was my go-to for tougher jobs, especially on commercial sites where stubborn stains are common.
Sun Joe’s formula truly shines on glass surfaces, leaving them crystal clear. I remember a project where I used it on a high-rise building, and the results were exceptional. Zep is perfect for larger operations. Its concentrated nature means you get more cleaning power per bottle, which is ideal for contractors like me who need efficiency.
Lastly, Mrs. Meyer’s Clean Day offers a refreshing alternative for home users who prefer a gentler approach. The pleasant scents can make the experience of cleaning much more enjoyable.
In conclusion, selecting the right brand can significantly affect the outcome of your cleaning tasks. Try a few to see which one suits your needs best; each has its own strengths that can cater to different situations.
Safety Precautions When Using Cleaning Agents in High-Pressure Applications

Always wear protective gear, including gloves and goggles, to shield your skin and eyes from splashes. I’ve seen too many accidents occur when operators underestimate the potency of the cleaning agents involved. A simple spray can lead to irritation or even injuries if you’re not careful.
Handling and Storage
Store your cleaning solutions in a cool, dry place away from direct sunlight. I once left a container outside, and the heat caused the product to degrade, rendering it ineffective. Always check the labels for specific storage instructions.
Mixing Solutions
Follow manufacturer guidelines strictly when diluting. Over-concentration can damage surfaces and lead to unwanted residue. I recall a project where I mixed a solution too strong, resulting in streaks that took extra effort to clean up later.
- Never mix different brands or types of formulations; reactions can occur.
- Test any new mixture on a small, inconspicuous area first.
- Keep a bucket of clean water nearby in case of spills or accidents.
Be mindful of environmental factors. Wind can carry mist into areas you don’t want treated, including plants or pets nearby. I’ve had to clean up after a careless application that affected the garden.
Finally, always read safety data sheets (SDS) for any product you are using. Understanding hazards can make a significant difference in how you approach the task at hand. I once overlooked this step and faced an unpleasant surprise during a clean-up operation.
.jpg)


