

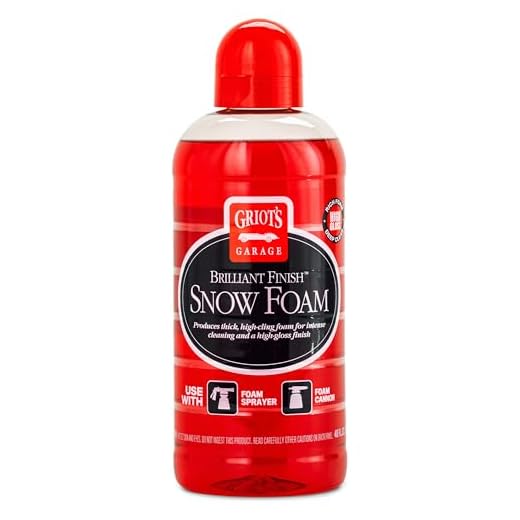


For optimal results, I highly recommend a pH-balanced car shampoo specifically designed for high-pressure cleaning equipment. These products are formulated to break down dirt and grime effectively without damaging the vehicle’s paintwork. Look for brands that advertise compatibility with pressure cleaning systems, as they tend to produce the best foam and cling to surfaces longer.
From my experience, using a dedicated automotive cleaner rather than household dish soap or general-purpose cleaners is crucial. Household products can contain harsh ingredients that strip wax and harm protective coatings. During my years as a consultant, I tested various formulations, and those specifically targeted at vehicles always yielded superior outcomes.
When mixing the solution, follow the manufacturer’s instructions closely. A common ratio is about one part detergent to ten parts water, but always check your product’s label. Too much detergent can lead to excessive suds, which can be counterproductive in a high-pressure environment. I’ve seen many people struggle with their equipment due to improper mixing, so it’s worth paying attention to this detail.
After applying the detergent, allow it to sit for a few minutes to penetrate the grime before rinsing. This waiting time enhances the cleaner’s effectiveness, as I’ve observed over countless washes. Using a soft brush or sponge can help lift stubborn dirt, but be gentle to avoid scratches.
In conclusion, selecting the right product and using it correctly can transform a tedious chore into a satisfying task, leaving your vehicle looking immaculate. Trust me; your hard work will be evident in the shine and protection of your vehicle’s surface.
Recommended Cleaning Agents for High-Pressure Equipment
For optimal results, I always suggest using pH-balanced products specifically formulated for automotive surfaces. These solutions effectively lift dirt and grime without damaging the paintwork. Brands such as Meguiar’s and Chemical Guys offer excellent options that work well with high-power units.
Another tip I’ve learned over the years is to consider foam cannons. They create a thick layer of foam that clings to the surface, allowing for deeper penetration and easier removal of contaminants. This not only enhances cleaning but also minimises the risk of scratches as you rinse.
If you prefer a more eco-friendly alternative, there are biodegradable formulas available. They are gentle on the environment while still delivering great results. Just ensure they are compatible with your equipment to avoid any potential damage.
Always dilute concentrated products as per the manufacturer’s instructions. This not only saves you money but also prevents any residue that may cause streaking or spotting on your vehicle. For a thorough clean, I recommend starting from the top and working your way down to ensure all dirt flows off the surface.
For more information on selecting the right equipment and cleaning solutions, check out the guide on car pressure washer and foam. It offers detailed insights and product recommendations that can make a real difference in your cleaning routine.
Understanding the Different Types of Car Wash Soaps
Choosing the right cleaning agent can significantly impact the outcome of your detailing session. From my experience, I’ve encountered several formulations, each tailored for specific purposes. Here’s a breakdown of the most common types I recommend.
pH-Neutral Formulations
These products are gentle on paint and wax coatings. They clean effectively without stripping away protective layers. I often opt for pH-neutral solutions when working on freshly waxed vehicles or those with delicate finishes. They provide a safe yet thorough cleanse.
Foaming Agents
Foaming cleansers are fantastic for breaking down grime and dirt. They cling to surfaces, allowing for an extended contact time. I’ve found that using a foaming agent with a pressure sprayer enhances the cleaning process. Just ensure it’s compatible with your equipment to avoid any mishaps.
For those looking for added convenience, pre-mixed products can save time. However, always check the label for compatibility with your technique and equipment. The right choice can transform a regular cleaning routine into a rewarding experience, leaving your vehicle sparkling and well-maintained.
Remember, not all products are created equal. Testing a few on different surfaces can help you find what works best for your specific needs. The joy of seeing a clean vehicle is worth the effort of choosing wisely.
Advantages of Using Soap Specifically for Pressure Washers
Choosing a formula designed for high-pressure cleaning equipment can significantly enhance your results. These products are crafted to work seamlessly with the mechanics of your device, leading to better dirt and grime removal. During my years in the cleaning equipment industry, I found that using a compatible cleaner not only improves performance but also reduces the risk of damage to both the machine and the surfaces being treated.
Optimal Foaming Action
Formulations tailored for high-pressure systems generate a thick foam that clings to surfaces. This property allows for extended dwell time, which aids in loosening stubborn contaminants. I recall a time when I was cleaning a heavily soiled vehicle; the foam held on tight, allowing me to rinse away dirt and grime effortlessly, revealing a shine that wasn’t achievable with standard cleaners.
Surface Protection
Specialised cleaners often include additives that provide a layer of protection post-cleaning. They can help shield paintwork from harmful UV rays and environmental pollutants. I once used a product that not only cleaned but also left a protective layer, which made the next clean-up much easier and maintained the vehicle’s finish for longer. This dual action is a significant advantage over regular detergent.
Ultimately, selecting a cleaner designed for high-pressure systems is a wise investment. The benefits of enhanced cleaning efficiency, surface protection, and compatibility with your equipment make it a choice worth considering. Your machine and surfaces will thank you for it.
How to Choose the Right pH Level for Car Wash Soap
Opt for a pH-neutral solution, ideally around 7, for gentle cleaning that won’t harm vehicle surfaces. Alkaline products, typically ranging from 8 to 11, can effectively tackle tough grime and road film but may risk damaging wax layers or paint if left on too long. Acidic formulas, below 7, can remove heavy deposits but should be approached cautiously to avoid etching clear coats.
Understanding Your Vehicle’s Finish
Each finish reacts differently to varying pH levels. For instance, a matte or satin finish may require a more balanced product to maintain its appearance. I once tested a high-alkaline cleaner on a matte finish and ended up with discolouration. Always consider the manufacturer’s recommendations for your vehicle’s specific surface.
Environmental Considerations
Many regions have regulations regarding the discharge of cleaning agents. A biodegradable, pH-neutral option is often the safest choice to ensure compliance with local laws while protecting surrounding ecosystems. During my time in the industry, I found that opting for eco-friendly solutions not only benefits the environment but also attracts customers who appreciate sustainable practices.
Top Brands of Car Wash Soap Compatible with Pressure Washers
For optimal results, I highly recommend brands like Meguiar’s, Chemical Guys, and Adam’s Polishes. Each offers a range of products that cater specifically to high-powered cleaning tools. Meguiar’s Gold Class is a personal favourite of mine; it provides excellent lubrication and helps prevent swirl marks while cutting through grime effectively.
Chemical Guys’ Mr. Pink is another fantastic option. It’s a versatile formulation that works beautifully in tandem with high-pressure systems. I’ve tested it on various vehicles, and it consistently delivers a streak-free finish, leaving a brilliant shine.
Adam’s Polishes also deserves a mention. Their Ultra Foam Shampoo is especially effective for those who love a thick foam. It clings well to surfaces, allowing for a thorough cleanse without damaging the paint. In my experience, it’s one of the best for maintaining a vehicle’s finish while also providing satisfying foam action.
For eco-conscious users, consider products from Eco Touch. Their environmentally friendly formulas yield impressive results and are safe for both your vehicle and the planet. I’ve personally tested their eco-friendly cleaning solutions, and they don’t compromise on performance.
Don’t overlook the importance of pH balance in your choice. Neutral pH options are typically the safest for painted surfaces. Always check labels to ensure that the selected product won’t strip wax or sealants.
For those looking for a multi-functional tool, I’ve found that combining a quality detergent with a reliable foam cannon can enhance the cleaning process. If you’re interested in other outdoor maintenance tools, check out the best garden pond vacuum. It’s amazing how the right equipment can make a difference!
Homemade Solutions for Pressure Washing Your Vehicle
One of the best aspects of maintaining your vehicle at home is the ability to create your own cleaning mixtures. Not only can you save money, but you also have control over the ingredients used. Here’s how to whip up effective homemade mixtures that work well with high-powered cleaning equipment.
Basic Ingredients
- Baking Soda: Acts as a gentle abrasive, helping to lift dirt without scratching surfaces.
- Dish Detergent: A small amount can break down grease and grime effectively. Look for a gentle formula to avoid damaging paint.
- White Vinegar: This natural acid helps to cut through tough stains and adds shine to surfaces.
- Water: Always the main component. Use warm water for better results, as it can enhance the cleaning power of your ingredients.
Simple Recipe
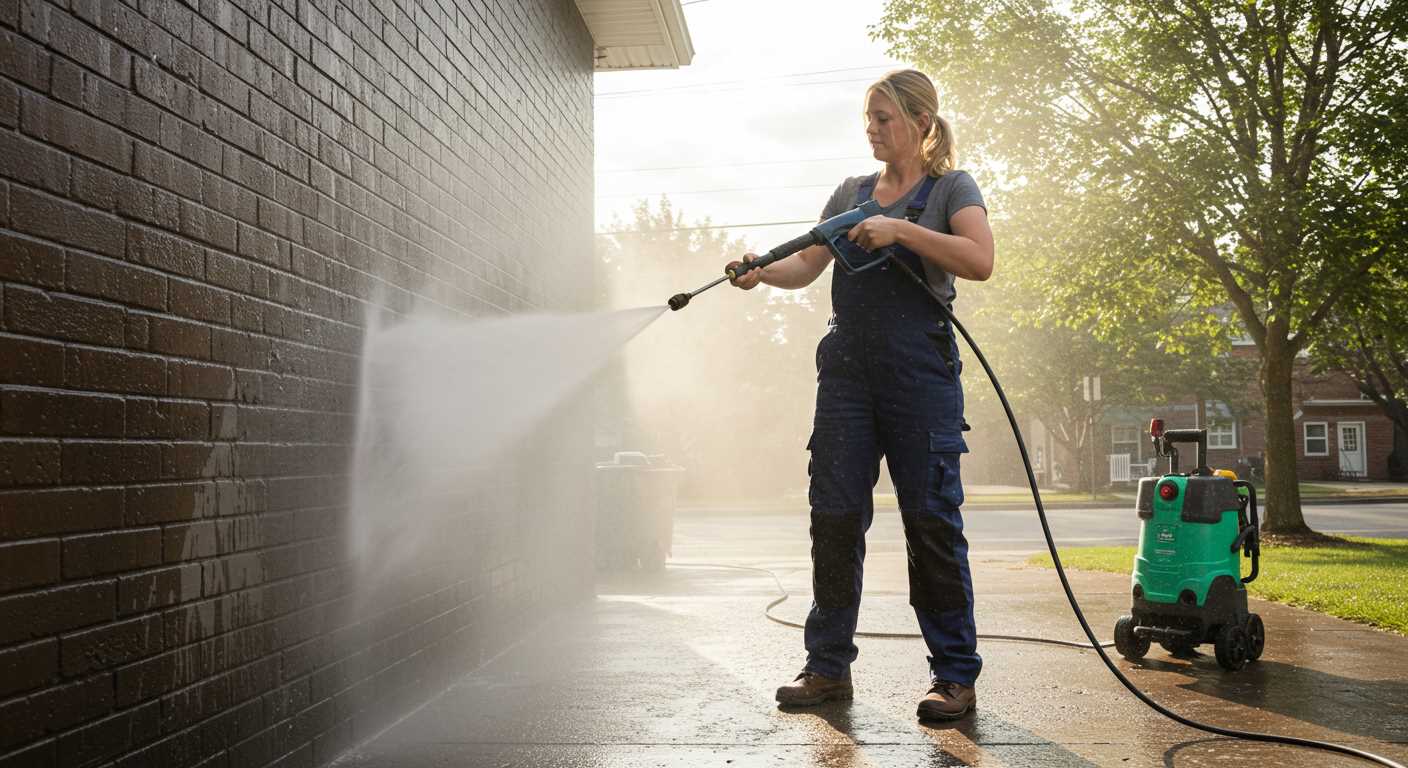
To create a basic cleaning solution, mix the following:
- 1 cup of baking soda
- 1 cup of dish detergent
- 1 cup of white vinegar
- 2 gallons of warm water
Combine these ingredients in a large bucket, stirring gently to avoid excessive foaming. Once mixed, pour it into your cleaning device’s detergent reservoir. Adjust the amount based on the size of your vehicle or the level of dirtiness.
Before applying any concoction, it’s wise to rinse the vehicle to remove loose debris. This prevents scratching during the cleaning process.
For stubborn spots, consider applying a concentrated mixture directly to the area and letting it sit for a few minutes before rinsing. This allows the ingredients to penetrate and lift the grime effectively.
Always test any homemade mixture on a small, inconspicuous section first to ensure compatibility with your vehicle’s finish. This precaution helps avoid any adverse reactions.
Embrace the fun of experimenting with various ratios and ingredients to find what works best for your specific vehicle and cleaning needs. Happy cleaning!
How to Properly Dilute Car Wash Soap for Pressure Washing
To achieve optimal results, adhere to the manufacturer’s instructions for dilution ratios. Typically, the ideal ratio ranges from 1:10 to 1:20, depending on the product’s concentration and the level of dirt on the surface. For heavily soiled vehicles, a stronger mixture is advisable.
Here’s a straightforward method to mix your solution:
| Water (litres) | Concentrated Cleaner (ml) | Dilution Ratio |
|---|---|---|
| 10 | 500 | 1:20 |
| 10 | 1000 | 1:10 |
First, measure the required amount of water into a clean bucket. Next, add the appropriate quantity of concentrated solution. Stir gently to ensure even distribution. Avoid vigorous shaking, as this can create excessive foam that makes application difficult.
For optimal application, I recommend using a foam cannon or gun, as these tools enhance coverage and cleaning efficiency. If applying manually, ensure a soft sponge or mitt is used to prevent scratches.
After applying the mixture, let it sit for a few minutes to break down grime before rinsing thoroughly. This process helps lift dirt without excessive scrubbing, preserving the vehicle’s finish.
Always test your dilution on a small, inconspicuous area to ensure compatibility with the vehicle’s surface. Adjust the ratio if necessary, especially if the vehicle’s finish shows signs of distress or if the cleaner appears too strong.
Common Mistakes When Using Soap with a Pressure Washer
One of the most frequent errors I’ve encountered is selecting the wrong formulation. Not all cleaning agents are compatible with high-powered units. Using a standard dish detergent can lead to foaming issues and potential damage to internal components. Always check for products specifically labelled for pressure cleaning.
Another common blunder is applying too much of the cleaning solution. I’ve seen people douse their vehicles thinking more is better, only to find that it leads to streaks and residue. A little goes a long way; follow the manufacturer’s dilution guidelines closely.
Neglecting to pre-rinse surfaces is also a misstep I’ve witnessed repeatedly. Failing to remove loose dirt and debris beforehand can result in scratches. Pre-rinsing prepares the surface for effective cleaning and enhances the performance of the chosen cleaning agent.
Additionally, applying cleaners in direct sunlight can be problematic. The heat often causes the product to dry too quickly, leaving unsightly marks. I recommend working in shaded areas whenever possible, especially during warmer months.
Lastly, not rinsing thoroughly can lead to a sticky finish that attracts more dirt. After applying and agitating the cleaner, ensure that all residues are completely flushed away. This simple step can make a significant difference in the final appearance of the surface.
Tips for Rinsing Off Soap After Pressure Washing Your Vehicle
First and foremost, ensure the surface is cool before starting the rinse. This prevents soap from drying too quickly and leaving streaks.
Optimal Rinsing Technique
- Begin rinsing from the top down. This allows dirty water and soap to flow downwards, minimising the chance of recontaminating clean areas.
- Utilise a wide spray pattern to cover more surface area efficiently. A fan nozzle works well for this task, as it disperses water evenly.
- Maintain a distance of about 2-3 feet from the surface to prevent damage while ensuring thorough coverage.
Timing and Water Temperature
- Don’t let the cleaning agent sit for too long. Aim for a rinse within a few minutes of applying it to avoid residue.
- Warm water can enhance the rinsing process by aiding in the removal of any stubborn residue. If your system allows, consider using warm water.
After completing the rinse, inspect the vehicle for any missed spots. Pay particular attention to crevices and areas around trims, as these can trap remnants of the cleaning solution.
Finally, consider using a second rinse with a spot-free rinse aid. This can help eliminate water spots, ensuring a spotless finish once the vehicle is dry.


.jpg)


