


If your cleaning unit is showing no signs of life, the first step is to check the power source. Ensure the electrical outlet is functioning by testing it with another device. If the outlet is fine, inspect the power cord for any visible damage or fraying. A faulty cord can prevent the device from receiving the necessary power.
Next, examine the on/off switch. Over time, switches can become sticky or faulty. Sometimes, a gentle wiggle can restore functionality, but if the switch feels loose or damaged, it may need replacement. I once had a model that refused to engage simply due to a worn switch–an inexpensive fix that saved a lot of frustration.

Another common issue lies within the safety features. Many units have built-in safety mechanisms that prevent operation if certain conditions aren’t met. Check the water supply; ensure the hose is connected and there are no kinks obstructing the flow. Without sufficient water pressure, the system won’t activate. I recall a customer who spent hours troubleshooting only to realise the hose was pinched behind a shrub.
Lastly, inspect the spark plug if your unit is gas-powered. A worn or dirty spark plug can prevent ignition. Cleaning it or replacing it often does the trick. I’ve seen machines come back to life with just a simple spark plug swap, turning frustration into satisfaction in mere minutes.
Check the Power Supply and Connections
Ensure the power source is functioning. Plug another device into the same outlet to verify it’s operational. If that device fails to work, the issue lies with the outlet or circuit.
Next, inspect the power cord. Look for any visible damage such as fraying or cuts. If the cord is compromised, it will need replacement. Always use the correct type of cord recommended by the manufacturer.
Test the connections. Unplug and replug all cables to ensure they’re secure. Sometimes, a loose connection can prevent the machine from receiving adequate power.
- Check the extension cord, if used. It should be rated for the equipment’s power requirements.
- Ensure no other devices are drawing excessive power from the same circuit.
- If using a power strip, verify that it’s functioning correctly and not overloaded.
If everything appears intact, consider resetting any circuit breakers. Locate the breaker box and ensure none have tripped. If you find a tripped breaker, reset it and check again.
Lastly, if your equipment is electric, double-check that the on/off switch is in the correct position. It sounds simple, but it’s easily overlooked!
Inspect the Power Cord for Damage
Check the power cord for frays or cuts. A damaged cord can disrupt the flow of electricity, preventing your machine from functioning properly. Look closely at both ends and along the length for any signs of wear.
If you spot any issues, replace the cord immediately. Using a damaged cord poses safety risks and might lead to further electrical problems. Always opt for a replacement that matches the specifications of the original cord to ensure compatibility.
In my experience, I once encountered a unit that seemed completely unresponsive. After thorough inspection, I found a small cut in the cord that was barely noticeable. A simple replacement resolved the issue, and the equipment worked like new. It’s often the small details that make a significant difference.
Ensure connections are secure. Loose or corroded connections can mimic the symptoms of a faulty cord. Disconnect the cord from the outlet and inspect the terminals for any signs of dirt or corrosion. Cleaning them carefully can restore a good connection.
Always remember to unplug the equipment before conducting any checks or repairs. Safety should be your top priority. Taking these straightforward steps can save you time and potential frustration.
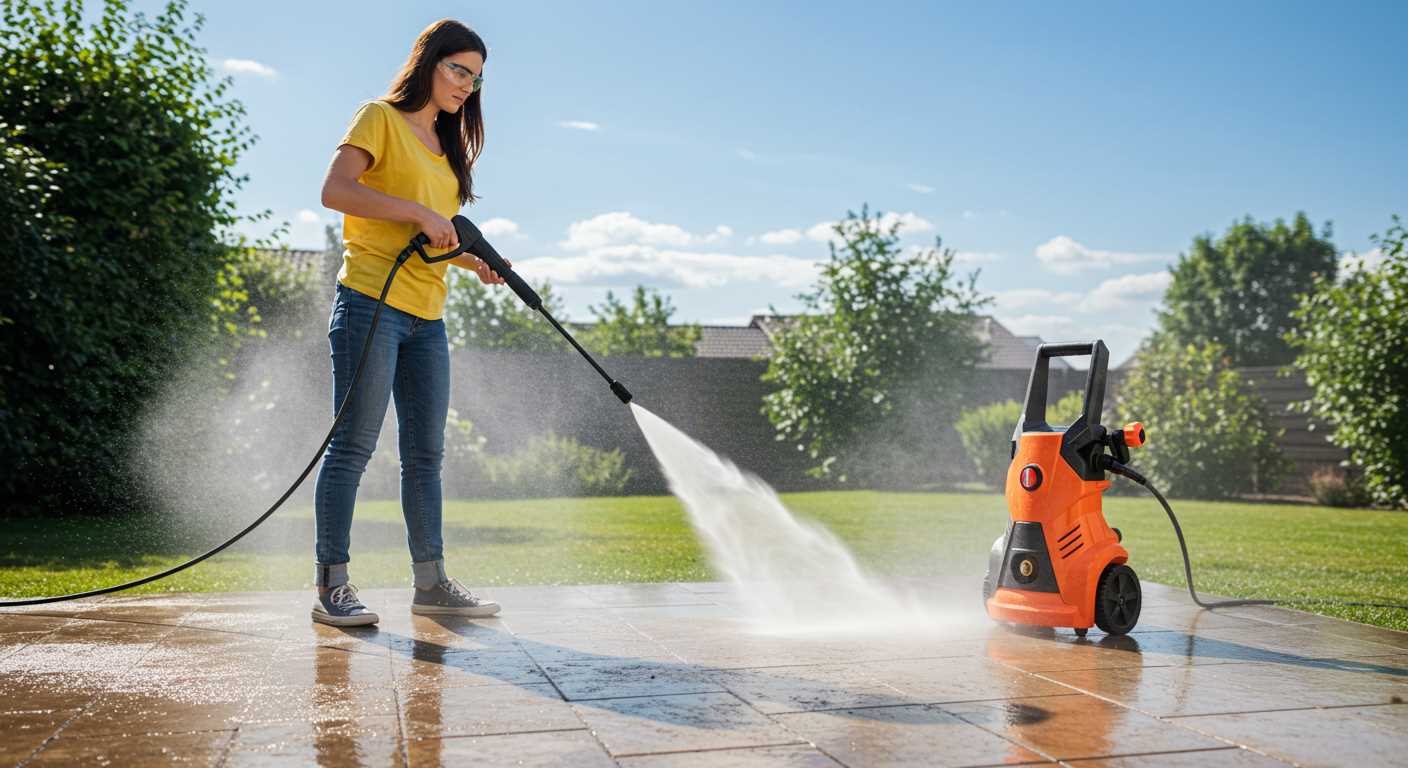
Examine the water supply and hoses
Check the water source before anything else. Ensure that the tap is fully open and that there’s a steady flow. I once encountered a situation where a customer thought their unit was faulty, but it turned out the water supply was partially shut off. If the flow is weak, it might not be enough to trigger the system.
Next, inspect the hoses. Look for kinks or blockages that could restrict water flow. I’ve seen hoses that looked fine on the outside but had internal blockages from debris. Disconnect the hose from the inlet and run water through it to ensure it’s clear.
Also, verify that the connections are secure. Loose fittings can lead to leaks, which could prevent optimal performance. I recall a case where a loose connection caused the machine to lose pressure, leading to frustration for the user. Tightening those fittings solved the problem instantly.
Lastly, consider the quality of the hoses. Old or damaged hoses can deteriorate quickly and affect functionality. If you notice any cracks or signs of wear, replacing the hose could save you a lot of hassle down the line.
Verify the fuel level in petrol models
Check the fuel tank for an adequate level of petrol. I’ve encountered many situations where a simple glance at the gauge or dipstick revealed the culprit. If the tank is empty or near empty, refill it with fresh fuel. Old or contaminated petrol can lead to starting issues, so always use clean, high-quality fuel.
While refuelling, make sure to tighten the cap securely after filling. A loose cap can allow air to enter the system, causing starting troubles. After refuelling, give the machine a few moments to settle before attempting to ignite it again.
If you suspect the fuel might be stale, consider draining the tank and replacing it with new petrol. It’s a straightforward task that can save you time and frustration down the line. Remember to check for any signs of leaks around the fuel lines or connections, as any leaks can compromise performance.
After refuelling, try to start the unit again. If it still doesn’t ignite, examine the fuel filter next. A clogged filter can restrict flow and prevent the engine from receiving enough fuel. Replacing an old or dirty filter is usually an easy fix and can make a significant difference.
Assess the Oil Levels and Quality
Check the oil levels in your machine before anything else. Many models require regular oil checks, especially those powered by petrol. Simply remove the dipstick, wipe it clean, reinsert it, and then pull it out to see the oil level. It should be within the marked range. If it’s low, top it up with the recommended type of oil.
Evaluate Oil Quality
Look closely at the oil’s colour and consistency. Fresh oil is typically amber; if it appears dark or sludgy, it’s time for a change. Contaminated oil can lead to engine damage, so don’t ignore this step. Drain the old oil completely before refilling with new oil, ensuring you follow the manufacturer’s guidelines for the correct type and quantity.
Regular Maintenance
I recall a time when I overlooked oil quality during a busy season. The machine sputtered and eventually stalled, costing me valuable time. Since then, I’ve made it a routine to check oil levels and quality before any significant usage. Regular maintenance not only prolongs the lifespan of the equipment but ensures optimal performance every time it’s needed.
Look for clogs in the inlet filter
Begin by inspecting the inlet filter for blockages. A clogged filter can significantly hinder water flow, preventing the unit from functioning properly. This is a common issue I’ve encountered over the years with various models.
Steps to check the inlet filter:
- Turn off the machine and disconnect it from the power source.
- Locate the inlet filter, which is typically found where the water supply connects to the unit.
- Remove the filter and examine it for debris such as dirt, leaves, or mineral deposits.
- If you notice any obstructions, clean the filter thoroughly with water. A soft brush can help remove stubborn particles.
- Once clean, reinstall the filter securely before reconnecting the water supply.
Additional tips:
- Regularly check the filter during routine maintenance to ensure optimal performance.
- Consider using a fine mesh filter to prevent larger debris from entering the system in the first place.
- If clogs persist, inspect the water source for any issues, such as sediment buildup in the hose.
For those tackling smaller jobs, consider investing in a pressure washer for small jobs that may come with a more accessible filter design.
Test the Ignition System for Faults
Begin by inspecting the ignition system components. Check the spark plug for wear or damage. A fouled or worn spark plug can prevent the engine from firing. If it appears dirty or worn, replacing it can resolve ignition issues.
Examine the Ignition Coil
Next, evaluate the ignition coil. This component is responsible for generating the spark needed to ignite the fuel-air mixture. Use a multimeter to test its resistance. If the readings are outside the manufacturer’s specifications, the ignition coil may need replacement.
Inspect Wiring and Connections
Lastly, scrutinise the wiring connected to the ignition system. Look for frayed wires, loose connections, or corrosion. These issues can disrupt the electrical flow and prevent ignition. Repair or replace any damaged components to ensure a reliable connection.
Check the Pressure Switch Functionality
First off, ensure that the pressure switch is functioning correctly. This component is crucial as it regulates the operation of the motor based on water flow and pressure. If the switch is faulty, the motor may not engage, which can lead to the whole system being unresponsive.
Begin by locating the pressure switch, which is typically found near the pump assembly. Check for any visible signs of damage or wear, such as cracks or corrosion. If the unit appears intact, you can proceed to test its functionality.
Use a multimeter to check for continuity. Disconnect the power supply first for safety. Set your multimeter to the resistance (ohms) setting. Connect the probes to the switch terminals and activate the unit’s trigger. A reading close to zero indicates the switch is functioning well. If there’s no continuity, it’s time to replace the pressure switch.
Keep in mind that environmental factors can affect the switch’s performance. For instance, moisture exposure can lead to corrosion. Always ensure the unit is stored in a dry environment to prolong its lifespan. If you’re looking for equipment to maintain your garden in top shape, you might find the best garden blowers and vacuums useful as well.
Lastly, after replacing or repairing the switch, reconnect everything and test the unit again. If it still doesn’t operate, further investigation into other components may be required. Regular maintenance of the pressure switch can prevent unexpected failures and keep your cleaning tasks running smoothly.
Consult the User Manual for Troubleshooting Tips
Always have your user manual close at hand. This invaluable resource contains specific troubleshooting steps tailored to your model. I remember a time when I faced a similar issue with a well-known brand. The manual detailed a checklist that helped me identify the problem in under ten minutes.
Look for Specific Guidance
The manual often outlines common issues associated with different models. For instance, it may provide particular instructions on resetting the system or identifying error codes. I once overlooked a minor reset procedure that turned out to be the solution for a seemingly complex problem. Don’t underestimate the power of these instructions–they can save you time and frustration.
Check Maintenance Recommendations
User manuals typically include maintenance schedules and tips. Following these can prevent future malfunctions. I’ve seen many users neglect basic upkeep, leading to avoidable breakdowns. Adhering to these guidelines not only optimises performance but can also extend the lifespan of your equipment.


.jpg)


