


For tackling dirt and grime on those plastic exteriors, I recommend starting with a pressure rating of around 2000 to 2500 PSI. This range offers enough power to remove stubborn stains without risking damage to the surface. Adjusting the nozzle to a wide spray pattern is critical; it distributes the water evenly, preventing concentrated force on any one point that could lead to scratches.
In my experience, combining a gentle detergent specifically formulated for these surfaces can significantly enhance results. I’ve tried various products, and those that are biodegradable not only protect the environment but also ensure safety for the surrounding plants. Mixing the cleaner according to the manufacturer’s instructions is key; too strong a solution can lead to residue or even fading.
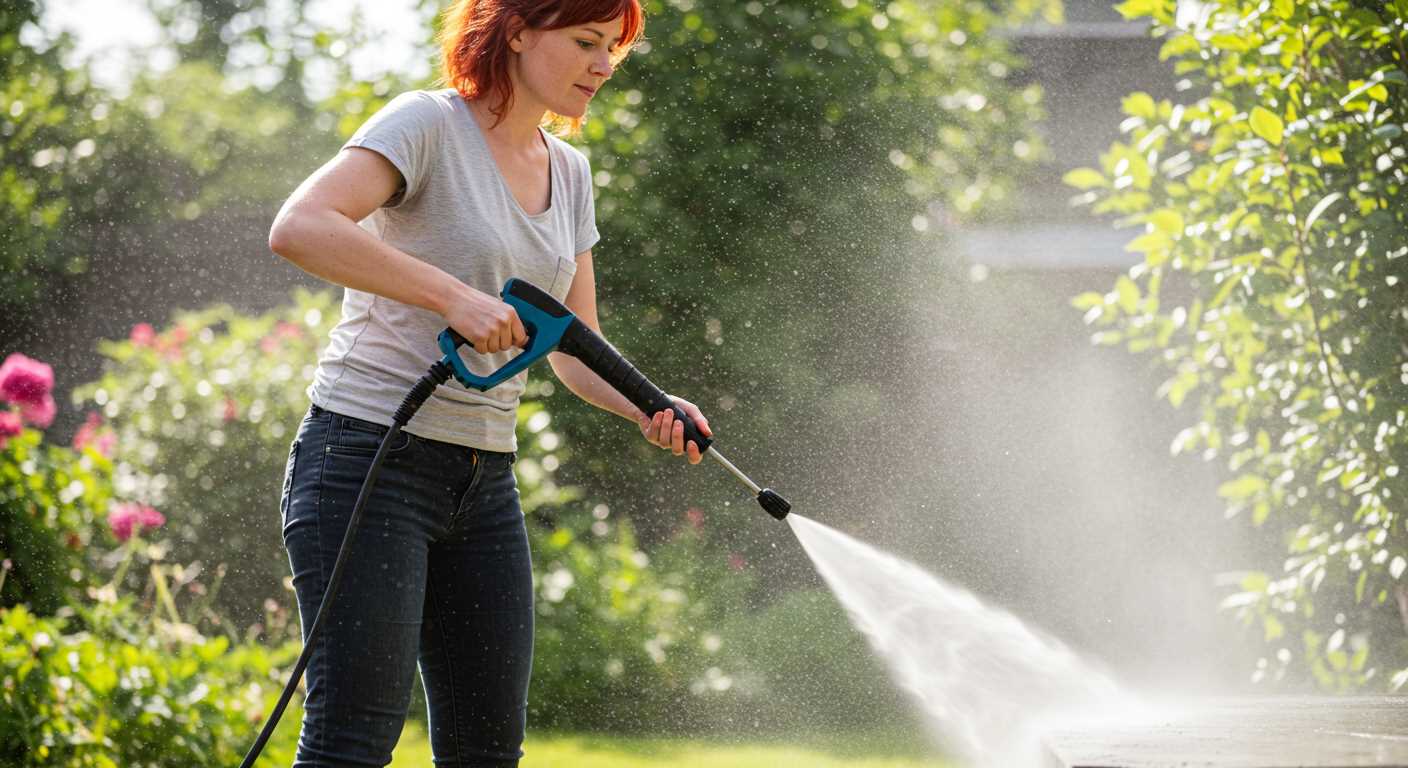
When applying, I always recommend using a low-pressure setting initially. This allows you to gauge the effectiveness of the detergent and water mix. Move the sprayer in a horizontal motion, starting from the bottom and working your way up. This technique prevents streaking and ensures that dirt is washed away rather than pushed into seams. After the initial rinse, a second pass at a higher pressure can help lift any remaining stubborn spots.
Don’t forget to keep an eye on your distance from the surface; maintaining about a foot or two away is ideal. Too close, and you risk etching the material; too far, and you lose cleaning effectiveness. After you’re done, a quick rinse with plain water is a great way to ensure that no detergent lingers, keeping the finish looking fresh for longer.
Selecting the Right Pressure Washer for Vinyl Siding
Choose a model with a minimum of 1,500 PSI and a flow rate of at least 1.4 GPM. This combination effectively removes dirt and grime without causing damage. I remember testing a unit with 1,800 PSI; it worked wonders while remaining gentle on surfaces.
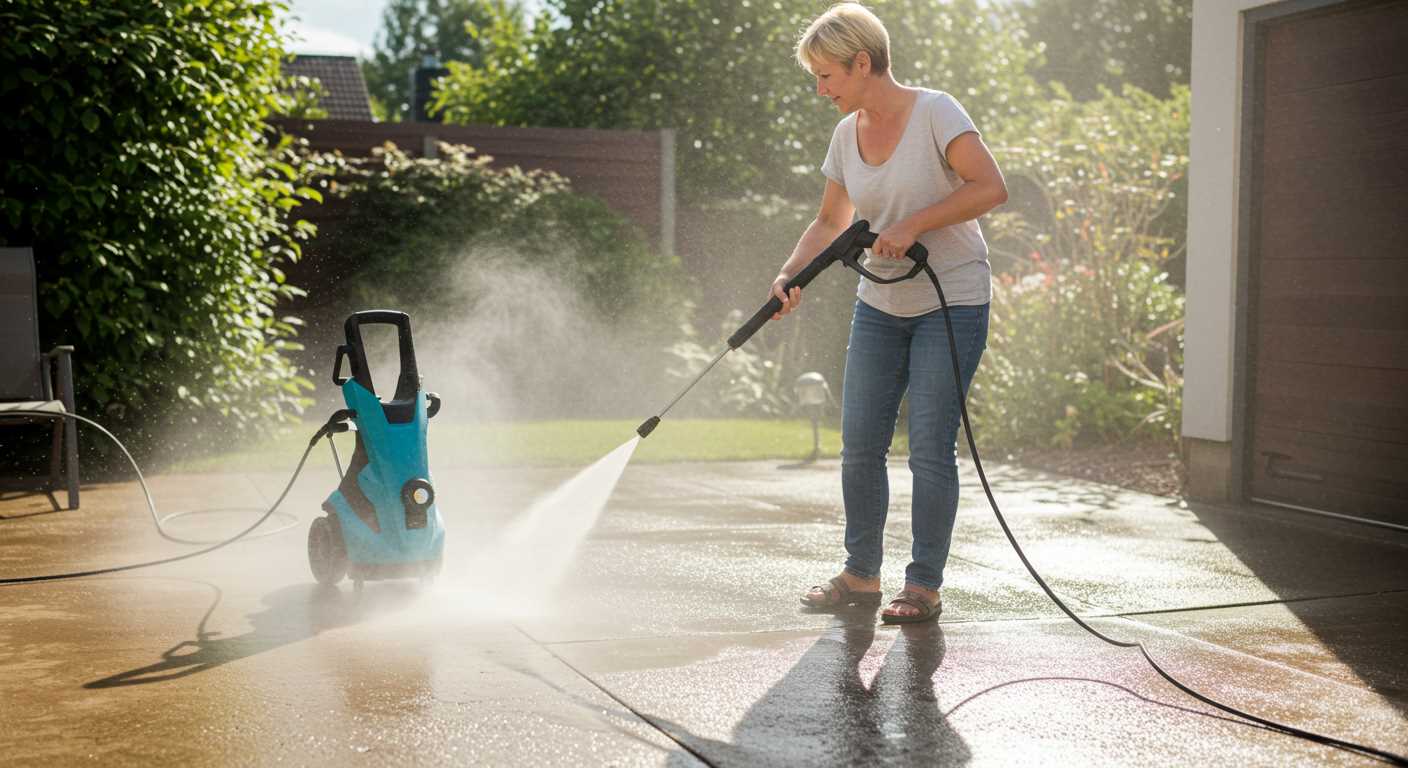
Consider the type of motor. Electric units are quieter and lighter, making them suitable for residential tasks. In contrast, gas-powered machines deliver higher pressure and are ideal for extensive cleaning projects. I once used a gas model for an entire day, and it handled everything effortlessly, from tough stains to large areas.
Look for adjustable nozzles. A machine with interchangeable tips allows you to modify the spray pattern. I often find that a 25-degree nozzle works best for most cleaning tasks, striking a balance between power and safety.
Weight matters too. If you plan to manoeuvre the equipment around your property, a lightweight option can be a game changer. I’ve struggled with bulky machines while trying to clean hard-to-reach areas. A compact model made my experience much smoother.
Maintenance features should not be overlooked. Machines with easy access to the pump and filters can save you time and hassle. I recall a model that required minimal upkeep, allowing me to focus on the task rather than repairs.
Lastly, consider brand reputation and customer support. Investing in a reliable name can make a difference. I’ve seen how responsive support services can turn a frustrating situation into a positive experience. Always check reviews and testimonials before making a decision.
| Feature | Recommendation |
|---|---|
| Pressure (PSI) | Minimum 1,500 |
| Flow Rate (GPM) | At least 1.4 |
| Motor Type | Electric for light tasks, Gas for heavy-duty |
| Nozzle Type | Adjustable with multiple tips |
| Weight | Lightweight preferred for ease of use |
| Maintenance | Easy access to components |
| Brand Reputation | Research customer support and reviews |
Choosing the Best Cleaning Solutions for Vinyl Siding
For optimal results, I recommend using a mixture of water and a specially formulated cleaning agent. Look for products designed specifically for exterior surfaces. These solutions are typically biodegradable and safe for plants, ensuring your garden remains untouched. A ratio of one part cleaner to four parts water works well for most applications.
Types of Cleaning Agents
I’ve found that oxygen bleach is a fantastic choice. It’s effective in removing mould and mildew without being harsh. Unlike chlorine bleach, it won’t damage your plants or surrounding surfaces. Alternatively, a vinegar solution can work wonders as a natural option. Mix equal parts water and vinegar for a gentle yet effective alternative.
Commercial Products
In my experience, there are several commercial products that stand out. Look for brands that offer concentrated formulas, as they often provide better value and performance. Always check for compatibility with your specific surface material. I once used a highly rated product that promised to tackle tough stains, and I was impressed by its effectiveness without requiring excessive scrubbing.
Understanding Pressure Settings for Safe Cleaning
For optimal results, maintain a pressure setting between 1200 and 1600 PSI. This range effectively removes dirt without damaging surfaces. I recall a time when I used a higher setting, thinking it would be more effective. The result was a few scratches that took extra time to fix. It’s not worth the risk.
Adjusting Nozzle Types
Choose a wider nozzle, such as 25 or 40 degrees, to diffuse the water stream. A narrow angle can concentrate the force too much, leading to potential harm. I learned this lesson when a 15-degree nozzle caused streaking on a surface, which required additional work to rectify. Always check the nozzle size before starting.
Testing Before Full Application

Before diving into the main task, test a small area. This practice allows you to gauge the pressure and ensure no damage occurs. I’ve often taken a few moments to spray an inconspicuous spot. This simple step saved me from costly mistakes and headaches later on. Adjust pressure based on your findings and proceed confidently.
Preparing the Area Before Pressure Washing
Clear the vicinity of any obstacles like furniture, potted plants, and decorations. This not only protects your belongings but also ensures a smooth workflow. During my years of experience, I learned that a clutter-free environment makes a significant difference in efficiency and safety.
Protect Surrounding Areas
Cover windows, doors, and any delicate surfaces with plastic sheeting or tarps. This prevents water and cleaning solutions from causing damage. I recall a time when I skipped this step, leading to a difficult cleanup and some regrettable scratches on a client’s window. It’s a small effort that saves time and hassle later.
Check Water Supply and Equipment
Ensure your water source is reliable. If you’re using a pressure washer for well water, confirm that the well is functioning properly to avoid interruptions. Also, inspect your equipment for leaks or damage to prevent unexpected issues during the task. A quick check can save a lot of frustration down the line.
Finally, consider the nearby landscape. If you have gardens or flower beds, it’s wise to water them beforehand. This helps mitigate any potential impact from the cleaning solutions. I’ve seen plants suffer when the area wasn’t adequately prepared. Taking these steps makes the whole process more efficient and protects your surroundings.
Step-by-Step Guide to Cleaning Vinyl Siding
First, ensure you have all necessary equipment ready. You’ll need a suitable high-pressure cleaning device, appropriate detergent, and a sturdy ladder if your property has multiple levels. I recall the first time I tackled a particularly dirty exterior; having everything prepared made the process smoother and more efficient.
1. Rinse the Surface
Begin by rinsing the exterior to remove loose dirt and debris. This step is crucial, as it prevents grime from being embedded into the surface during the later stages. I often take a moment to observe how much dirt comes off just from this initial rinse.
2. Apply Cleaning Solution
Using a low-pressure nozzle, apply the chosen detergent. Ensure even coverage, and let it sit for about 10-15 minutes. I’ve found that this waiting period allows the solution to break down stubborn stains effectively. However, avoid allowing it to dry completely, as this can lead to streaks.
After the waiting period, use a soft-bristle brush for areas with persistent stains or mildew. I’ve learned that a little extra elbow grease can make a noticeable difference in those tricky spots.
3. Rinse Thoroughly
Next, switch back to the low-pressure setting to thoroughly rinse off the detergent. Ensure that all residues are washed away, as any remaining solution can lead to discolouration over time. My experience shows that a thorough rinse can make the surface look as good as new.
4. Final Inspection
Once finished, take a step back and inspect the results. Look for any missed spots or areas that may need a second pass. I often find that a quick once-over ensures nothing is overlooked, providing a pristine finish.
Following these steps not only enhances the appearance of your home but also prolongs the life of the exterior. Each project offers a new opportunity to refine your technique and achieve better results. Happy washing!
Post-Cleaning Maintenance Tips for Vinyl Siding
After a thorough wash, maintaining the integrity of your exterior is paramount. Here are actionable steps I recommend based on years of experience in the cleaning industry.
Regular Inspections
- Check for any signs of mould or mildew. Addressing these issues promptly prevents further growth.
- Inspect for cracking or damage. Repair any areas to avoid water penetration that can lead to more extensive problems.
- Look for loose panels. Ensure everything is securely fastened to avoid wind damage.
Seasonal Care
- During autumn, clear leaves and debris from surfaces to prevent stains or blockages in drainage systems.
- In spring, follow up with a gentle rinse to remove any winter grime. This keeps surfaces looking fresh.
- Consider applying a protective sealant every few years. This helps maintain the finish and makes future maintenance easier.
Staying proactive with inspections and seasonal upkeep will not only enhance the appearance but also prolong the life of your exterior surfaces. Investing time in maintenance saves you from costly repairs down the line.
.jpg)


