
.jpg)


.jpg "Why does my honda pressure washer not have pressure")
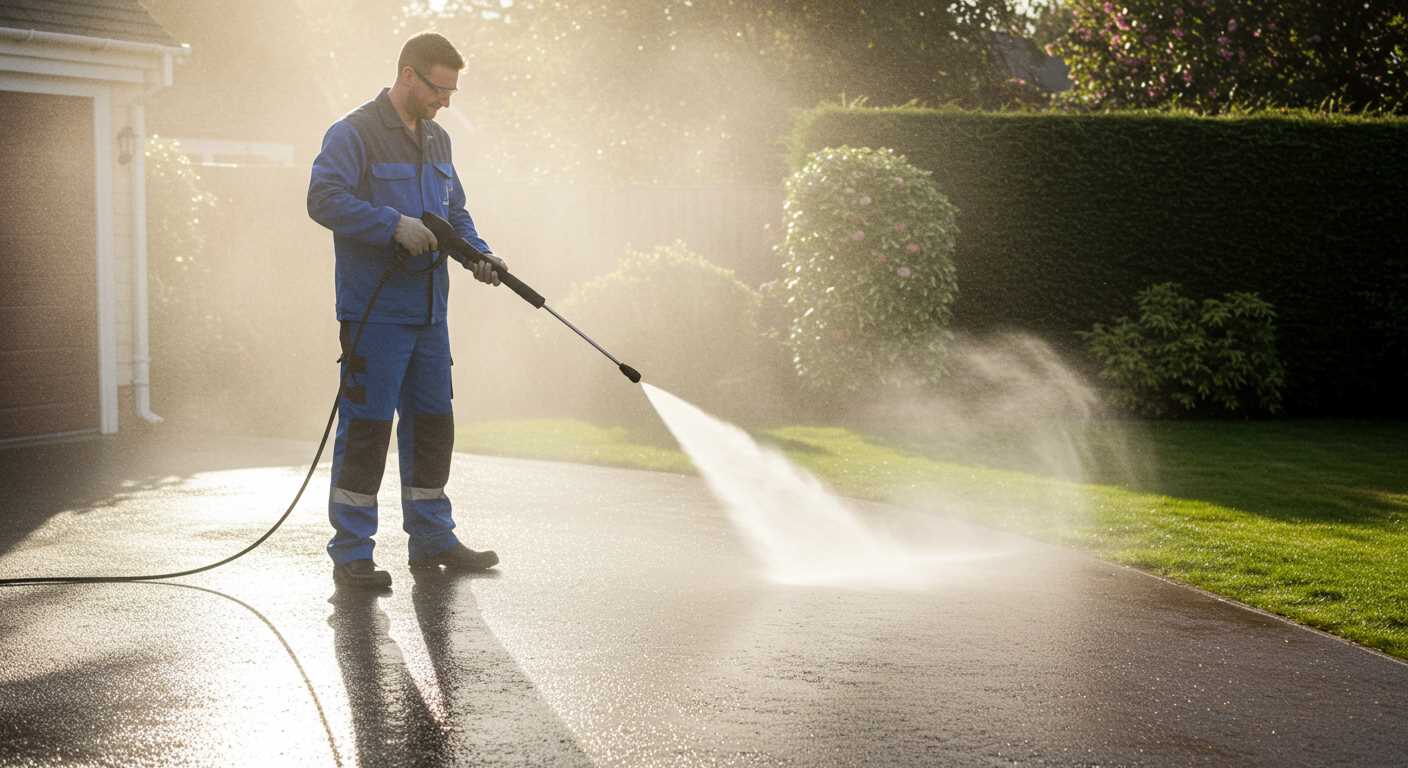
If your cleaning device is delivering inadequate output, the first step is to check for blockages in the nozzle. Over time, debris can accumulate, restricting water flow. A simple cleaning of the nozzle can often resolve this issue quickly. Use a thin wire or a needle to clear any obstructions, ensuring a steady stream.
Next, examine the water source. Ensure that the inlet hose is securely attached and free from kinks or leaks. Low water supply can significantly impact performance. If you’re drawing water from a tank, confirm that the tank is full and the water is flowing freely.
Another common culprit is the pump itself. If the pump is air-locked, it won’t generate the necessary output. To remedy this, you can try priming the pump. Disconnect the hose from the nozzle and let the unit run for a short time until water flows steadily from the outlet. This should remove any trapped air.

Inspect the hoses for wear and tear. Cracks or holes can lead to loss of pressure. Replacing damaged hoses can restore functionality. Additionally, ensure that filters are clean, as clogged filters can hinder performance. Regular maintenance is key to avoiding these issues.
Lastly, if these steps don’t resolve the issue, it may be worth consulting the user manual or contacting customer support for more specific guidance. Sometimes, the problem may lie within the internal components, requiring professional repair.
Common Issues Leading to Low Output
Check the water supply. Ensure the source is clear and the hose is free of kinks. I’ve seen many units struggle because of inadequate water flow. A clean, unrestricted supply is key.
Inspect the inlet filter. Debris can accumulate and restrict water intake. Remove it and give it a thorough clean. I once had a client who was perplexed by low performance, and a dirty filter was the culprit.
Examining the Nozzle
Evaluate the nozzle size. An incorrect nozzle can affect the flow rate. If it’s damaged or clogged, replace it. I recommend keeping a spare set. During one service call, a simple nozzle swap brought a machine back to life.
Assessing Internal Components
Look into the pump. If it’s making unusual noises or leaking, it might need repair or replacement. Regular maintenance can prevent these issues. I recall a situation where a client neglected pump care, leading to a costly overhaul.
- Check for leaks in hoses and connections.
- Inspect the pressure relief valve for proper operation.
- Ensure that the unloader valve is functioning correctly.
Keep these components in mind. A little attention can save a lot of hassle later on.
Checking the Water Supply Connection
Ensure the water source is turned on fully. A common issue I encountered during my years in the field was users forgetting to open the tap completely. Even a slight restriction can impact performance significantly.
Inspect hoses for kinks or blockages. I once had a customer who was frustrated with low output, only to discover a sharp bend in the supply hose. Straightening it out restored full flow. Always check connections for leaks as well; they can introduce air into the system, disrupting normal operation.
Utilise a filter on the water supply. I’ve seen many machines struggle due to debris entering the system. A simple inline filter can prevent clogs and maintain smooth operation. Remember to clean or replace it regularly to avoid issues.
If you’re using a bucket or tank, ensure the water level is sufficient. I’ve had instances where users relied on a low-level source, which led to inadequate suction. Keep the water source deep enough to allow the machine to draw properly.
Finally, consider the quality of the water itself. Hard water can lead to mineral buildup over time, affecting performance. In my experience, using a water softener can help maintain your equipment’s efficiency and lifespan.
For those looking to enhance their cleaning routine, check out the best algae scrubber for reef tank to keep your tanks pristine.
Inspecting the Pressure Hose for Leaks
First, check the entire length of the hose for visible signs of wear, such as cracks or bulges. A damaged hose can lead to reduced water flow, affecting performance. I’ve seen many units falter simply due to a small, unnoticed puncture. Pay close attention to the connections at both ends; these areas often wear out faster due to constant movement.
Next, perform a pressure test. Disconnect the hose from the machine and use a garden tap to fill it with water. Once filled, cover the end with your thumb. If you feel water leaking out or if pressure dissipates quickly, you’ve identified the problem. I once had a customer who was convinced their unit was malfunctioning, but it turned out a tiny hole in the hose was the culprit. Replacing the hose resolved the issue instantly.
Don’t overlook the fittings. Check for any loose or damaged connectors, as they can also lead to pressure drops. Tightening or replacing these can make a significant difference. I remember a situation where a loose fitting was causing major issues for a client, and once fixed, their performance returned to normal.
Lastly, if you’re in the market for a new unit, consider the pressure washer for air conditioner options. They often come with durable hoses designed to withstand various conditions, reducing the likelihood of future leaks and ensuring consistent operation.
Examining the Pump for Damage
Inspect the pump thoroughly for any visible signs of wear or damage. Cracks, leaks, or corrosion can significantly impact performance. If you notice any fluid escaping from the pump housing, it’s a strong indicator that the seals or gaskets may be compromised.
Common Pump Issues
Here are a few typical problems you may encounter:
| Issue | Description |
|---|---|
| Cracked Housing | Look for fractures in the pump casing; these can lead to loss of fluid and pressure. |
| Worn Seals | Inspect the rubber seals; if they are brittle or damaged, they will fail to create the necessary pressure. |
| Corrosion | Examine the metal components for rust; this can weaken the structure and functionality of the pump. |
Testing the Pump
To test pump functionality, disconnect it from the water supply and run it briefly with the engine on. If you hear unusual noises or see water leaking out, this indicates a problem within the unit. Replacing the pump may be necessary if repairs aren’t feasible. Always consult the user manual for specific guidance related to your model.
Regular maintenance, including cleaning and lubricating the pump, can help prevent issues. It’s worthwhile to check the pump regularly to ensure longevity and consistent operation.
Assessing the Nozzle for Clogs
First, ensure you inspect the nozzle for any blockages that may hinder water flow. A clogged nozzle is a common issue that can lead to low output.
Follow these steps for a thorough examination:
- Turn off the machine and disconnect it from the water source.
- Remove the nozzle from the lance. This typically involves unscrewing or pulling it off, depending on the model.
- Visually check the nozzle for any debris or buildup. Look closely at the spray holes; they should be clear.
- If you notice any obstructions, use a soft brush or a pin to gently clear the holes. Avoid using excessive force to prevent damage.
- For stubborn clogs, soak the nozzle in a mixture of warm water and vinegar for about 30 minutes. This can help dissolve mineral deposits.
- After cleaning, rinse the nozzle thoroughly to ensure no cleaning agents remain.
- Reattach the nozzle securely and reconnect your water supply.
After completing these steps, test the machine to see if the water output has improved. A clean nozzle can significantly enhance performance. In my experience, this simple check often resolves issues that seem more complex at first glance.
Verifying the Unloader Valve Functionality
The unloader valve is a critical component that regulates the pressure within the system. If you suspect a lack of force, start by checking this valve. First, locate it on the pump assembly; it typically resembles a small cylindrical device connected to the pump outlet.
Begin with a visual inspection. Look for signs of wear or damage. Cracks or leaks around the valve may indicate a malfunction. If everything appears intact, proceed to test its operation. With the unit powered off, manually activate the unloader valve by turning the adjustment knob or lever. You should feel resistance; if it moves too easily or feels stuck, it may need replacement.
Next, reconnect the water supply and start the machine. Observe if the unloader valve correctly redirects water flow. If water continues to flow through the nozzle with no pressure buildup, the valve is likely stuck open, failing to seal properly. In such cases, disassembling the valve for cleaning or replacement is necessary.
Remember to refer to the manufacturer’s specifications for the exact adjustment settings. Misadjusting the valve can lead to further issues, so proceed with caution. Regular maintenance of this component can prevent many pressure-related problems, ensuring your equipment operates smoothly.
Evaluating the Engine Performance
Begin by checking the engine’s ignition system. A faulty spark plug can result in poor combustion, leading to insufficient power output. Replace the spark plug if it appears worn or dirty. Ensure the ignition wire is securely connected, as a loose connection can hinder performance.
Next, inspect the fuel system. Stale fuel can cause starting issues and performance drops. If the fuel has been sitting for an extended period, replace it with fresh fuel. Consider adding a fuel stabiliser to prevent future degradation. Additionally, check the fuel filter for clogs; a blocked filter can restrict fuel flow, affecting engine power.
Air Filter Maintenance
A clean air filter is essential for optimal engine performance. A clogged air filter restricts airflow, which can lead to over-fuelling and reduced power. Regularly inspect and clean the air filter, replacing it if it shows signs of wear or heavy dirt accumulation.
Oil Level and Quality
Monitor the oil level and its condition. Low or contaminated oil can cause engine wear and overheating, leading to a drop in performance. Change the oil according to the manufacturer’s recommendations, and always use the correct viscosity for your engine type.
Lastly, ensure the engine runs at the recommended RPM. An incorrect throttle setting can lead to insufficient power delivery to the pump. Adjust the throttle as necessary and listen for any unusual noises that might indicate underlying issues.
Reviewing Maintenance History and Recommendations
Check the maintenance log. Regular servicing is crucial to keep equipment running smoothly. If you notice a pattern of issues arising after specific intervals, it may indicate a need for more thorough inspections or part replacements. For instance, rubber seals and O-rings can degrade over time, leading to performance failures.
Inspect the oil levels and quality frequently. A lack of proper lubrication can severely impact functionality. I recall a situation where a simple oil change resolved a persistent low-pressure issue, restoring the unit to optimal performance. Use the manufacturer’s recommended oil type to avoid complications.
Review the filter conditions regularly. Clogged filters can restrict water flow, causing insufficient output. I’ve seen units with dirty filters perform poorly, only to spring back to life after a quick cleaning or replacement. Always keep a spare filter on hand for quick fixes.
Document any repairs or replacement parts. This history can help identify recurring problems. For instance, if a specific component fails repeatedly, it might be time to consider a higher-quality part or a complete replacement.
Lastly, perform seasonal checks. Before heavy usage seasons, ensure all components are in good shape. I often conduct a pre-season check-up, which includes testing the engine, examining hoses, and cleaning the nozzle. This proactive approach has saved me from unexpected breakdowns during busy periods.
.jpg)


