


First and foremost, check the water supply for any restrictions. A common culprit for reduced flow is an insufficient water source. Ensure that your hose is fully opened and not kinked or blocked. If you’re drawing water from a tank, make sure the intake is submerged adequately.
Next, inspect the nozzles. Over time, they can become clogged with debris or mineral deposits. I recommend using a small pin or needle to clear any blockages. If the nozzles are damaged, replacing them can restore functionality and improve performance.
Another area to examine is the inlet filter. If it’s dirty or blocked, it can significantly affect the output. Regular cleaning or replacing this filter can enhance the device’s overall efficiency. From my experience, a clean filter often makes a noticeable difference.
Another factor to consider is the pump itself. If the pump is not functioning correctly, it can lead to inadequate output. Listen for any unusual noises during operation, which might indicate an internal issue. If needed, consult the manual for troubleshooting steps or consider professional servicing.
Lastly, ensure the equipment is suitable for the task at hand. Using a unit that isn’t designed for the level of cleaning required may lead to unsatisfactory performance. Always match the device’s capabilities with the job specifications.
Identifying Causes of Weak Water Flow
First, check the water source. Ensure the supply is consistent and meets the required flow rate. A garden hose with kinks or restrictions can hinder performance significantly.

Inspecting Components
Next, examine the inlet filter. If it’s clogged, clear it out; a dirty filter can block the water flow, leading to a decrease in power.
- Disconnect the hose from the machine.
- Remove and clean the filter with water.
- Reassemble and test the unit.
Assessing Hose and Nozzle Conditions
Hoses and nozzles can wear out over time. Look for leaks or cracks that may affect water delivery. A worn nozzle can also result in uneven spray patterns.
- Inspect the entire length of the hose for damage.
- Replace any faulty sections.
- Check the nozzle; consider switching to a different size for better results.
Lastly, verify the machine’s settings. Incorrect pressure adjustments can also lead to subpar performance. Adjust as needed based on the task at hand.
Common Causes of Low Output in Karcher Equipment
One of the first things to check is the water supply. Ensure the inlet is fully open and there are no kinks in the hose. I once encountered a unit that seemed to perform poorly, and the issue turned out to be a partially closed tap. It’s a simple fix, but it can make all the difference.
Clogged filters can also be a culprit. Most models have a water filter at the inlet. Regularly inspect and clean this filter. I remember a customer who faced persistent issues, and after a quick clean, their machine operated like new again.
Another frequent cause is damaged or worn-out seals and O-rings. These can lead to leaks, which diminish the force of the output. I’ve replaced seals on numerous occasions, and it’s often a straightforward task that yields immediate improvements.
Check the nozzle as well. A blocked or incorrectly sized nozzle can restrict flow. In my experience, a quick rinse can clear out debris, but if the nozzle is damaged, replacing it is the best course of action.
Lastly, consider the pump itself. If the pump is malfunctioning or has air trapped inside, it may not produce adequate force. Bleeding the pump can resolve this issue. I’ve seen machines come back to life after this simple process. Remember, regular maintenance goes a long way in preventing these problems.
| Cause | Symptoms | Solution |
|---|---|---|
| Water Supply Issue | Weak or no output | Ensure inlet is fully open |
| Clogged Filter | Intermittent flow | Clean or replace the filter |
| Damaged Seals | Leaking water | Inspect and replace seals |
| Blocked Nozzle | Weak spray pattern | Clean or replace the nozzle |
| Pump Issues | Inconsistent output | Bleed the pump or check for damage |
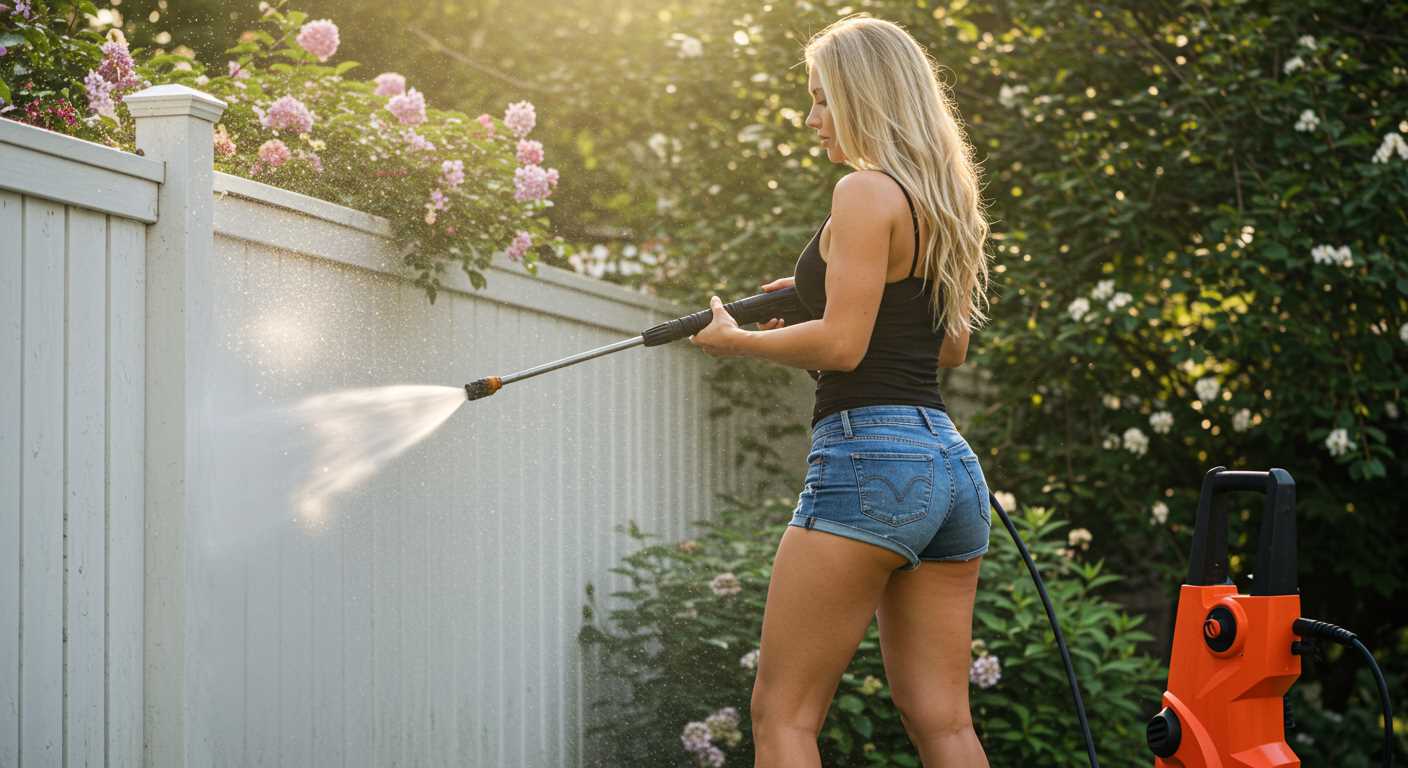
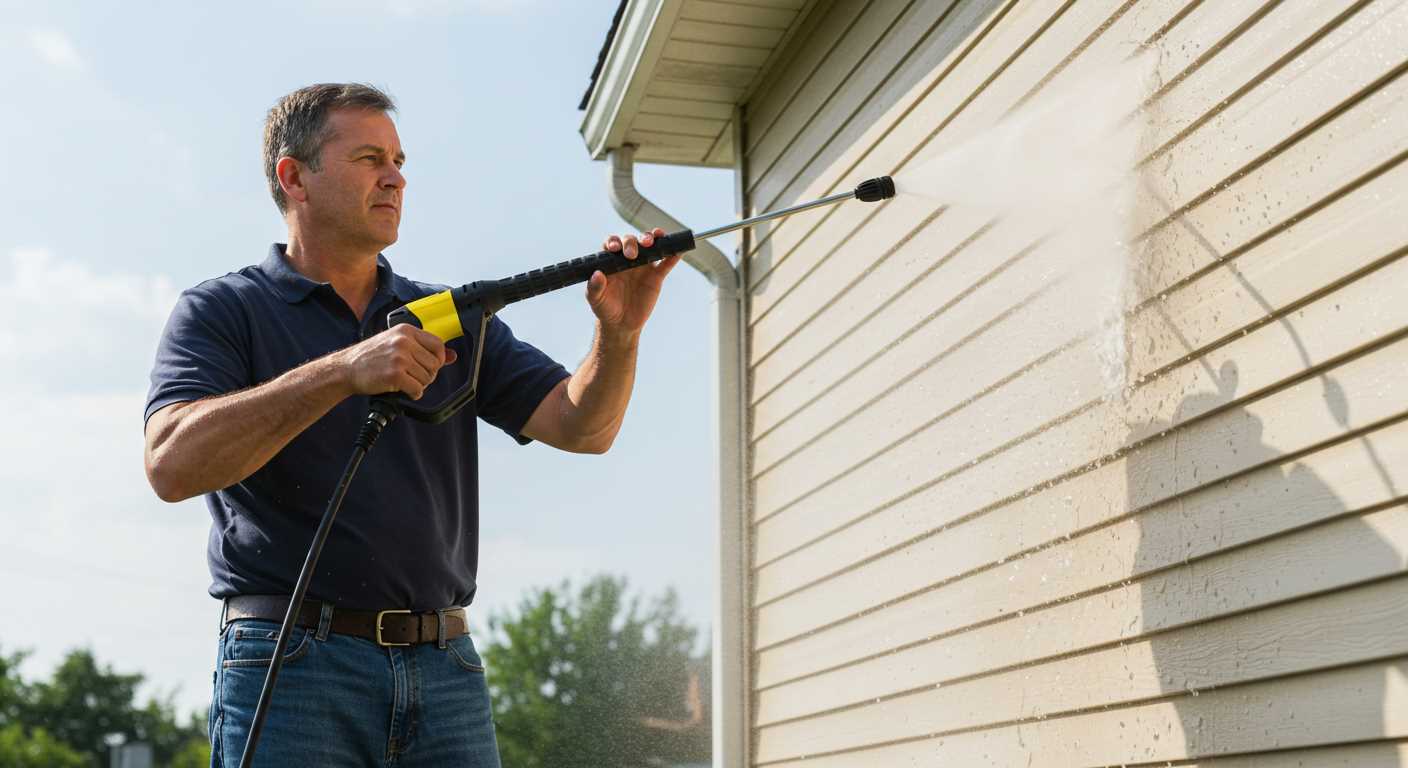
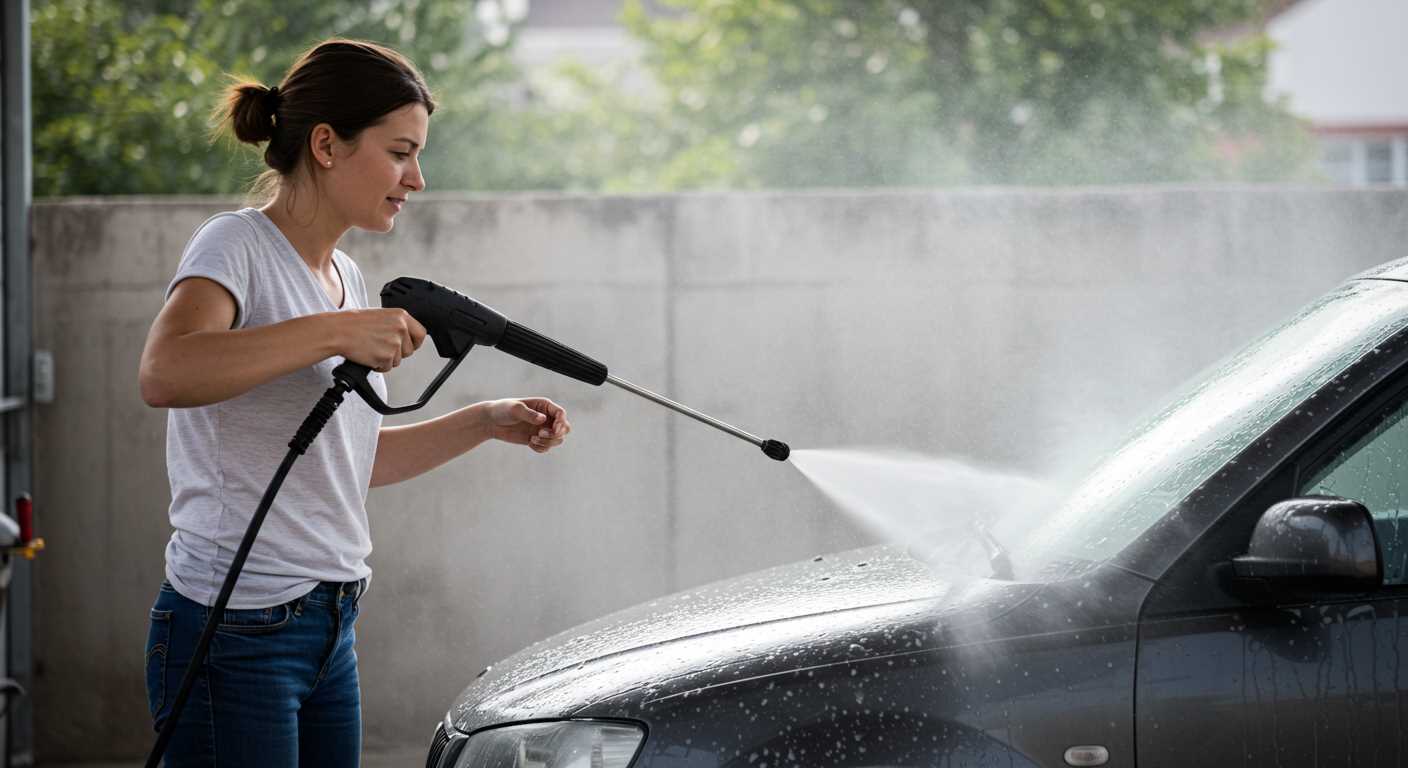
How to Check for Blocked Nozzles and Filters
Begin by disconnecting the unit from the power source and water supply. Safety first. Next, inspect the nozzle attached to the spray lance. Remove it carefully, as it may be tightly fitted. A blocked nozzle is often the main culprit for reduced water flow. Use a fine needle or a small wire to clear any debris or mineral build-up. Rinse it under clean water to ensure it’s free of obstructions.
After addressing the nozzle, turn your attention to the filter. Locate the water inlet filter, typically found at the point where the hose connects to the machine. Unscrew the filter cover and gently pull out the filter. Rinse it thoroughly to remove any dirt or particles. If the filter appears damaged or excessively worn, consider replacing it to restore optimal water flow.
Once both components are clean, reassemble them securely. Test the machine by reconnecting the water supply and powering it on. Observe the spray pattern; a consistent and powerful stream indicates successful cleaning. Regular maintenance of these parts can prevent future issues and ensure reliable performance.
Impact of Water Supply Issues on Pressure Performance
In my experience, fluctuations in water supply can lead to unsatisfactory output levels. If the flow rate is insufficient, equipment simply won’t achieve the desired force. I once encountered a situation where a client was baffled by weak results, only to discover that the water source’s flow rate fell below the necessary threshold. It’s vital to check the water flow before assuming the equipment is at fault.
Assessing Water Flow Rate
To determine if the supply is the culprit, measure the water flow rate. Attach a bucket with a known volume–like a 5-litre container–and time how long it takes to fill it. If it exceeds a minute, the supply may be inadequate. Aim for a minimum of 8-10 litres per minute for optimal performance.
Quality of Water Supply
Another factor is the quality of the water itself. Sediment or debris can clog hoses and connectors, leading to reduced efficiency. I’ve found that inspecting the source and using a filter can prevent such issues. If you notice any discoloration or particles in the water, consider installing a filtration system to maintain consistent performance.
Identifying Problems with the Pressure Washer Pump
Begin with examining the pump for any visible signs of damage or wear. A faulty pump is often the root of inadequate water force.
- Inspect for leaks around the pump seals. A steady drip can indicate that seals are compromised, affecting performance.
- Check the oil level in the pump. Insufficient lubrication can cause overheating and inefficiency. Refill or replace oil as needed.
- Listen for unusual noises during operation. Grinding or rattling sounds may signal internal issues, warranting a closer look.
When assessing the pump, also consider the following:
- Ensure the inlet and outlet valves are functioning correctly. A blocked or malfunctioning valve can restrict water flow.
- Look for any obstructions in the pump itself. Sediment buildup can affect the flow and pressure.
- Examine the connection points for tightness. Loose fittings can lead to leaks and reduced output.
In my experience, dealing with pump issues often requires a methodical approach. One time, a customer faced persistent low output. After a thorough check, we discovered a small pebble lodged in the inlet valve, which was easily cleared, restoring full function. Regular maintenance can prevent such issues.
If you find yourself needing a break from repairs, consider exploring new recipes or methods. For example, how to can deer meat without a pressure cooker could be an interesting diversion.
Overall, paying close attention to the pump’s condition can save time and resources. Understanding its mechanics not only aids in troubleshooting but also enhances the longevity of your equipment.
Effects of Hose Kinks and Length on Water Pressure
Check for kinks or twists in your hose; they can significantly reduce water flow. I once faced a frustrating situation where the machine struggled to deliver adequate force. After thorough inspection, I discovered a sharp bend in the hose that restricted water movement. Straightening it made all the difference.
The length of the hose also plays a critical role. Longer hoses can lead to a drop in pressure due to increased friction. I remember a client who used an excessively long hose for their cleaning tasks. Switching to a shorter hose not only improved performance but also saved time. Aim for the shortest practical length to maintain optimal force.
Ensure that the hose diameter is appropriate. A narrow hose can create a bottleneck, limiting water flow. I’ve seen setups where individuals used a garden hose that was too thin for their machine’s requirements, resulting in disappointing results. Using a properly sized hose is key for maintaining effective flow.
Routine maintenance helps as well. Inspect hoses for wear and tear, as cracks or holes can lead to leaks, further diminishing pressure. I’ve fixed many setups simply by replacing a worn-out hose. Keeping it in top condition ensures consistent performance.
Remember to unwind the hose fully before use. A coiled or tangled hose can restrict flow. I’ve often reminded customers to take a moment to lay it out straight before starting. It’s a simple step that can enhance efficiency and performance.
Inspecting Seals and O-Rings for Damage
Check seals and O-rings regularly to maintain optimal functionality. If you notice a drop in performance, damaged seals may be the culprit.
Steps for Inspection
- Turn off the device and disconnect it from the water source.
- Remove the nozzle and any attachments to access the seals.
- Carefully examine each seal and O-ring for visible signs of wear, such as cracks, tears, or deformation.
- Run your fingers along the edges to feel for irregularities or damage.
- Look for discolouration that may indicate deterioration due to exposure to chemicals or heat.
Replacement Guidelines
- If you find any damaged components, replace them immediately to restore proper function.
- Always use compatible seals that match the specifications of your equipment.
- Consider investing in high-quality connectors for karcher pressure washer to enhance durability and performance.
Regular maintenance of seals and O-rings can prevent costly repairs and prolong the life of your equipment. Ensure to keep spare parts on hand for quick replacements when necessary.
Adjusting the Pressure Settings on Your Karcher Model
To enhance the force of your cleaning device, locate the pressure adjustment knob, typically situated on the front panel or the lance. Turn it clockwise to increase the output, which can significantly improve performance on stubborn dirt. I recall a time when a customer was struggling with a particularly soiled patio. After a brief adjustment, the difference was remarkable, and the satisfaction on their face was priceless.

If your unit features a variable pressure lance, switching to a narrower nozzle can also amplify the stream’s impact. I once used a 15-degree nozzle on a heavily stained driveway, and the results were outstanding. Each nozzle has its purpose, so selecting the right one is key to achieving optimal results.
Regularly check the settings before starting. On one occasion, I found a unit set to a very low output, leading to disappointing results during a demo. A simple adjustment transformed the cleaning experience in minutes. It’s a quick fix that can save time and effort.
After adjustments, observe the output. If the changes do not yield the desired results, re-evaluate the initial setup. Sometimes, the adjustment can be subtle, and fine-tuning is necessary. I’ve seen situations where just a slight tweak made a world of difference.
Lastly, always consult the user manual for specific instructions related to your model, as different variants have distinct features. Familiarity with your device can significantly enhance your cleaning efficiency. It’s all about understanding your equipment to get the most out of it.
Importance of Regular Maintenance for Optimal Pressure
Regular upkeep is fundamental for keeping your cleaning device operating at peak performance. From my extensive experience, neglecting simple maintenance tasks often leads to significant issues, including decreased water force. Just last summer, a customer brought in their unit, claiming it was barely functional. A quick inspection revealed a clogged filter and a worn-out O-ring. A thorough clean and replacement restored its functionality, demonstrating how vital routine checks are.
One of the first steps I recommend is checking the intake filter. Accumulated debris can severely restrict water flow. During my years in the field, I’ve seen many machines fail simply due to a dirty filter. Cleaning it regularly can save you from unnecessary frustration and costly repairs.
Another area to pay attention to is the pump. Regular lubrication and inspection for leaks can prevent larger problems down the line. I recall a situation where a small leak went unnoticed for months, leading to a complete pump failure. A simple monthly check could have avoided that scenario.
Hose condition is equally important. Kinks or twists can disrupt water flow and create pressure issues. I often recommend laying the hose out straight before every use, ensuring it’s free from damage and not too long, as excessive length can also diminish force. Just the other day, I helped a client who was struggling with low output; it turned out their hose was not only kinked but also too lengthy for their needs.
Lastly, never underestimate the importance of seals and O-rings. These components can wear out over time, leading to leaks that compromise performance. I advise checking these parts regularly and replacing them as needed. In my experience, staying proactive with maintenance not only enhances performance but also extends the lifespan of the equipment.
When to Seek Professional Help for Pressure Issues
Experiencing weak output can be frustrating, and sometimes, you need to consider calling in an expert. If you’ve checked the common causes, like blockages or supply issues, and the situation remains unchanged, it’s time to take the next step.
Signs Indicating Professional Assistance is Required
If you notice any of the following, don’t hesitate to reach out:
- Persistent low performance despite maintenance efforts.
- Unusual noises coming from the motor or pump.
- Visible leaks from the unit.
- Inconsistent water flow that’s not tied to the nozzle or hose.
Cost vs. DIY Troubleshooting
Consider the cost of repairs versus the time spent troubleshooting yourself. If you’re unsure about diagnostics or repairs, it might be more economical to consult a technician who can quickly pinpoint the issue.
| Issue | DIY Steps | Time to Consider Professional Help |
|---|---|---|
| Low output | Check hoses and nozzles. | After 30 minutes without improvement. |
| Unusual noises | Inspect for loose parts. | Immediately if noise persists. |
| Leaks | Examine seals and connections. | After confirming no visible issues. |
Trust your instincts. If something feels off, a professional opinion can save you time and money in the long run. Don’t hesitate to bring in a qualified technician who can ensure your equipment runs at its best again.
.jpg)


