
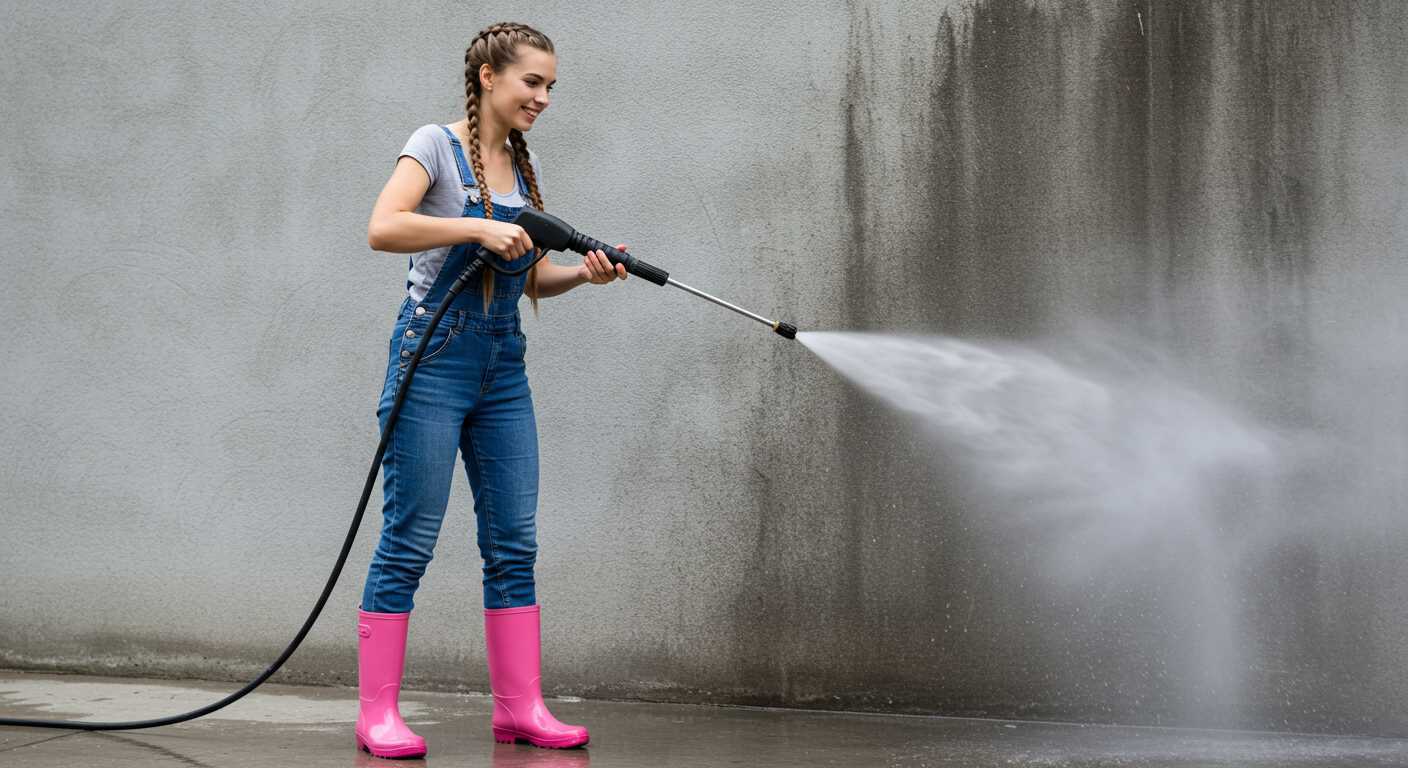


Check the O-rings first. Over time, these small rubber seals can wear out, leading to unwanted water escape. I remember my first experience with a model that had a persistent drip. A quick inspection revealed a cracked O-ring, easily replaced and the issue resolved in minutes.
Next, inspect the connections. Ensure that all fittings are securely tightened. Loose couplings can result in leaks, causing frustration during use. I’ve often found that a simple adjustment can make a significant difference. During one of my evaluations, a client faced constant leakage due to improperly tightened connections; a few turns with a wrench did the trick.
Don’t overlook the spray wand and nozzle. Accumulated debris or damage can lead to issues. Regular cleaning is key. On one occasion, I encountered a stubborn leak attributed to a clogged nozzle. A thorough clean-up restored functionality and eliminated the problem. Consistent maintenance is the best way to avoid these headaches.
Lastly, check for any visible cracks in the body of the equipment itself. Damage from mishandling or exposure can cause leaks that are hard to trace. I’ve seen units that looked fine externally but had hidden fractures. Always conduct a thorough visual inspection after each use. Addressing these areas can save time and frustration down the line.
Identifying common leak sources in pressure washer guns
Start by checking the O-rings and seals. These small rubber components often wear out over time, leading to unwanted drips. I’ve replaced countless O-rings during my years in the field. A simple visual inspection can save you a lot of hassle. If you spot any cracks or deformities, they need replacing immediately.
Connection points

Next, focus on the connections. Loose fittings can cause water to escape. Make sure all connections are tight and secure. I recall a situation where a friend’s equipment was leaking due to a slightly loose coupling. A quick adjustment solved the issue completely.
Trigger assembly
Inspect the trigger mechanism as well. If the internal components are damaged or worn, they can lead to leaks when activated. I once had a model where the trigger was sticking, causing pressure to build and then release unexpectedly. Cleaning and lubricating the trigger assembly often resolves this issue.
| Leak Source | Symptoms | Solution |
|---|---|---|
| O-rings and seals | Drips from the nozzle | Replace damaged O-rings |
| Connection points | Water escaping at fittings | Tighten connections |
| Trigger assembly | Inconsistent pressure, leaks when engaged | Clean and lubricate |
Don’t forget to check the hose as well. Cracks or kinks can lead to problems that manifest as leaks at the gun. If the hose is compromised, consider replacing it entirely for optimal performance. A few minutes of inspection can save you from a major cleanup later on.
How to Inspect O-Rings and Seals for Wear and Damage
Start your inspection by removing the components housing the O-rings and seals. This allows for a thorough examination without any obstructions.
Visual Inspection
- Check for cracks or tears on the surface of the O-rings and seals. Even small imperfections can lead to significant issues.
- Look for signs of swelling or distortion. If the rubber appears misshaped, it likely requires replacement.
- Inspect for discoloration. A change in colour can indicate degradation due to exposure to chemicals or extreme temperatures.
Physical Examination
- Run your fingers along the edges to feel for any roughness or uneven surfaces. Smooth edges are a sign of healthy components.
- Gently press the O-ring or seal to check its elasticity. If it feels brittle or crumbles easily, it’s time to replace it.
- Use a caliper to measure the thickness. If it’s worn down beyond specifications, consider getting a new one.
After completing your inspection, ensure you clean the grooves where the O-rings and seals sit. Dirt and debris can compromise their ability to form a proper seal. Regular maintenance checks can prevent leaks and extend the lifespan of your equipment.
Understanding the Role of Fittings and Connections in Leakage
Regularly inspect the fittings and connections for signs of wear or misalignment. In my experience, many issues stem from these components. A common cause of dripping is an improperly secured connection. Ensure that all fittings are tightly fastened, but avoid over-tightening, which can lead to damage.
Types of Fittings and Their Impact
Different types of fittings, such as quick-connect and threaded, can influence how water flows through the system. Quick-connect fittings provide convenience but can become loose over time. I’ve had occasions where a simple adjustment resolved a persistent drip. Threaded connections, while more secure, can suffer from cross-threading, leading to leaks. Always check the thread integrity before reassembling.
Sealing Techniques and Materials
The type of seal used in connections matters. Rubber seals are common, but they can degrade with age. I recommend checking for cracks or hardening, as these indicators often precede leaks. Consider using Teflon tape on threaded connections for added security. It’s a small step that can make a significant difference in maintaining a tight seal.
Steps to Properly Tighten and Repair Loose Components
To tackle loose elements, the first step is to gather the right tools–usually a wrench and some thread seal tape. Start with the fittings; check each connection to ensure they are snug. If you find any that are loose, use the wrench to tighten them carefully. Avoid over-tightening, as this can damage the threads.
Inspect and Adjust the Nozzle
Next, focus on the nozzle. Ensure it’s properly seated in its housing. If it feels loose, unscrew it, apply a bit of thread seal tape around the threads, and then reattach it. This simple fix can make a significant difference in performance.
Examine the Trigger Assembly
Don’t overlook the trigger assembly. It often houses small components that can wear over time. Remove the trigger and check for any signs of wear. If the components are loose, tighten any screws or bolts you find. If parts appear worn, consider replacing them to restore functionality. Regular maintenance here can prevent future issues.
Finally, reassemble everything and run a quick test. This will help confirm that you’ve resolved any issues. If leaks persist, revisit your connections and seals; sometimes, it takes a couple of attempts to get everything just right.
When to Replace the Pressure Cleaning Wand Versus Repairing It
Replace your cleaning wand if you notice persistent leaks after addressing common issues like worn O-rings or damaged seals. If the body is cracked or the trigger mechanism is faulty, a new unit is often more cost-effective than repeated repairs. An efficient tool enhances your cleaning experience, especially when working on delicate surfaces like cars. Consider investing in a pressure washer gun for car detailing to achieve optimal results.
Repair Scenarios
If leaks stem from easily replaceable components such as O-rings or seals, repairing is viable. A thorough inspection can reveal if these parts are the source of the issue. Tightening loose fittings can also rectify minor leaks without the need for a complete replacement. Evaluate the cost of parts against the price of a new wand to determine the most sensible route.
When Replacement is Justified
Invest in a new wand if you experience multiple failures or if the wand shows signs of extensive wear. Additionally, if you’ve upgraded your cleaning equipment and need a compatible attachment, replacing the wand may be necessary. Choosing a high-quality model ensures durability and performance. For those seeking a budget-friendly alternative in garden tools, check out the best budget garden leaf blower and vacuum options.
Tips for maintaining your cleaning equipment to prevent leaks
Regular maintenance is key to keeping your cleaning equipment in top shape. I’ve found that a few simple habits can save you from frustrating leaks down the line.
Routine Cleaning
After each use, make it a habit to clean the nozzle and handle. Residue can build up and cause issues over time. Use a soft cloth and mild soap solution to wipe down the exterior and remove dirt and grime.
Storage Practices
- Store your equipment in a dry, cool area. Excessive heat or moisture can lead to deterioration of seals and hoses.
- Keep it off the ground. Elevating your equipment prevents contact with water or chemicals that may cause corrosion.
- Ensure that all components are disconnected, particularly hoses and nozzles. This reduces stress on fittings and prevents leaks.
Regular Inspections
- Set a schedule for inspecting all components, especially after heavy use. Look for signs of wear, fraying, or cracks.
- Check connections and fittings regularly. Tighten any loose parts immediately to prevent leaks.
Using the Right Supplies
Utilising quality replacement parts can make a significant difference. I always recommend using manufacturer-approved O-rings and seals to ensure compatibility and longevity.
Winterisation Techniques
If you live in a colder climate, winterisation is critical. Drain all water from the system, and consider using antifreeze solutions to protect internal components during freezing temperatures.
Documentation
- Keep records of any maintenance performed. This can help you track wear and anticipate future repairs.
- Refer to the user manual for specific maintenance guidelines. Each model often has unique requirements that are best adhered to.
Implementing these tips can extend the life of your cleaning equipment and reduce the risk of leaks. Trust me, investing a little time in maintenance pays off in the long run.
FAQ:
Why is my pressure washer gun leaking water?
A leaking pressure washer gun can be caused by several factors. One common reason is wear and tear on the seals or O-rings. These components can degrade over time, leading to leaks. Another possibility is that the connections between the gun and the hose or nozzle are not secure. Check for any loose fittings that may need tightening. Additionally, a crack in the gun itself can result in water escaping. Inspect the gun for any visible damage and replace it if necessary.
How can I fix a leak in my pressure washer gun?
To fix a leak in your pressure washer gun, first, identify the source of the leak. If it’s coming from the seals, you may need to replace them. You can purchase a seal kit specific to your pressure washer model. If the leak is due to loose connections, ensure all fittings are tightened properly. For cracks or breaks in the gun, replacing the entire gun may be the only solution. Always refer to the user manual for guidance on repairs and replacement parts.
Are there any preventive measures to stop my pressure washer gun from leaking?
Yes, there are several preventive measures you can take to minimise the risk of leaks in your pressure washer gun. Regularly inspect the seals and O-rings for signs of wear and replace them as needed. After each use, ensure that all connections are secure and store the pressure washer in a dry place to avoid damage from moisture. Additionally, using the correct pressure settings for your cleaning tasks can help reduce stress on the gun and prolong its lifespan.
Can using the wrong nozzle cause my pressure washer gun to leak?
Using the wrong nozzle can potentially cause issues with your pressure washer, including leaks. If the nozzle is too small or too large for the gun, it can create excessive pressure or disrupt the flow of water, leading to leaks at the connection points. Always ensure you are using the correct nozzle for your specific pressure washer model and the task at hand to maintain proper functionality and prevent leaks.
What should I do if my pressure washer gun leaks while in use?
If your pressure washer gun starts leaking during use, the first step is to turn off the machine immediately to prevent any further damage. Once the machine is off, inspect the gun and connections for any visible signs of wear, damage, or loose fittings. If you identify the source of the leak, you can attempt to tighten the fittings or replace any damaged components. If the leak persists or if you’re unsure of the cause, it may be best to consult a professional for repair or replacement advice.
Why is my pressure washer gun leaking water?
A pressure washer gun may leak water for several reasons. One common cause is a worn or damaged O-ring or washer. These components create a seal to prevent water from escaping, and over time, they can degrade or become misaligned. Another possibility is a loose connection between the gun and the hose or spray nozzle; if these parts are not tightly secured, leaks can occur. Additionally, cracks or damage to the gun itself can lead to leaks. Regular maintenance and inspection of the components can help identify and address these issues before they become significant problems.
.jpg)
.jpg)


