


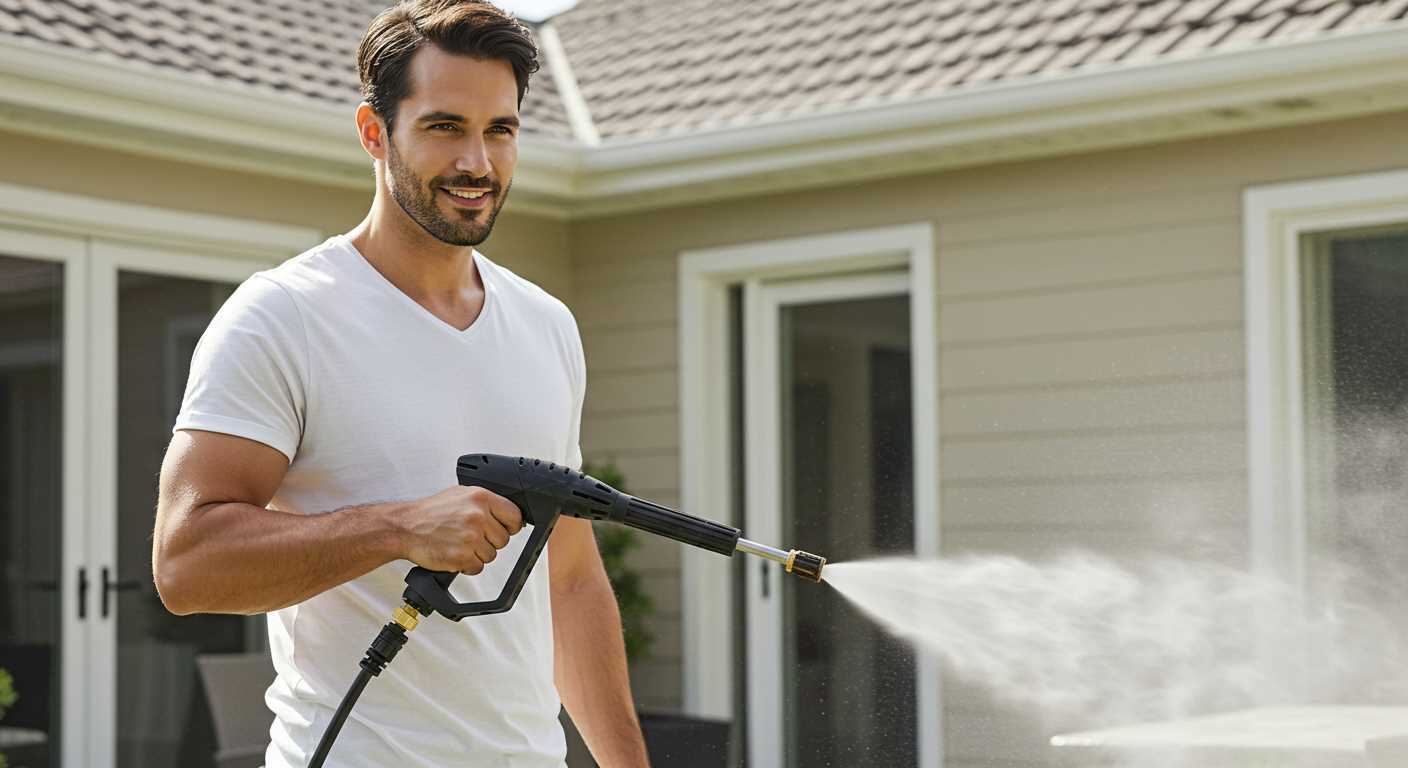
Yes, using high-powered cleaning equipment can effectively remove greasy residues from outdoor surfaces. In my extensive experience, I’ve dealt with numerous stubborn stains, and I can confidently say that this type of tool is well-suited for tackling such challenges. The combination of water pressure and the right cleaning agents can yield impressive results.
In my years as a consultant, I’ve often found that the key to successful removal lies not just in the machine itself, but also in the technique employed. First, it’s essential to pre-treat the stained area with a suitable degreaser. Let it sit for several minutes to break down the contaminants. Following this, using the right nozzle and maintaining an appropriate distance from the surface can make a significant difference in the outcome.
Additionally, I recommend starting with a wider spray pattern before narrowing it down as needed. This approach helps prevent damage to the surface while ensuring even coverage. After applying the cleaning agent, the high-powered device can effectively rinse away the residue, restoring the appearance of the surface.
Be mindful of the type of concrete you’re working with; some surfaces may require a gentler touch. Always test on a small, inconspicuous area first to ensure the desired results without compromising the material. This method has proven successful for me countless times, and I’m confident it will work for you as well.
Understanding the Types of Oil Stains on Concrete
Identifying the nature of the stains is crucial for effective removal. There are several categories of petroleum-based marks that can appear on concrete surfaces. Each type requires a tailored approach for elimination.
Fresh spills, often glossy and dark, are the easiest to tackle. They haven’t penetrated deeply into the surface, allowing for quicker remediation. Absorbent materials like kitty litter or sawdust can be applied immediately to soak up excess liquid before further treatment.
Older marks, which may have dried and hardened, can become more challenging. They often take on a grey or discoloured appearance. For these, a combination of degreasers and scrubbing may be necessary to break down the residue. A stiff-bristle brush can aid in lifting the stain from the substrate.
Stains that have been subjected to the elements, such as rain or snow, can develop a layer of dirt and grime on top, complicating the removal process. In these cases, the top layer must be cleaned first to reveal the stain beneath. Once exposed, the appropriate cleaning solution can be applied effectively.
Lastly, there are embedded stains that have seeped deep into the pores of the material. These require more intensive methods, such as chemical treatments or grinding, to fully extract the discolouration. Patience is key, as multiple applications may be necessary to achieve satisfactory results.
Understanding these distinctions will significantly enhance your cleaning strategy, making the process smoother and more successful. Tailoring your approach based on the specific type of stain will yield the best outcomes, ensuring that your surface looks pristine once more.
How Pressure Washers Work in Removing Stains
Using a high-pressure cleaning device can be a game changer for tackling stubborn marks. The mechanism relies on a powerful motor that forces water through a narrow nozzle, creating a concentrated jet with significant force. This stream penetrates the surface, dislodging dirt and grime effectively. The pressure range typically falls between 1300 to 3000 psi, with higher levels suitable for tougher stains.
Technique and Cleaning Agents
In my experience, technique plays a crucial role in stain removal. Start at a distance of about two feet from the surface to prevent damage, gradually moving closer as needed. Incorporating cleaning agents designed for specific stains enhances results. For instance, degreasers can be particularly useful when tackling greasy spots. Always follow the manufacturer’s dilution instructions for optimal performance.
Surface Preparation and Angle
Before commencing, it’s wise to prepare the area by removing loose debris. Adjusting the nozzle angle can also significantly influence the cleaning efficiency. A 25-degree nozzle works well for broad surfaces, while a 15-degree nozzle is better for concentrated spots. The angle of approach should be around 45 degrees to help lift the stain without embedding it further into the material.
From my years in the field, I’ve learned that patience is key. Sometimes, multiple passes are necessary, especially with older or more entrenched stains. Always keep the nozzle in motion to avoid etching the surface. This method not only ensures thorough cleaning but also protects the integrity of the material beneath.
Choosing the Right Pressure Washer for Oil Removal
For effective elimination of greasy stains, selecting the appropriate cleaning unit is key. I’ve tested countless models, and I can tell you that not every machine is suitable for heavy-duty tasks. Look for a unit with a minimum of 3000 PSI and a flow rate of at least 2.5 GPM. This combination ensures enough force and water volume to tackle stubborn residues.
Key Features to Consider
When choosing, consider a heated model. The addition of heat significantly enhances the capabilities, especially with tough stains. A heated system can break down the molecules in grease, making it easier to wash away. Also, select a unit that offers adjustable nozzles; these allow you to switch between different spray patterns, providing versatility for various cleaning scenarios.
Additional Accessories
In my experience, using the right attachments can make a world of difference. A rotating brush attachment can help scrub away the grime while the high-pressure stream dislodges it. Don’t overlook the importance of detergents; using a specially formulated cleaning solution can boost results dramatically. Just remember to check compatibility with your machine to avoid any damage.
Lastly, always consider the weight and portability of the equipment. A lighter model is easier to manoeuvre, especially in tight spots or when dealing with larger areas. A reliable unit combines power, versatility, and ease of use, making the cleanup process straightforward and efficient.
Preparing the Area Before Using a Pressure Washer
Prior to tackling those persistent stains, clear the space of any furniture, vehicles, or obstacles. I recall one instance where I overlooked a garden gnome, and it ended up with a cracked base. Always check the surroundings to prevent such mishaps. Sweep away debris, dirt, and leaves; a clean surface makes for better results.
Protecting Nearby Surfaces
Cover any nearby plants, windows, or delicate surfaces with tarps or plastic sheeting. I learned the hard way that even the most powerful machines can cause unintended damage. A neighbour once had their car windows splattered by a stray water jet. Shielding these areas not only safeguards them but also minimises clean-up afterwards.
Gathering Necessary Supplies
Before starting, assemble all needed cleaning agents and attachments. I always keep a few brushes and rags handy for spot treatment of stubborn stains. Having everything at arm’s reach saves time and ensures you won’t have to interrupt your work. Remember, preparation is key to achieving a spotless finish without unnecessary hassle.
Pre-Treating Oil Stains with Cleaning Solutions
For effective removal of greasy marks, pre-treating is key. Start by selecting a suitable cleaning solution designed specifically for grease. Here are some recommendations based on my experience:
- Degreasers: Opt for a heavy-duty degreaser that can break down tough residues. Look for products that are biodegradable and safe for various surfaces.
- Dish Soap: A simple, concentrated dish soap mixed with warm water can work wonders for mild stains. Apply it directly to the area and let it sit for a few minutes.
- Absorbent Materials: For fresh spills, sprinkle an absorbent material like cat litter or baking soda over the stain. Allow it to sit for several hours to draw out the grease.
After applying your chosen solution, follow these steps:
- Gently scrub the area with a stiff brush to help lift the stain.
- Rinse the area with clean water to remove any residue from the cleaning agent.
- Assess the stain; if it persists, repeat the application and scrubbing process.
Once you’ve pre-treated the stains, you’re set for a thorough clean. If you’re also considering cleaning other surfaces, you might find it useful to check out this guide on how to clean an aquarium tank.
Step-by-Step Guide to Using a Pressure Washer on Oil Stains
Begin with a thorough assessment of the stained area. Identify the extent of the blemish and any surrounding surfaces that may be affected during the cleaning process. This helps in planning your approach better.
1. Gather Necessary Equipment
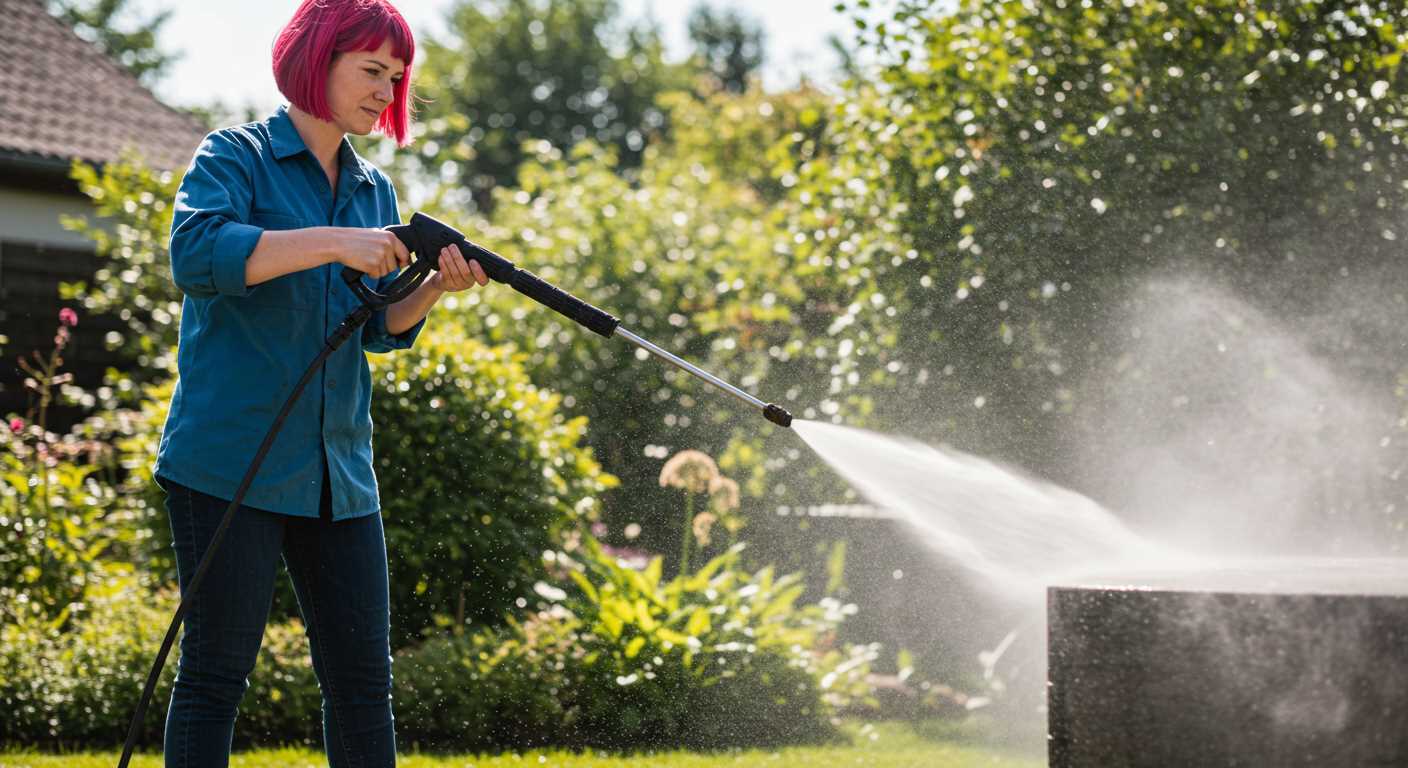
Ensure you have the following items ready:
- High-pressure cleaning unit with adjustable settings
- Appropriate nozzle (a 25-degree or 40-degree nozzle is typically effective)
- Protective gear (gloves, goggles)
- Cleaning solution suitable for greasy substances
- Stiff-bristled brush for pre-treatment
2. Pre-Cleaning Inspection
Examine the machine and the area. Check for loose debris, which can interfere with the cleaning process. Clear any obstacles to ensure safe movement during operation.
3. Set Up the Equipment
Connect the cleaning machine to a water source and ensure the hose is free of kinks. Select the appropriate nozzle based on the stain’s severity. A wider spray angle helps prevent damage to the surface.
4. Pre-Treat the Stain
Apply the suitable cleaning solution directly onto the stain. Allow it to penetrate for 5–10 minutes. Use a stiff-bristled brush to work the solution into the stain, breaking down the grease.
5. Start Cleaning
Once the pre-treatment has set, activate the device. Maintain a distance of about 12-18 inches from the surface to avoid damage. Sweep the nozzle in a back-and-forth motion, starting from the outer edges and moving inward.
6. Rinse Thoroughly
After the stain has lightened, switch to a rinse setting if available. Ensure all cleaning solutions and residue are washed away, as leftover chemicals can affect the surface over time.
7. Inspect and Repeat if Necessary
Once you’ve rinsed, examine the area. If some staining remains, repeat the pre-treatment and cleaning steps as needed. Sometimes multiple applications are necessary for complete removal.
| Step | Action | Notes |
|---|---|---|
| 1 | Gather Equipment | Ensure all tools are in good condition |
| 2 | Inspect Area | Clear debris and obstacles |
| 3 | Set Up | Check hose and connections |
| 4 | Pre-Treat | Let solution sit before scrubbing |
| 5 | Clean | Maintain proper distance from surface |
| 6 | Rinse | Remove all cleaning agents |
| 7 | Inspect | Repeat if necessary |
Following these steps can significantly enhance your chances of removing those stubborn blemishes. Always remember to adjust your technique based on the specific circumstances encountered. Each stain can be unique, and adapting your approach is key.
Common Mistakes to Avoid When Pressure Washing Concrete
Avoid using too high a pressure setting. I once made the mistake of cranking the pressure to maximum, thinking it would yield better results. Instead, I ended up etching the surface of the concrete, creating a rough texture that was harder to clean later. Stick to a moderate setting and test on a small, inconspicuous area first.
Don’t forget to clear the area of debris and furniture. I learned this the hard way when I discovered that a few stones and other obstacles not only hindered my progress but also posed a risk of damaging the equipment or injuring myself. Ensuring a clean workspace saves time and prevents accidents.
Skipping the pre-treatment process is another frequent error. I once assumed that a simple wash would suffice, but the stubborn stains remained. Pre-treating stains with a suitable cleaning solution is crucial for achieving the best outcome. It allows the chemicals to break down the grime, making the subsequent wash more effective.
Be cautious with your distance from the surface. I remember getting too close and causing damage to the concrete. Maintain a distance of about 12-18 inches to avoid any unnecessary harm while still achieving a thorough cleaning.
Ignoring safety gear is a mistake I’ve witnessed too often. Always wear protective eyewear and gloves. The force of the water can send debris flying, and the last thing you want is to get hurt during the process.
Lastly, don’t overlook the maintenance of your device. After a particularly challenging job, I neglected to clean my equipment properly. This led to operational issues later, including a situation where my pressure washer no longer turned off automatically. Regular maintenance prevents these kinds of frustrations and ensures your machine operates efficiently for a long time.
Post-Cleaning Care for Concrete Surfaces
After clearing stains from your hard surface, proper maintenance is vital to prolonging its cleanliness and durability. Here are some key steps to follow:
- Inspect the Surface: Once the cleaning is complete, examine the area for any remaining stains or damage. Look for signs of wear, cracks, or pitting that may have been masked by grime.
- Seal the Surface: Applying a sealant can protect against future stains and make cleaning easier. Choose a product designed specifically for concrete; it creates a barrier that repels liquids.
- Regular Maintenance: Schedule routine cleaning sessions to prevent build-up. A bi-annual deep clean can help keep surfaces looking fresh.
- Use Appropriate Cleaners: For routine maintenance, opt for mild detergents or specific concrete cleaners. Harsh chemicals can damage the surface over time.
- Address New Stains Immediately: If new marks appear, treat them promptly. The longer they sit, the more difficult they become to remove.
From my days in the industry, I’ve seen the difference regular upkeep makes. One client neglected their driveway for years, and when they finally sought help, the cost of restoration was significant. A simple sealing treatment every few years could have saved them a lot of trouble.
Always keep your tools handy. A stiff-bristled brush and a bucket of soapy water should be your go-to for quick clean-ups. This simple routine can save you time and money in the long run.
Alternative Methods for Oil Stain Removal on Concrete
If mechanical cleaning isn’t an option, there are effective alternatives. One method I often recommend is using baking soda, a natural absorbent. Sprinkle a generous amount directly onto the stain, then lightly scrub with a brush and let it sit for a few hours. After that, rinse with water to reveal a cleaner surface.
Another option is using kitty litter. It’s not just for pets; it absorbs grease remarkably well. Spread the litter over the stain, and allow it to sit overnight. The next day, sweep it up and check the results. You may need to repeat this process for stubborn marks.
Homemade Cleaning Solutions
Vinegar and dish soap can be combined for a powerful cleaning solution. Mix equal parts of both in a spray bottle. Apply it to the stained area, scrub with a stiff brush, and rinse thoroughly. This mixture cuts through grease effectively, leaving behind a cleaner surface.
For tougher stains, consider using a commercial degreaser. I’ve tested various brands, and those with citrus-based ingredients tend to work best. Apply according to the manufacturer’s instructions, scrub, and rinse well. Always wear gloves and eye protection when handling strong chemicals.
Absorbent Materials
In some cases, using absorbent pads can be highly effective. Lay them over the stain and let them sit for several hours. They pull the grease away from the concrete. Afterward, clean the area with water to remove any residue.
Each method has its strengths, and sometimes a combination is the best approach. No matter what, persistence is key. Keep testing until you achieve the results you want. Concrete is durable, and with the right care, it can be restored to its original condition.



.jpg)


