
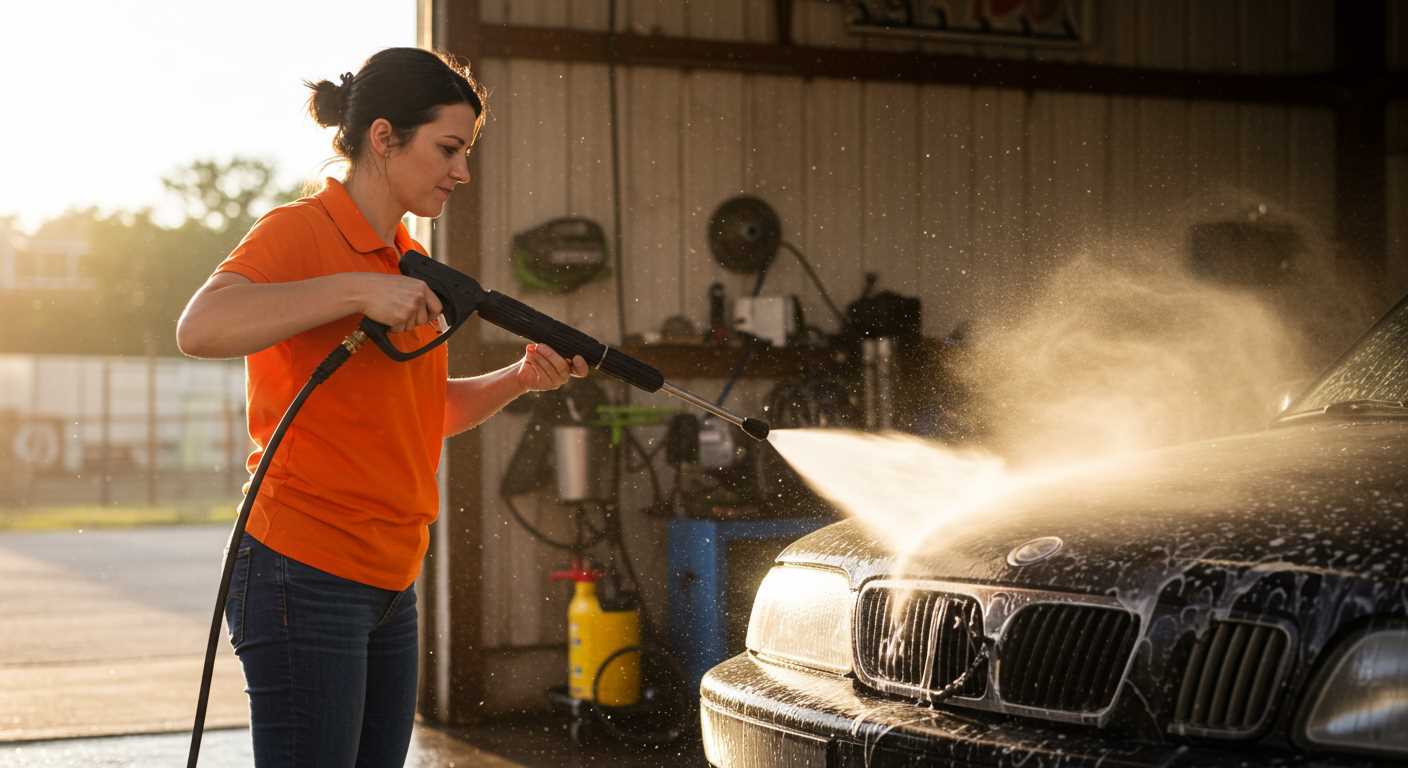


Absolutely, utilizing a high-powered cleaning device can effectively tackle algae growth on asphalt surfaces. In my extensive experience, I’ve witnessed remarkable results when using these machines to combat unwanted plant life. The force of the water stream not only dislodges the green invader but also helps to prevent its rapid return.
When using such equipment, it’s crucial to select the right nozzle. A narrow, concentrated spray pattern typically works best for stubborn patches. I remember one instance where a particularly stubborn area on a driveway required a combination of patience and technique. Adjusting the nozzle angle and distance allowed me to achieve a thorough clean without damaging the asphalt.

Moreover, timing plays a significant role. Tackling algae during a dry spell ensures that the water won’t just wash away but will also allow the surface to dry properly, reducing the likelihood of regrowth. I’ve often advised clients to clean during the late morning or early afternoon for optimal results. This approach not only maximises efficiency but also enhances the longevity of the surface beneath.
Effectiveness of High-Pressure Equipment Against Algae on Asphalt Surfaces
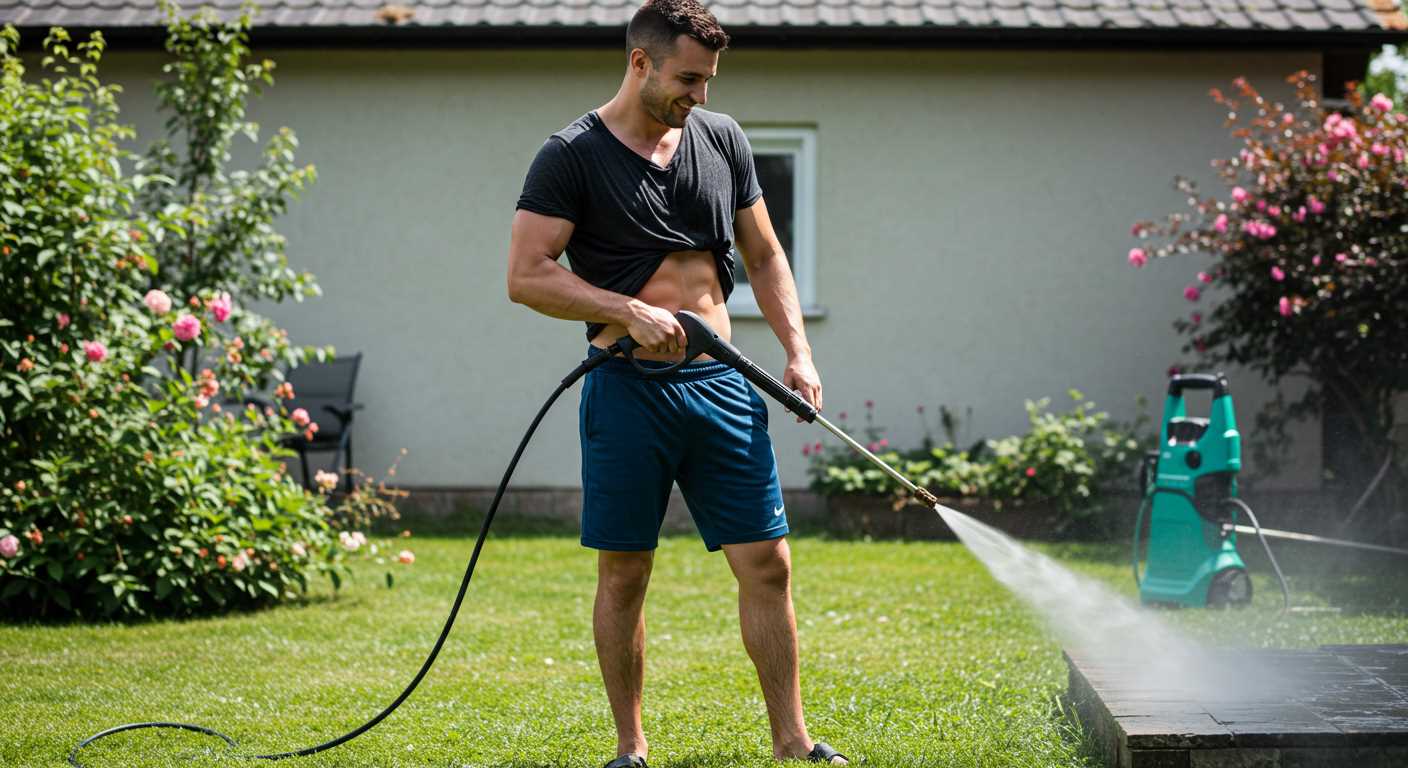
Absolutely, high-pressure equipment can tackle algae on asphalt surfaces with impressive results. I’ve seen it work wonders in my years in the cleaning equipment industry. The combination of water force and the right nozzle can lift stubborn growth effectively. Ensure you maintain the right distance and angle for optimal impact.
When dealing with tough spots, consider using a rotary nozzle. This accessory can enhance the cleaning power, allowing you to cover more ground quickly. In my experience, tackling larger areas often requires a bit of strategy. Start from one end and work your way through, ensuring even coverage without lingering too long in one spot to prevent surface damage.
For those looking to invest in quality gear, I recommend checking out options tailored for commercial use, such as a pressure washer for car wash business. This type of equipment typically offers higher performance and durability, making it ideal for frequent and demanding tasks.
Lastly, don’t underestimate the power of pre-treatment. A suitable cleaning solution can break down the organic material before applying high-pressure water. This two-step approach can save time and enhance the overall cleaning outcome.
Understanding Moss Growth on Tarmac
Dark, damp areas encourage the proliferation of green growth on tarmac surfaces. This type of vegetation thrives in shaded locations, especially where moisture gathers, such as near overhanging trees or in poorly drained areas. The accumulation of organic debris, like leaves and dirt, provides an ideal breeding ground, creating a cycle that promotes further growth.
Temperature also plays a significant role. Moss generally prefers temperatures between 10°C and 20°C, making spring and autumn prime seasons for its expansion. During these months, the combination of moisture and mild weather fosters rapid colonisation. In my experience, areas that experience occasional sunlight yet retain humidity are often the most affected.
To manage this issue effectively, consider regular cleaning and maintenance. I’ve found that addressing the problem early–before it becomes widespread–yields the best results. Using a broom to clear away debris and ensuring good drainage can significantly reduce the likelihood of growth. Additionally, applying a biocide treatment specifically designed for killing such growth can be beneficial, as it targets the roots and prevents regrowth.
In my years of working with cleaning equipment, I’ve seen how preventative measures can save considerable time and effort later. Understanding the environmental factors contributing to growth can guide effective strategies for keeping surfaces clear. Regular inspections and timely interventions can make a substantial difference in maintaining a clean and safe area.
Choosing the Right Equipment for the Job
For effective cleaning, selecting the appropriate machine is paramount. In my experience, models with a minimum of 140 bar pressure are ideal for tackling stubborn growths on asphalt surfaces. This level ensures adequate force to dislodge debris without risking damage to the underlying material.
Key Features to Consider
Look for a unit that offers adjustable pressure settings. This flexibility allows you to tailor the intensity based on the specific task. For instance, a lower setting might be suitable for delicate areas, while a higher setting can be employed for tougher spots. Additionally, a rotating nozzle can enhance the cleaning process, providing a wider coverage area and reducing cleaning time.
Portability is another vital aspect. Lightweight models are easier to manoeuvre, especially over large or uneven surfaces. Consider units equipped with wheels and ergonomic handles. A decent length of hose is crucial as well; it provides better reach without the need to constantly reposition the unit.
Accessories That Enhance Performance
Investing in the right attachments can significantly improve your results. A surface cleaner attachment is invaluable for treating expansive areas efficiently, reducing streaking and ensuring uniformity. Likewise, a detergent injector can aid in breaking down tough residues, making the overall process smoother.
Always assess the power source of the machine. Electric models are quieter and more suitable for residential use, while petrol-powered ones are typically more robust and better for larger outdoor spaces. Understanding your specific needs will guide you to the best choice.
In conclusion, choosing the right equipment involves considering pressure levels, features, portability, and accessories. This thoughtful selection process will lead to a more efficient and effective cleaning experience.
Preparing the Tarmac Surface Before Washing
Before launching into the cleaning process, it’s imperative to prepare the tarmac adequately. This step enhances results and prolongs the lifespan of the surface.
- Clear the Area: Remove any furniture, pots, or vehicles from the vicinity. This ensures unrestricted access and prevents damage to items during the cleaning process.
- Debris Removal: Sweep the tarmac thoroughly to eliminate loose dirt, leaves, and stones. A clean surface allows for better penetration during the washing phase.
- Inspect for Damage: Check for cracks or holes in the tarmac. Addressing these issues beforehand can prevent further deterioration when subjected to high water pressure.
- Wet the Surface: Lightly misting the tarmac can help soften stubborn grime. This technique can facilitate easier cleaning and minimise the risk of surface damage.
During my years in the industry, I found that overlooking these preparatory steps often led to disappointing results. One particular instance involved a client who skipped clearing the area, leading to a minor mishap where furniture got splashed with dirty water. It’s these small details that make a significant difference.
After ensuring the area is clean and ready, you can proceed confidently, knowing that the groundwork is laid for effective cleaning. This preparation not only enhances efficiency but also prevents potential setbacks during the cleaning process.
Setting the Correct Pressure and Nozzle for Moss Removal

For tackling the green nuisance on your asphalt, selecting the right nozzle and adjusting the output is key. Based on my years of experience, I recommend starting with a lower setting, around 1500 to 2000 psi. This range is effective enough to dislodge unwanted growth without risking damage to the underlying surface.
When it comes to nozzles, the 25-degree or 40-degree option is usually the best choice. The wider spray pattern disperses the water, providing a gentler approach while still being efficient. A narrower nozzle can generate a concentrated stream but may cause harm to the surface if used incorrectly.
Begin at a distance of about 12 to 18 inches from the surface. This distance allows you to observe the effectiveness of your chosen settings. If you notice that the growth is still stubborn, you can gradually move closer, but always keep an eye on the surface condition. It’s all about finding that sweet spot where the cleaning action is optimal but safe.
In my experience, using a sweeping motion instead of a direct spray helps prevent concentrated pressure in one area, reducing the risk of damage. Always remember to keep the nozzle moving, ensuring even coverage and better results.
After the initial pass, reassess the area. If some spots need a little more attention, you can adjust your settings accordingly. It’s all about being in tune with the equipment and the surface you’re working on.
Step-by-Step Guide to Pressure Washing Tarmac
Start by gathering your materials: a high-powered cleaning device, a suitable detergent, and protective gear, including gloves and goggles. Ensuring your safety is paramount before you begin tackling the surface.
Next, clear the area of debris, leaves, and any loose dirt. This step prevents additional mess during the washing process and allows for better results. Take a moment to inspect the surface for any cracks or damage; addressing these issues beforehand will lead to a more effective clean.
Once you’ve prepared the area, mix your cleaning solution according to the manufacturer’s instructions. Use a detergent specifically designed for outdoor surfaces to enhance the cleaning power. Apply this mixture generously to the area you intend to clean, allowing it to sit for about 10-15 minutes. This dwell time helps break down stubborn growth.
Adjust the cleaning device to a low-pressure setting, typically around 1200 to 1500 PSI, to avoid damaging the surface. Attach a wide-angle nozzle, as it disperses the water over a larger area, reducing the risk of etching or stripping the tarmac. A 25-degree nozzle is often ideal for this task.
Commence washing from one end of the area and work your way systematically to the other. Maintain a distance of about 12 to 18 inches from the surface to ensure effective cleaning without causing harm. Move the nozzle in a sweeping motion, overlapping each pass slightly to ensure even coverage.
After completing the wash, inspect the area. If you notice any remaining stains or growth, repeat the process on those specific spots. Rinsing the entire area thoroughly with clean water will help remove any leftover detergent and debris.
Finally, allow the surface to dry completely before using it again. This drying time is crucial to prevent any regrowth of unwanted elements. If necessary, consider applying a sealant to protect the tarmac and prolong the cleanliness of the surface.
Alternative Methods for Moss Removal on Tarmac
Using a high-pressure device is just one approach. I’ve discovered several other effective techniques that can tackle unwanted greenery on asphalt surfaces.

Vinegar Solution
Mixing equal parts of white vinegar and water can serve as a natural herbicide. Apply the solution directly to the affected areas using a spray bottle. Allow it to sit for a couple of hours before scrubbing with a stiff brush. This method is particularly useful for smaller patches and is environmentally friendly.
Boiling Water Treatment
Pouring boiling water over the affected zones kills the unwanted growth on contact. This method works well for small areas. Be cautious to avoid any surrounding plants that may also suffer from the heat. After treatment, a stiff brush will help clear away the debris.
For extensive coverage, a mixture of baking soda and water can be applied similarly. The granular nature of baking soda helps to dry out and suffocate the growth. It’s another eco-conscious option that yields good results.
Whichever method you choose, consistency is key. Regular maintenance will prevent regrowth and keep your asphalt looking its best.
Post-Cleaning Care for Tarmac Surfaces
After tackling the green invaders on your asphalt, maintaining its condition is crucial. Here are specific steps to ensure longevity and appearance.
- Inspect the Surface: Examine for any cracks or damage. Early detection prevents further deterioration.
- Sealant Application: Consider applying a sealant to protect against water infiltration and UV damage. This also enhances colour and makes future clean-ups easier.
- Regular Maintenance: Schedule routine inspections and light cleaning. A broom or leaf blower can help keep debris at bay.
- Weed Control: Implement a strategy for weed control. Manual removal or eco-friendly herbicides can help maintain the integrity of the surface.
- Proper Drainage: Ensure that water drains efficiently. Check for blockages in drains and adjust landscaping to direct water away.
- Temperature Awareness: Avoid using heavy equipment or parking vehicles on freshly cleaned or sealed surfaces until fully cured to prevent marks.
In my experience, applying a sealant right after cleaning has brought noticeable results. It not only protects the surface but also provides a fresh look. Regular maintenance keeps the job you’ve done looking great for longer. I recommend setting a calendar reminder for seasonal checks to stay ahead of any issues.

Lastly, always keep an eye on the weather. Unfavourable conditions can compromise your efforts, so plan maintenance activities accordingly.
Safety Precautions When Using a Pressure Cleaning Device
Always wear appropriate personal protective equipment (PPE) before engaging with a high-powered cleaning tool. This includes safety goggles to shield your eyes from debris, sturdy gloves to protect your hands, and closed-toe footwear to guard your feet against falling objects or accidental splashes. I once had a colleague who underestimated the force of the water stream and ended up with a nasty bruise on his leg. It’s not worth the risk.
Setting Up Your Workspace
Ensure the area is clear of obstacles. Remove furniture, vehicles, and any delicate items that could be damaged by the force of the water. I remember a time when I forgot to move my garden gnome, and it didn’t survive the cleaning session. Additionally, check the surrounding environment for hazards like electrical outlets or overhead wires.
Handling Equipment Safely
Before starting, inspect the equipment for any signs of wear or damage. Check the hoses for leaks and ensure the nozzle is securely attached. I’ve seen hoses burst unexpectedly, creating a slippery situation that could lead to falls. Always maintain a firm grip on the handle and keep the nozzle pointed away from yourself and others.
| Safety Tip | Description |
|---|---|
| Wear PPE | Goggles, gloves, and sturdy footwear are essential. |
| Clear the Area | Remove obstacles and check for hazards. |
| Inspect Equipment | Check for damage before use to prevent accidents. |
| Maintain Control | Always keep a firm grip and point the nozzle away. |
Lastly, be mindful of your posture and stance during operation. A stable position enhances control and reduces the risk of injury. Once, while cleaning a driveway, I lost my footing and nearly fell. Since then, I always ensure my feet are planted firmly. Taking these precautions will make the cleaning process not only safer but more effective.
When to Seek Professional Help for Moss Removal
If you encounter extensive growth on your surfaces, consider bringing in experts. I recall a project where a friend attempted to handle a large area themselves but ended up causing damage due to excessive force. Professionals have the right tools and techniques to tackle large infestations without risking surface integrity.
Another indicator for hiring specialists is the presence of underlying issues. If the area is damp or has drainage problems, addressing these concerns is crucial before any cleaning effort. My experience highlights how neglecting such problems can lead to recurring growth, making future maintenance even more challenging.
For those who lack the time or physical ability to engage deeply with the process, professionals can save significant effort. I’ve seen many homeowners frustrated by the physical demands of thorough cleaning. It’s often more cost-effective to invest in expert services than to deal with the stress and potential for poor results.
Additionally, if you are unsure about the most suitable methods or products to use, seeking expert advice can prevent costly mistakes. I once witnessed a homeowner using an inappropriate chemical solution, which not only failed to resolve the issue but also damaged the surface. Consulting with a professional ensures the right approach tailored to your specific situation.
Lastly, remember that regular maintenance can greatly reduce the need for professionals in the future. Once a surface is cleaned, setting up a routine can keep growth at bay, allowing you to manage smaller tasks yourself. For more information on maintaining your outdoor spaces, check out this resource on can dogs mate through a fence, which offers insights into outdoor care and maintenance.

.jpg)


