
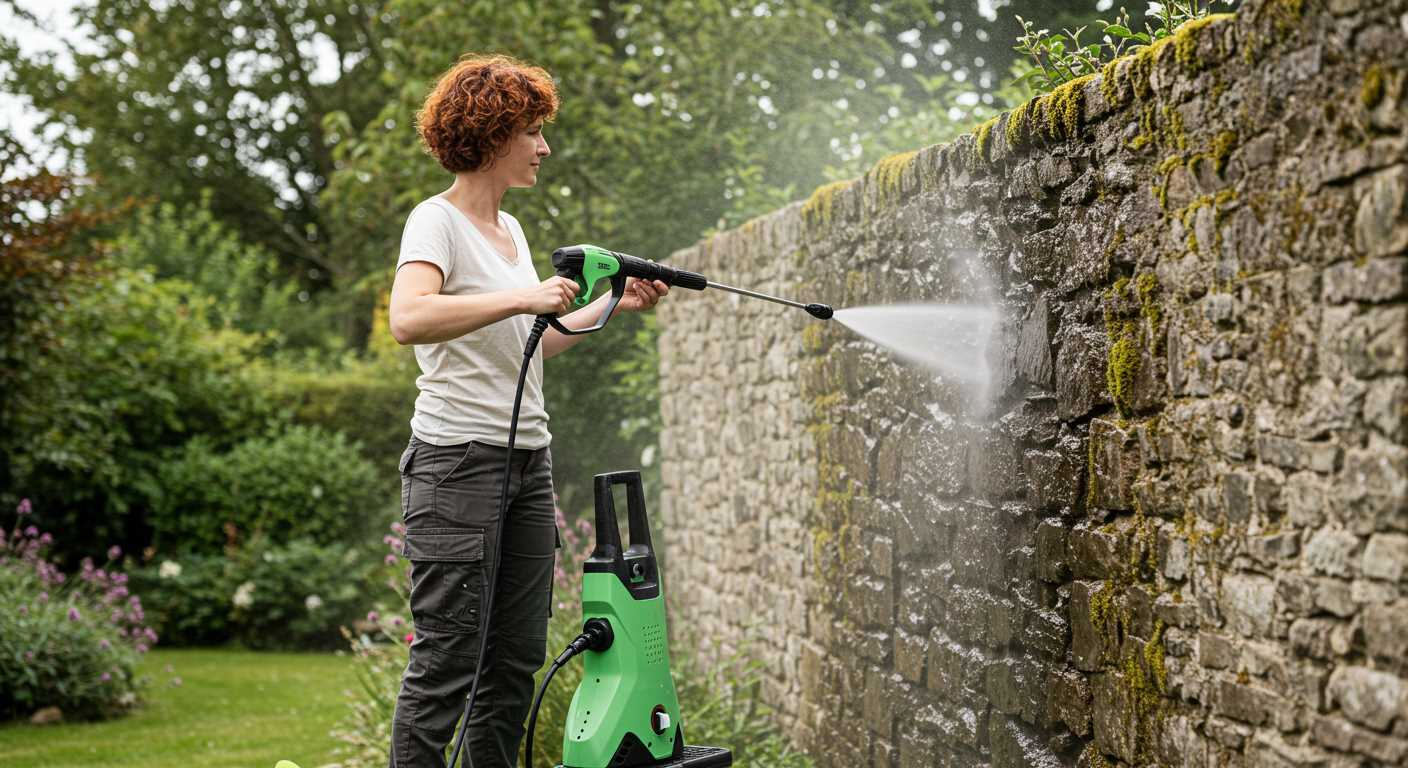


For those seeking to tidy up their masonry surfaces, utilising high-pressure equipment can be a game changer. I’ve spent over a decade assessing various models, and I can confirm that this method, when done correctly, can effectively strip away unwanted layers from porous materials like brick.
In my experience, it’s crucial to select the appropriate nozzle and adjust the water pressure to avoid damaging the surface. A lower setting often yields better results, allowing you to gradually coax off the unwanted coating without leaving scars on the underlying structure. I recall one project where I started with a 25-degree nozzle, which provided just the right angle to tackle the stubborn remnants without risking any chipping.

Consistency is key. Maintaining a steady distance while working, usually around 12 to 18 inches from the surface, can help in achieving a uniform finish. I’ve seen too many homeowners rush the process, resulting in uneven patches. Patience and technique truly make all the difference in these types of cleaning tasks.
Lastly, always keep safety in mind. Protective eyewear and gear are non-negotiable, as debris can fly unexpectedly. Having a clear strategy and the right tools can transform this effort into a successful, satisfying experience.
Will a Pressure Washer Remove Paint from Brick?
Using high-velocity water jets can effectively strip off layers from textured surfaces. However, caution is necessary. In my experience, the first step is to choose the right nozzle. A narrow spray tip concentrates the force, making it more efficient for dislodging coatings without excessive damage to the underlying material.
It’s crucial to maintain a safe distance–typically around 12 to 18 inches–from the surface. Getting too close can lead to chipping or pitting, which might ruin the aesthetic of the masonry. I’ve seen this happen more times than I can count, and it’s always disappointing.
Before starting, assess the condition of the wall. Loose or crumbling sections should be repaired first; otherwise, the process could exacerbate existing issues. Always test a small, inconspicuous area first. This helps gauge both the effectiveness and the potential risks involved.
Temperature plays a significant role as well. Warm water can enhance the results, especially if the coating is old and brittle. In colder conditions, the effectiveness diminishes, and the task may require more effort.
Lastly, after the task, ensure proper cleaning of the equipment. Residues can clog the system, leading to malfunctions down the line. Trust me, maintaining your tools extends their lifespan and ensures they perform at their best for future projects.
Understanding Brick Types and Adhesion of Coatings
Choose the right approach based on the type of brick surface. Different bricks have varying porosities and textures, affecting how well coatings adhere. For instance, dense bricks like fired clay hold onto coatings more securely than softer, more porous types like sand-lime bricks.
Types of Bricks
- Fired Clay Bricks: These are commonly used for their durability and resistance to moisture. They usually have a smooth finish, which can lead to better adhesion of coatings.
- Concrete Bricks: These are often less expensive but can be more porous. They may require a primer to enhance bonding.
- Sand-Lime Bricks: These are softer and can be more prone to damage during cleaning processes. Coatings may not adhere well without proper preparation.
Factors Influencing Adhesion
Several factors affect how well coatings stick to brick:
- Surface Preparation: Thorough cleaning is crucial. Removing dirt and grime ensures better adhesion.
- Moisture Content: Applying coatings to wet surfaces can lead to peeling. Ensure the surface is dry before application.
- Temperature: Extreme temperatures can affect how coatings bond to surfaces. Aim for moderate conditions for best results.
For optimal cleaning and maintenance techniques, check out this how to clean the plastic strip on a shower door ultimate guide. Understanding these elements can vastly improve your results when working with different brick types and coatings.
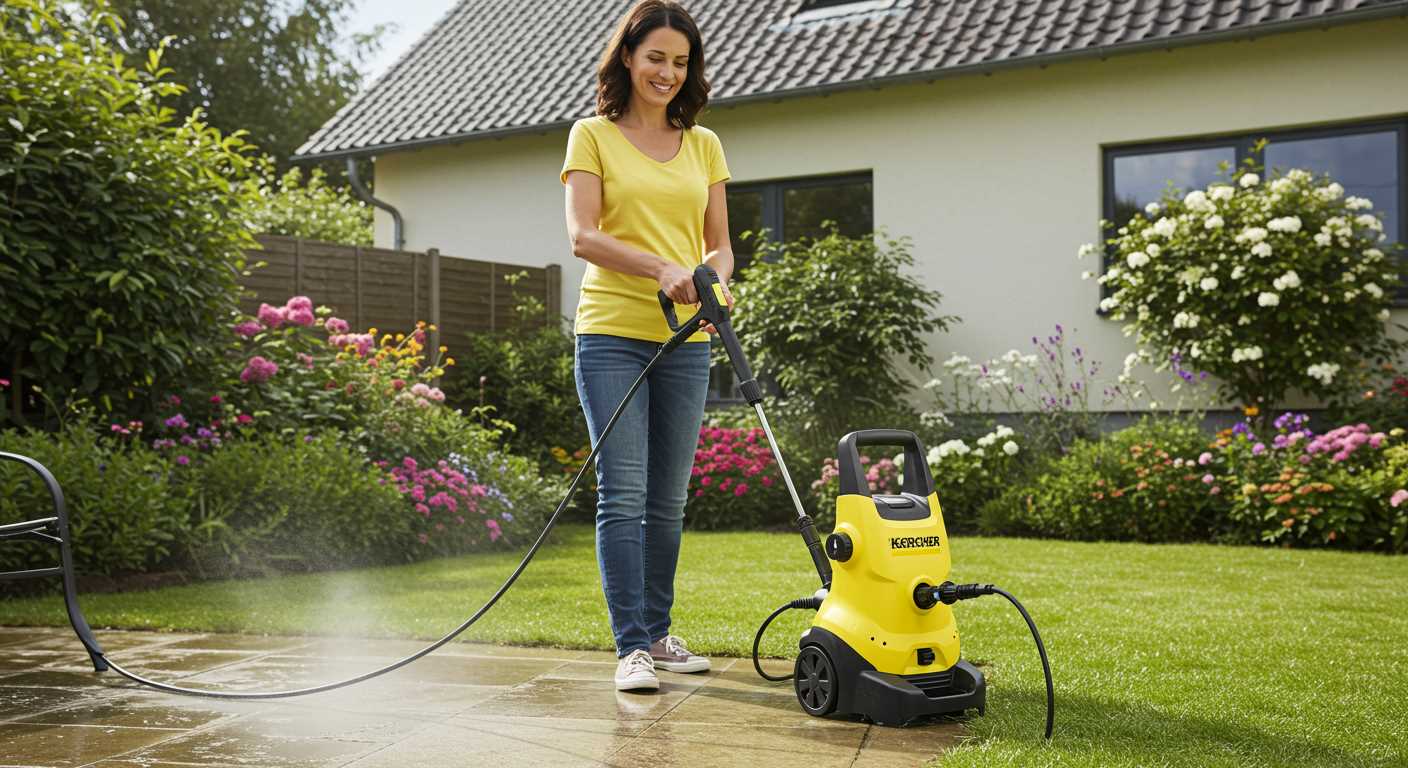
Choosing the Right Equipment for the Job
For effective stripping of coatings from masonry surfaces, selecting the appropriate tool is paramount. Based on my experience, here are crucial factors to consider:
1. Pressure Rating
- Look for a unit with a minimum of 2000 PSI for efficient removal.
- Higher ratings, around 3000 PSI, are ideal for tougher jobs but require caution to avoid damaging the surface.
2. Flow Rate
- A flow rate of at least 2.5 GPM will help to carry away loosened debris effectively.
- Higher flow rates improve cleaning efficiency by maintaining a steady water supply during the task.
3. Nozzle Selection
- Opt for a nozzle with a tight spray pattern, typically 15 or 25 degrees, for focused cleaning.
- Adjustable nozzles offer flexibility for various tasks but ensure you understand the spray angles.
4. Detergent Compatibility
- Choose a model that allows for the use of cleaning solutions to enhance effectiveness.
- Ensure the detergent is safe for masonry surfaces and won’t cause long-term damage.
5. Portability and Weight
- If moving around a site, consider a lightweight and compact model, making it easier to transport.
- Wheeled units can save time and effort, especially on larger properties.
6. Safety Features
- Look for models with automatic shut-off features to prevent overheating.
- Ensure the equipment has adequate safety nozzles to protect against accidental injury.
In my experience, taking the time to evaluate these elements can significantly impact the outcome of your project. I once tackled a large restoration job where choosing the right unit saved me hours of work and yielded impressive results. Don’t underestimate the importance of selecting the appropriate equipment for your specific needs. It can make all the difference.
Setting the Correct Pressure and Nozzle for Brick
For optimal results, I recommend using a range of 1200 to 2000 PSI when tackling tough surfaces like masonry. This level strikes a balance, allowing for efficient cleaning without risking damage. Beyond PSI, selecting the right nozzle plays a pivotal role. A 25-degree nozzle is often the best choice; it provides a broader spray pattern that is gentle enough for brick yet effective in dislodging stubborn residues.
When I first attempted to clear a brick wall of stubborn stains, I started with a higher pressure setting and a narrower nozzle. The outcome was less than satisfactory, and I ended up chipping away at the brick instead of achieving a clean surface. After some trial and error, I adjusted to the recommended settings, which made all the difference. The 25-degree nozzle allowed me to cover more area while ensuring the integrity of the brick was maintained.
Always begin your cleaning at a distance of about 2-3 feet from the surface. Gradually move closer as needed, but never get too close to avoid causing damage. It’s better to work in sections, assessing the results before proceeding further. This approach not only saves time but also minimises the risk of harming the masonry.
For those considering options without the hassle of hoses, check out this pressure washer without hose. It provides flexibility and ease of movement, making it easier to reach all areas without the burden of managing additional equipment.
| Setting | Recommended Value |
|---|---|
| PSI Range | 1200 – 2000 |
| Nozzle Type | 25-degree |
| Starting Distance | 2-3 feet |
Remember to always test a small, inconspicuous area before proceeding with the entire surface. This ensures that you’re achieving the desired effect without compromising the material’s durability. Adopting these practices will lead to a successful and safe cleaning experience.
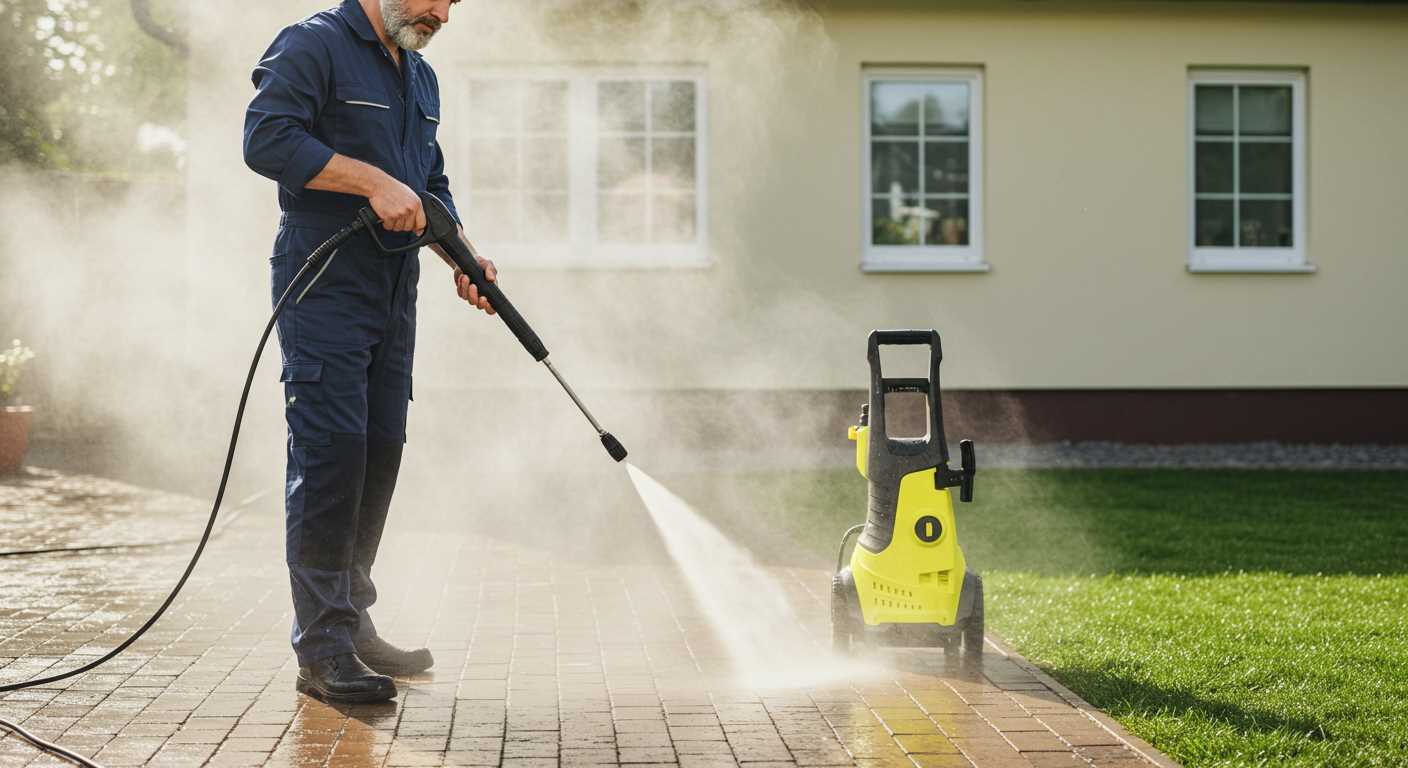
Preparing the Area Before Cleaning
Clear the vicinity of any furniture, plants, or decor that may get damaged during the cleaning task. I once overlooked a decorative potted plant, and it ended up with splatter marks that took ages to clean. Make sure to cover any nearby surfaces, such as windows and doors, with plastic sheeting to prevent water or debris from entering.
Check for loose bricks or mortar. If any are found, repair them before proceeding. I had a situation where a loose brick got dislodged during a job, which created more issues than anticipated. Additionally, ensure that the ground beneath is stable and free from obstacles.
Safety Gear and Precautions
Wear protective goggles and gloves. I recall a day when I thought safety gear was optional. A small pebble flew up and hit me in the eye, reminding me that it’s not worth the risk. If you have pets or children, consider keeping them indoors or at a safe distance during the process. The noise and debris can be unsettling for them.
Water Supply and Equipment Check
Ensure a reliable water source is available. I’ve had equipment malfunction due to low water pressure, leading to frustrating delays. Before you begin, test the equipment to confirm it’s functioning correctly. Check hoses for leaks and ensure all connections are secure. This step can save you a lot of hassle once you start the cleaning process.
Techniques for Removing Paint from Brick Surfaces
Start with a test patch. Before tackling a larger area, apply your chosen method on a small, inconspicuous section of the surface. This helps gauge the effectiveness and ensures no damage occurs to the underlying material.
Chemical Strippers
Chemical strippers can effectively dissolve layers of colour. Look for products specifically designed for masonry. Apply a generous amount, allowing it to penetrate the surface for the recommended time, usually around 15-30 minutes. Scraping with a putty knife can help lift the softened layers. Always wear protective gear and ensure proper ventilation.
Scraping and Brushing
For stubborn areas, manual scraping may be necessary. Use a stiff-bristled brush or a metal scraper. Work gently to avoid damaging the surface. Combining this with a water rinse can enhance results. In some cases, a rotary wire brush attachment on a drill can expedite the process, but caution is advised to prevent surface abrasion.
Utilising these techniques in tandem often yields the best results. Each method has its strengths, and the right choice depends on the specific condition of your surface and the type of colour applied. Always prioritise safety and test before full application to achieve a satisfactory finish.
Potential Risks of Pressure Washing Brick
Excessive force can lead to significant damage. Using high settings may erode the surface of the masonry, exposing the inner layers and compromising structural integrity. If the surface becomes too rough, it can trap moisture, leading to long-term deterioration.
Water Infiltration Concerns
Moisture intrusion is a serious risk. If water penetrates the brick and doesn’t dry out, it can cause mould and mildew growth. This is especially problematic in colder climates, where trapped water can freeze and expand, resulting in cracks and spalling.
Loss of Protective Coatings
Many bricks are treated with sealants or waterproofing agents. Aggressive cleaning techniques can strip these protective layers, leaving the brick vulnerable to environmental damage. Always check for existing treatments before beginning any cleaning procedure.

In my experience, assessing the condition of the surface beforehand is key. I once encountered a historical building where improper cleaning led to significant damage, costing the owner thousands in repairs. Always approach with caution and consider less abrasive alternatives if you’re uncertain.
Alternative Methods for Paint Removal on Brick
For those seeking different techniques to strip coatings from masonry, a few methods stand out based on my extensive experience in the field. Each method has its own merits, but effectiveness can vary depending on the specific scenario.
Chemical Strippers
Chemical strippers are a viable option for tackling stubborn layers. Look for products designed specifically for masonry surfaces. Apply the stripper generously and allow it to penetrate the coating according to the manufacturer’s instructions. Once the time has elapsed, use a stiff-bristle brush to agitate the surface, followed by rinsing with water. Always ensure adequate ventilation during this process and protect nearby plants and surfaces from drips.
Sandblasting
Sandblasting provides a powerful alternative for those willing to invest in more aggressive techniques. This method can effectively eliminate coatings, but precision is key to avoid damaging the underlying masonry. A skilled operator can adjust the abrasive material and pressure to suit the brick type, ensuring a cleaner finish. After sandblasting, it’s essential to wash the area thoroughly to remove any residual abrasive particles and restore the surface.
For smaller sections or detailed work, consider using a handheld grinder equipped with a wire brush attachment. This tool allows for a more controlled approach, particularly useful for intricate designs or areas with multiple textures. Always wear appropriate safety gear, including goggles and a mask, to protect yourself from dust and debris.
Regardless of the method chosen, test on a small, inconspicuous area first to ensure compatibility with the brick and to gauge the results. This precaution helps prevent damage and provides insight into the effectiveness of the chosen technique.
Cleaning and Restoring Brick After Paint Removal
To achieve a pristine finish on masonry surfaces, it’s crucial to follow up the stripping process with a thorough cleaning. Start by rinsing the area with warm water to eliminate any residual debris or chemicals that may linger post-stripping. This basic step prepares the surface for further restoration.
Effective Cleaning Techniques
Using a stiff-bristled brush alongside a mild detergent solution can significantly enhance the cleaning process. Scrub the brick with the brush, focusing on any stubborn spots that remain. For more stubborn residues, consider a mixture of vinegar and water, which can help break down any remaining substances without damaging the brick.
Restoration and Sealing

Once the surface is clean and dry, assess the condition of the brick. If you notice any cracks or chips, apply a suitable masonry repair compound to restore integrity. After repairs, wait for the compound to cure fully. Following this, apply a breathable sealant designed for brick. This step is not just about aesthetics; it protects against moisture ingress and future staining, ensuring longevity and preserving the structural integrity of your masonry.
When to Consult a Professional for Paint Removal
Consult a specialist when the task involves intricate designs or historic structures. I recall a project where a client wanted to refresh a vintage home, but the intricate brickwork required a delicate touch that I couldn’t replicate alone. An expert in heritage restoration provided invaluable insight and techniques tailored to preserve the home’s character.
Signs That Indicate Professional Help is Needed
If the surface shows signs of damage or deterioration, seek assistance. I once encountered a client whose wall had suffered from years of neglect, leading to crumbling mortar. Attempting to tackle it alone could have exacerbated the issue. A professional can assess the condition and recommend a safe approach.
Complexity of the Job
For large-scale projects, hiring an expert might be more efficient. During a commercial property renovation, I worked alongside a team that specialised in extensive exterior restorations. Their advanced techniques and equipment allowed for a quicker turnaround while ensuring the integrity of the surface remained intact.
Additionally, if you’re unsure about the right methods or products to use, consulting a professional can save time and prevent costly mistakes. Their experience often translates into a smoother process and better results.
.jpg)


