
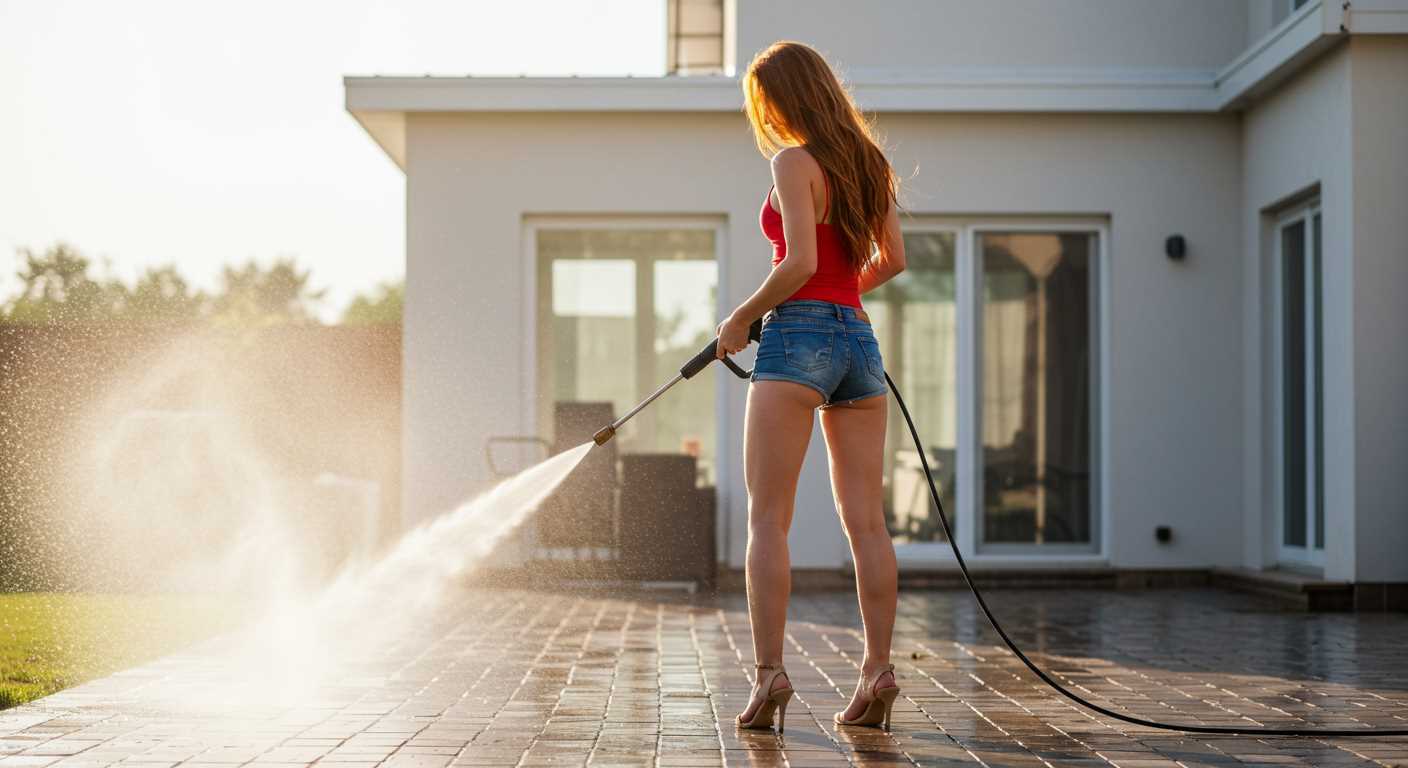


Absolutely, a high-pressure cleaning device can effectively strip coating from a vehicle’s surface, but it’s essential to approach this task with caution. In my experience, I’ve seen both successful and disastrous outcomes depending on the technique and equipment used. Using the right nozzle and distance can make a significant difference in the results.
When I first experimented with high-pressure cleaning on a vehicle, I was amazed at how quickly the coating began to peel away. The key is to maintain an appropriate distance–typically around 12 to 18 inches–to prevent damaging the underlying surface. A narrow nozzle provides a concentrated stream that can tackle stubborn layers, while a wider spray disperses the force, reducing the risk of harm.
Another critical factor is the pressure setting. Lower settings are often more suitable for delicate finishes, while higher settings may be necessary for tougher layers. I once used a device set too high on a classic car, which resulted in unwanted scratches. Always test a small, inconspicuous area first to gauge how the surface reacts before proceeding with larger sections.
While this method is effective, it’s not without risks. Consider the condition of the vehicle’s surface and the type of coating applied. Certain finishes may not withstand the intensity, leading to further issues. Remember, the goal is to refresh the appearance without causing damage.
Understanding how pressure cleaners work on vehicle surfaces

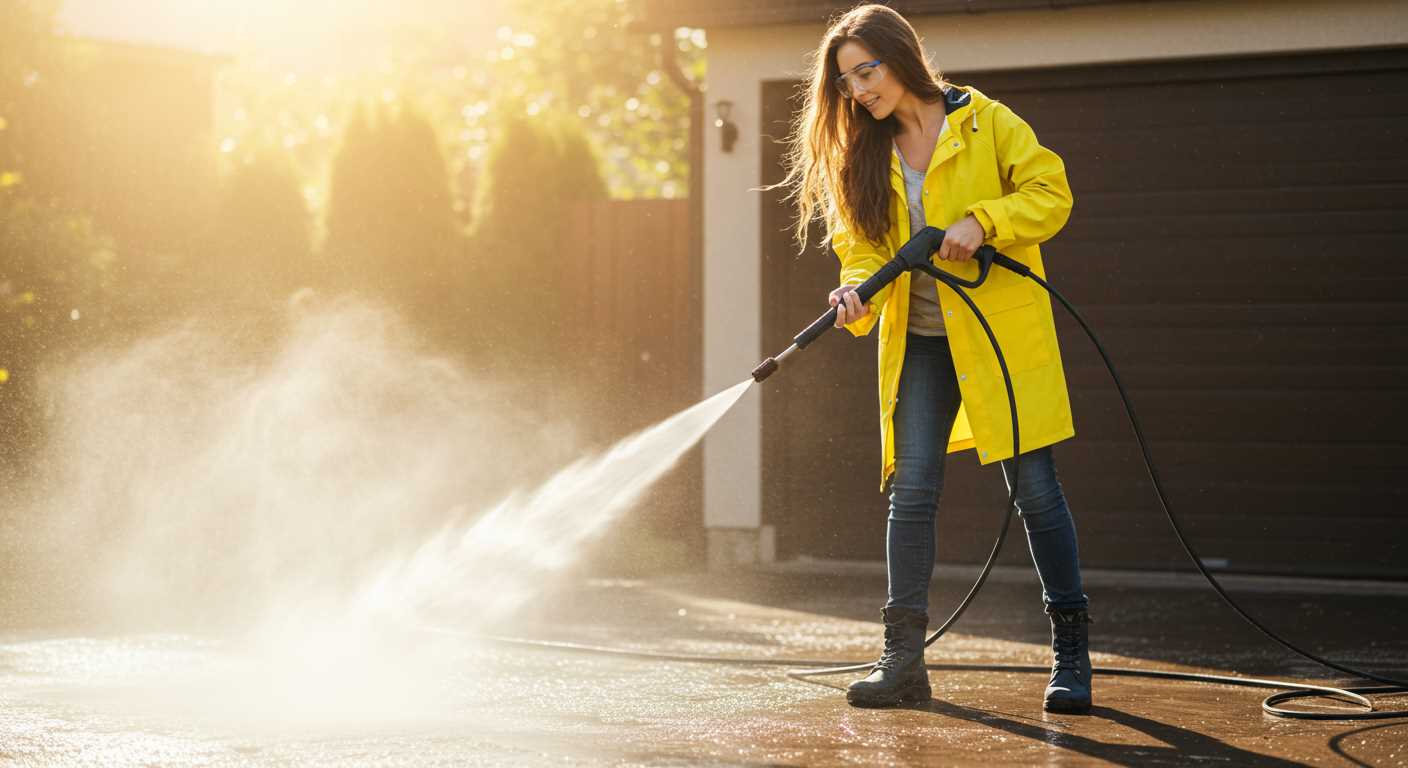
Utilising a high-powered cleaning device can be a double-edged sword for automotive exteriors. These machines operate by forcing water through a narrow nozzle, creating a concentrated stream that can effectively tackle grime and stubborn residues. The force of this jet can vary significantly, often adjustable according to the task at hand.

When tackling the exterior of a vehicle, it’s crucial to select the appropriate nozzle. A wider spray pattern reduces the intensity of the water stream, making it safer for delicate surfaces. Conversely, a narrow stream can cause damage if not handled carefully, particularly on painted or polished areas. My experience has shown that starting with a low-pressure setting and gradually increasing the intensity is wise for maintaining the integrity of the finish.
Temperature also plays a role in cleaning efficiency. Warm water can enhance the breakdown of dirt and contaminants, allowing for a more thorough clean. However, extreme temperatures can lead to issues, such as warping or damaging seals. In my years of testing various models, I found that using water heated to a moderate temperature often yields the best results without risking surface integrity.
Another key factor is the distance between the nozzle and the surface. Maintaining a safe distance can prevent damage while still achieving effective cleaning. I’ve learned to keep at least two feet away when starting, gradually moving closer as needed, but always remaining cautious of the impact.
Using the right cleaning agents in conjunction with these devices can also enhance results. Some products are specifically formulated for automotive surfaces and help lift stubborn dirt without compromising the finish. I’ve often found that a pre-soak with a suitable detergent can make the subsequent wash significantly easier and more effective.
In summary, understanding the mechanics behind these cleaning tools is essential when it comes to their application on automotive surfaces. Proper technique, temperature, distance, and cleaning agents can make all the difference in achieving a clean finish without risking harm to the vehicle’s appearance.
Assessing the Type of Paint and Its Adherence
Understanding the characteristics of the coating on your vehicle is paramount. Begin by identifying whether it’s a factory finish or a DIY job. Factory coatings often have superior adhesion compared to amateur applications, making them more resilient against strong cleaning methods.
Characteristics of Different Coatings
- Clear-Coat Finishes: These are common in modern automobiles, providing a glossy layer. They can be quite resistant, but excessive force can lead to damage.
- Single-Stage Paint: Often used in older models, this type combines colour and protective layer. It may be more susceptible to aggressive cleaning techniques.
- Vinyl Wraps: If your vehicle is wrapped, be cautious. High-pressure methods can lift edges or cause peeling.
Testing Adherence
Before attempting any vigorous cleaning, conduct a simple adhesion test. Use a piece of masking tape and apply it firmly to an inconspicuous area. Pull it away quickly and observe:
- If colour comes off, the coating may not withstand strong cleaning.
- No colour transfer indicates a robust finish, suggesting more aggressive methods could be used.
Always consider the surface condition as well. A well-maintained finish will hold up better than one with scratches, chips, or existing wear. If you’re uncertain, it’s wiser to opt for gentler techniques to preserve the vehicle’s appearance.
Choosing the Right Pressure Settings for Paint Removal
For effective surface treatment, selecting the optimal settings is key. I recommend starting at a lower level, around 1200 to 1500 PSI. This range is usually sufficient for loosening coatings without risking damage to the underlying finish. Gradually increase the intensity if necessary, but always maintain a safe distance of at least two feet from the surface.
Testing Before Commitment
Before committing to a specific setting, conduct a test on a small, inconspicuous area. This allows you to gauge how the surface reacts without the risk of unsightly damage. I once rushed into a project without testing and ended up with uneven patches that required additional work. A simple test can save you time and hassle.
Adjusting Based on Surface Condition
The condition of the surface is also a determining factor. If the coating is particularly stubborn, you might need to increase the PSI incrementally, keeping an eye on how the surface responds. It’s all about finding that sweet spot where the coating starts to lift without compromising the finish underneath. For stubborn residues, try a narrow nozzle to concentrate the flow, as it can help dislodge the unwanted material more effectively. Don’t forget to clean equipment regularly to maintain optimal performance; for instance, how to clean an aquarium air stone can be a good reference for maintaining cleanliness in similar contexts.
Potential risks of using a pressure washer on vehicles
Using high-pressure methods on vehicles can lead to significant damage if not handled with care. I’ve seen cars that were pristine turn into a mess due to incorrect handling. One common issue is the risk of stripping away protective coatings. Many modern vehicles come with clear coats that safeguard the underlying finish. A strong stream can compromise this layer, resulting in accelerated wear and susceptibility to rust.
Another danger is the potential for chipping or denting. I recall a client who was eager to rejuvenate their classic car. They opted for a vigorous approach, thinking it would save time. Instead, they ended up with several noticeable dings and scratches. The force can easily dislodge loose sections of bodywork or even crack fragile components like mirrors and lights.
Water ingress and electrical damage
Water can infiltrate sensitive areas, especially around seals and joints. I once worked with a vehicle that experienced electrical failure after a thorough wash. The water pressure had forced moisture into the wiring harness, leading to costly repairs. It’s wise to avoid spraying directly into any openings, including door frames and engine compartments. Always maintain a safe distance and angle to minimise this risk.
Incorrect angle and technique
The technique used is as crucial as the equipment itself. Aiming the nozzle too closely can create uneven surfaces or excessive abrasion. During my years in the field, I’ve observed that many individuals underestimate the importance of technique. Adjusting the angle can mitigate damage and ensure a more controlled clean. Consistency and precision are key to avoiding unintentional harm.
Comparing pressure washing to other paint removal methods
For effective surface treatment, mechanical methods like sanding or scraping often outperform high-velocity liquid streams. In my experience, these techniques provide greater control over the removal process and reduce the risk of damaging the underlying surface. When I worked with various cleaning equipment, I found that while liquid jets can strip coatings, they sometimes leave residue or uneven surfaces, which requires additional work to smooth out.
Chemical strippers are another alternative. They can penetrate layers more thoroughly, particularly for stubborn finishes. However, I always caution against their use in enclosed spaces due to fumes. One memorable instance involved a classic car restoration project where a solvent-based stripper worked wonders, allowing me to preserve the integrity of the metal beneath. This method requires patience, as it often involves applying the product and waiting for it to work, followed by thorough rinsing.
Mechanical tools, such as orbital sanders, also offer a robust solution. They allow for precise removal without the risk of excessive force damaging delicate surfaces. I recall a time when I used an orbital sander on an old vehicle; the results were impressive, with a smooth finish achieved without the harsh consequences sometimes associated with liquid methods.
When considering the best approach, think about the condition of the surface and the type of coating involved. Each method has its advantages and potential drawbacks. For those interested in a balanced solution, combining techniques often yields the best results. For example, starting with a chemical stripper followed by light sanding can ensure thorough removal without risking damage.
If you’re seeking tools that can also serve other functions, look into options like a pressure washer for shower. These versatile machines can assist in various cleaning tasks beyond just surface treatment, making them a worthwhile investment.
Preparing Your Vehicle Before Using a High-Pressure Cleaner
Before engaging in any cleaning session, it’s imperative to ensure your vehicle is adequately prepared. Start by removing any loose debris such as dirt, leaves, or other particles that may scratch the surface during the process. A thorough hand wash with a gentle soap can help eliminate surface grime effectively.
Inspection of the Surface
Take time to inspect the bodywork. Look for signs of damage, like chips or scratches, as these areas are more susceptible to harm from intense water jets. Pay attention to the condition of the clear coat; if it’s peeling or compromised, reconsider the cleaning method altogether. A gentle approach is advisable to preserve the integrity of the finish.
Securing Sensitive Components
Prior to starting, ensure that all openings, including windows, doors, and any vents, are securely closed. Cover electrical components, such as the battery and fuse box, with plastic bags or waterproof covers. It’s also wise to protect sensitive areas like the intake and exhaust outlets. This prevents water ingress that could lead to electrical issues or engine problems.
| Preparation Step | Description |
|---|---|
| Remove Debris | Clear the bodywork of any loose dirt or leaves to avoid scratches. |
| Inspect Surface | Check for chips, scratches, or peeling clear coat that could be damaged. |
| Secure Openings | Ensure windows, doors, and vents are closed to prevent water entry. |
| Cover Sensitive Areas | Use plastic bags to protect electrical components and openings. |
Completing these steps will significantly mitigate risks and prepare your vehicle for a more effective cleaning experience. Always stay mindful of the condition of your vehicle to ensure a successful and safe cleaning session.
Post-wash care to protect your vehicle’s finish
After a thorough cleaning, applying a quality wax or sealant is crucial. This step not only adds a glossy finish but also creates a protective barrier against contaminants and UV rays. I remember using a synthetic sealant on my first car; the difference in shine and protection was remarkable.
Cleaning the wheels and tyres is also essential. A dedicated wheel cleaner, paired with a soft brush, ensures that brake dust and grime are effectively removed. I always follow up with a tyre dressing to enhance the appearance and provide additional protection against cracking.
Regularly inspecting the surface for any signs of damage is vital. Look for scratches or chips that may have been overlooked. I once missed a small nick on the hood, which later led to rust if I hadn’t caught it in time.
Consider using a clay bar treatment periodically. This process lifts embedded dirt and contaminants, leaving the surface smooth. I recall how satisfying it was to glide my hand over the paint after a clay treatment–such a difference in feel.
Lastly, maintaining a consistent washing schedule prevents the build-up of dirt and grime. I’ve found that washing my vehicle every couple of weeks, combined with the right products, keeps it looking showroom-ready without much effort.
FAQ:
Can a pressure washer effectively remove paint from a car?
Using a pressure washer to remove paint from a car can be risky. While a pressure washer can strip paint, it can also damage the car’s clear coat and underlying surfaces if not used carefully. It’s essential to choose the right nozzle and pressure setting to minimise the risk of harm. If you decide to go ahead, try using a lower pressure setting and maintaining a safe distance from the surface.
What type of pressure washer is best for paint removal from a car?
For removing paint from a car, a pressure washer with adjustable pressure settings is ideal. A model that allows for lower PSI (pounds per square inch) is preferable, typically around 1200 to 2000 PSI. Additionally, a nozzle with a wider spray pattern can help reduce the chances of damaging the surface while still being effective in removing paint.
Are there any risks involved in using a pressure washer on a car’s paint?
Yes, there are several risks associated with using a pressure washer on a car. High pressure can strip not only the paint but also damage the clear coat and potentially dent or scratch the metal beneath. If the nozzle is held too close or used at too high a pressure, it can lead to a poor finish or even cause corrosion in vulnerable areas. It’s advisable to test on a small, inconspicuous area before attempting the entire vehicle.
What alternatives are there to pressure washing for removing paint from a car?
If you’re hesitant about using a pressure washer, there are several alternatives for paint removal. Chemical paint strippers designed for automotive use can effectively dissolve paint without the risks associated with high pressure. Sanding and scraping are also options but require caution to avoid damaging the surface. Professional services for paint removal are available and may be a safer choice for those unfamiliar with the process.

.jpg)


