


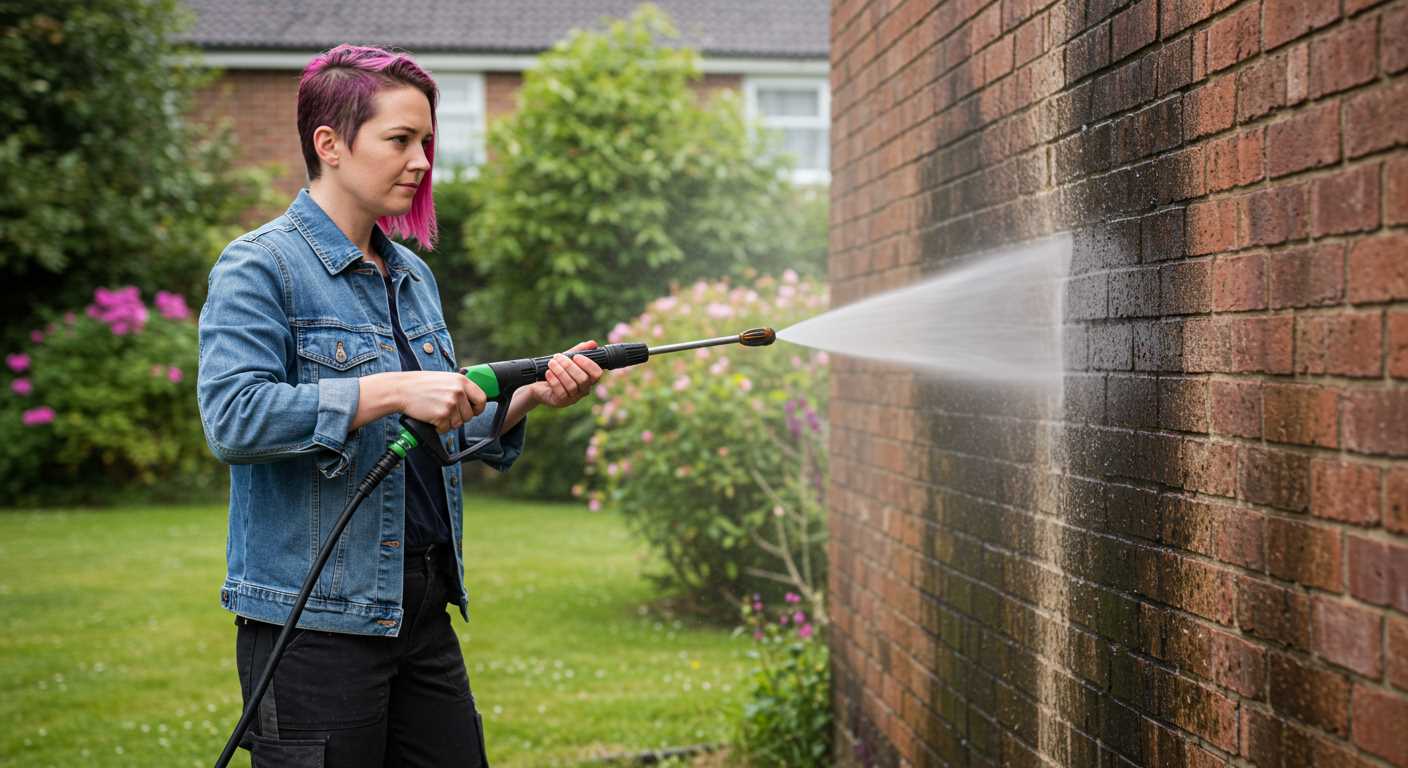
Using high-powered cleaning devices can effectively strip away various coatings from surfaces, including those synthetic layers often applied for aesthetic purposes. In my experience, powering through these finishes can work wonders, but there are specifics to consider for optimal results.
Firstly, ensure your device is set to the right pressure. A setting between 1500 and 2000 PSI usually provides a good balance between effectiveness and safety for most surfaces. Too much force can damage the underlying material, especially if it’s softer, like plastic or paint.
Next, the distance from which you spray matters significantly. Holding the nozzle approximately 12 to 18 inches from the surface allows for adequate removal without risking damage. A steady, sweeping motion will help avoid uneven results.
Lastly, not all coatings are created equal. Some may require additional products to assist in the process. A suitable solvent can be beneficial when combined with the cleaning device, ensuring thorough elimination of the unwanted finish.
Can a High-Pressure Cleaner Eliminate Vinyl Coating?
Yes, a high-pressure cleaner can effectively eliminate vinyl coating, but it requires careful handling to avoid damaging the underlying surface. In my experience, using the right nozzle and distance is crucial. A wide spray pattern is preferable to minimise the risk of etching or scratching the surface beneath.
When tackling this task, I recommend starting with a lower setting, around 1200 PSI, gradually increasing the pressure if necessary. Keeping the nozzle at least 12 inches away from the surface helps prevent any unintended abrasions. I once made the mistake of getting too close, and it led to some unwanted scratches on a vehicle’s paint job that I later had to buff out.
It’s also wise to work in sections. Applying the spray to a small area and observing the results allows for better control and prevents oversaturation. If the coating doesn’t lift easily, consider using a dedicated removal solvent in conjunction with the cleaner. This combination can enhance the lifting process significantly.
Lastly, always rinse thoroughly after the procedure to ensure no residue remains, as this can cause discolouration or damage over time. Keeping these tips in mind will make the task smoother and more successful.
Understanding Plasti Dip and Its Properties
For those looking to alter the appearance of their vehicles or objects, the use of a flexible coating offers a unique solution. This product creates a rubber-like layer that can be applied to various surfaces, allowing for both aesthetic changes and protection.
Key Characteristics
- Flexible Finish: This coating can expand and contract with temperature changes, making it suitable for outdoor applications.
- Easy Application: It can be sprayed on, enabling smooth and even coverage, with the option to layer for a deeper colour.
- Removability: One of its most appealing features is that it can be peeled off without damaging the underlying surface, provided it has been applied correctly.
- Variety of Finishes: Available in matte, gloss, and even metallic options, it caters to different style preferences.
Durability and Maintenance
This coating provides a robust barrier against elements like dirt, moisture, and UV rays. Regular cleaning with mild detergents helps maintain its appearance, but care should be taken to avoid harsh chemicals that could degrade it.

In my experience, ensuring the surface is clean before application cannot be overstated. Any contaminants can affect the adhesion and longevity of the coating. If you’re considering using it on a vehicle, take note of how it interacts with specific materials, including plastics and metals.
If you’re curious about safety measures regarding animal interactions with fencing, check out this useful information on can an electric cattle fence hurt a dog.
Settings for Optimal Removal of Coating
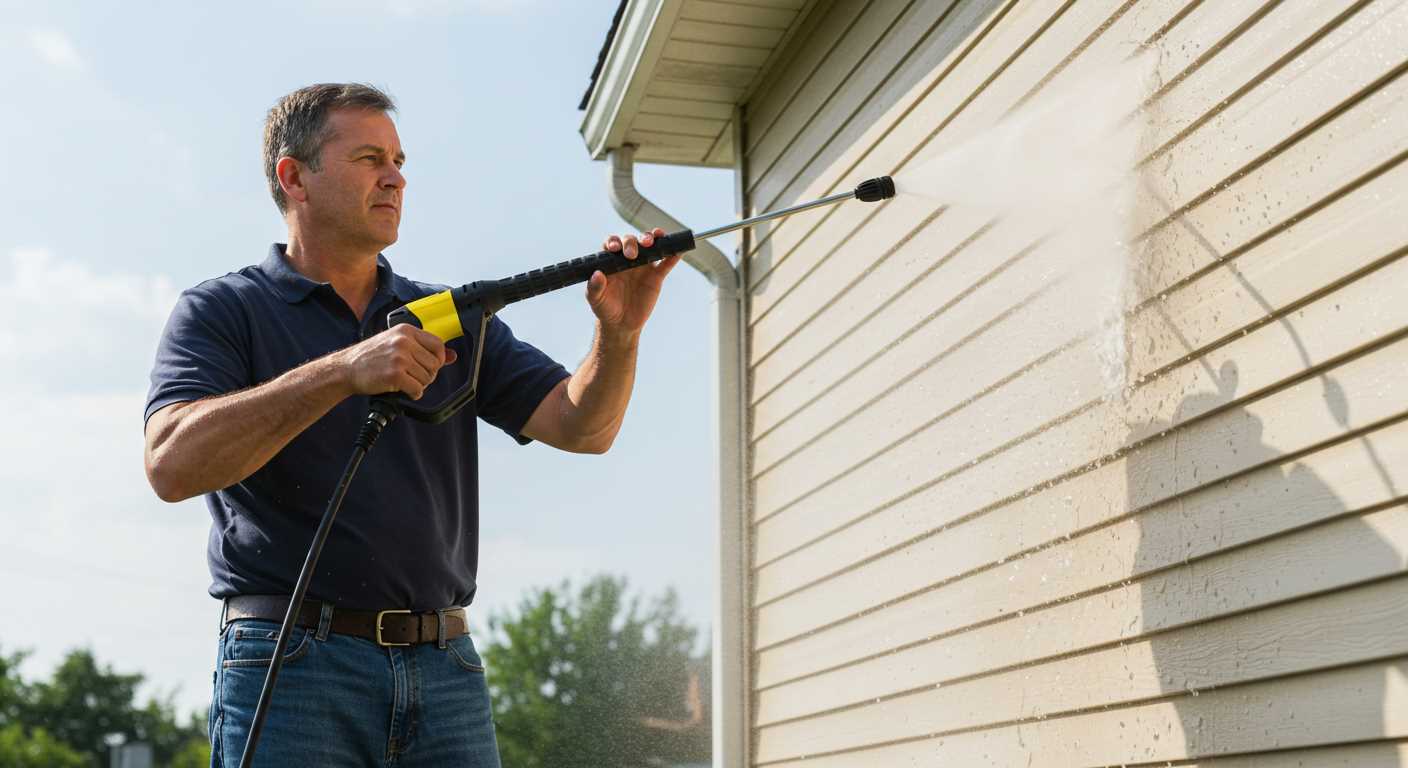
For effective stripping of that rubbery coating, set your device to a pressure level around 2000 to 2500 psi. This range provides adequate force without risking damage to the underlying surface. Use a fan spray nozzle, ideally in the 25 to 40-degree range, to distribute the water evenly, preventing any concentrated blasts that could mar the finish beneath.
When you begin, maintain a distance of approximately 12 to 18 inches from the surface. This distance helps to control the intensity of the stream while ensuring you don’t gouge or scratch the paint. Adjust your position as needed to target stubborn areas, but always be cautious of how close you get.
Temperature can play a significant role as well; using warm water can aid in loosening the coating’s grip. If your equipment allows, set it to a temperature of around 150°F. This warmth assists in softening the material, making it more amenable to being blasted away.
I often find that working in sections yields the best results. Concentrate on one area at a time, allowing yourself to thoroughly clean it before moving on. This method ensures you’re not overwhelmed and gives you a better chance to assess the effectiveness of your technique.
Lastly, don’t forget to keep the area well-ventilated. If you’re working in an enclosed space, the combination of water and any residual chemicals can create a slippery situation. Safety first–wear appropriate protective gear, including goggles and gloves, to shield yourself from any splatter.
Step-by-Step Guide to Using a Pressure Washer on Plasti Dip
First, ensure you have the right equipment. A unit with at least 2000 PSI is ideal for this task. Gather your materials: protective eyewear, gloves, and a suitable cleaning solution designed for vinyl coatings.
Begin by preparing the area. Clear away any obstacles, ensuring the surface is safe for high-velocity water. Lay down tarps or absorbent materials to catch any runoff, particularly if you’re working on a driveway or patio.
Next, fill your cleaning solution tank with the appropriate mix. If your device allows, opt for a diluted solution to prevent any damage to the underlying surface.
Set the nozzle to a wide fan spray pattern. Start from a distance of about two feet from the surface to gauge the effect. Gradually move closer, keeping the nozzle at a 45-degree angle to maintain an even application.
Now, engage the unit and begin spraying in a sweeping motion. Focus on one section at a time, allowing the solution to penetrate the coating. For stubborn areas, pause briefly to let the cleaner work its magic before resuming.
Once you’ve treated the entire surface, switch to a higher pressure setting. This will aid in dislodging the loosened coating. Keep the nozzle moving to avoid concentrating too much force on one spot, which might harm the underlying finish.
After spraying, inspect the surface for any remnants. Repeat the process on these trouble spots as necessary. Once satisfied, rinse the area thoroughly with clean water to wash away any remaining cleaner and debris.
Lastly, allow the surface to dry completely before applying any new coatings or treatments. Proper drying is crucial to ensure a clean slate for future applications.
| Step | Action | Details |
|---|---|---|
| 1 | Prepare Equipment | Choose a unit with at least 2000 PSI |
| 2 | Gather Materials | Protective eyewear, gloves, cleaning solution |
| 3 | Area Preparation | Clear obstacles and lay down tarps |
| 4 | Fill Solution Tank | Dilute solution as per manufacturer’s instructions |
| 5 | Set Nozzle | Choose wide fan spray pattern |
| 6 | Initial Spray | Start from 2 feet away, gradually move closer |
| 7 | Focus on Sections | Use sweeping motion, let solution work |
| 8 | Higher Pressure | Switch settings to dislodge remaining coating |
| 9 | Inspect and Repeat | Check for stubborn spots and repeat as needed |
| 10 | Final Rinse | Wash away any cleaner and allow to dry |
Alternative Methods for Removing Plasti Dip
For those seeking different ways to eliminate that rubbery coating, there are several alternatives worth considering. One effective method is to use a heat gun. Applying heat at a safe distance softens the material, making it easier to peel away. Just be cautious not to overheat the surface beneath.
Solvent Application
Another option involves solvents. Products like mineral spirits or acetone can break down the bonds of the coating. Apply the solvent generously using a cloth, allowing it to sit for a few minutes before attempting to wipe it off. Always test on a small area first to ensure compatibility with the underlying surface.
Using a Plastic Scraper
A plastic scraper can be handy for lifting off sections after softening with heat or solvent. This method minimizes the risk of damage to the finish underneath, unlike metal tools which may scratch. Combine scraping with either heat or solvent for an easier process.
For a practical twist, consider how versatile cleaning tools can be. For example, they can also assist in cleaning the carpet with a pressure washer, showcasing their multi-functional capabilities.
Lastly, patience is key. Allowing time for the methods to work will yield better results. Whichever route you choose, ensure you’re equipped with the right tools and protective gear to safeguard both yourself and your vehicle’s surface.
Safety Precautions When Using a High-Pressure Cleaner
Always wear protective eyewear to shield your eyes from debris and water spray. I recall one instance when I underestimated the force of the water stream, and a small stone hit my glasses. That could have caused serious injury.
Utilise appropriate clothing, including gloves and sturdy footwear, to protect your hands and feet. I once had an unfortunate encounter with slippery surfaces, and the right shoes made a huge difference in my stability. Avoid sandals or open-toed footwear.
Ensure the working area is clear of obstacles and people. I’ve seen too many accidents happen because someone wandered into the path of the water. Keeping a safe distance from bystanders is crucial. If you’re working in a public area, use caution tape or cones to establish a safe zone.
Check the equipment before use. Inspect hoses, nozzles, and connections for any signs of wear or damage. I’ve experienced equipment failure mid-task, which can be both dangerous and frustrating. A quick pre-use inspection can save you headaches later.
Always follow the manufacturer’s instructions regarding the operation and maintenance of your device. Ignoring these guidelines can lead to accidents or equipment damage. I once skipped a step, thinking I knew better, and it resulted in a malfunction that could have been easily avoided.
Keep electrical connections dry and use a GFCI outlet if available. Water and electricity don’t mix well, and I’ve seen more than one person get a nasty surprise because they didn’t heed this advice.
Be mindful of your surroundings–watch for overhead power lines or low-hanging branches. I’ve had close calls, especially when working on ladders or elevated surfaces. Awareness can prevent serious accidents.
Lastly, never aim the nozzle at yourself or others. This may seem obvious, but I’ve seen some inexperienced users make this mistake, thinking it was harmless. The force can cause injury even at a distance.
.jpg)


