


Yes, a high-powered cleaning device can effectively clear away spray coating from concrete surfaces. In my experience, using the right nozzle and pressure settings is crucial for achieving optimal results without damaging the underlying material. A 3000 PSI unit typically does the trick, but it’s important to adjust the distance and angle to avoid etching the concrete.
I recall a particular project where a client faced a similar dilemma. They attempted to scrub the surface manually, which proved tedious and ineffective. When we finally switched to a high-pressure cleaning method, we saw a remarkable difference. After a few passes with a 15-degree nozzle, the unwanted coating lifted effortlessly, revealing the clean concrete underneath.

For best results, pre-treat the area with a suitable cleaning solution designed for coatings. This step can significantly enhance the cleaning process, allowing the device to work more efficiently. Always wear appropriate safety gear, as the force of the water can send debris flying and create a slippery environment.
In summary, with the right equipment and technique, tackling stubborn coatings on concrete surfaces can be straightforward and satisfying. Don’t hesitate to test this method; you might be surprised by how quickly and effectively it can transform your outdoor spaces.
Effectiveness of High-Pressure Equipment on Removing Aerosol Coatings
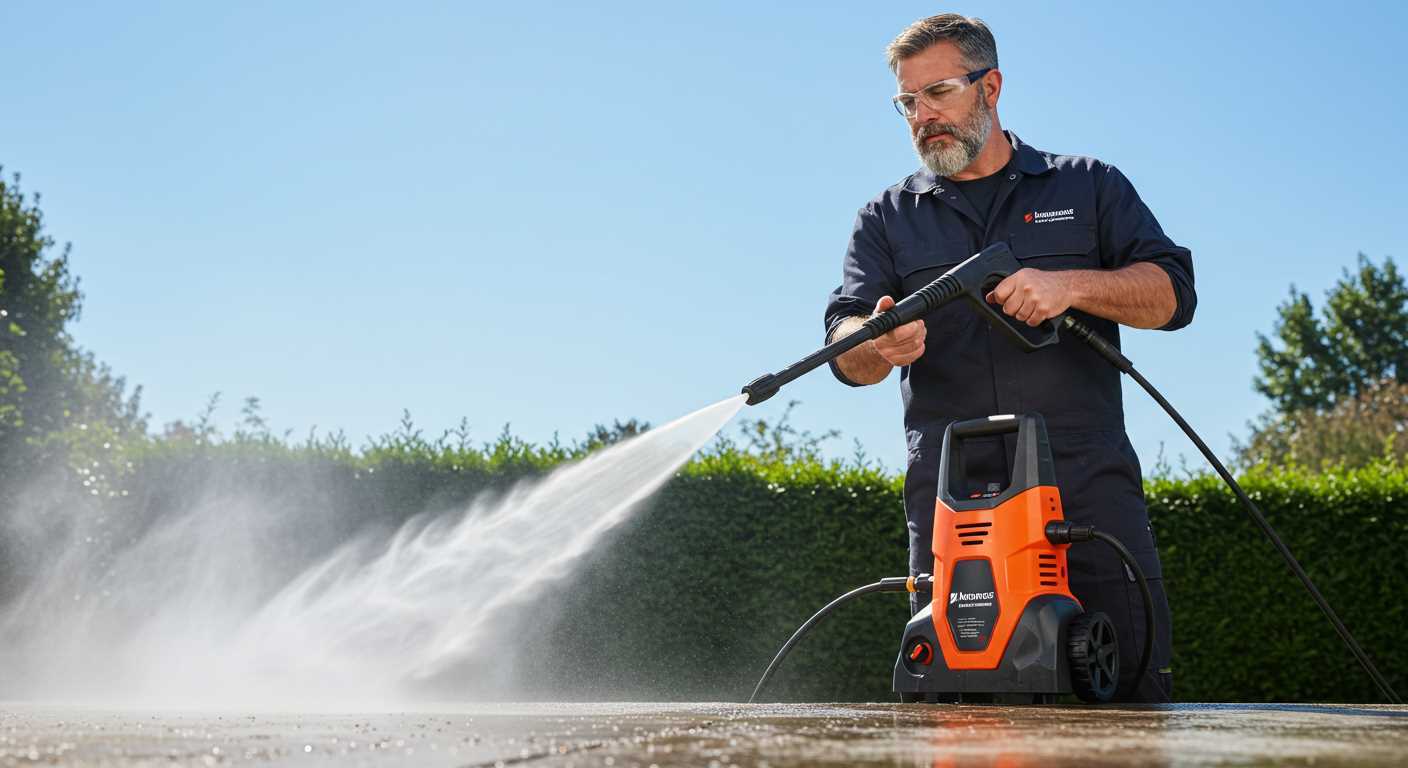
For those tackling the challenge of erasing aerosol coatings from hard surfaces, using high-pressure cleaning tools can yield significant results. In my experience, the right setup can make a notable difference in achieving a clean finish.
Here are a few tips to maximise the results:
- Choose the Right Nozzle: A 15-degree or 25-degree nozzle is generally best for tough coatings. The narrower the spray, the more focused the force, which can help break down stubborn residues.
- Adjust Water Temperature: If your equipment allows, using hot water increases the effectiveness. It helps to soften the coating, making it easier to dislodge.
- Use a Cleaning Solution: Incorporating a suitable cleaning agent can enhance the process. Look for products specifically designed for this type of removal, which can help to break down the aerosol compounds.
- Keep a Safe Distance: Maintain a distance of about 12 to 18 inches from the surface. This helps to prevent damage while ensuring sufficient force is applied to lift the coating.
- Test a Small Area: Always start with a small, inconspicuous area to gauge how the surface responds before proceeding with larger sections.
After incorporating these strategies, if you’re looking to enhance your cleaning performance, consider exploring a snow foam lance for titan pressure washer. This attachment can provide additional foam coverage, which may aid in loosening stubborn residues further.
In my trials, these techniques have proven effective not just for removing coatings but also for revitalising the appearance of hard surfaces. Patience and persistence are key, but the results can be rewarding.
Understanding the Types of Spray Coatings and Their Bonding to Concrete
Different formulations of aerosol coatings have varying degrees of adhesion and resilience on concrete surfaces. The composition of the coating–whether oil-based, water-based, or epoxy–significantly influences how it interacts with the substrate. For instance, oil-based formulations typically bond more tenaciously due to their ability to penetrate the porous structure of concrete, creating a stronger hold. In contrast, water-based options, while easier to clean up, may not adhere as strongly, resulting in easier removal.
Factors Affecting Adhesion
The environmental conditions during application can also impact how well these substances cling to concrete. Humidity, temperature, and surface preparation play crucial roles. A well-prepped surface, devoid of contaminants, allows for optimal bonding. When I worked in product testing, I often observed that coatings applied in ideal conditions lasted longer and were tougher to eradicate.
Identifying the Coating Type
Identifying the type of coating is essential for choosing the right cleaning approach. Oil-based coatings often require solvents for effective elimination, while water-based types may respond better to less aggressive methods. It’s crucial to assess the specific coating before attempting any cleaning technique. For anyone curious about comparisons in different fields, check out this insightful article on are digital cameras better than film cameras to see how materials differ in various applications.
Choosing the Right Pressure Washer for Paint Removal
For tackling stubborn coatings on hard surfaces, selecting the right cleaning machine is crucial. In my experience, models with a minimum of 3000 PSI and a flow rate exceeding 2.5 GPM are generally effective. High pressure combined with sufficient water volume helps dislodge materials that adhere tightly to surfaces.
Types and Features to Consider
.jpg "Will a pressure washer remove spray paint from concrete")
Look for machines equipped with adjustable nozzles; these allow you to switch between different spray patterns, which is beneficial for targeting various areas or types of residue. A turbo nozzle can create a rotating jet that enhances cleaning power, making it easier to lift off the unwanted layer. Additionally, machines featuring an onboard detergent tank can be advantageous; using the right cleaning solution can enhance results on particularly stubborn residues.
Electric vs. Gas Models
Electric units are quieter and easier to maintain, but gas models typically offer higher performance, especially for extensive projects. I recall one job where a gas model made quick work of a large slab that had been coated with multiple layers of an oil-based substance. For home use, if the area is small, an electric model may suffice, but for larger or more challenging tasks, investing in a gas-powered option can save time and effort.
Optimal Pressure Settings for Removing Spray Paint
For effective elimination of unwanted coatings, select the right force setting on your cleaning device. I recommend starting at around 2500 to 3000 PSI for most situations involving tough coatings on hard surfaces. This range tends to strike a balance between power and safety, ensuring that the underlying substrate remains intact.
- 2500 PSI: Ideal for delicate surfaces or thin layers of unwanted coatings. This setting allows for sufficient force to dislodge lightweight residues without risking damage.
- 3000 PSI: Suitable for more stubborn applications. At this level, the device can tackle thicker residues effectively, making it a go-to choice for tougher scenarios.
In my years of experience, I’ve found that adjusting the nozzle type also plays a critical role. A narrow spray pattern, such as a 15-degree nozzle, concentrates the force, while a wider angle–like a 25-degree nozzle–disperses it over a larger area, providing a gentler touch.
- Begin with the wider nozzle to assess the surface condition.
- If results are unsatisfactory, switch to a narrower nozzle for greater impact.
Pressure settings might need fine-tuning based on specific conditions. Factors such as the age of the coating, its thickness, and the type of surface beneath can influence your approach. Always conduct a small test area first to gauge the effectiveness and check for any potential damage.
Lastly, maintain a distance of approximately 12 to 18 inches between the nozzle and the surface. This distance helps to optimise the cleaning action while minimising the risk of etching or causing harm to the underlying material.
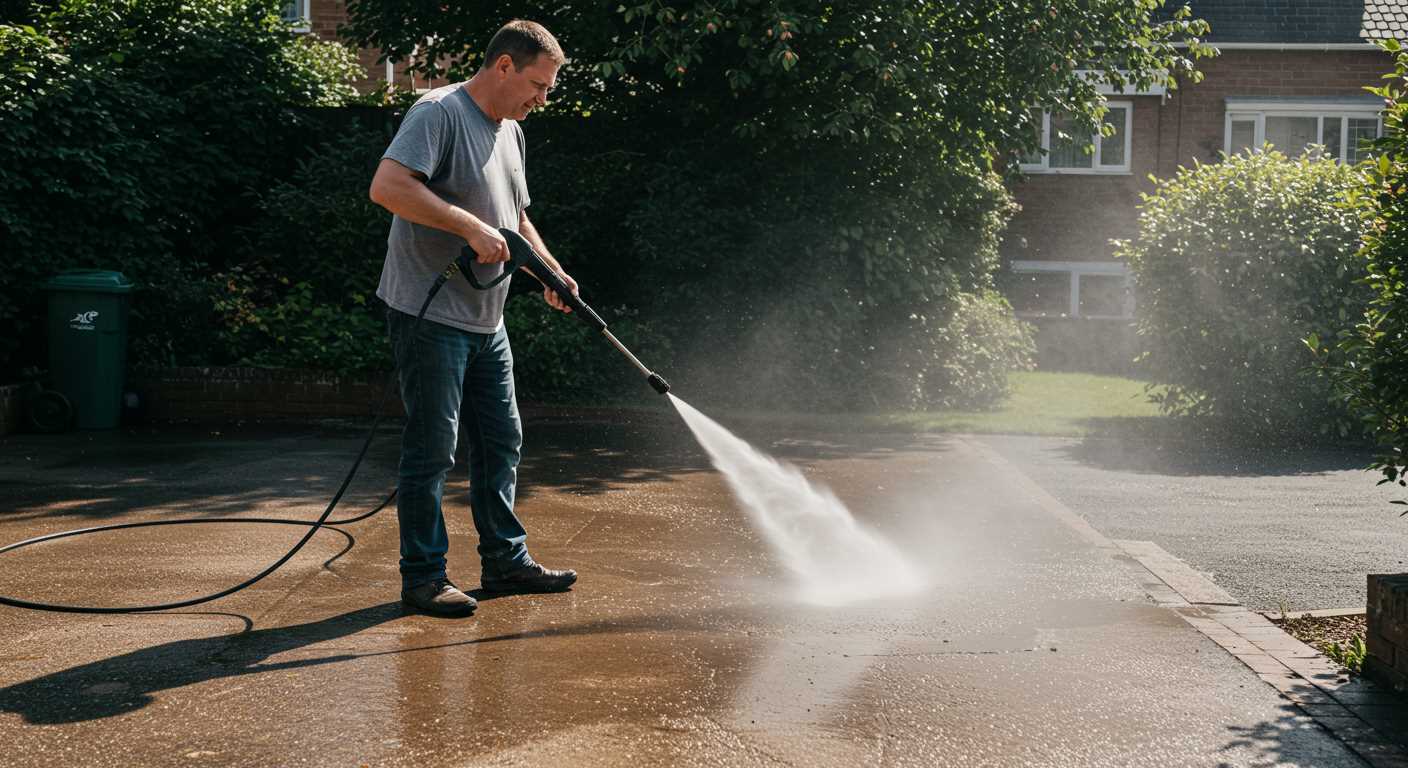
Techniques for Applying Water Pressure on Concrete Surfaces
For optimal results in cleaning, the technique of application matters just as much as the equipment used. Adjusting the distance between the nozzle and the surface is key. Maintain a distance of around 12 to 18 inches to prevent damage while ensuring effective cleaning. Closer distances might increase the risk of etching the surface, while too far can reduce the impact.
Angle of Attack
Directing the stream at a 45-degree angle often yields better outcomes. This technique allows the water to hit the surface effectively without causing micro-abrasions. Moving the nozzle in a sweeping motion helps to cover larger areas evenly and prevents streaking.
Utilising Attachments
Incorporating various nozzle attachments can enhance the cleaning process. A rotating turbo nozzle increases the force of the water while maintaining a wider coverage area. For stubborn residues, a surface cleaner attachment is beneficial; it provides consistent pressure across larger sections and reduces the chance of damage.
Mixing in a suitable cleaning solution with the water can boost the effectiveness as well. Ensure that the solution is compatible with the surfaces being treated. Always conduct a test patch in an inconspicuous area to gauge the reaction before proceeding with the entire surface.
Finally, timing is crucial. Work in sections and allow the water to dwell on particularly stubborn spots for a minute or two before rinsing. This dwell time helps break down the bonds between unwanted materials and the concrete, making dislodging easier.
Safety Precautions When Using a Pressure Washer
Always wear appropriate personal protective equipment (PPE). This includes safety goggles to shield your eyes from flying debris and a mask to avoid inhaling any particles. Sturdy footwear with non-slip soles is also crucial to maintain grip on potentially slippery surfaces.

Before starting, inspect the area for any hazards, such as loose stones, electrical wires, or fragile objects. Ensuring a clear workspace reduces the risk of accidents significantly. If working outdoors, be mindful of the weather; avoid using the equipment in wet conditions to prevent slips and ensure electrical safety.
Keep a safe distance from the surface being cleaned. Starting at a distance allows you to gauge the impact of the water jet and adjust accordingly. Remember, the closer you get, the more intense the force becomes, which can lead to injury or damage.
Maintain a firm grip on the handle at all times. A sudden kickback can occur when the trigger is released; this can cause you to lose control. To avoid this, always have both hands on the unit when in operation, and never point the nozzle at yourself or others.
Be cautious with the cleaning solution you choose. Some chemicals can react adversely with the surface material or even the equipment itself. Always read the labels and follow manufacturer guidelines for safe usage.
After use, ensure the machine is stored properly. Disconnect hoses and drain any remaining water to prevent freezing or damage. Regular maintenance checks can prolong the life of your equipment and keep it operating safely.
Lastly, if you’re unsure about any aspect of the process, don’t hesitate to consult the manual or seek professional assistance. It’s better to ask for help than to risk injury or damage.
Alternative Methods for Removing Spray Paint from Concrete
For those stubborn stains on your surfaces, consider using a chemical paint stripper. These products are designed to penetrate and loosen paint from various materials. Select a biodegradable stripper to minimise environmental impact. Apply as per the instructions and let it sit for the recommended duration before scrubbing with a stiff-bristled brush.
Another effective approach is to utilise a mixture of baking soda and water. Create a paste and apply it to the affected areas. The alkaline properties of baking soda can help lift the coating. Allow it to sit for at least 30 minutes, then scrub vigorously and rinse with clean water.
Using a grinder with a diamond blade can also be a viable option, especially for large areas. This method physically removes the top layer of concrete, effectively eliminating the unwanted layer. However, take care not to damage the underlying surface. Always wear protective gear, including goggles and a dust mask, as this process generates dust.
Consider implementing a hot water extraction technique. This method employs high-temperature water, which can soften and lift paint. If you have access to a steam cleaner, use it to apply steam directly onto the stain. The heat can break down the bond between the coating and the surface.
Finally, a combination of these methods may yield the best results. Start with the chemical stripper, follow with mechanical scrubbing or grinding, and finish with hot water extraction to ensure all remnants are eliminated. Always test any method on a small, inconspicuous area first to assess its effectiveness and avoid damage.
| Method | Advantages | Disadvantages |
|---|---|---|
| Chemical Stripper | Effective on various coatings | Can be harmful if not used properly |
| Baking Soda Paste | Environmentally friendly | May require multiple applications |
| Grinder with Diamond Blade | Quick removal for large areas | Risk of damaging the surface |
| Hot Water Extraction | Non-invasive | Requires special equipment |
Maintaining Your Concrete After Paint Removal
After tackling the task of stripping away unwanted colour, it’s crucial to take steps to preserve the integrity of your surface. Start by rinsing thoroughly with clean water to wash away any remaining residue. This not only ensures a clean finish but also helps prevent staining from leftover chemicals or debris.
Sealing the Surface
Applying a high-quality sealer can greatly enhance durability. Choose a breathable sealer to allow moisture to escape while protecting against future stains and wear. Make sure to apply it evenly using a roller or sprayer, following the manufacturer’s guidelines for optimal results. Typically, waiting at least 24 hours after cleaning before sealing is advisable, allowing the surface to dry completely.
Regular Maintenance Practices
Implement a routine cleaning schedule to keep your surface looking pristine. Use a mild detergent and a soft-bristle brush for regular upkeep. This prevents the build-up of dirt and grime, extending the lifespan of your surface. Additionally, inspect for cracks or damages periodically. Addressing these issues promptly can save you from larger repairs down the line. If you notice any damage, consider patching it with a suitable concrete repair product before re-sealing.

.jpg)


