
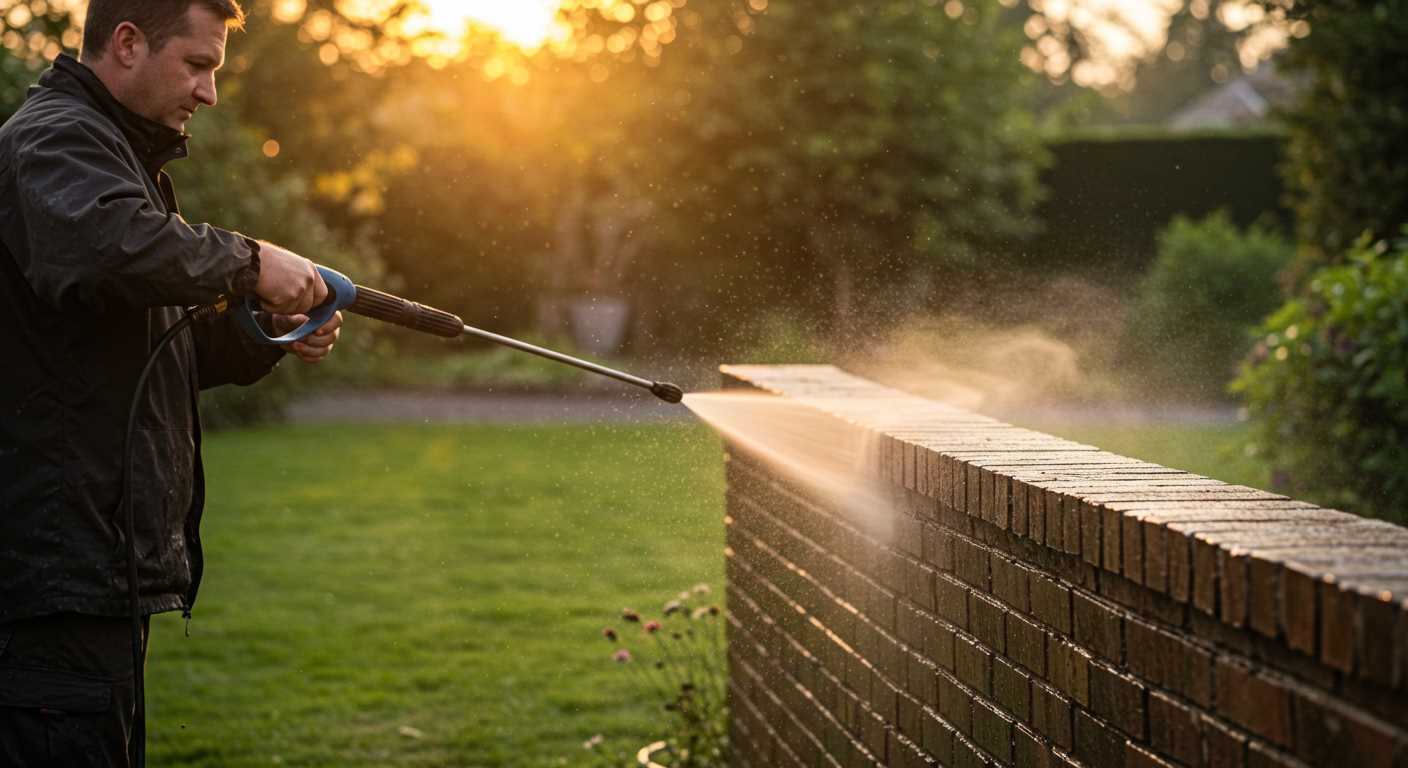


Absolutely, a high-pressure cleaner can effectively eliminate timber residue from pavement surfaces. In my years of experience, I’ve seen this method work wonders for homeowners looking to refresh their outdoor spaces. The force of the water stream, typically exceeding 2000 PSI, can penetrate the porous surface of the pavement and lift away stubborn remnants of timber treatments.
However, it’s crucial to approach this task with caution. Adjusting the nozzle to a fan spray pattern is essential to avoid damaging the surface. I recall a project where a homeowner selected too narrow a spray, resulting in etching on the pavement. A wider spray not only protects the surface but also ensures a more even clean.
Before starting, pre-wet the area to help loosen the residue. This simple step can significantly enhance the cleaning process, making it easier to lift the unwanted material. After cleaning, consider applying a sealant to protect the pavement from future staining. My experience has shown that this not only prolongs the cleanliness but also improves the overall appearance of the surface.
In summary, with the right technique and precautions, a high-pressure cleaner is a powerful tool for tackling timber residue on pavement. Just remember to test a small, inconspicuous area first to ensure the desired outcome without damaging the surface.
Understanding how wood stain adheres to concrete
Adhesion of pigments to a solid surface, such as a slab, hinges on a few factors. The porous nature of the substrate plays a key role, allowing the chemical compounds in the tint to penetrate. This penetration forms a bond that can be surprisingly robust. I’ve observed that the rough texture of many surfaces enhances this connection, as it increases the area for the colourants to grip onto.
Temperature and humidity during application significantly influence adhesion. Warm, dry conditions typically lead to better bonding, while dampness can hinder the process. In my experience, the timing of application after the surface has been cleaned is crucial; any contaminants can disrupt the adhesion and lead to uneven results.

Different formulations of pigments vary in their ability to cling. Some are specifically designed for outdoor use and contain additives that improve their resistance to weathering and fading. These products often form a stronger bond than standard versions, making them more difficult to eliminate once set.
Once applied, the interaction between the surface and the tint can change over time. Exposure to UV rays can break down the chemical bonds, leading to fading. However, until that degradation occurs, the original bond remains strong, making it challenging to dislodge without the right techniques.
In my work, I’ve often had to tackle stubborn remnants left behind after a project. Understanding how these products bond to surfaces has been invaluable. With the right approaches, it’s possible to mitigate their presence effectively without damaging the underlying material.
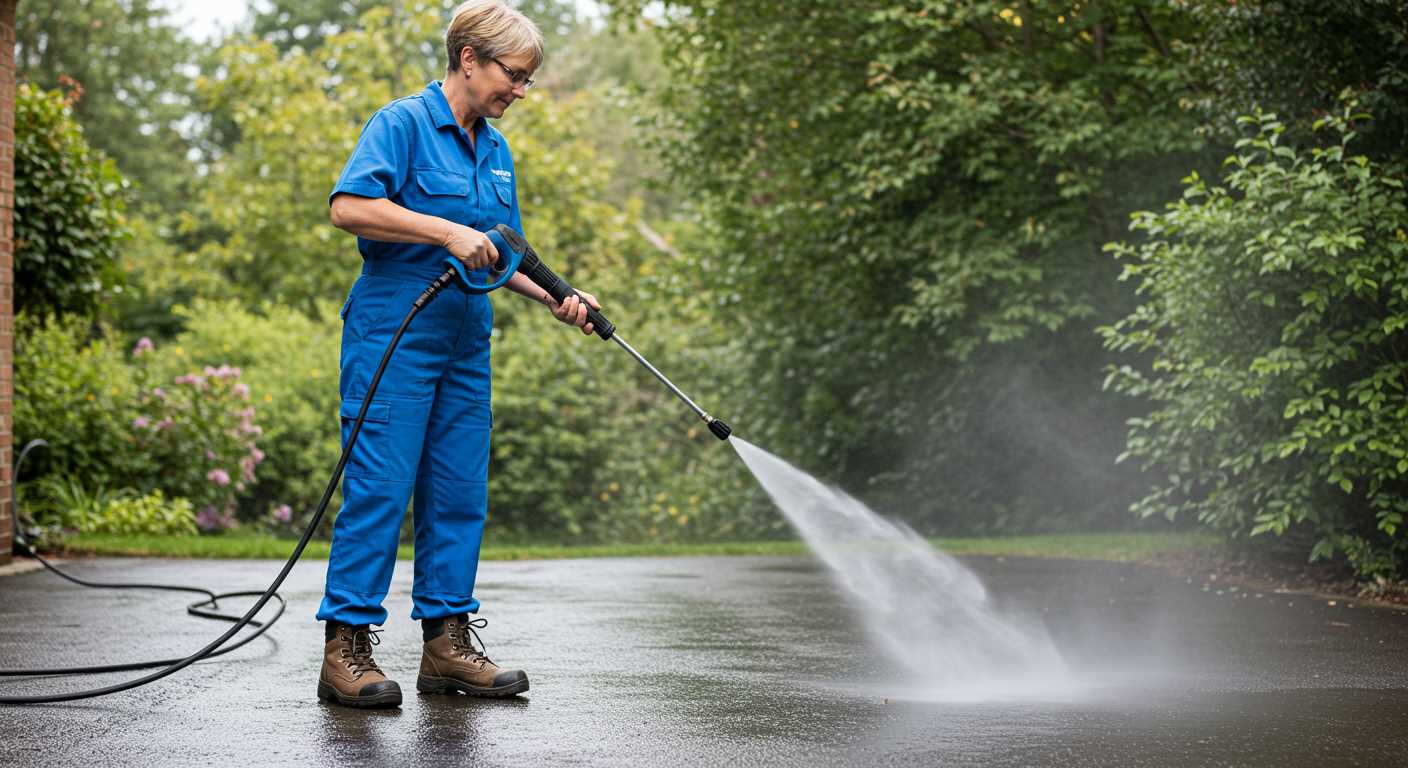
Choosing the Right Pressure Washer for Stain Removal
For effective cleaning, selecting the appropriate machine is critical. Based on my experience, I recommend looking for a unit with a minimum of 3000 PSI and a flow rate of 2.5 GPM. This combination ensures sufficient force and volume to tackle tough marks.
Key Features to Consider
- Adjustable Nozzle: Look for models that come with adjustable nozzles. They allow you to control the spray pattern and pressure, which is essential for different surfaces and types of residue.
- Electric vs. Gas: Electric machines are quieter and easier to maintain, but gas units provide more power. If you have a large area to clean, a gas-powered option might be the better choice.
- Detergent Tank: Some machines feature built-in tanks for cleaning solutions. This can significantly enhance your cleaning results, especially for stubborn marks.
Consider Your Needs
Think about the size of the area that needs attention. For smaller patios, an electric model might suffice. However, for larger driveways or commercial spaces, investing in a robust gas machine will save time and effort.
Remember to check the warranty and customer reviews. I’ve seen many brands that promise high performance but fall short in real-world applications. A solid warranty can also provide peace of mind.
For additional cleaning tips, you might find this how to clean silver with coke a simple and effective method useful.
Preparing the Concrete Surface Before Using a Pressure Washer
Clear the area of any furniture, planters, or obstacles to ensure easy access to the surface. This step prevents damage to your belongings and creates a safe working environment.
Next, sweep the surface thoroughly to eliminate dirt, leaves, and debris. This action helps prevent these materials from getting lodged in the cleaning equipment and ensures a more effective process. I recall a time when I skipped this step, and it resulted in a less-than-satisfactory outcome.
After sweeping, inspect for any large cracks or holes. If you find any, consider filling them with a suitable concrete repair compound. This not only improves the surface but also protects the equipment from potential damage. I once overlooked this, and the results were not as I had anticipated.
For enhanced results, apply a degreaser or a suitable cleaning solution to the surface. Allow it to sit for the recommended time; this helps break down stubborn residues. I’ve found that taking this extra time pays off significantly when it comes to achieving a clean finish.
Finally, ensure the area is well-lit. Poor visibility can lead to missed spots or uneven cleaning. I learned this the hard way during a late afternoon job when shadows obscured several areas, which required a second pass to rectify.
- Clear the area of all items.
- Sweep to remove loose debris.
- Inspect and repair cracks.
- Apply a degreaser or cleaning solution.
- Ensure adequate lighting for visibility.
Following these steps will set you up for a successful cleaning session, ensuring that the surface is properly prepared for effective treatment.
Recommended Pressure Settings for Stain Removal
For tackling tough blemishes on concrete, I recommend starting with settings around 2500 to 3000 PSI. This range is powerful enough to tackle most stubborn discolourations without risking damage to the surface beneath.
Technique Matters
While pressure is key, technique plays a significant role. Begin with a wider spray nozzle to cover large areas, then switch to a narrower one for concentrated spots. Maintain a distance of about 12 to 18 inches from the surface to prevent etching. Gradually move closer as needed, but always keep the nozzle moving to avoid concentrated pressure in one spot.
Water Temperature and Flow Rate
Warm water enhances cleaning power. If your equipment allows, use water heated to around 50-60 degrees Celsius. Additionally, a flow rate of 3 to 4 GPM complements the pressure settings, ensuring effective rinsing and preventing residue buildup.
In my experience, taking the time to adjust these settings can significantly improve results, making the task less tedious and more satisfying. Always remember to test on a small area first to gauge the effectiveness and adjust as necessary.
Alternative methods for stubborn wood stain on concrete
Start with a mixture of baking soda and water. This natural abrasive can lift some of the tougher blemishes. Combine two parts baking soda with one part water to form a paste. Apply it to the affected area and let it sit for about 15 minutes before scrubbing with a stiff brush. Rinse thoroughly afterwards.
An additional approach involves vinegar. Its acidity can help dissolve the stain. Mix equal parts of white vinegar and water and spray it onto the stained surface. Allow it to soak for 10-15 minutes, then scrub with a brush. Rinse with clean water to finish.
For more stubborn marks, consider using a commercial concrete cleaner specifically designed for tough stains. Choose a product that specifies compatibility with your surface. Follow the manufacturer’s instructions carefully. Generally, you’ll apply it, let it dwell for the recommended time, and scrub before rinsing.
Another method worth exploring is the use of a poultice made from a solvent like acetone mixed with a clay-based absorbent material, such as diatomaceous earth or talc. Create a thick paste and apply it to the stained area, covering it with plastic wrap to keep it moist. After a day or two, remove the poultice and scrub the area clean.
For those who prefer a more hands-on approach, using a floor buffer with a suitable abrasive pad can be quite effective. This method may require renting equipment, but it can yield excellent results without the need for harsh chemicals.
Lastly, if the situation allows, consider professional help. Sometimes, the expertise and equipment of specialists can resolve issues that DIY methods cannot, ensuring a clean finish without damaging the underlying surface.
Post-cleaning maintenance for stained surfaces
After tackling the challenge of cleaning your surface, it’s crucial to implement maintenance strategies to prolong its integrity and appearance. Regular upkeep not only enhances longevity but also minimises the need for future intensive cleaning.

First, consider applying a sealant designed for porous surfaces. This creates a protective barrier, preventing new contaminants from penetrating the material. Ensure the surface is completely dry before application, typically waiting at least 24 to 48 hours post-cleaning. Check local weather conditions; avoid sealing if rain is expected within a few days.
Next, keep an eye on weather exposure. UV rays can fade colours, while moisture can lead to mildew growth. Sweep the area regularly to remove debris, and wash it with a gentle soap solution monthly. For tougher spots, a soft-bristle brush can help lift dirt without causing damage.
Utilising a rotating nozzle for pressure washer during maintenance can aid in effective cleaning without risking surface wear. This attachment increases cleaning efficiency while maintaining the surface’s integrity.
Finally, inspect the surface periodically for signs of wear or damage. Addressing minor issues promptly can prevent larger problems down the line. Keeping a maintenance schedule will ensure your surface remains in optimal condition for years to come.
| Maintenance Task | Frequency |
|---|---|
| Apply sealant | Every 1-3 years |
| Sweep debris | Weekly |
| Wash with soap solution | Monthly |
| Inspect for damage | Every 6 months |

.jpg)


